• Home
  • About
  • Vegan
  • Gluten Free
  • Chocolate
  • Cookies
  • Cupcakes
  • Cake
  • No bake/ Raw
  • Savoury
  • Natural Health
  • yoga
  • Tradtional
  • juice

VeganEtcetera

~ Eating healthily easily

VeganEtcetera

Tag Archives: Vegan

Seasonal Iron Rich Vegan Dinner- gluten free too!

29 Sunday Mar 2015

Posted by Aissa in Gluten Free, Natural Health, Savoury, Vegan

≈ 2 Comments

Tags

Dinner, Gluten free, Natural Health, purple sprouting broccoli, salad dressing, Savoury, Vegan

So I love my green foods, have them until they come out my ears! Lately though I have found myself having less dark leafy salads because of the cold weather and less seaweed as I have it in my salad! Veggie people are no more likely to suffer from an iron deficiency than meat eaters but is something we should all not be lackadaisical about.

So here is a delicious dinner packed with iron and the vitamin c that will help you absorb it! I picked up the organic leafy greens and herbs at my local organic farmers market and the rest in the health shop I work in. It makes me happy when purple sprouting broccoli comes back into season. 🙂

Yummmm colours

Yummmm colours

Seasonal Iron Rich Vegan Dinner for two!

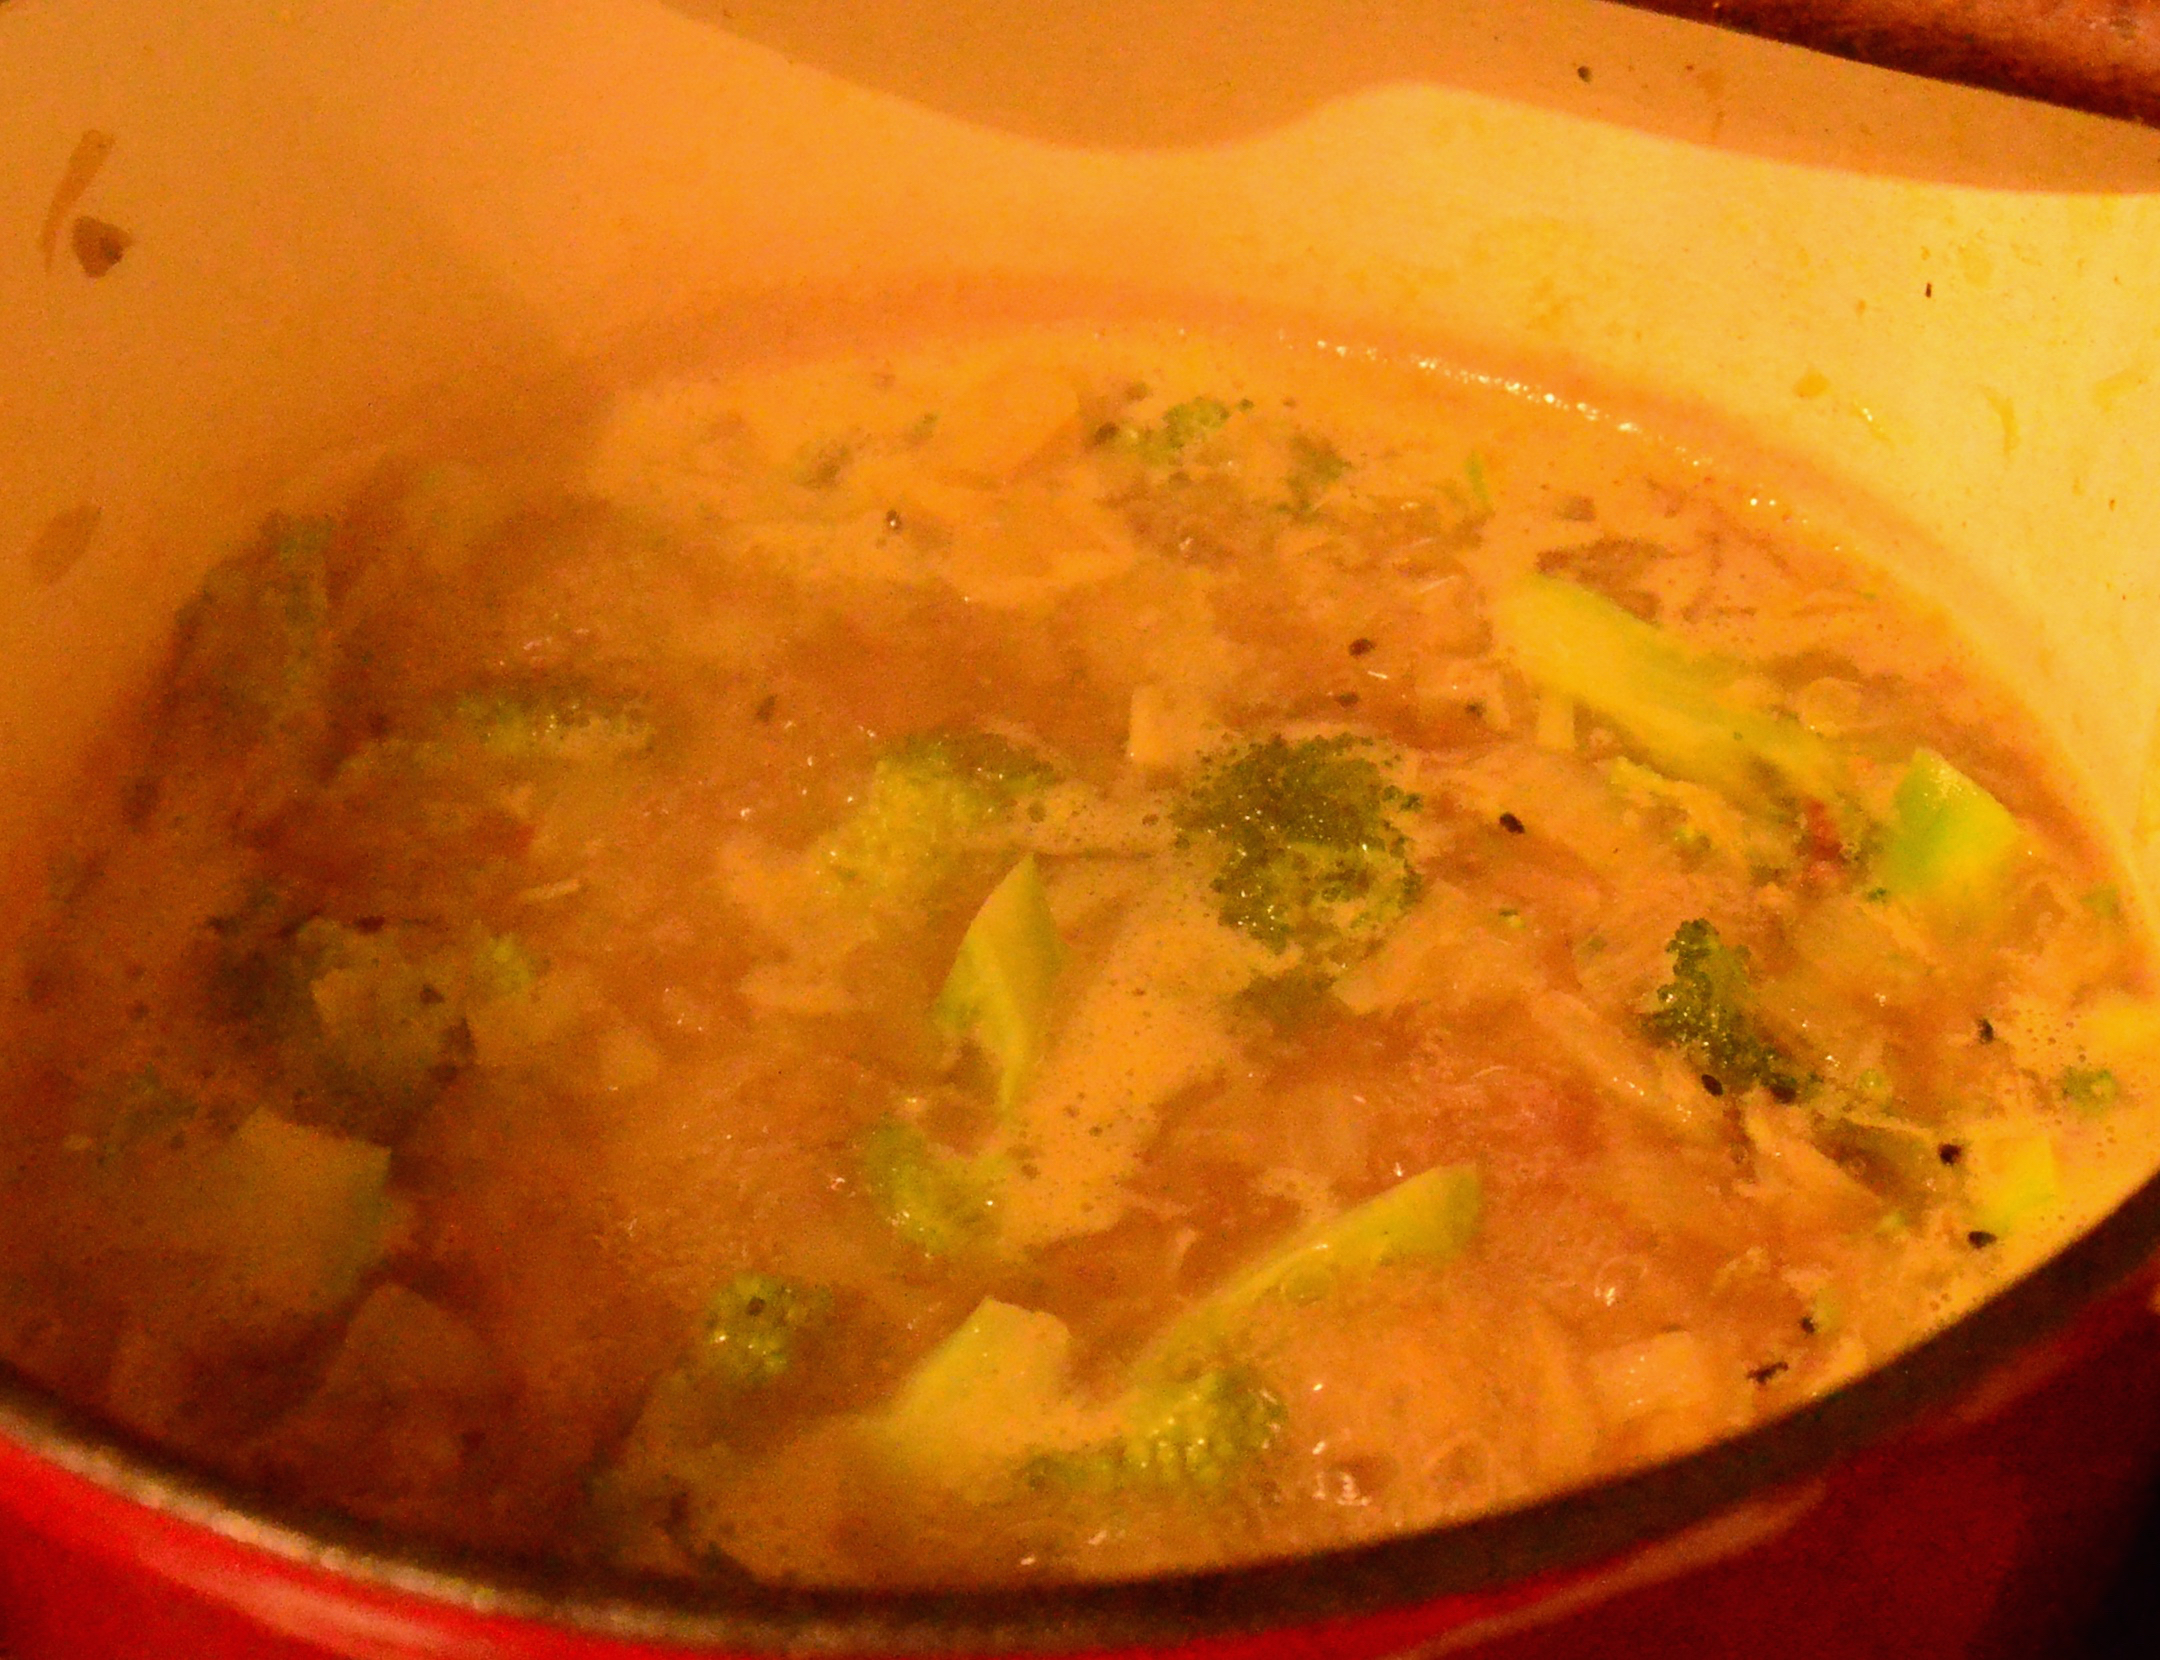
    • Roughly 4 cups of Purple Sprouting Broccoli it doesn’t fit in a cup!
    • 240g or a cup and a half of cooked Pinto Beans
    • A salad bowl of toren leaves:
    • Organic Watercress
    • Organic Rocket
    • Organic Mustard Leaves
    • A third of a cup of chopped parsley
    • A quarter cup of chopped chives
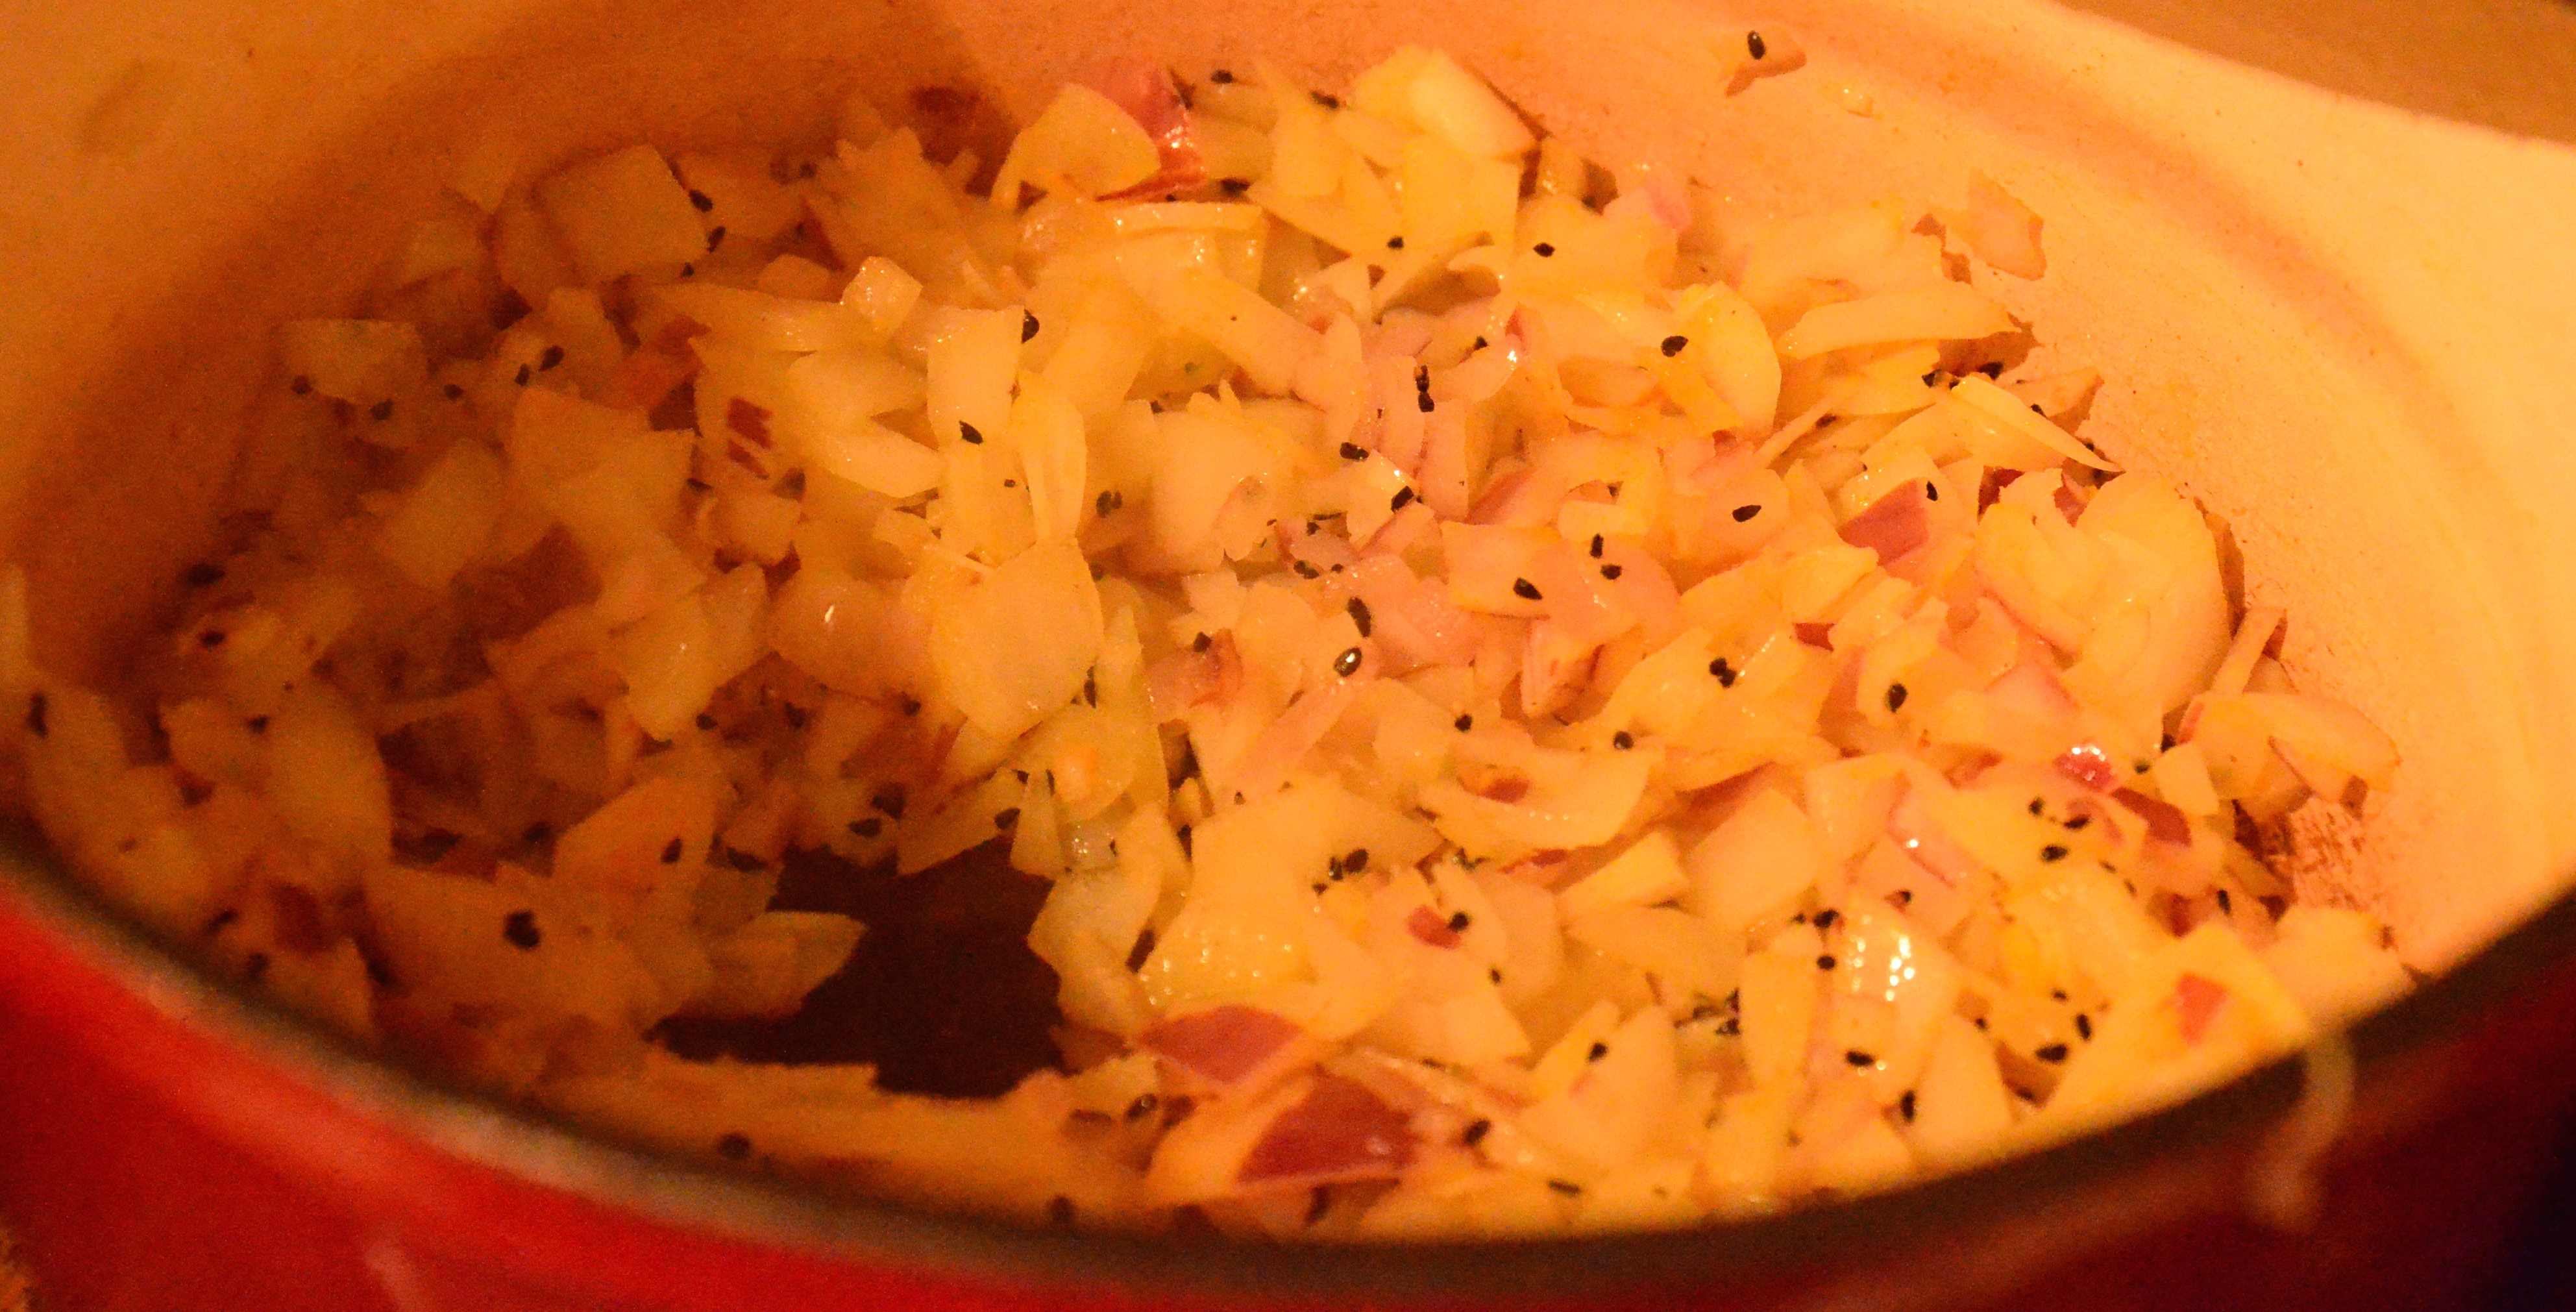
    • A small red onion- finely chopped
    • Three cloves of purple garlic- finely chopped
    • Half a teaspoon of nigella seeds
    • A quarter teaspoon of chilli flakes
    • A dessertspoon of organic raw coconut oil
    • A dessertspoon of cold pressed extra virgin olive oil
    • Black pepper to taste- I like lots
    • A quarter teaspoon of good quality sea salt
    • A squeeze/ teaspoon of fresh lemon juice.
    • Half a teaspoon of powdered dillisk/dulse seaweed & more for sprinkling
    • Optional:teaspoon of basil paste or some fresh basil
    • An avocado
    • Some alfalfa sprouts
    • A red pepper- diced
    • A carrot chopped as you like
    • A few black olives that refused to be photographed
    • A sheet of nori seaweed- to use like a wrap!

Miso Salad Dressing

  • A clove of purple garlic – finely chopped
  • A teaspoon of raw sweet miso paste
  • A teaspoon of chopped parsley
  • A teaspoon of chopped chives
  • Lots of black pepper
  • Half a teaspoon of apple cyder vinegar
  • A dash of mirin (gives a note of sweetness)
  • A squeeze of fresh lemon juice
  • Half a cup of cold pressed extra virgin olive oil

Method:

Grab your broccoli and cut off a tiny bit of the tough stem. Leave the leaves, they all part of the goodness! Give them a rinse and pop them on to steam for roughly eight to ten minutes. Chop your onion and garlic including the garlic for your salad dressing. Melt your coconut oil in a wok or pan on a medium high heat. Once it is heated a bit throw in your nigella seeds, chilli flakes, and a bit of black pepper.

Now add almost all your onion (you are keeping a bit to put in your salad later).Add your sea salt.  Leave cook for a few minutes- the onion will go transparent pretty fast. Add in the garlic- let this cook. Next throw in your pinto beans (also a good source of iron).

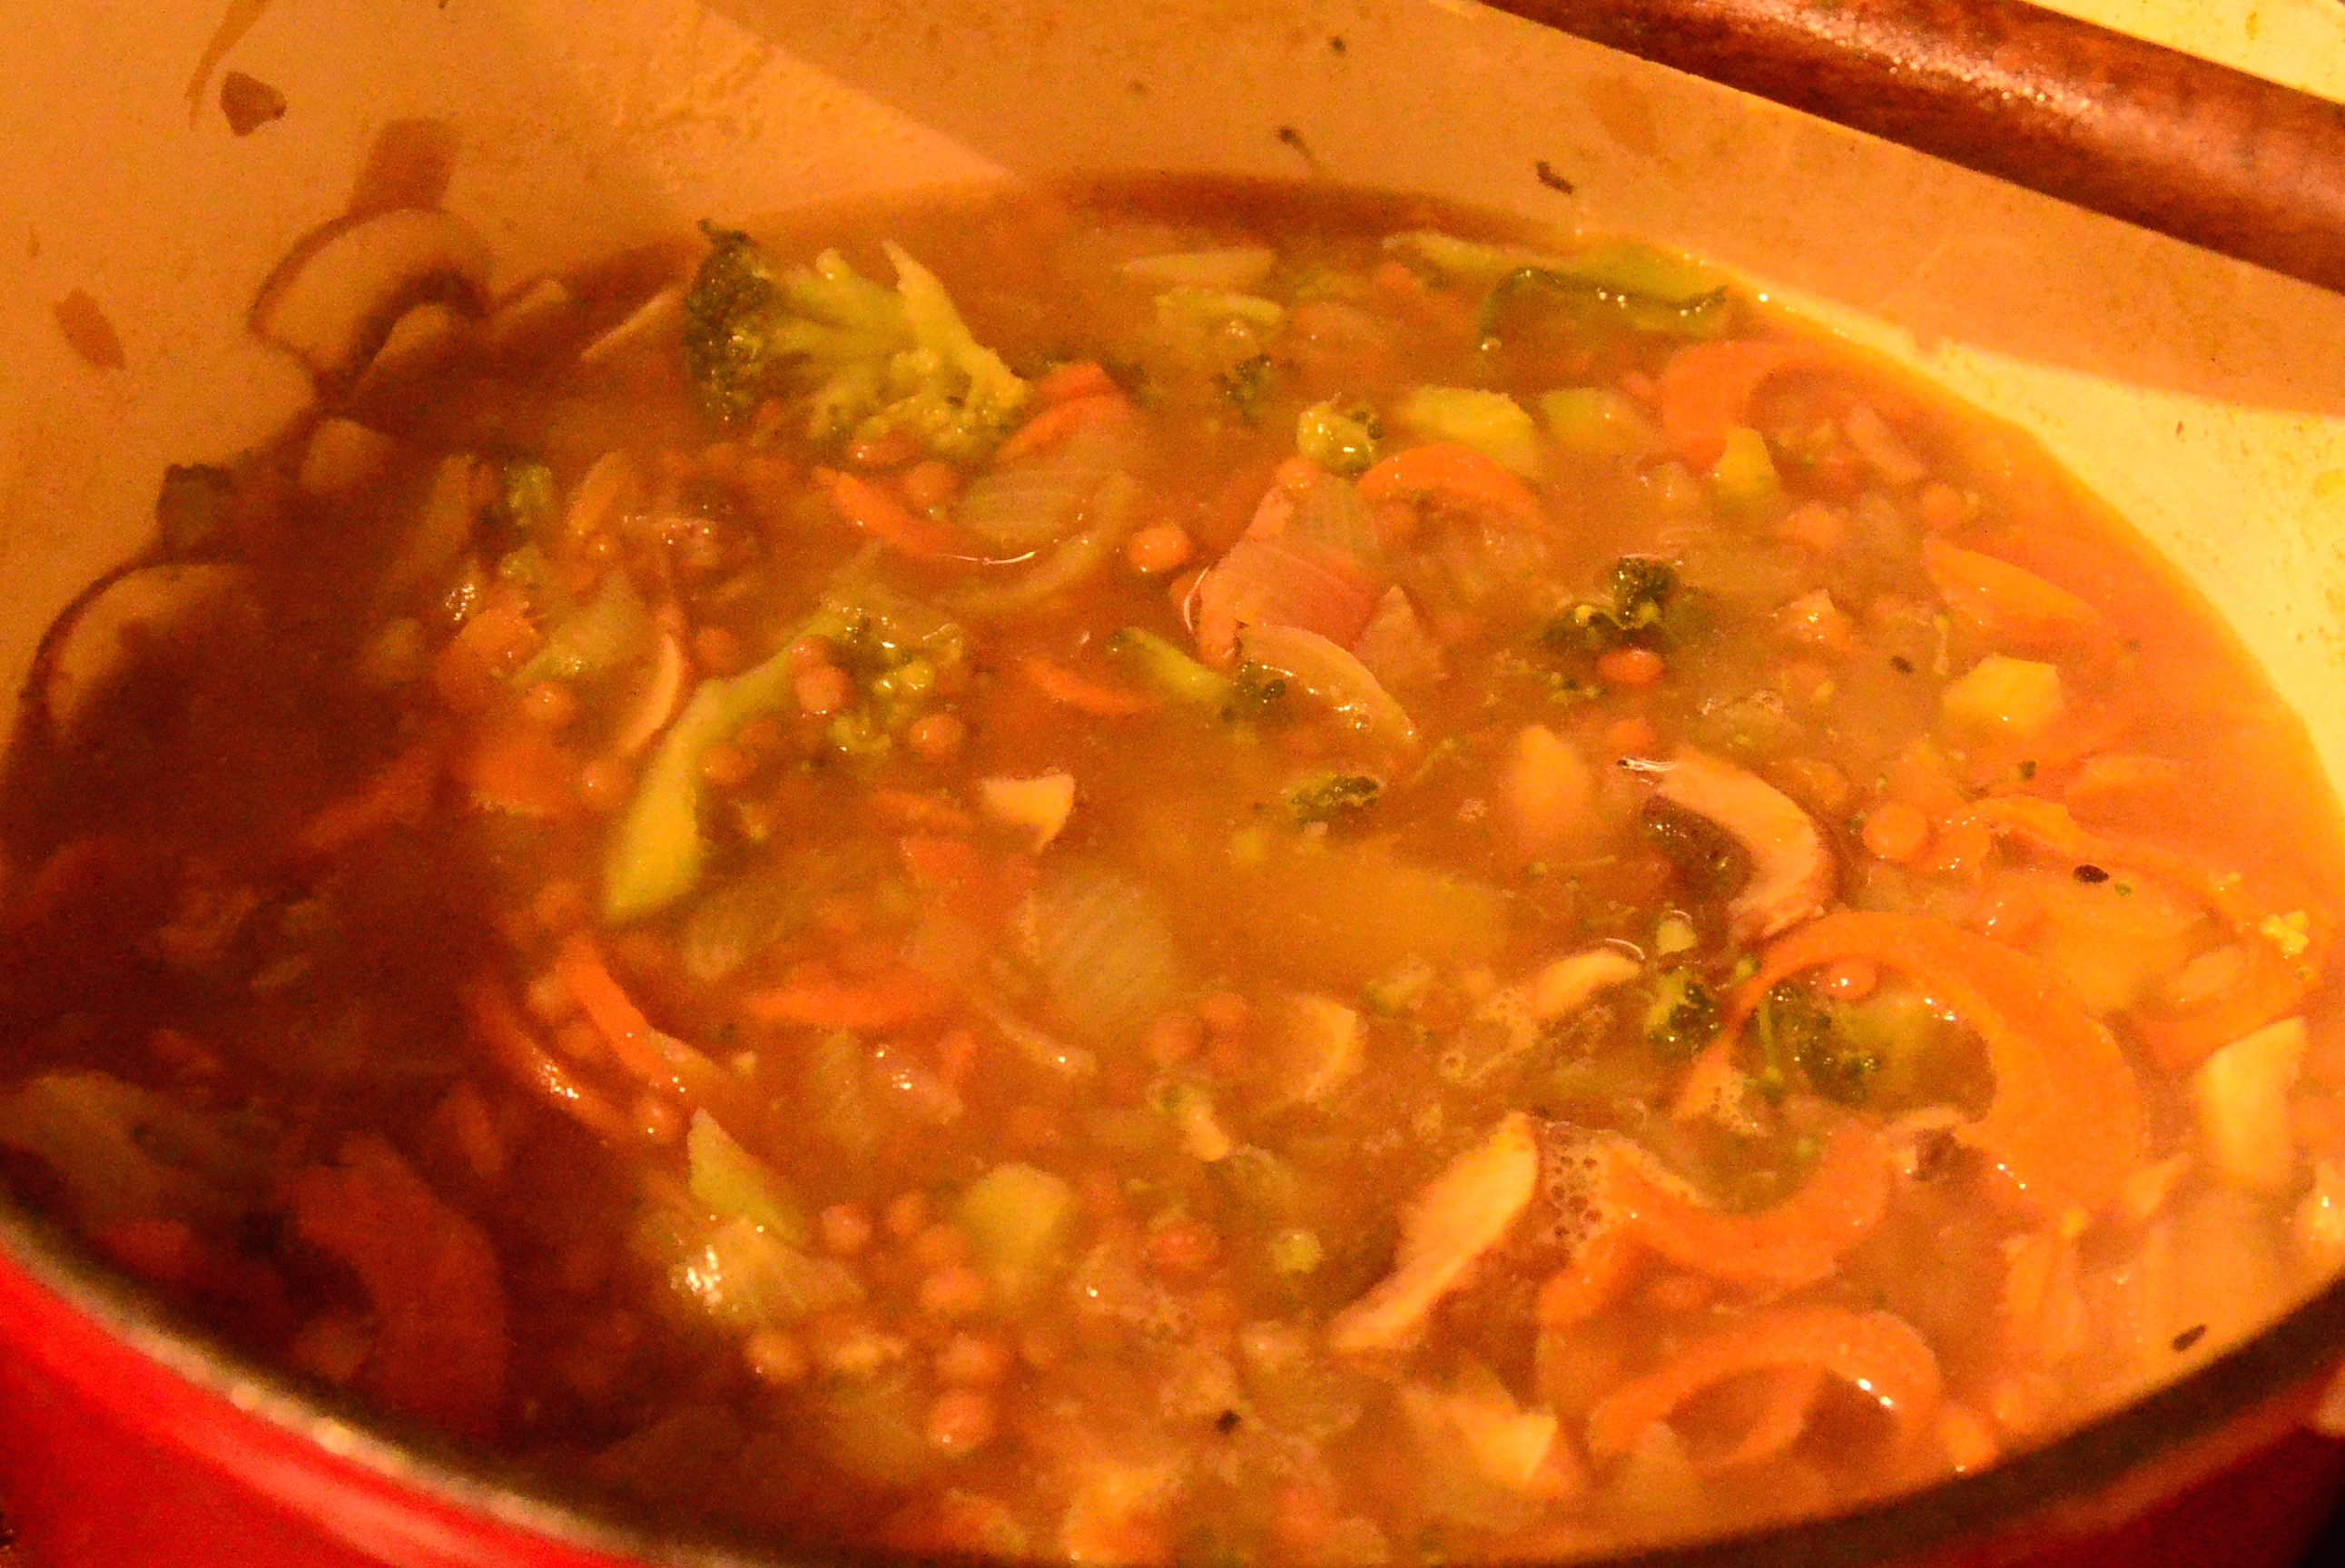
While the pinto beans heat through rinse and chop your herbs. Put about half in with the pinto beans and keep half for the salad and salad dressing. Turn the heat down to medium. Add the dillisk/dulse and basil if using. Your purple sprouting broccoli should be ready at this stage. Add this to the pinto beans. Mix everything together and add in your extra virgin olive oil. Taste and see if it needs more seasoning. Remember you will be having it with the salad dressing so be cautious with the salt. I now turn the heat off but leave it on the ring.

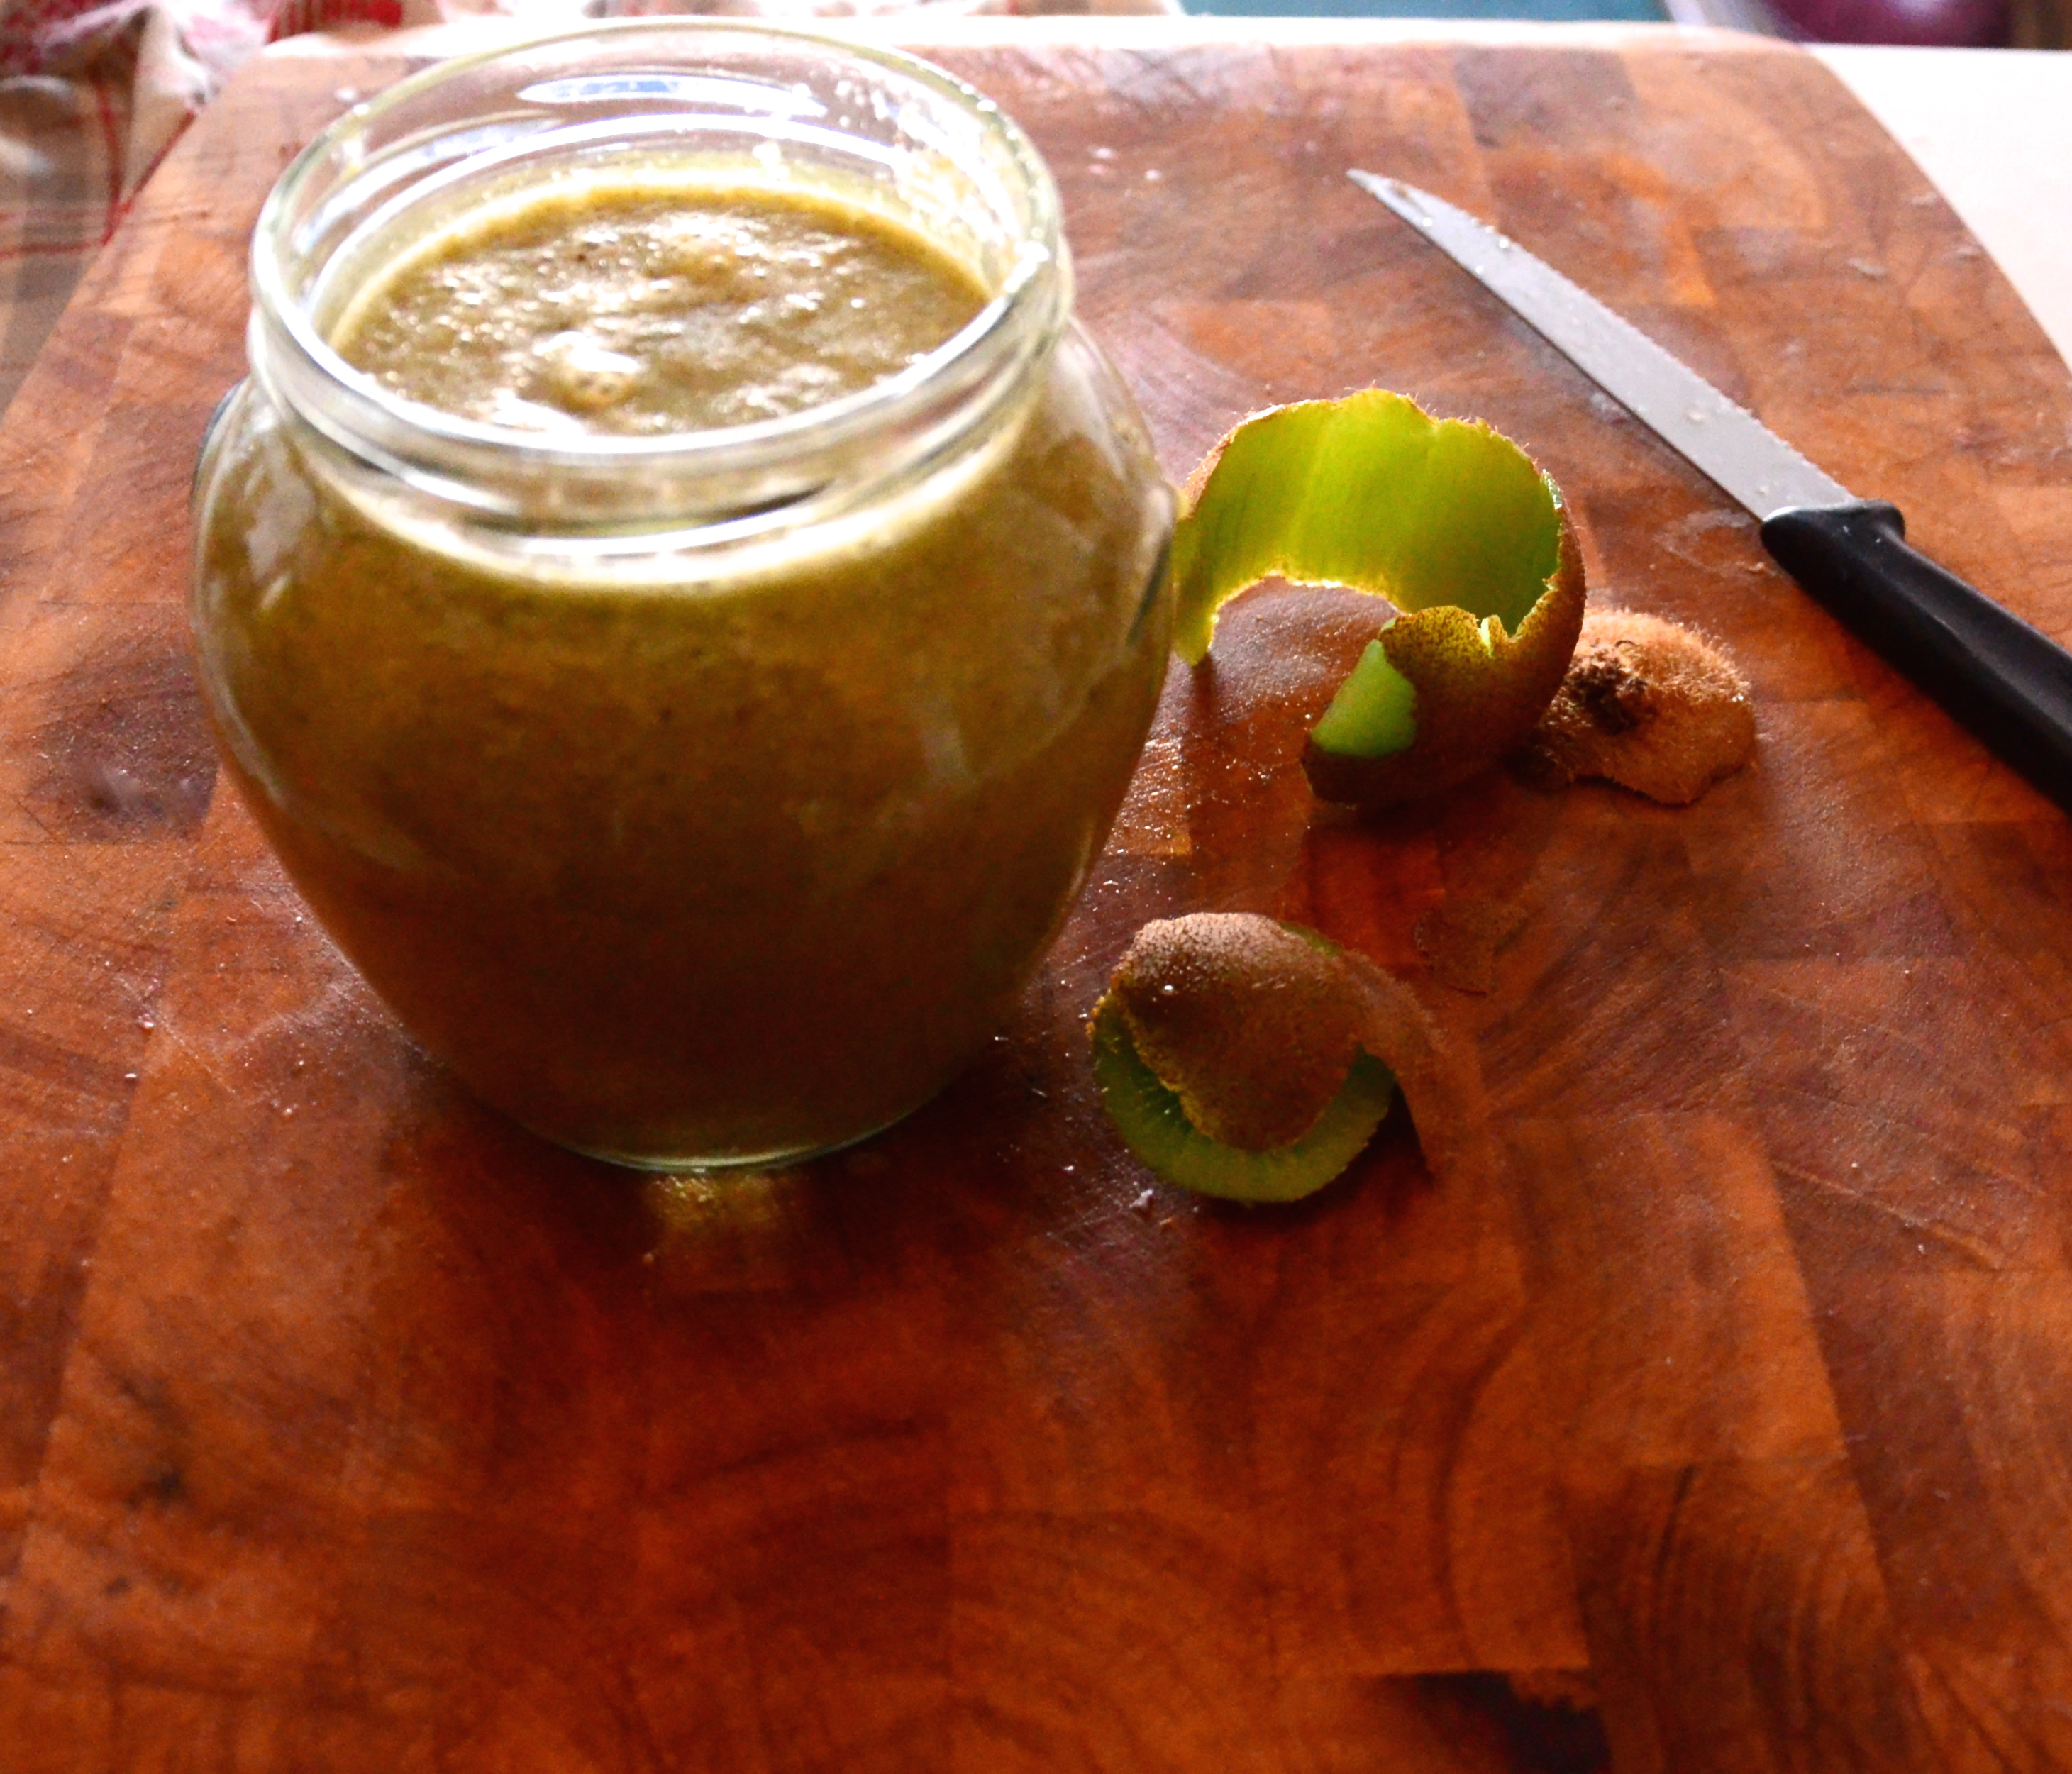
Prepare your salad dressing. I make a little jar full as it will of course keep. It is even better the next day as the garlic infuses into the oil and the miso starts working on everything! Having right now on tonights dinner! Put your garlic, herbs, miso and black pepper in a  jar- that you have a lid for (you want to be able to shake it!). Add your oil. Now add your mirin, apple cyder vinegar and lemon juice. Put the lid on and give it a good shake. The vinegar and lemon juice help emulsify the dressing.

Throw all your washed dark leafy greens in a bowl. I like to tear mine rather than chop. Mix in your herbs. Chop your red pepper and carrot and either serve on the plate or add to the salad. I prefer to put the salad dressing on the table and let people take as much as they like. Chop your avocado in two and put alfalfa on it!

Go back to your purple sprouting broccoli dish and squeeze your lemon juice over it and give it a mix. I find the sharp fruity lemon juice really helps bring all the flavours together.

Ready to serve! Delicious and nutritious !Xs Aissa

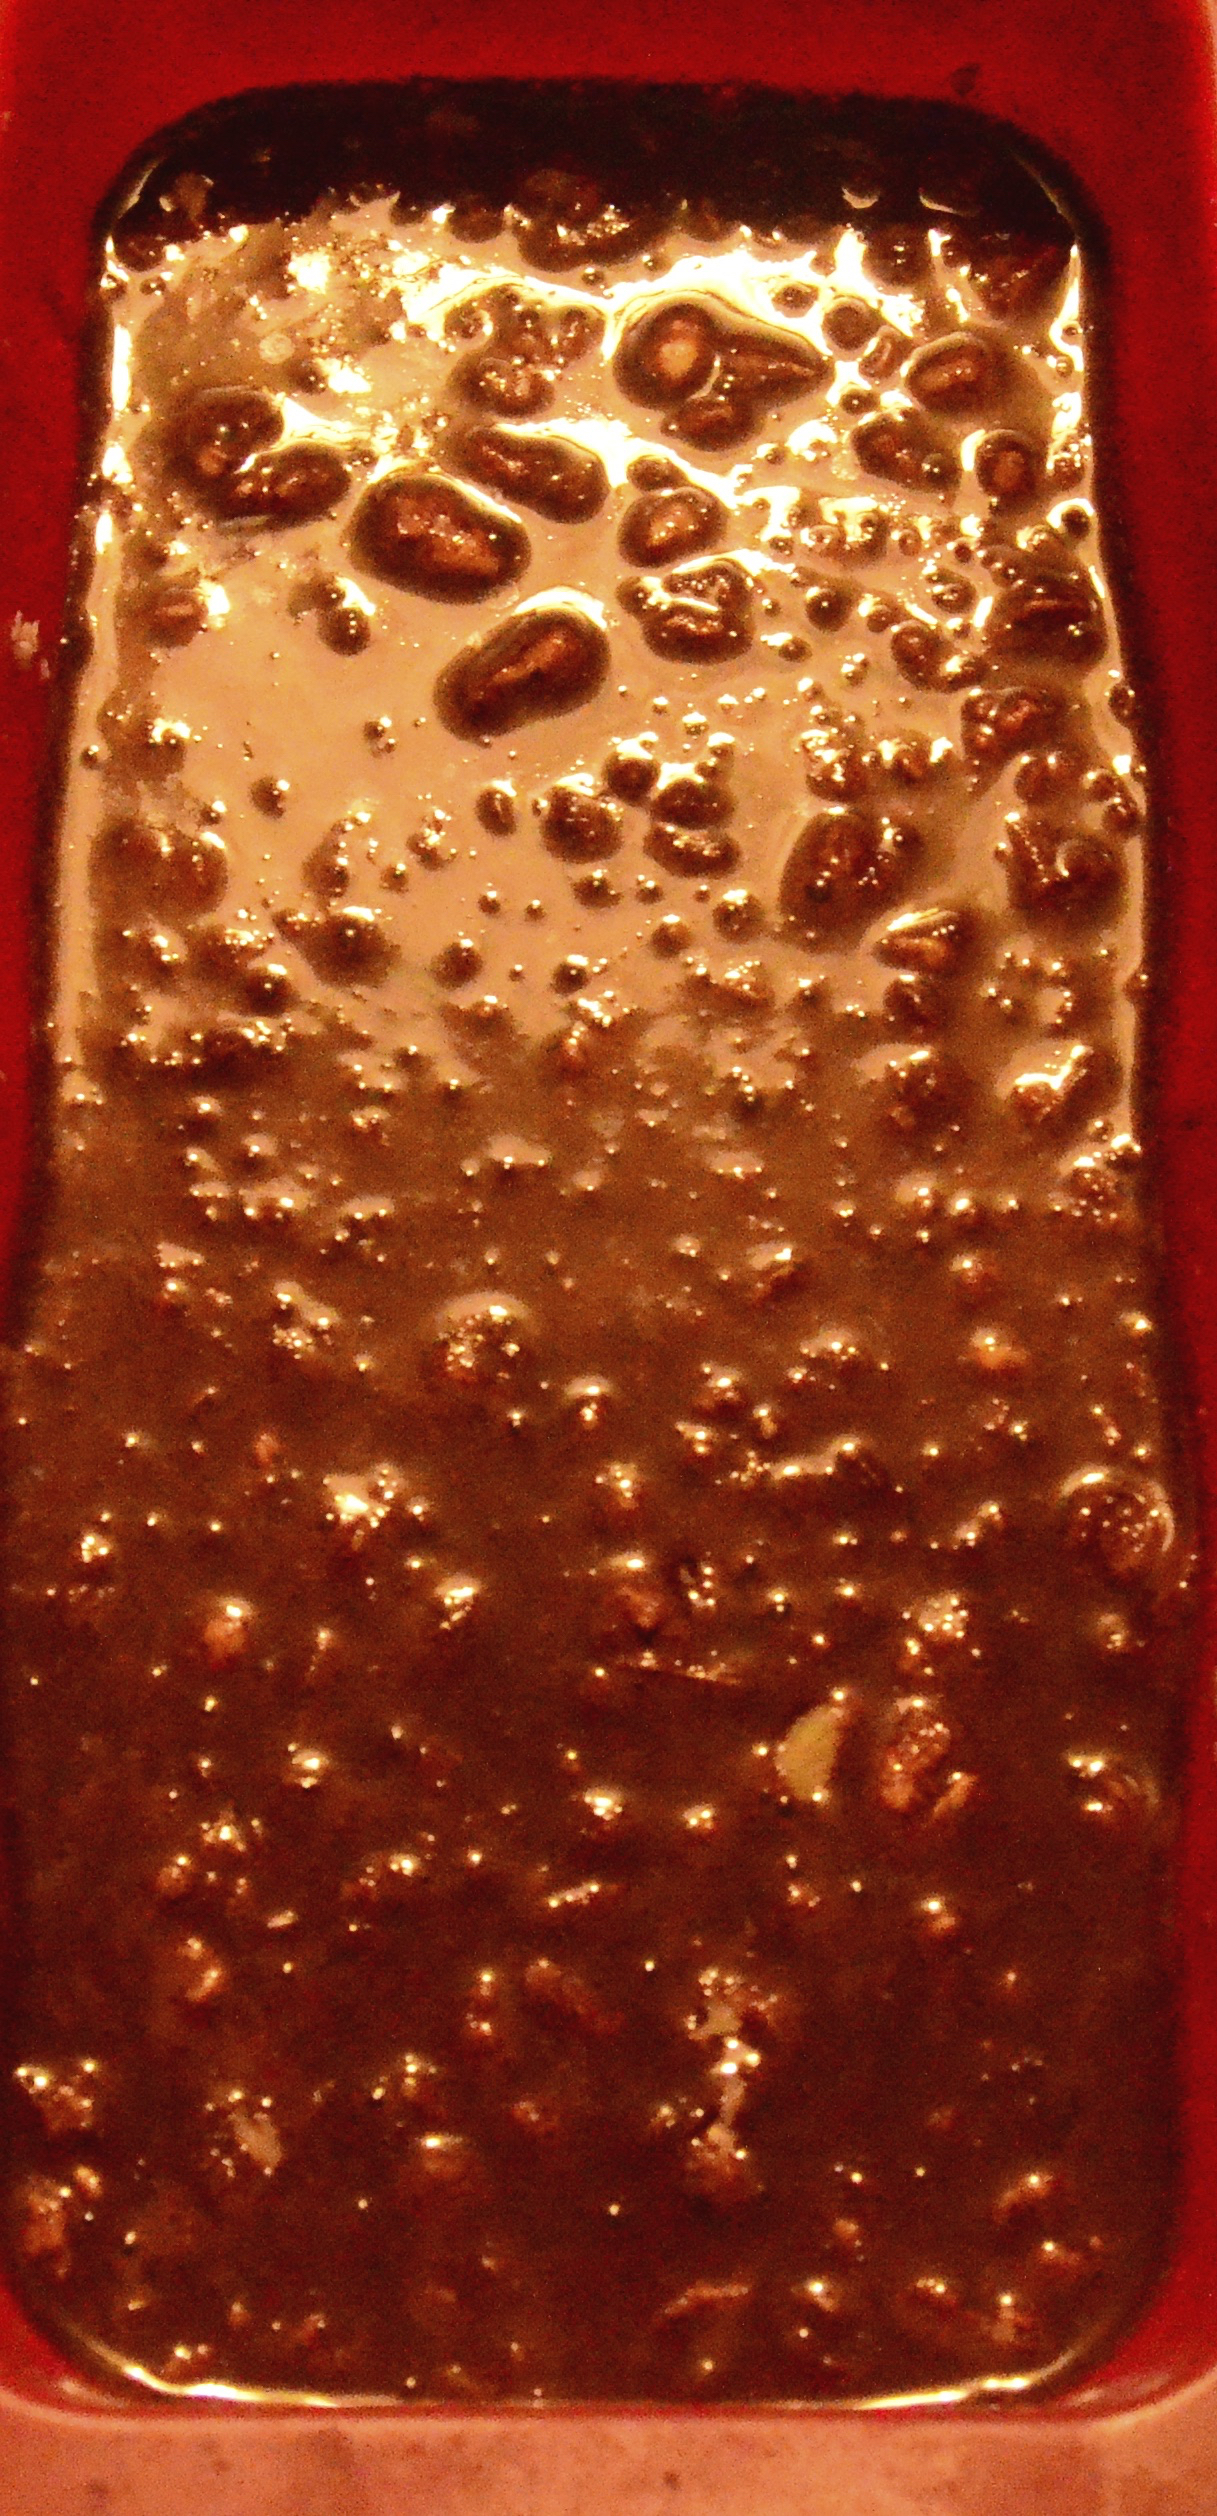
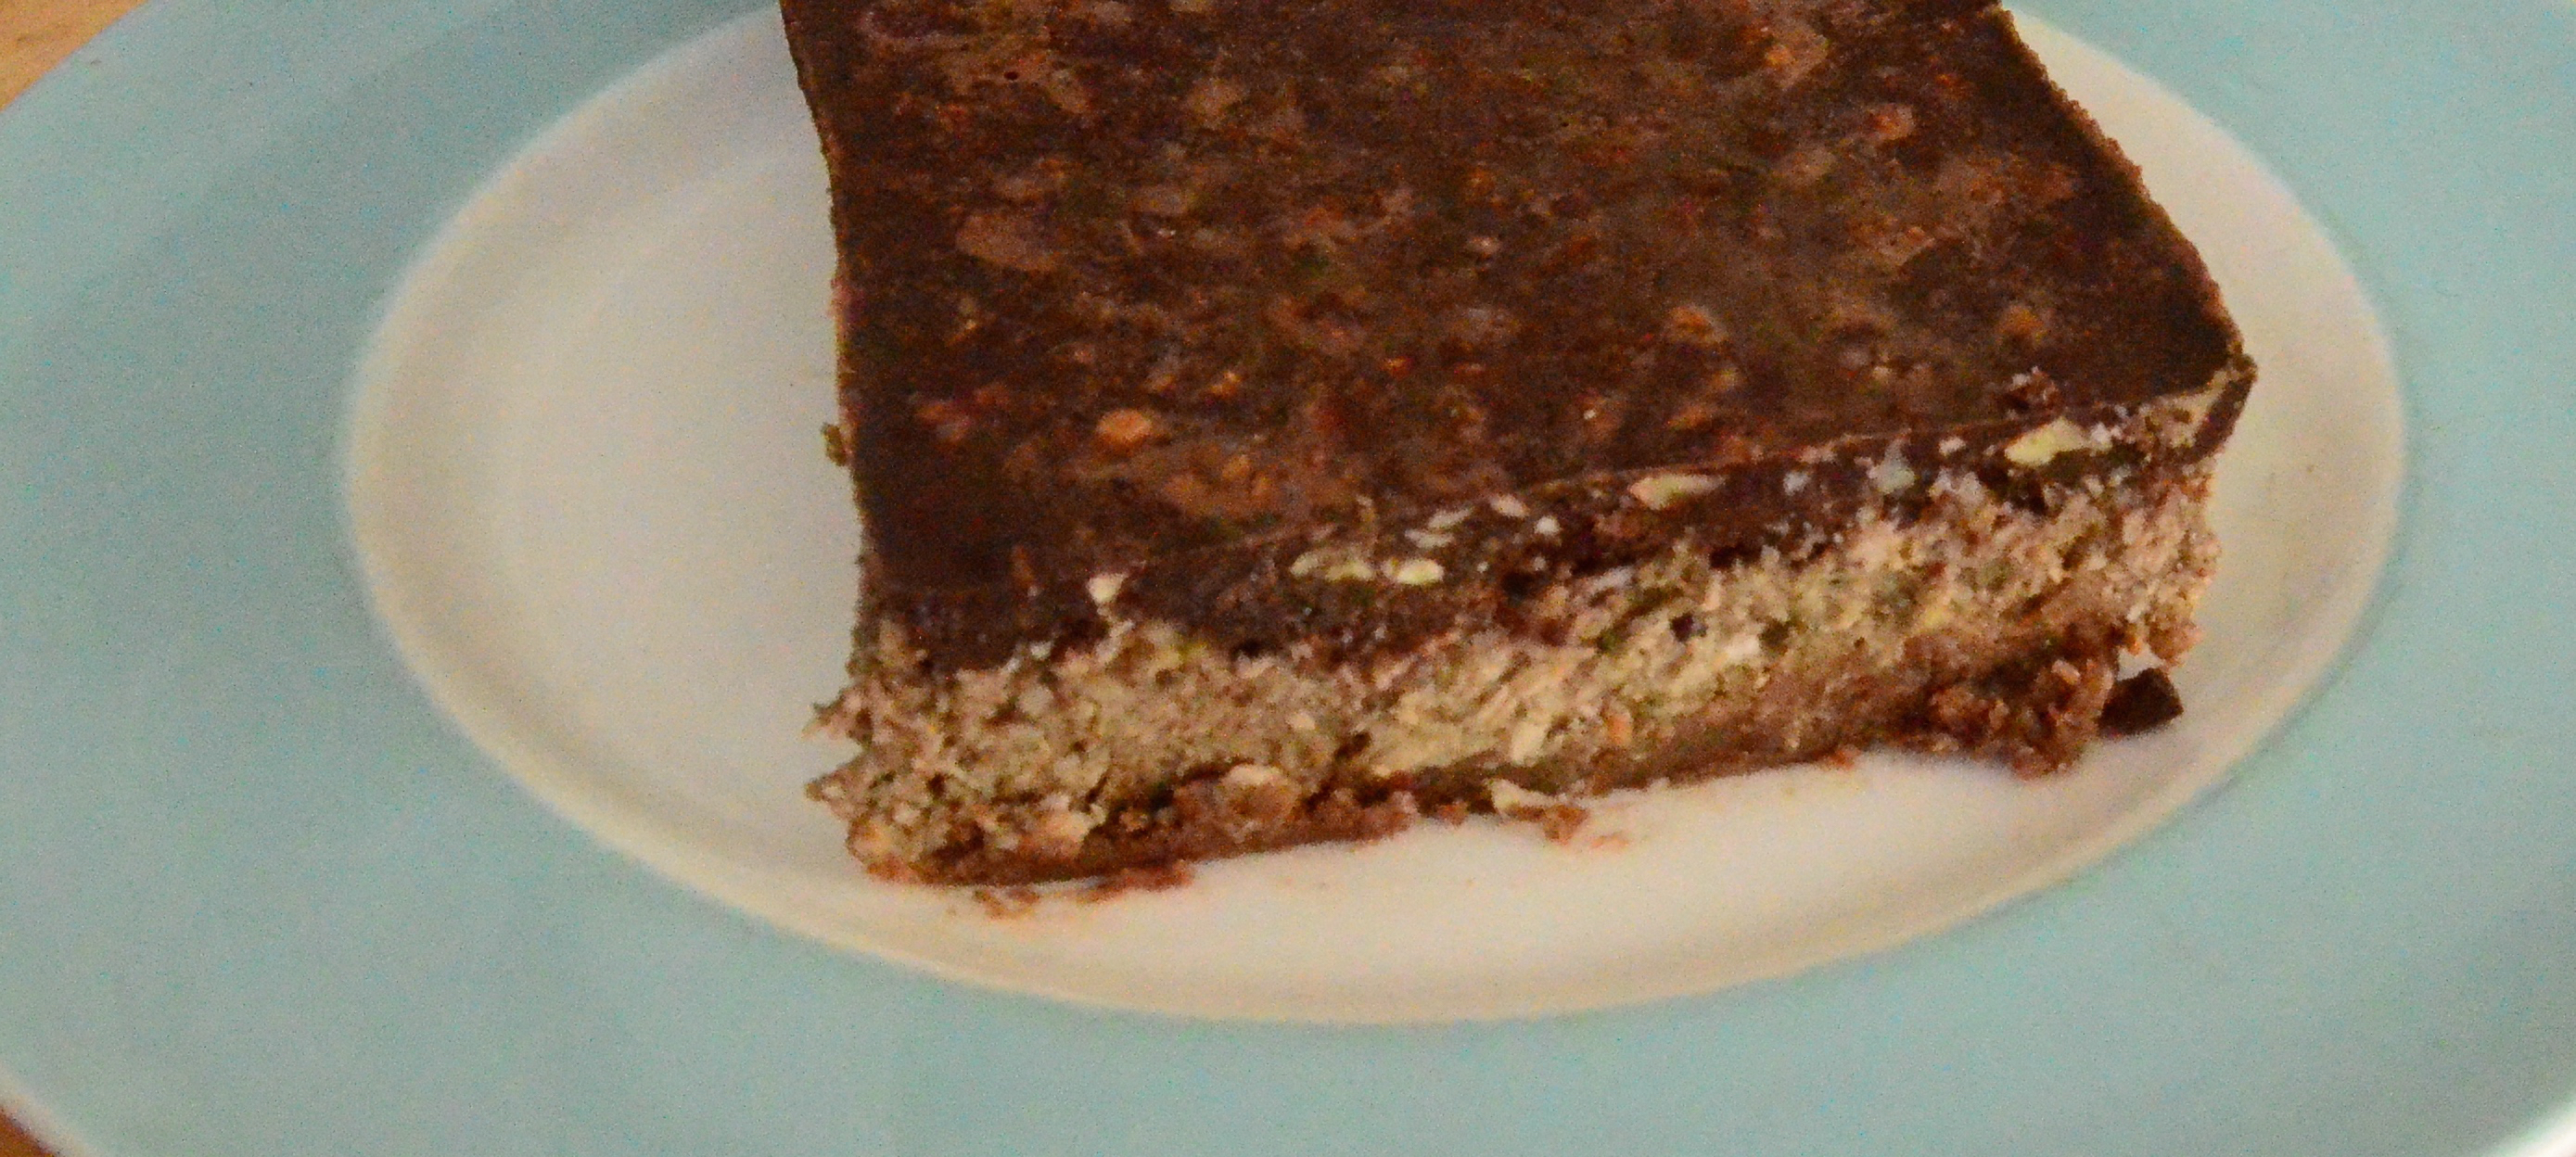
P.s In tonight’s dinner I discovered that freshly cooked brown lentils are made even more addictive by the addition of half a teaspoon of ume plum puree!!! And that my water kefir looks like pee in this photo! 😉 Though not photogenic it is full of good bacteria, yeasts and enzymes that will help with my digestion.

Tonight's dinner!

Tonight’s dinner! Xs

Cacao Nut Bites – Vegan & Gluten Free

13 Friday Mar 2015

Posted by Aissa in Chocolate, Gluten Free, No bake/ Raw, Superfoods, Sweets, Vegan

≈ 1 Comment

Tags

Cacao Butter, Chocolate, Gluten free, No bake, organic coconut oil, Superfoods, Sweets, Vegan

These are mainly nuts and seeds, as a result they are high in protein, healthy fats and are super filling. Be great to bring if you were going on a big hike, mine was mainly from the kitchen to the couch while going back and forth for more! People think making your own raw chocolate is some complex mystery. It is actually really easy and it means you can control the flavour, sugar content and get all those lovely antioxidants and minerals in the cacao too! Hmmm chocolate.

You will need a strong food processor or blender to follow the recipe exactly, I will give alternatives in the footnotes if you are with out these contraptions. I used a 15cm x 15cm (almost 6inc x 6inc ) perspex dish, so it made nine good sized Cacao Nut Bites. They are very fast to make and the joy of raw vegan baking is you can taste everything along the way. 🙂

Cacao Nut Bites

The Base*

  • 125g/ three quarters of a cup of whole almonds
  • Twelve whole brazil nuts
  • One flat dessertspoon of organic coconut oil
  • One teaspoon of vanilla powder
  • An eighth of a teaspoon of fine Himalayan pink salt or good sea salt
  • One dessertspoon of good quality maple syrup

The Sprinkle layer

  • Three dessertspoons of sunflower seeds
  • Approx. twenty organic dried mulberries

The Topping

  • One dessertspoon of organic coconut oil
  • Roughly one and a half dessertspoons of organic cacao butter
  • Roughly three dessertspoons of organic cacao paste
  • One teaspoon of organic cacao powder
  • Less than an eighth of a teaspoon of good fine sea salt
  • Two dessertspoons of good quality maple syrup

The very simple Method

Starting with the base, through everything into your food processor and blend until it starts to get a bit sticky. I find you still need to work it a bit with your hands, in order to help it all stick together. Just press it into your container- as evenly as possible.

Base ingredients

Base ingredients

Sprinkle your sunflower seeds and mulberries on top and put it all in the fridge while you make your raw chocolate!

Avec toppings

Put a saucepan half filled with water on to your hob. Bring it to a simmer and pop a perspex bowl (that will fit ) on top. The water should not touch the base, or it will be too hot and burn the precious chocolate. Melt the cacao paste and butter and coconut oil, take off the heat for maybe thirty seconds (something about cacao crystals realigning) . Put back on the heat and add in the cacao powder, salt and maple syrup. Mix and melt together.

melting

Take your base out of the fridge. Using a oven glove or tea-towel grab your bowl of melted goodness and pour it over everything. You may have to move your mulberries a bit after to make sure they are evenly spread. Put back in the fridge to set. It would probably be a good idea to take it out after five minutes and score the top in the way you plan to cut it. The chocolate sets quite hard!

hmm melted chocolate

hmm melted chocolate

Hope you try them, I found the brazil nuts bring something more interesting to the flavour. Who knew sunflower seeds and chocolate would be such a good combination?

Xs Aissa

*Footnotes

No machine? No fear! You can use ground almonds instead of the whole ones. You can use a big dessertspoon of brazil nut butter or cashew nut butter instead of the other nuts. Finally add barely an eighth of a teaspoon of natural almond extract to your coconut oil. Mash the oil, nut butters, maple syrup, almond and vanilla extract together first. Add in the ground almonds and salt, mix and press it altogether.

Beetroot Blush Hummus- Vegan Gluten free friendly!

27 Friday Feb 2015

Posted by Aissa in Gluten Free, Savoury, Traditional, Vegan

≈ 4 Comments

Tags

Gluten free, Savoury, Traditional, Vegan

Whay can’t more food be bright pink? Well it can just add beetroot! Brighten up your crackers with antioxidant rich colourful food.

Beetroot Blush Hummus

  • 240g/ one cup (and a bit) of cooked chickpeas or sprouted ones!
  • If you want it even pinker you could use aduki beans instead of chickpeas!
  • Two dessertspoons of a natural dark tahini
  • One small bright beetroot
  • Two cloves of garlic
  • A teaspoon of whole cumin or half a teaspoon of ground
  • Two dessertspoons of fresh lemon juice
  • Two dessertspoons of organic cold pressed extra virgin olive oil
  • Three dessertspoons of water
  • A lovely optional: A quarter teaspoon of umi plum puree
  • An eighth of a teaspoon of sea salt or pink himalayan salt
  • About six twist of black pepper
  • A spinach leaf for decoration!!

If you have a jug blender you can just pop the lot in and pulse it a bit and then blend. If you are using an immersion hand blender you may need an extra spoon of water, also I would mash the chickpeas with a fork and stir the ingredients first.

Fast and easy tasty pink beetroot hummus!

PINK!!

PINK!!

Xs Aissa

Lettuce Pea & Avocado Soup Vegan Gluten Free

26 Thursday Feb 2015

Posted by Aissa in Gluten Free, Savoury, Traditional, Vegan

≈ 2 Comments

Tags

Gluten free, Savoury, Traditional, Vegan

This is a bright green light super yummy soup. Simple and fast to make. Just a matter of cooking off your onion, garlic and spices and then blending the lot! You can use homemade stock*, or get cubes- just watch out there is no hydrolysed vegetable protein in them (acts like MSG).

Lettuce Pea & Avocado Soup

  • Almost a whole head of a large organic oakleaf or batavia lettuce
  • Two cups of organic peas fresh or frozen peas
  • One red onion
  • Three cloves of garlic
  • Half a ripe avocado
  • One teaspoon of yellow mustard
  • Half a teaspoon of nigella seeds
  • A teaspoon of english style mustard
  • Two and a half cups of home made stock* or water plus a good quality stock cube
  • Twenty fresh mint leaves
  • Lots of black pepper ( to your personal taste )
  • An eight of a teaspoon of sea salt (less if using salty stock cubes!)
  • A scant dessertspoon of organic coconut oil

Sooo put your saucepan on a medium high heat and melt the coconut oil. Add in your mustard seeds and nigella seeds- once the oil has heated a little. Finely chop your red onion and add it too. Cook until it is getting transparent and add in your garlic. Add your salt and a little of the pepper. Add your stock. Add your peas and the mustard, give it a stir. Reduce the heat to medium.

Like a sesame street lettuce- looks like it might sing! "let-tuce be!" :-)

Like a sesame street lettuce- looks like it might sing! “let-tuce be!” 🙂

Now… wash your lettuce and chop it. If you have an immersion hand blender you will need to chop it quite finely. If using a jug blender it can be roughly chopped. Wash your mint and get your avocado ready. If using a jug blender you pour in the stock and peas- add more pepper and pop in the mint avocado and lettuce and blend. Immersion blender add everything to the pot and blend it in there- off the heat of course!!!

Ta-da! cCreamy satisfying bright green soup!!!

Green! Creamy! Pea-y minty!!

Green! Creamy! Pea-y minty!!

Serve with your favourite vegan bread… I actually just ate it on its own ‘cos it was scrummy, if I don’t say so myself!! Xs Aissa

Footnotes:

*see my French Onion Stew-oup footnotes for a home made stock recipe!


Raw Electrolyte Smoothie

22 Sunday Feb 2015

Posted by Aissa in juice, Natural Health, No bake/ Raw, Superfoods, Vegan, Vegan Smoothie

≈ Leave a comment

Tags

Gluten free, Juice, Natural Health, Raw, Superfoods, Vegan, Vegan Smoothie, water kefir

My little hand held emersion blender died 😦 It is an ex-blender. I have a jug one now. The other evening after work, having drunk little water and feeling the lack of veggies, I made this. I upped the nutrient factor with green food powder. For good live bacteria, good yeasts and enzymes I popped in some homemade water kefir.

raw green goodness

raw green goodness

Raw Electrolyte Smoothies

  • A full mug and a half of organic coconut water
  • A double shot of water kefir – you could use kombucha if you like
  • A tablespoon of chia seeds (for the good fats)
  • A thin inch long slice of organic ginger
  • Two stalks of celery
  • One small carrot
  • A teaspoon of a green superfood powder of your choice
  • One kiwi
  • Optional: A spoon of natural peanut butter or almond butter

Peel the kiwi and chop the carrot and celery. Put your water kefir and coconut water in the jug first and add in everything else and blend. The ginger gives it a nice lift.

Filled me up too and stopped me just eating spoon after spoon of natural peanut butter while I cooked dinner! xs Aissa


Sweet Coconut Cashew Wonders! Vegan Gluten free & No bake!

19 Thursday Feb 2015

Posted by Aissa in Gluten Free, No bake/ Raw, Superfoods, Sweets, Vegan

≈ Leave a comment

Tags

desiccated coconut, Gluten free, No bake, Superfoods, Sweets, Vegan

These are filling, sweet, a little fruity and they melt in your mouth. I added some exotic treats to enhance the nutrition factor. I’ve included the antioxidant packed acai powder and the wonderful ashwagandha powder which is said to have adaptogenic properties amongst other things. I added a couple of teaspoons of vanilla rice protein to make them more substantial. If all these goodies are not normally on your shopping list you can leave them out, they will still taste just good, just up your ground almonds a little!

Sweet Coconut Wonders!

  • Two dessertspoons of cashew nut butter- raw if you like
  • One dessertspoon of organic raw coconut oil
  • Three and a half dessertspoons of good quality maple syrup
  • The zest of half a lime
  • A cup of ground almonds
  • Two dessertspoons of desiccated coconut- for in them
  • And Three dessertspoons of desiccated coconut- for rolling them in
  • A little under an eighth of a teaspoon of himalayan pink salt or sea salt
  • Half a teaspoon of vanilla powder or inside of one pod
  • A quarter teaspoon of ashwagandha powder
  • Half a teaspoon of acai powder
  • Two teaspoons of vanilla rice protein

Mash your cashew nut butter, coconut oil and lime zest together make sure they are well combined- no lumpy coconut oil bits! Add in the maple syrup and mix again.

cashew coconut lime

cashew coconut lime

Mix all your dry ingredients- except the three spoons of coconut that you will be rolling them in! Add the dry to the wet, begin by mixing with a spoon. Once it is a bread crumb texture get in there with your hands. Press the mix together until it forms a ball.

dry stuff!

dry stuff!

Get a plate and put your three spoons of desiccated coconut on it. By the teaspoonful roll the mixture into little balls and roll them in the coconut. That is all you have to do. Fast and simple to make!

Coconut sweet making!

Coconut sweet making line!

Hope you like them. Xs Aissa

Easy peasy lemon squeezy- Buckwheat Pancakes- Vegan & Gluten Free

17 Tuesday Feb 2015

Posted by Aissa in Gluten Free, Savoury, Sweets, Traditional, Vegan

≈ Leave a comment

Tags

Gluten free, Savoury, Sweets, Traditional, Vegan

It is Pancake Tuesday- let the crepe craziness commence! Oddly in my family we actually only ended up eating pancakes once a year! As a grown up I may even partake bi-annually! OooOOo. Having concocted this simple recipe I may do so more often. I made these a couple of weeks ago with the idea of keeping them as wraps- but I just ate them all with tons of maple syrup and lemon instead!!!

Easy Peasy Buckwheat Pancakes!

  • One tablespoon of ground flaxseed
  • Three tablespoons of water
  • One cup of buckwheat flour
  • A eighth teaspoon of sea salt or pink Himalayan salt
  • Two teaspoons of sieved arrowroot powder
  • Half a teaspoon of baking powder-sieved
  • A cup and a quarter of unsweetened almond milk- have some spare incase the batter thickens too much
  • Organic coconut oil for frying

Topping Suggestions

  • Organic banana with peanut butter
  • Maple syrup
  • Vanilla powder
  • Cinnamon
  • Tahini
  • Freshly squeezed lemon juice
  • Vegan ice-cream…yum!
  • Fresh berries and coconut yogurt
  • Melted vegan chocolate on that vegan ice-cream!!!
  • Go crazy with savoury have hummus and salad-y bits!
  • Treat it like a tortilla and fill with a bean chilli sauce!

Method!

Mix your tablespoon of ground flax/ linseed with the three spoons of water. Leave to one side to thicken. This is called a flax egg- as it replaces an egg gelling capacity in a recipe.

Mix your dry stuff- I always sieve my arrowroot and baking powder incase of lumps.

Add your “flax egg” to your almond milk and give a stir.

Make a well in the centre of your dry ingredients, pour in the almond milk flax mix and gently whisk it all together.

Put some coconut oil in your pan, set to a medium high heat. I actually did mine in a wok. Let it melt so it coats the pan. Pour in a ladle full of your pancake batter, swirl the pan a little so it is evenly spread. Leave it alone for a minute or two so it cooks. Peep under a corner to see if it browning, only then attempt The Flipping!!

Buckwheat pancake - the first flip!

Buckwheat pancake – the first flip!

They cook quite fast as they are not thick- like a pancake crepe hybrid!

Tasty enough to have with just maple syrup!! Num num num

Tasty enough to have with just maple syrup!! Num num num

Hope you have a happy crepe day! Xs Aissa

Minty Chocolate Brownies Vegan & Gluten free plus Yin Yoga

16 Monday Feb 2015

Posted by Aissa in Cake, Chocolate, Gluten Free, Natural Health, Traditional, Vegan, yoga

≈ Leave a comment

Tags

Cake, Chocolate, Chocolate Brownies, Gluten free, Natural Health, Vegan, Yoga

So I made these chocolate brownies during the week. Super fast and supremely easy! Mint, vanilla and chocolate such a delectable combination…that said if you are not a paid up member of the “Mint Lovers Club” you can always add orange zest and a splash of juice for chocolate brownies with a fruity twist!

You will need a 9inch (22cm) squared cake pan, you can use smaller for a higher rise. I like them bite size- what make it more complicated to eat?!!

Minty Chocolate Brownies Vegan & Gluten free

  • Two generous dessertspoons of organic coconut oil
  • Two teaspoons of cashew nut butter
  • Half a teaspoon of peppermint extract or four drops of culinary peppermint oil
  • Half a cup of unsweetened almond milk
  • A third of a cup of a good quality raw agave
  • Two teaspoons of vanilla powder or extract or two pods
  • A scant third of a cup of rapadura /sucucant sugar
  • A third of a cup of pure cocoa powder
  • A rounded teaspoon of arrowroot powder
  • One and a half teaspoons of baking powder
  • Half a cup of ground almonds
  • Half a cup plus three dessertspoons of fine maize meal
  • A quarter teaspoon of Himalayan pink salt or good sea salt
  • 35g(1.25oz) of chopped up 70% dark chocolate
  • A quarter cup of warm water (boiled and left to cool a bit)

Method

Preheat your oven to 170C (fan) or 340F. Line your tin with paper and lightly grease with some coconut oil.

Grab a medium sized bowl and put in your vanilla powder/ pod (if using extract add it to the wet instead), sugar, ground almonds, maize meal and salt. Press out any lumps. Get a sieve and sieve in your cocoa powder, arrowroot and baking powder. Mix them all together evenly. Set to one side.

Chop your chocolate, it does not have to be super finely chopped as coming across the odd chunk is an extra treat! I used an organic one that has some wild harvest beans in it too..swanky. This is to be sprinkled on top of the brownie batter. Measure out your warm water.

Yummy chopped chocolate-

Yummy chopped chocolate-

You will need to melt the wet ingredients, so get a perspex bowl and put over a saucepan of lightly simmering water, it should fit safely and the water should not be touching the base of the bowl. Pop in your coconut oil and cashew nut butter first and once they have melted add in your peppermint extract, agave and almond milk. Once it is all melted together and your kitchen smells minty fresh take it off the heat.

golden melted gooey goodness

golden melted gooey goodness

Use an oven glove or towel to pick the bowl up and pour the lot into the middle of your dry ingredients. Fold the gooey mixture together –  gently does it. You don’t want to knock air out, we are making brownies not bread! 🙂 When combined (no big lumpy flourier bits and a uniform colour) Pour the (quite runny) batter into the cake tin. Quickly now- no dilly dallying- sprinkle your chopped chocolate ontop and press in ever so slightly. Pour your water over the top and put into the middle of your preheated oven.

Upside down chocolate brownie slab...is it just me or is that a face?

Upside down chocolate brownie slab…is it just me or is that an upside down face?

It takes twenty five minutes, fast…but you have to wait a good ten minute before removing it from your tin. I was impatient and as you can see by the picture it stuck a little. Gluten free equals handle with care. Once cooled a bit you cut it into bite sized chunks! Ta-Da! Brownies.

hmmmMmm brownie

HmmmMmm rich minty chocolate brownie

O and here is the Yin Yoga I did this evening. Lovely gentle Yoga practice for the start of the week. Not crazy push yourself advanced- but is in the holding of even the most simple pose that you find the beauty of a yin practice.

Xs Aissa

No Bake Salted Chocolate Banana Loaf. Vegan & Gluten Free

30 Friday Jan 2015

Posted by Aissa in Chocolate, Gluten Free, No bake/ Raw, Sweets, Tart, Vegan

≈ 2 Comments

Tags

Cacao, Cacao Butter, Chocolate, Gluten free, No bake, Sweets, Tart, Vegan

Raw Chocolate, banana, walnut and coconut make such a sweet melody of flavours. Do not be afraid of the amount of salt, it really is key to the recipe. As with a lot of raw recipes it takes a little planning but then it is quite simple to bring it all together. You need to soak the cashews and apricots over night so that they will blend easily. I was lazy almost every evening so I actually did this over three days!

I really want to start mastering the art of stevia use. When I first got into vegan baking stevia was not available in Ireland, due to a very weird ban! I actually bought it Berlin on a college trip! It was a disaster, I used far too much. I learnt my lesson so feel safe to trust the amounts I have used here.

You will need a blender- hand-held will do. A loaf tin, I used silicon, if using an actual tin one make sure to line it with paper so it is easy to take out.

No Bake Salted Chocolate Banana Loaf

Fudgey Apricot Almond Layer

  • Seven Un-sulphered Apricots soaked over night (use to less for a dryer texture)
  • Zest of a unwaxed orange
  • Two dessert spoons of tahini raw if preferred
  • Half a dessertspoonful of organic coconut oil
  • Four or five drops of a liquid stevia
  • One and a third cups of organic ground almonds, grind yourself for a raw version
  • One and a half dessert spoons of raw cacao powder
  • An eight of a teaspoon of Himalayan pink salt or sea salt

Method:  You will need to get the blender out at this point. I have an immersion hand-held blender and it does okay but if you have a jug better it will come together even better.

soaked apricots

soaked apricots

Smush your tahini, coconut oil, stevia and orange zest together. Chop your soaked apricots and add to the tahini mix. Now blend them a bit. In another bowl put your dry ingredients together i.e. ground almonds, salt and cacao. Add half to your wet mix and blend again. Add the other half. It is a bit dry for my blender at this point so I mix the second half through. Now press into your lined or silicon loaf tin and pop into the fridge.

Banana Cashew Coconut Layer

  • Half a cup of chopped cashews soaked over night. (make sure they are covered by the water as they will swell )
  • Two ripe bananas very well mashed
  • Two drops of stevia
  • One dessertspoonful of pure maple syrup
  • A teaspoon of vanilla powder/ two pods/ tsp of vanilla bean paste*
  • A third of a cup of desiccated coconut, roughly ground raw flakes for a raw version
  • Keep a rounded dessertspoonful of the coconut back for sprinkling

Method: Mash mash mash your bananas, add the vanilla, stevia, maple syrup  and mash again! Now add the cashews. Using your blender and blend! Spread this on top of the fudgey layer. Cover and pop back into the fridge.

Pre the chocolate layer

Pre the walnut layer

Toasted Walnuts and Raw Chocolate Salted Layer

  • Eighteen walnuts chopped (allowing two for tasting to see if toasted)
  • A quarter teaspoon of Himalayan pink salt or good sea salt
  • ————————————————————–
  • A third of a cup of cacao paste chopped
  • Just under a third of a cup of cacao butter chopped
  • One and a half spoons of organic coconut oil
  • Five dessert spoons of rice syrup
  • Two dessert spoons of maple syrup
  • Half a teaspoon of vanilla powder/ one pod/ paste
  • An eight of a teaspoon of Himalayan pink salt of good sea salt

Method: You will need two saucepans. Pick one to put hot water so you can melt your chocolate over it in a perspex bowl. Put it on a medium heat so the water simmer. Insure the water is not touching the bottom of the bowl or it will be too hot. Put your cacao paste, butter and coconut oil into melt.

Avec toasted walnuts

Avec toasted walnuts

When your cacao-y mix is melted add the syrups and mix through. Add in the vanilla and salt next. Take off the heat. Leaving it off the heat for a bit before warming it up again helps the cacao butter crystals align and makes for a better chocolate. They say ten minutes but it was more like six or seven when I did it this time.

melty cacao-ness

Meanwhile put another saucepan on a medium high heat and start toasting your walnuts with the salt. They are done when they change colour a little, they inside become a little more yellow. Be careful not to overdo them, hence the tasting!

I picked my salty walnuts out and sprinkled them over the banana layer. I wanted some of the salt but not all, which is why I didn’t just pour them over it.

Put your chocolate back on the hit and give it a stir. It will become lovely and shiny after a minute or two. Using an oven glove or towel grab your bowl and pour the chocolate over the walnut layer.

hmmm yum

hmmm yum


Leave for a few seconds. Bang it flat on the table/ counter once or twice to leave air bubbles out. Now put in the fridge to set. I left mine for an hour and a half, but I imagine it would be ready after an hour. I think that after twenty minutes it would be worth taking it out and scoring the top where you plan to cut slices. I will do this next time to make it easier to cut.

close up

close up

It is fudgey, gooey, crunchy ,sweet and salty taste experience. I had mine with Irish salt caramel vegan ice- cream. Sooo good. It is super filling with all the almonds and walnuts so a little goes a long way!

Salted Chocolate banana Loaf

Salted Chocolate banana Loaf

I recommend storing it in the fridge so the banana gooey layer does not melt, though it is cold enough here enough that it would be fine! e.g. see below…

Yesterday's snow

Yesterday’s snow

O and this…

It's an Organic Lime Fish!

It’s an Organic Lime Fish!

Anyhooooow let me know if you try it out! Xs Aissa


Vegan French Onion Stew-oup Quick!

24 Saturday Jan 2015

Posted by Aissa in Gluten Free, Savoury, Traditional, Vegan

≈ 3 Comments

Tags

Dinner, Gluten free, Savoury, Traditional, Vegan

This was going to be a light broth-y soup with veggies, but I wanted to make it a bit more hearty and filling with puy lentils and it kinda ended up stew like. Hence “Stew-oup!” It turned out super tasty, if I do say so myself. It is fast to make ,including prep and leaving it cook it took only 45mins.

That said I did cheat. I came in from work, and for various reasons it has been an exhausting week. I had not soaked puy lentils, I did not want to wait forty minutes for them to cook (Here end-th the excuses). O but the joy of organic canned puy lentils! The ones I get are an English brand, they are only in water- no salt, no sugar no preservatives…no waiting!

Vegan French Onion Stew-oup Quick!

  • A dessertspoon of organic coconut oil or peanut oil
  • A teaspoon of nigella seeds
  • A teaspoon of yellow mustard seeds
  • A slice of organic ginger very finely chopped
  • A couple of twists of black pepper
  • One large yellow onion not too finely diced
  • Two small red onions quite finely diced
  • An eighth of a teaspoon of pink himalayan salt or sea salt
  • Half a teaspoon of organic turmeric powder
  • One teaspoon of english style mustard
  • One and a half organic onion stock cubes or Homemade stock*
  • Minimum three to four cups of boiling water (more if needed)
  • Half a medium head of broccoli approx cup and two thirds
  • Four cloves of garlic finely chopped
  • Two medium carrots- I spiralized mine**
  • Two large portabello mushrooms one very finely chopped one thinly sliced
  • A bit more than a cup of cooked puy lentils or a 240g (dry weight) tin of them.
  • Two dessertspoons of cold pressed extra virgin olive oil
  • An eighth of a teaspoon of pink himalayan salt or sea salt
  • About eight twists of black pepper or to taste
  • Optional: a little fresh parsley chopped

See the bottom of the post for footnotes!

Easy Garlic Toast

  • A few slices of toasted brown spelt bread or rye or your gluten free preference
  • A little organic coconut oil or cold pressed extra virgin olive oil
  • A clove of garlic
  • More black pepper

The quick way is simple. Toast your bread. Cut a clove of garlic in two. Rub the garlic on the toast- it should actual wear down a bit. Scrape on your coconut oil or drizzle your olive oil. Season with black pepper. Ta-Da! Garlic Toast! If you have time you could of course make proper garlic bread in the oven, but this is a quick work night dinner!

Vegan French Onion Stew-oup Method

I have listed the ingredients in the order you put them in. Put your pot on a medium to high heat. Melt your organic coconut oil or let your peanut oil warm up. Coconut oil can be safely heated to 225C and peanut oil can go up to 215C. Add your nigella seeds and yellow mustard seeds ( they should sizzle when added). Add your black pepper and ginger next. Now add your chopped yellow onion. Chop your red onions and add these. Add your salt. After a couple of minutes add the turmeric. At this stage put the lid on to allow the onions to sweat and cook. You need to keep an eye on them and give them the odd stir, they can easily burn. Once they have shrunk down and are lovely and transparent add the mustard. Give it a stir.

The start!

The start!

the onions cooked!

the onions cooked!

Add your homemade stock or stock cubes and water, bring it all to a simmer. Pop in the broccoli. I chopped each of the florets of broccoli in three so that they were nice and thin. This means they cook quickly and are easier to eat if you are just using a spoon to have your “stew-oup”.

Et la broccoli!

Et la broccoli!

plus carrots


After a five minutes add spiralized or shaved carrots. Chop your Portabello mushrooms and add these. Add in your cooked puy lentils. Let it all to come back up to a light simmer. Now put in your cold pressed extra virgin olive oil. Extra virgin olive oil has a burning point of 100C. I do not use it on a direct heat, aside from the trans fatty acids the flavour would also burn off! Add the rest of the salt and pepper. Taste your concoction to check the vegetables are cooked and if it needs more seasoning.

Almost ready to serve!

Almost ready to serve!

And almost time to eat! Prepare your Easy Garlic toast and grab a blow. If you have fresh parsley chop a teaspoon and sprinkle on your soup when serving. You should have enough for two or three people.

Stew-oup!

Stew-oup and Garlic Toast!

Hope you try out the “Stew-oup!’ Let me know. O and I am posting on Peanut butter day so in it’s honour here is a link to my Nut Butter Chocolate Pie ! Hope you are having a good one. Xs Aissa

Footnotes!

*the stock cubes I use have no hydrolysed vegetable protein or hydrogenated oil. Homemade stock can be made easily and in advance. Keep some your veg peelings or veg juice pulp for a couple of days in the fridge. You boil these for approx an hour with salt, pepper, an onion, a stalk of finely chopped celery,some herbs of your choice e.g.parsley, thyme, rosemary. A large teaspoon of miso paste is a lovely addition. Taste the broth to see if it is nice. Leave to cool a little and pass it through a sieve. You can use a sterilised kilner jar or passata jar to store it. Pour it in while still reasonably hot and fill to the tip top tip. The passata’s metal top should actually be sucked in a little by the heat and be sealed. When you open it it should make a popping noise like a jar does when you buy it new! This will keep for a good few days in the fridge.

**If you do not have a spiralizer you can use a veg peeler to get long strips of carrot.

← Older posts
Newer posts →

Subscribe

  • Entries (RSS)
  • Comments (RSS)

Archives

  • February 2017
  • August 2016
  • April 2016
  • March 2016
  • January 2016
  • December 2015
  • November 2015
  • September 2015
  • August 2015
  • July 2015
  • June 2015
  • May 2015
  • April 2015
  • March 2015
  • February 2015
  • January 2015
  • December 2014
  • November 2014
  • October 2014
  • September 2014
  • August 2014
  • July 2014
  • June 2014
  • May 2014
  • April 2014
  • March 2014

Categories

  • Biscuits
  • Bread
  • Cake
  • Chocolate
  • Cookies
  • Cupcakes
  • Fermentation
  • Gluten Free
  • juice
  • Natural Health
  • No bake/ Raw
  • Savoury
  • Superfoods
  • Sweets
  • Tart
  • Traditional
  • Uncategorized
  • Vegan
  • Vegan Smoothie
  • yoga

Meta

  • Create account
  • Log in
Follow VeganEtcetera on WordPress.com

Blog at WordPress.com.

Privacy & Cookies: This site uses cookies. By continuing to use this website, you agree to their use.
To find out more, including how to control cookies, see here: Cookie Policy
  • Subscribe Subscribed
    • VeganEtcetera
    • Join 93 other subscribers
    • Already have a WordPress.com account? Log in now.
    • VeganEtcetera
    • Subscribe Subscribed
    • Sign up
    • Log in
    • Report this content
    • View site in Reader
    • Manage subscriptions
    • Collapse this bar
 

Loading Comments...