Stollen Update 2015!
I thought I would do a re-jig of last year’s Its Silly Season its Stollen Time post. The wonderful Mihl from Seitan is My Motor agreed to let me put her recipe in this post (Thank you again! 🙂 ). I have made my little adaptions- to the wonderful original but do check out the link to her page as she has more pictures, describes the process very well and explains the tradition of Stollen! You can also discover all her other delicious delights.
I am making two batches of Stollen this year- Six mini Stollen- I have three in the oven right now! Starting to smell nice in here!! 🙂
I have been making Stollen for Christmas for a few years. Clearly alcohol laden fruitcake is the Irish tradition, but I never liked it much. I was the person who ate the marzipan off the outside! I came across a wonderful recipe for vegan stollen here on “Seitan is my motor”. For emphasis her instructions are very clear! Which is what won me over. I was previously a bit intimidated by enriched dough. Knowing if you have kneaded enough, throwing the yeast in on top of the salt and immediately killing it ( 😦 ) etc. Kneading is all about getting your back into it and not being tempted to add more flour 🙂 Once you make this you will realise it can be done, to delicious results.
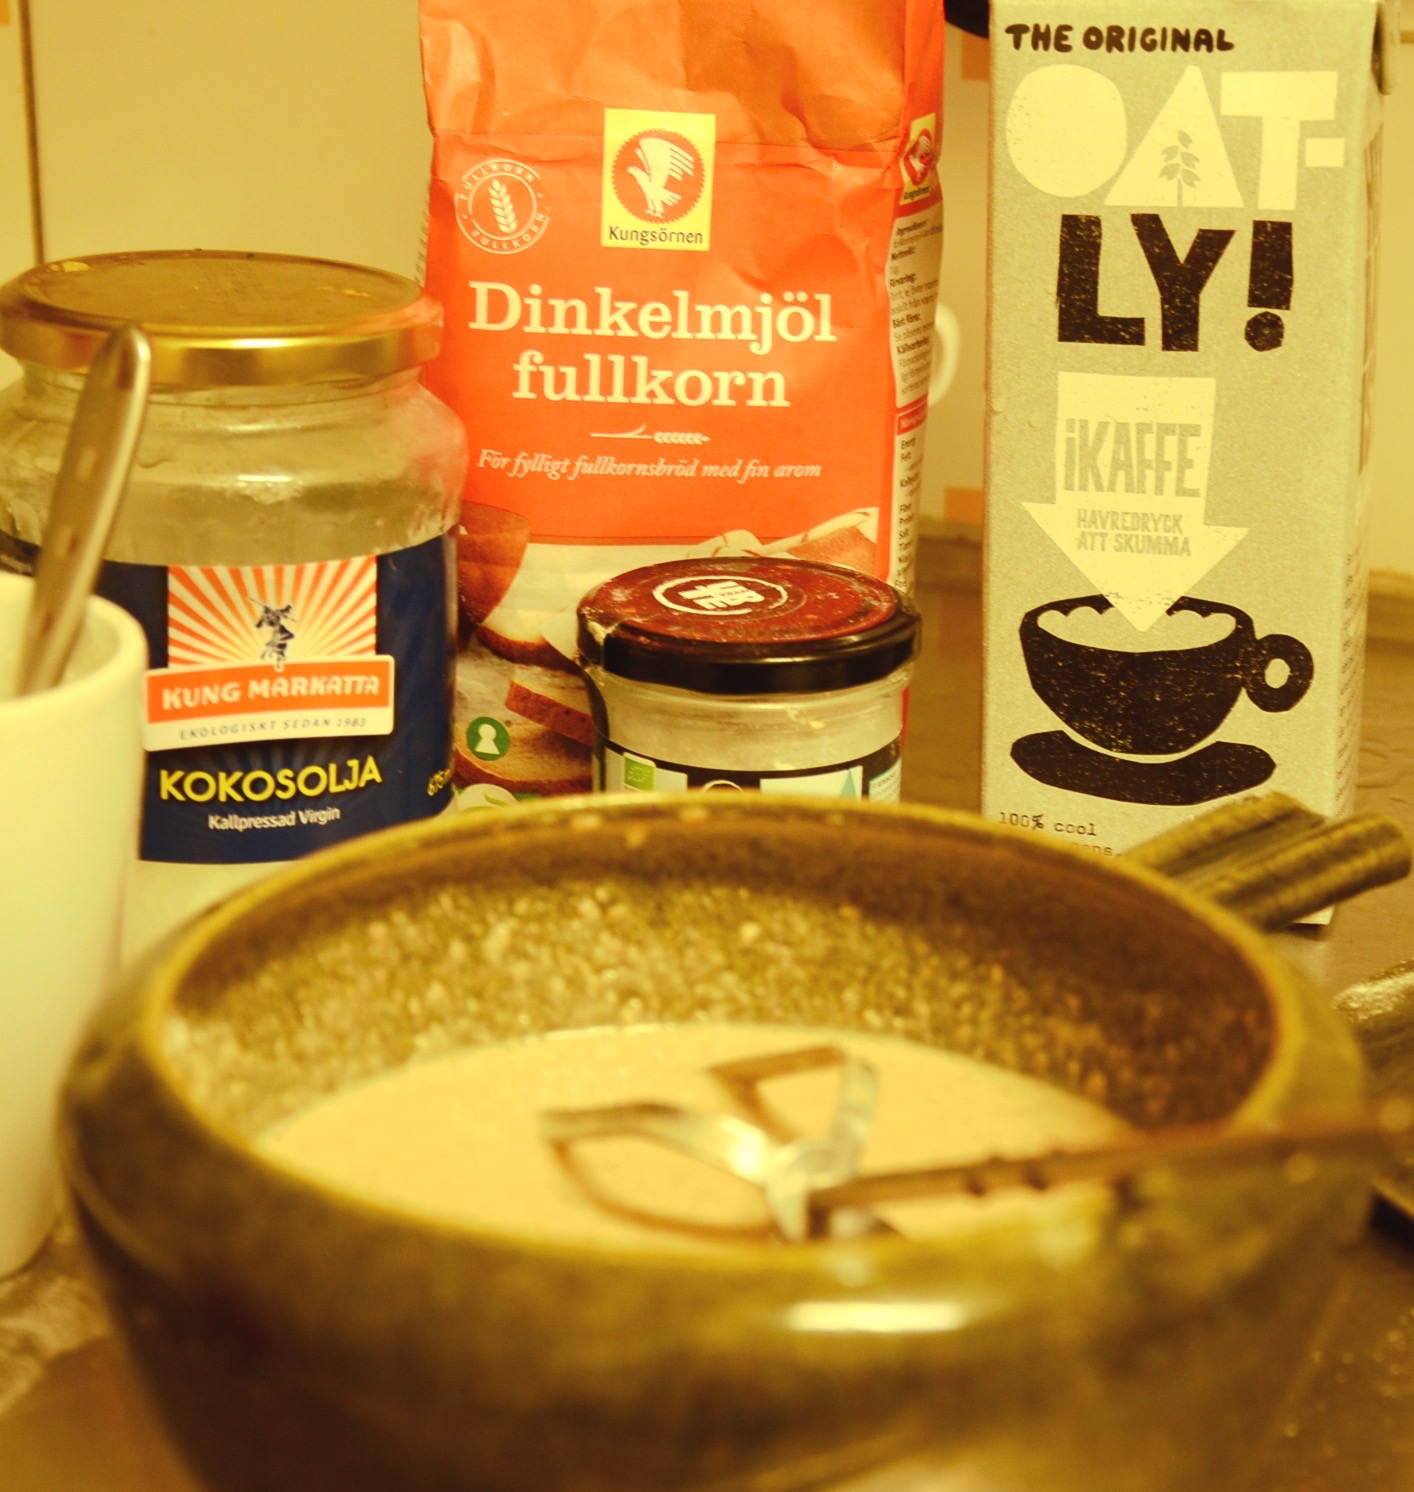
I have adapted the recipe a little and I make my own marzipan for it (Marzipan recipe inc here!). My changes are few, you have to respect yeast no messing with the recipe too much or the magic chemistry will be off. I use coconut oil instead of margarine, I use a third of a cup. I rub it with coconut oil too. As you would expect because I am a vanilla fiend I use a generous dessertspoon of vanilla powder overall. Finally I do not like raisins- I can stand a sultana in a scone …but raisins eep! and shiver! so I use chopped organic un-sulphered apricots in my stollen.
It takes a little planning. You make the plain dough the night before and leave it to proof in the fridge. You bring all to together, shape, leave to rise and bake the next evening.
So with no further a due the recipe!
Silly Season Stollen Aissa’s adaption of Seitan is my Motor’s wonderful recipe
Stollen with a rosy marzipan heart!
The dough part un (1):
- 500g/ 5 cups of unbleached plain white flour
- 7g/ 1 tsp dry yeast or 40g fresh yeast- I’ve never used the fresh in this!
- Third of a cup of rapadura/ sucucant sugar & one tablespoon of icing sugar
- Generous half a cup of non-dairy milk and a bit more as needed- I use un-sweetened almond milk
- A third of a cup of org raw coconut oil
The dough part deux (2):
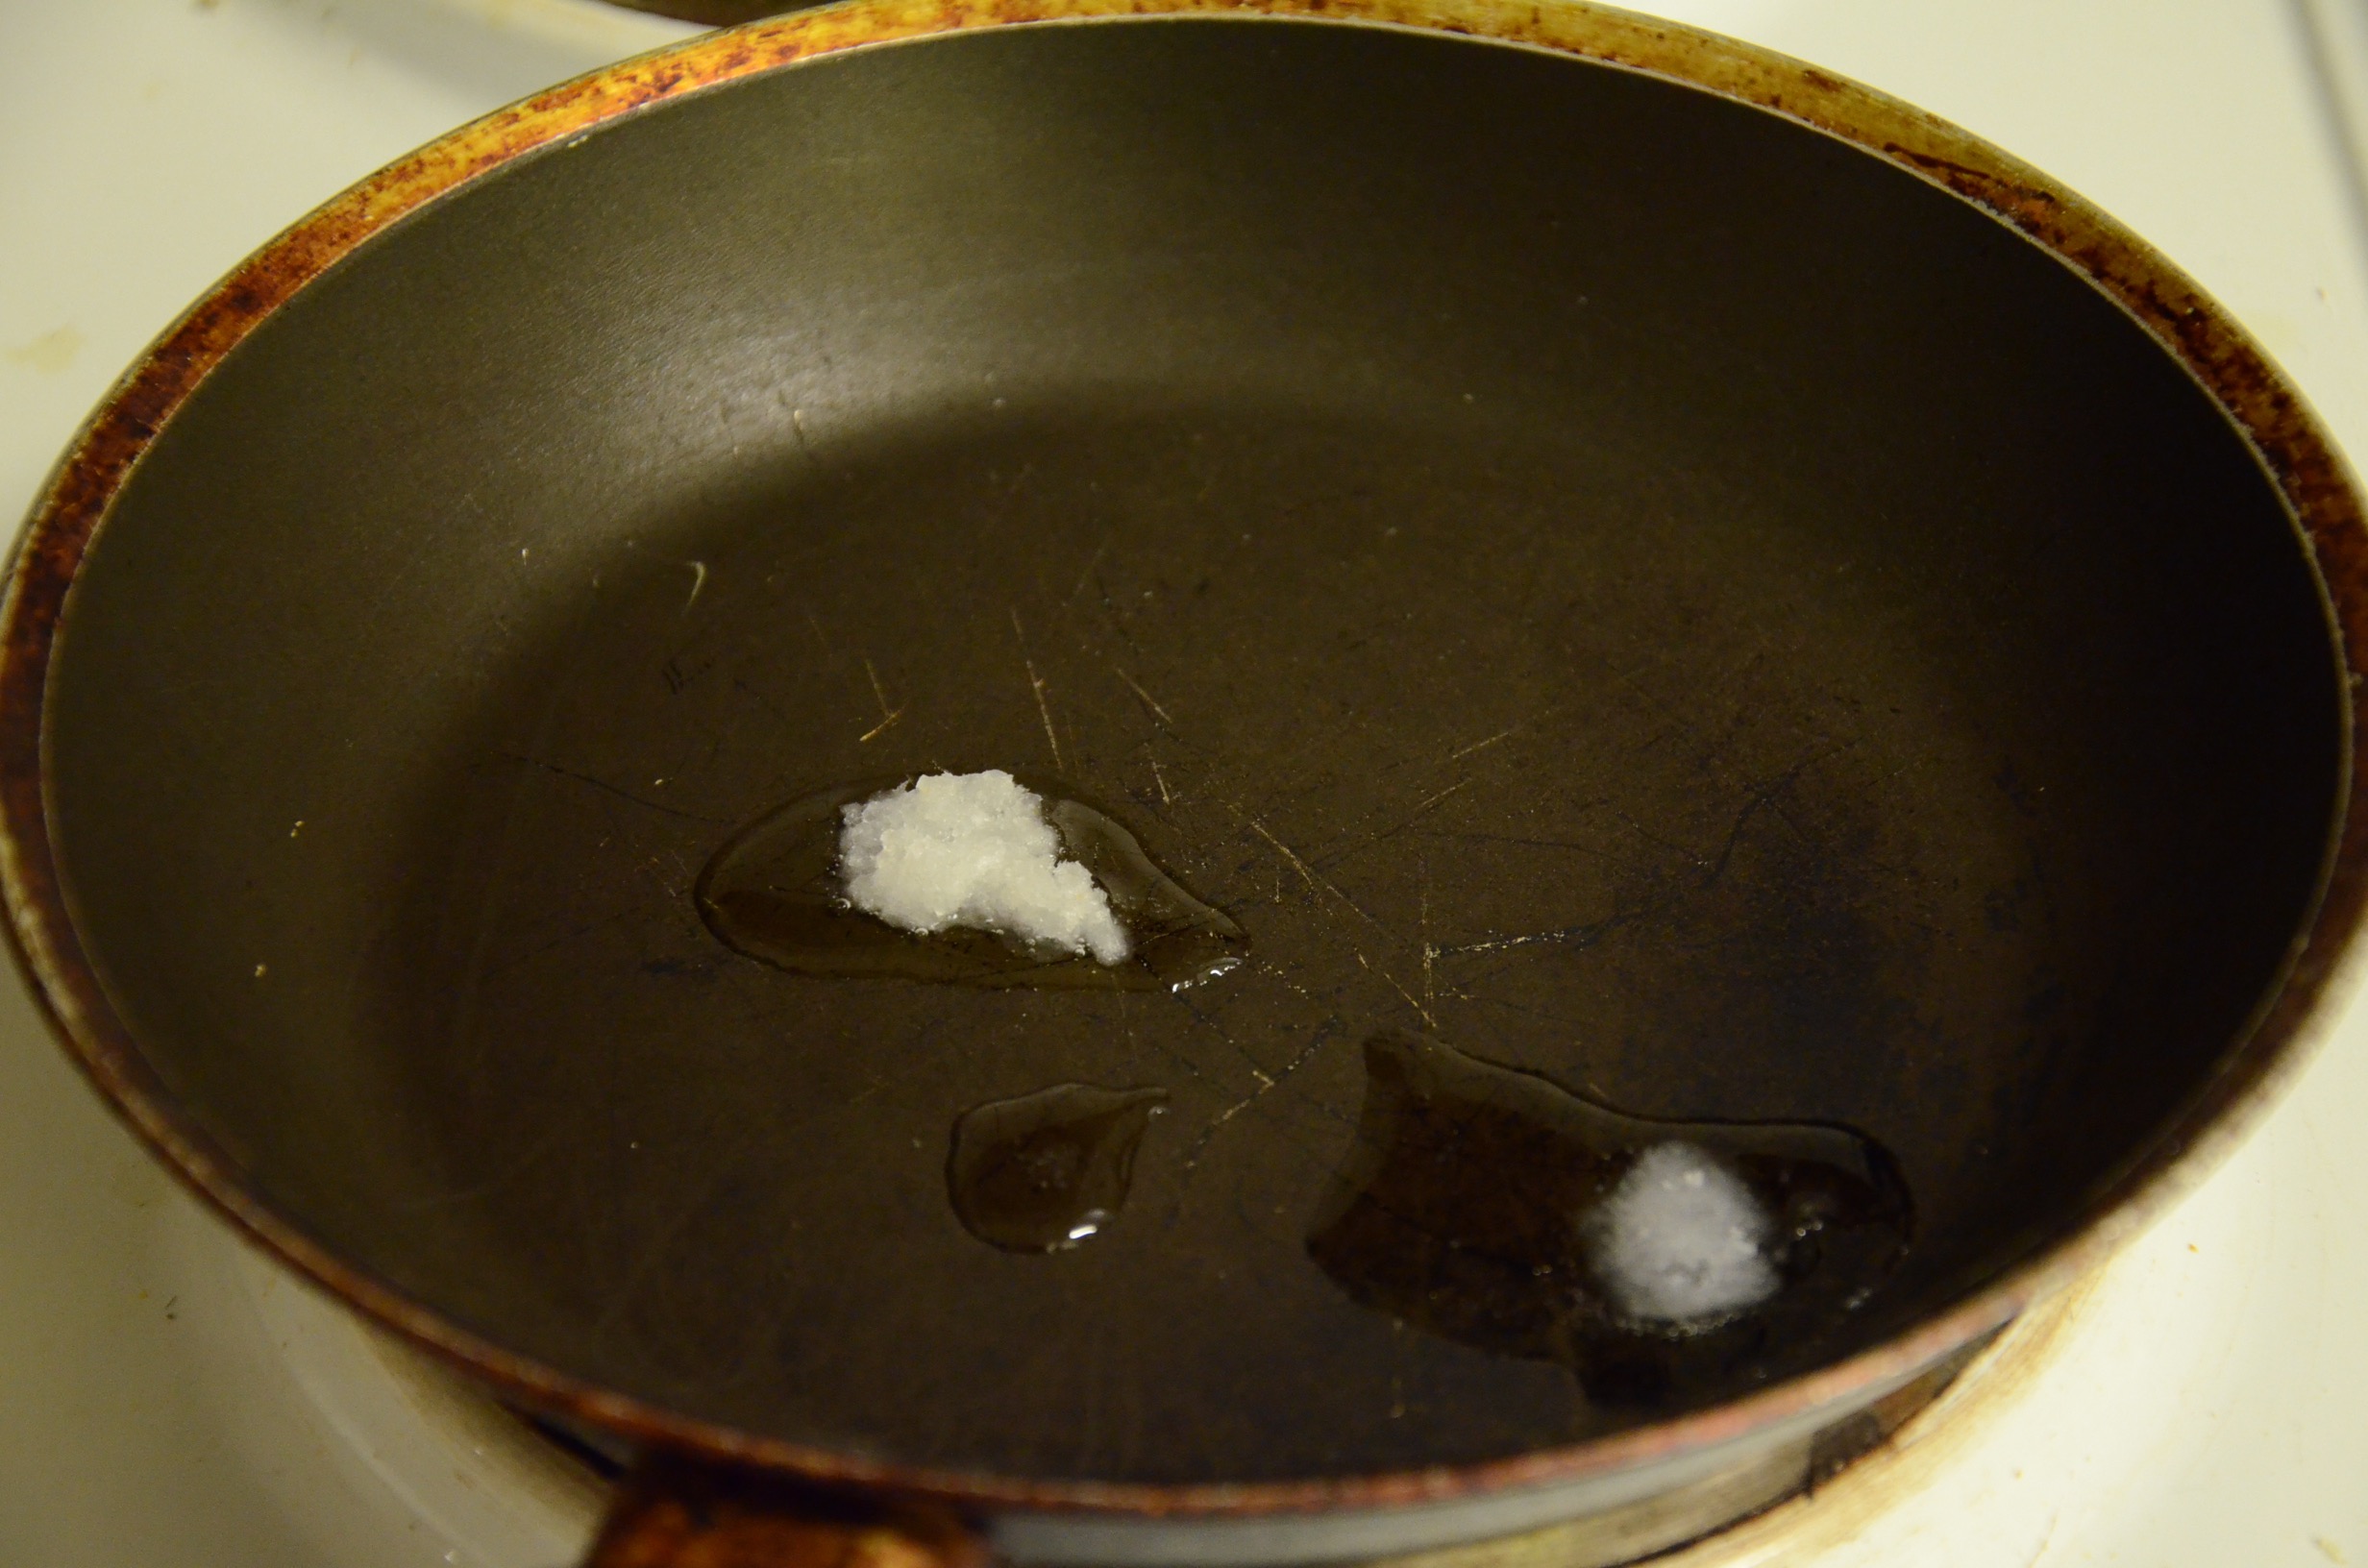
- A pinch of himalayan pink salt/ sea salt
- One and a third cup of ground almonds
- A tablespoon of non-dairy milk
- Half a teaspoon of lemon extract or a few drops of food grade lemon oil
- A quarter teaspoon of almond extract
- A large teaspoon of vanilla powder/ extract
The dough part trois (3):
- Half a cup of chopped un-sulphered organic apricots
- A third of a cup of quite finely chopped whole almonds
For finishing:
- A quarter cup of coconut oil
- Third of a cup of icing / confectionary sugar
METHOD: don’t be scared!!
Seriously- don’t be scared! It will be soooo gooooood!
So dough part un! I put my oven on to 100C/ 220F and put the third of a cup of coconut oil and the generous half cup of almond milk in a heat proof bowl and pop it in the oven to melt.
Next! Mix your flour and sugar- press out any lumps. I don’t bother to sieve anything.
Take the melted oil and milk out of the oven and leave it to cool. You do not want the mix or the bowl to be too hot or it will kill the yeast. It should be body temperature. You could put it in another bowl- I like to save on wash-up though!
Add the yeast, give a gentle stir to dissolve and add in your flour sugar mix. Combine it too a rough ball- add an extra splash of almond milk if very crumbly. Don’t cover it. Leave to sit for about 15 mins.
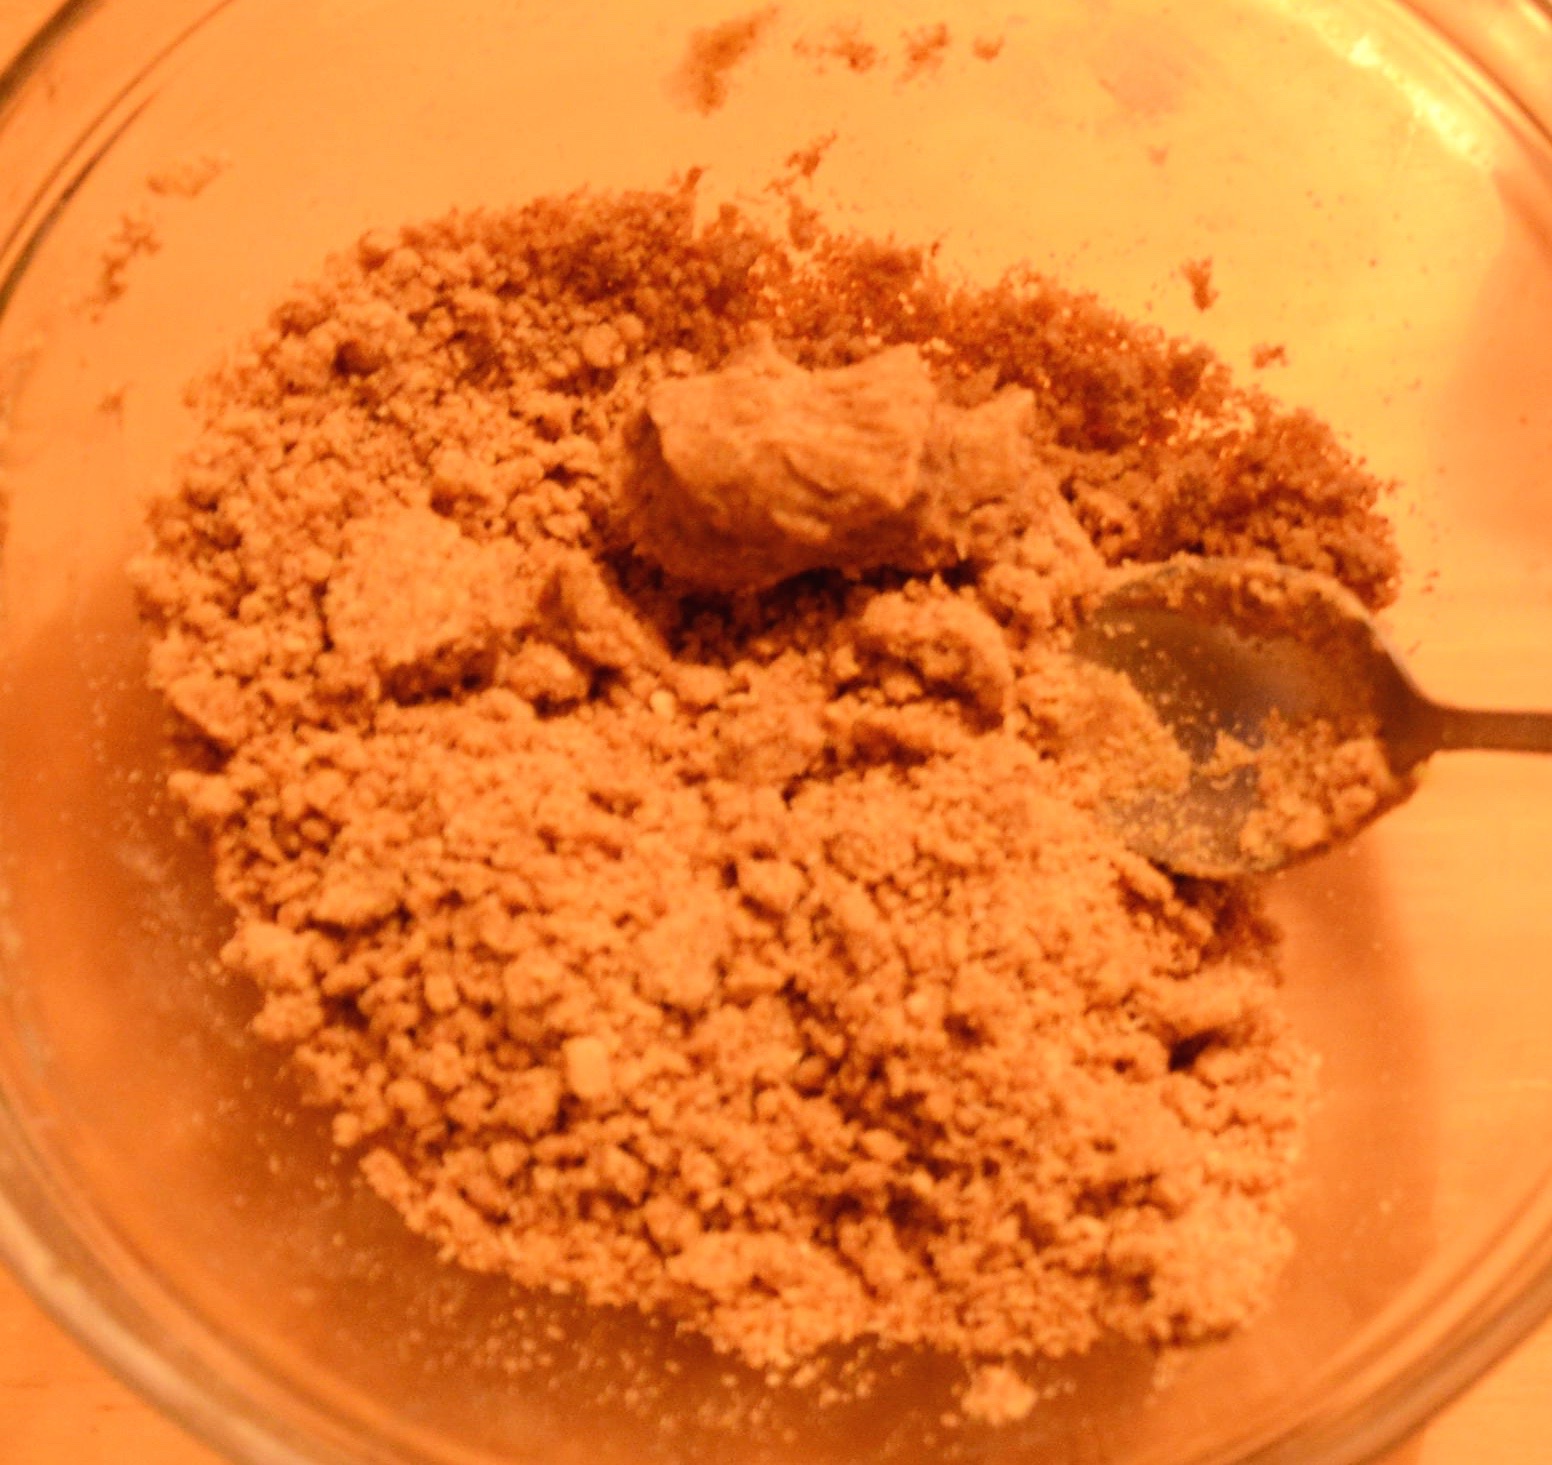
Dough part deux: Put the dry ingredients (ground almonds mixed with the pinch of salt- if you are using vanilla powder put it in now) in on top of the dough and mix a bit- you need to use your hands. Mix the wet ingredients – I do it in a teacup- and pour this over your mix. And knead a bit to kinda combine.
Transfer to a very lightly floured surface and knead for about 5 minutes. I do not partake in tons of kneading every day so I tend to take a minute or so to get the hang again, I knead for maybe 7 minutes. My technique is to push away from myself and then pull each side back towards me to form a ball again and then repeat. Try to keep doing it in the same direction Do not add more flour – the gluten will develop and it will stick to itself not the surface- you will even see it getting kinda stringy looking bits- which are the gluten strands!
Now cover it and put it in the fridge for the night so it can rest, and you can too!
The next day. The Dough part trois!
It is usually the afternoon by the time I get around to making the stollen. So take it out of the fridge and uncover it, I usually leave it out for a couple of hours, but if you have a particularly warm kitchen you may not have to wait as long. The yeast will wake up and when the dough warms up it is easier to work with.
Meanwhile chop your apricots and almonds .

Part trois!
Now knead the apricots and almonds into the dough. You need to get your back into it! As the dough will be a bit stiff to start and you want to get them evenly distributed. It can take me maybe 10 minutes. Form it into a rough ball and divide into three. I draw an kind of an upside-down Y into the top of it to give me three even pieces.

stollen dough divided
Next bit is the marzipan making! Or if you can buy some and add a little rose flavouring and roll it into logs for your stollen. But lets go back to my 2014 post by the wonderful power of time travel……” do do do do…do do do do do…”
Since I make my own marzipan I put my rose flavour into that instead of the mix. You just cannot get good quality marzipan here. Since I buy my ground almonds in bulk … because I bake so much… it makes sense to make my own.
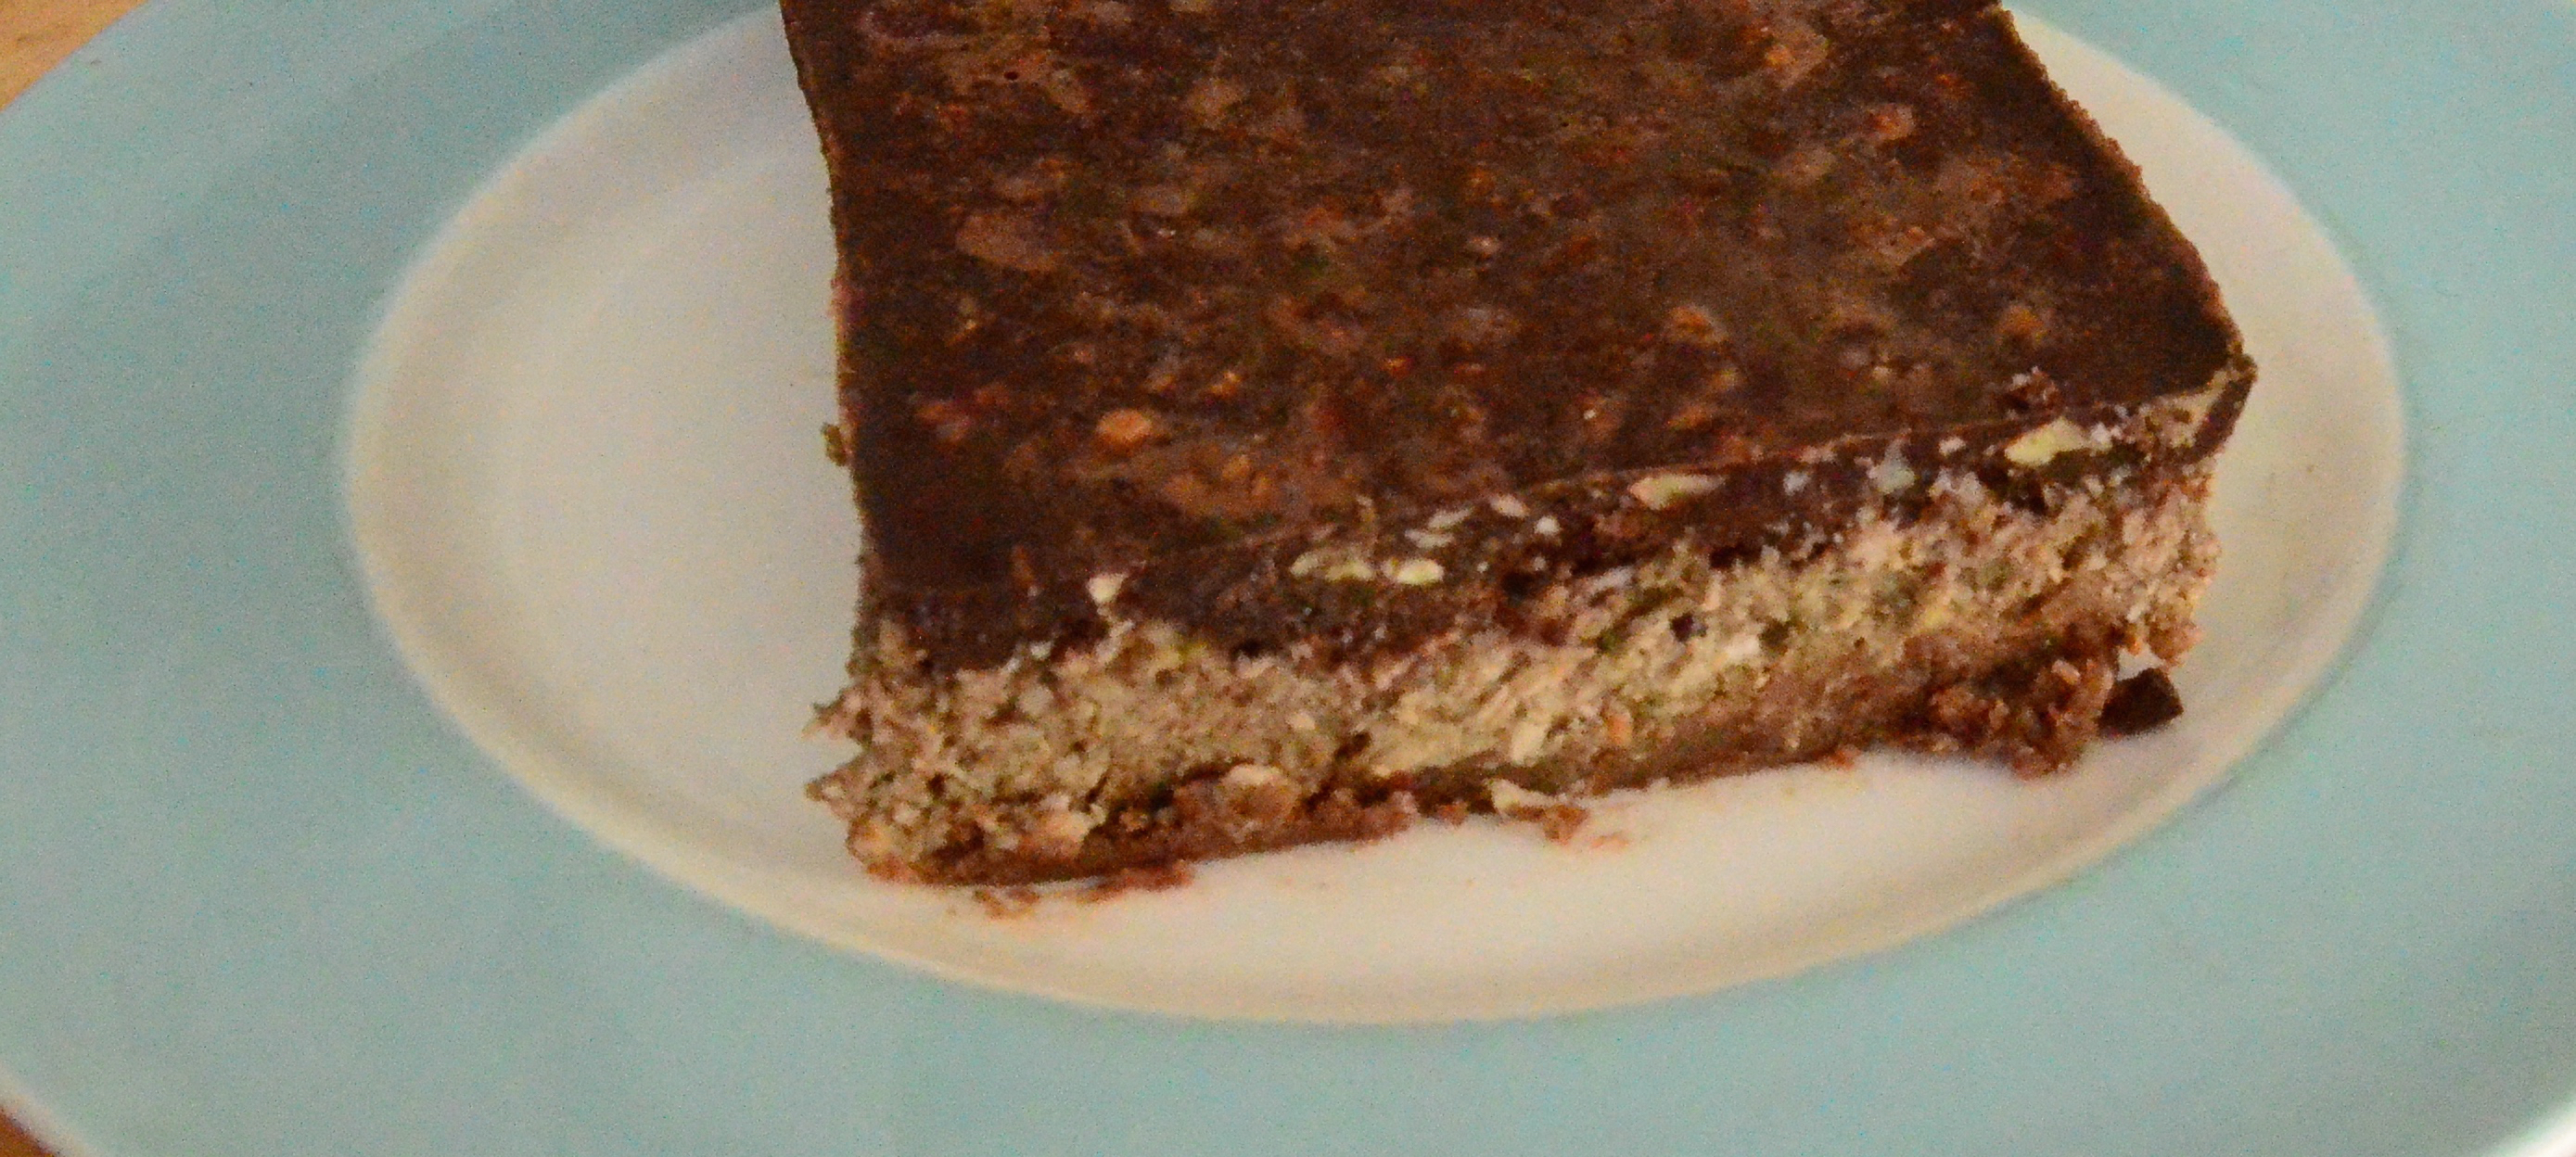
Marzipan is a wonderful human invention! So versatile! The almond-y heart of your stollen perhaps little marzipan balls that you can dip in melted dark chocolate and leave to set in the freezer. Tasty treats for over the holidays.
Marzipan
- 200g/ two cups of ground almonds
- 100g/ one cup org vegan icing sugar
- A teaspoon of vanilla powder/ a pod/ paste
- One tablespoon of fresh lemon juice
- Two tablespoons of maple syrup
- A quarter teaspoon of sea salt/ himalayan pink salt
- Half a teaspoon of almond extract
- Optional: Eight ground apricot kernels or increase the almond extract to one teaspoon
- Seven drops of food grade rose oil* or a generous dessertspoon of rose water
- One dessertspoon of cold water
*mine is in an almond oil base as pure rose oil is like twenty five euros a bottle!
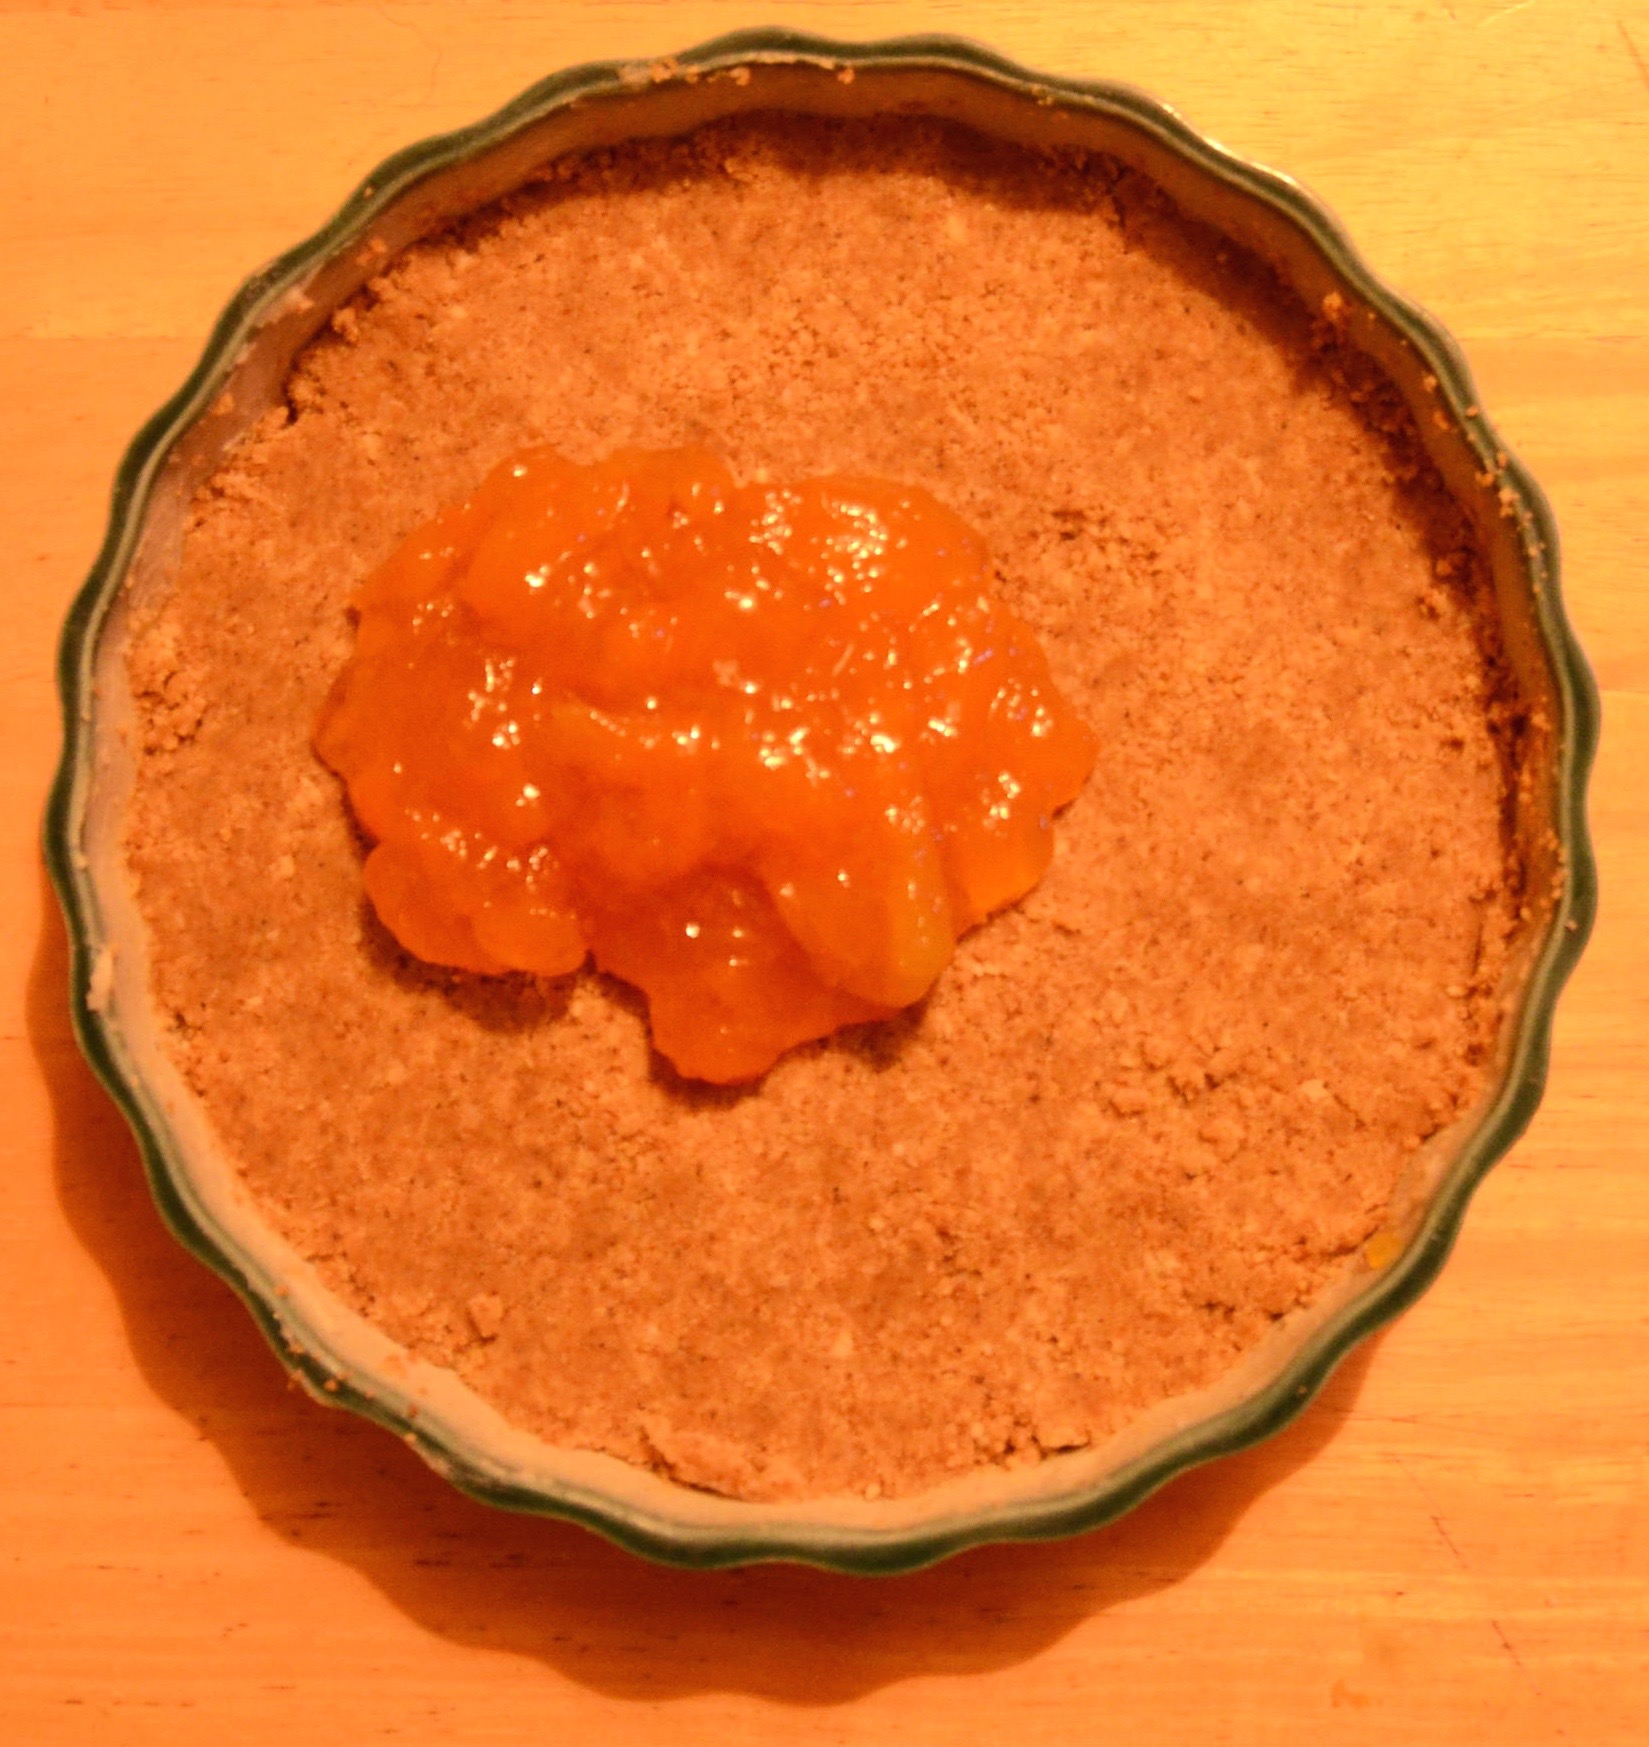
Put your dry ingredients in a bowl. Make a well in the centre and add the wet, not the water though! Press it all together. If it still a little crumbly you can add your water and press it together again. It should form a ball like biscuit/ cookie dough. Cover in tinfoil/ baking paper and leave in the fridge for at least a half an hour.
If using in your stollen you will be rolling into three little logs. If you plan to make marzipan chocolate balls you will have billions of them!!! So maybe half the recipe, you could also leave out the rose and use orange zest and a little orange oil or orange flower water instead!?
I digressed in 2014! Back to Stollen!
Roll out one of your stollen. See Mihl’s site here: Stollen recipe and picture instructions!
it should be about 12cm wide and you place your little marzipan log in the middle with a couple of cms to spare on the top and bottom. Fold the right side in and press it on top of your marzipan. Roll it all to the other side so the marzipan so completely covered. Now press the meeting points of the dough together, at the ends fold it over and under and gently pinch so the dough so there are no holes underneath.
Cover with a damp towel, I leave mine for about 15- 20 minutes. My oven takes a while to pre-heat so I turn that on now to 200C / 400F.
Put in the oven and bake for 10 mins. Then cover them up with some tin foil, so they don’t go too brown. Turn the temperature down to 180C / 350F. Bake for another 30 mins … or if you are typing a blog forget about them and bake for longer thereby leaving one a little bit charred. I would go for the former not the latter myself…
Et Voila! That’s it.
Here is mine naked out of the oven !

Triple mini stollen
Ready to wrapped and hibernated for a bit.

snowy stollen
Hope you guys try it. It really lasts, unless you end up eating it really fast, which has been known to happen. If you are clever and hide one, you can toast slices of it too, sooo good!!!
Will try and post again soon, but just incase Happy Christmas, Solstice, Hanukkah, New Years, or a bit of time off work! 🙂 Xs Aissa