Tags
Fermentation, Gluten free, Natural Health, Raw, recipe, Savoury, Superfoods, Traditional, Vegan
I’m on a spice kick! Wasabi-ing my popcorn and now horesradish-ing my everything! ( I can make my own verbs up and no-one can tell me otherwise!!) Horseradish is a some what overlooked root. Its super heat and flavour add that extra kick to.. well as I said everything, but it also as medicinal properties- anyone who has had the fresh stuff will tell you it clears your sinuses but it is also anti-bacterial (like garlic)- though traditional recommended for helping with respiratory conditions I have heard of it being used for fluid retention, urinary tract infections and inflammation. * So a great thing to have in your kitchen.
In order to keep the heat in your horseradish you need to make this all in one go. So no chopping the horseradish wondering off to look something up on line and spending three hours looking at cat videos 🙂 If left out to the air – esp. ones blended it starts to loose its heat.
I have made this a number of times so here is the list of what you will need to make:
Horseradish Preserve
- A good sharp knife
- A good strong chopping board
- A little upper body strength or a helper
- A good strong blender or food processor
- A jar
- A Horseradish 🙂
- Approx. a cup of apple cyder/ cider vinegar raw and with the mother culture in it.
- Optional: Swimming goggles.
Method
Ideally the horseradish would be organic, but I couldn’t get any this time. So I made sure to peel it really well incase there were any residues left on it. Horseradish is very woody it even has a grain to it so it is a bit like trying to chop a soft-ish stick! If you find the grain it is easier to peel. The other tip is to cut length ways first , chop the top and bottom off and then chop to smaller bits. With my blender I need to chop to top of finger size bits, you might have to chop smaller.

Horseradish root looking rooty
Pop the chopped up bits in your blender/ processor and add about six tablespoons of apple cyder vinegar. Pulse off and on five or six times – and then blend for thirty seconds. My blender has a setting for nuts and I actually do it on that first as the horseradish is so hard. Once it is pulverised a bit you can blend like normal.
WARNING! WARNING! WARNING! Maybe get the goggles!
DO NOT TAKE THE TOP OFF THE BLENDER WITH YOUR HEAD OVER IT!!!! It is like putting your head in a bowl of twenty freshly chopped onions. You eyes will be scalded and streaming! Even scooping it into the jar I try and keep my face well back.

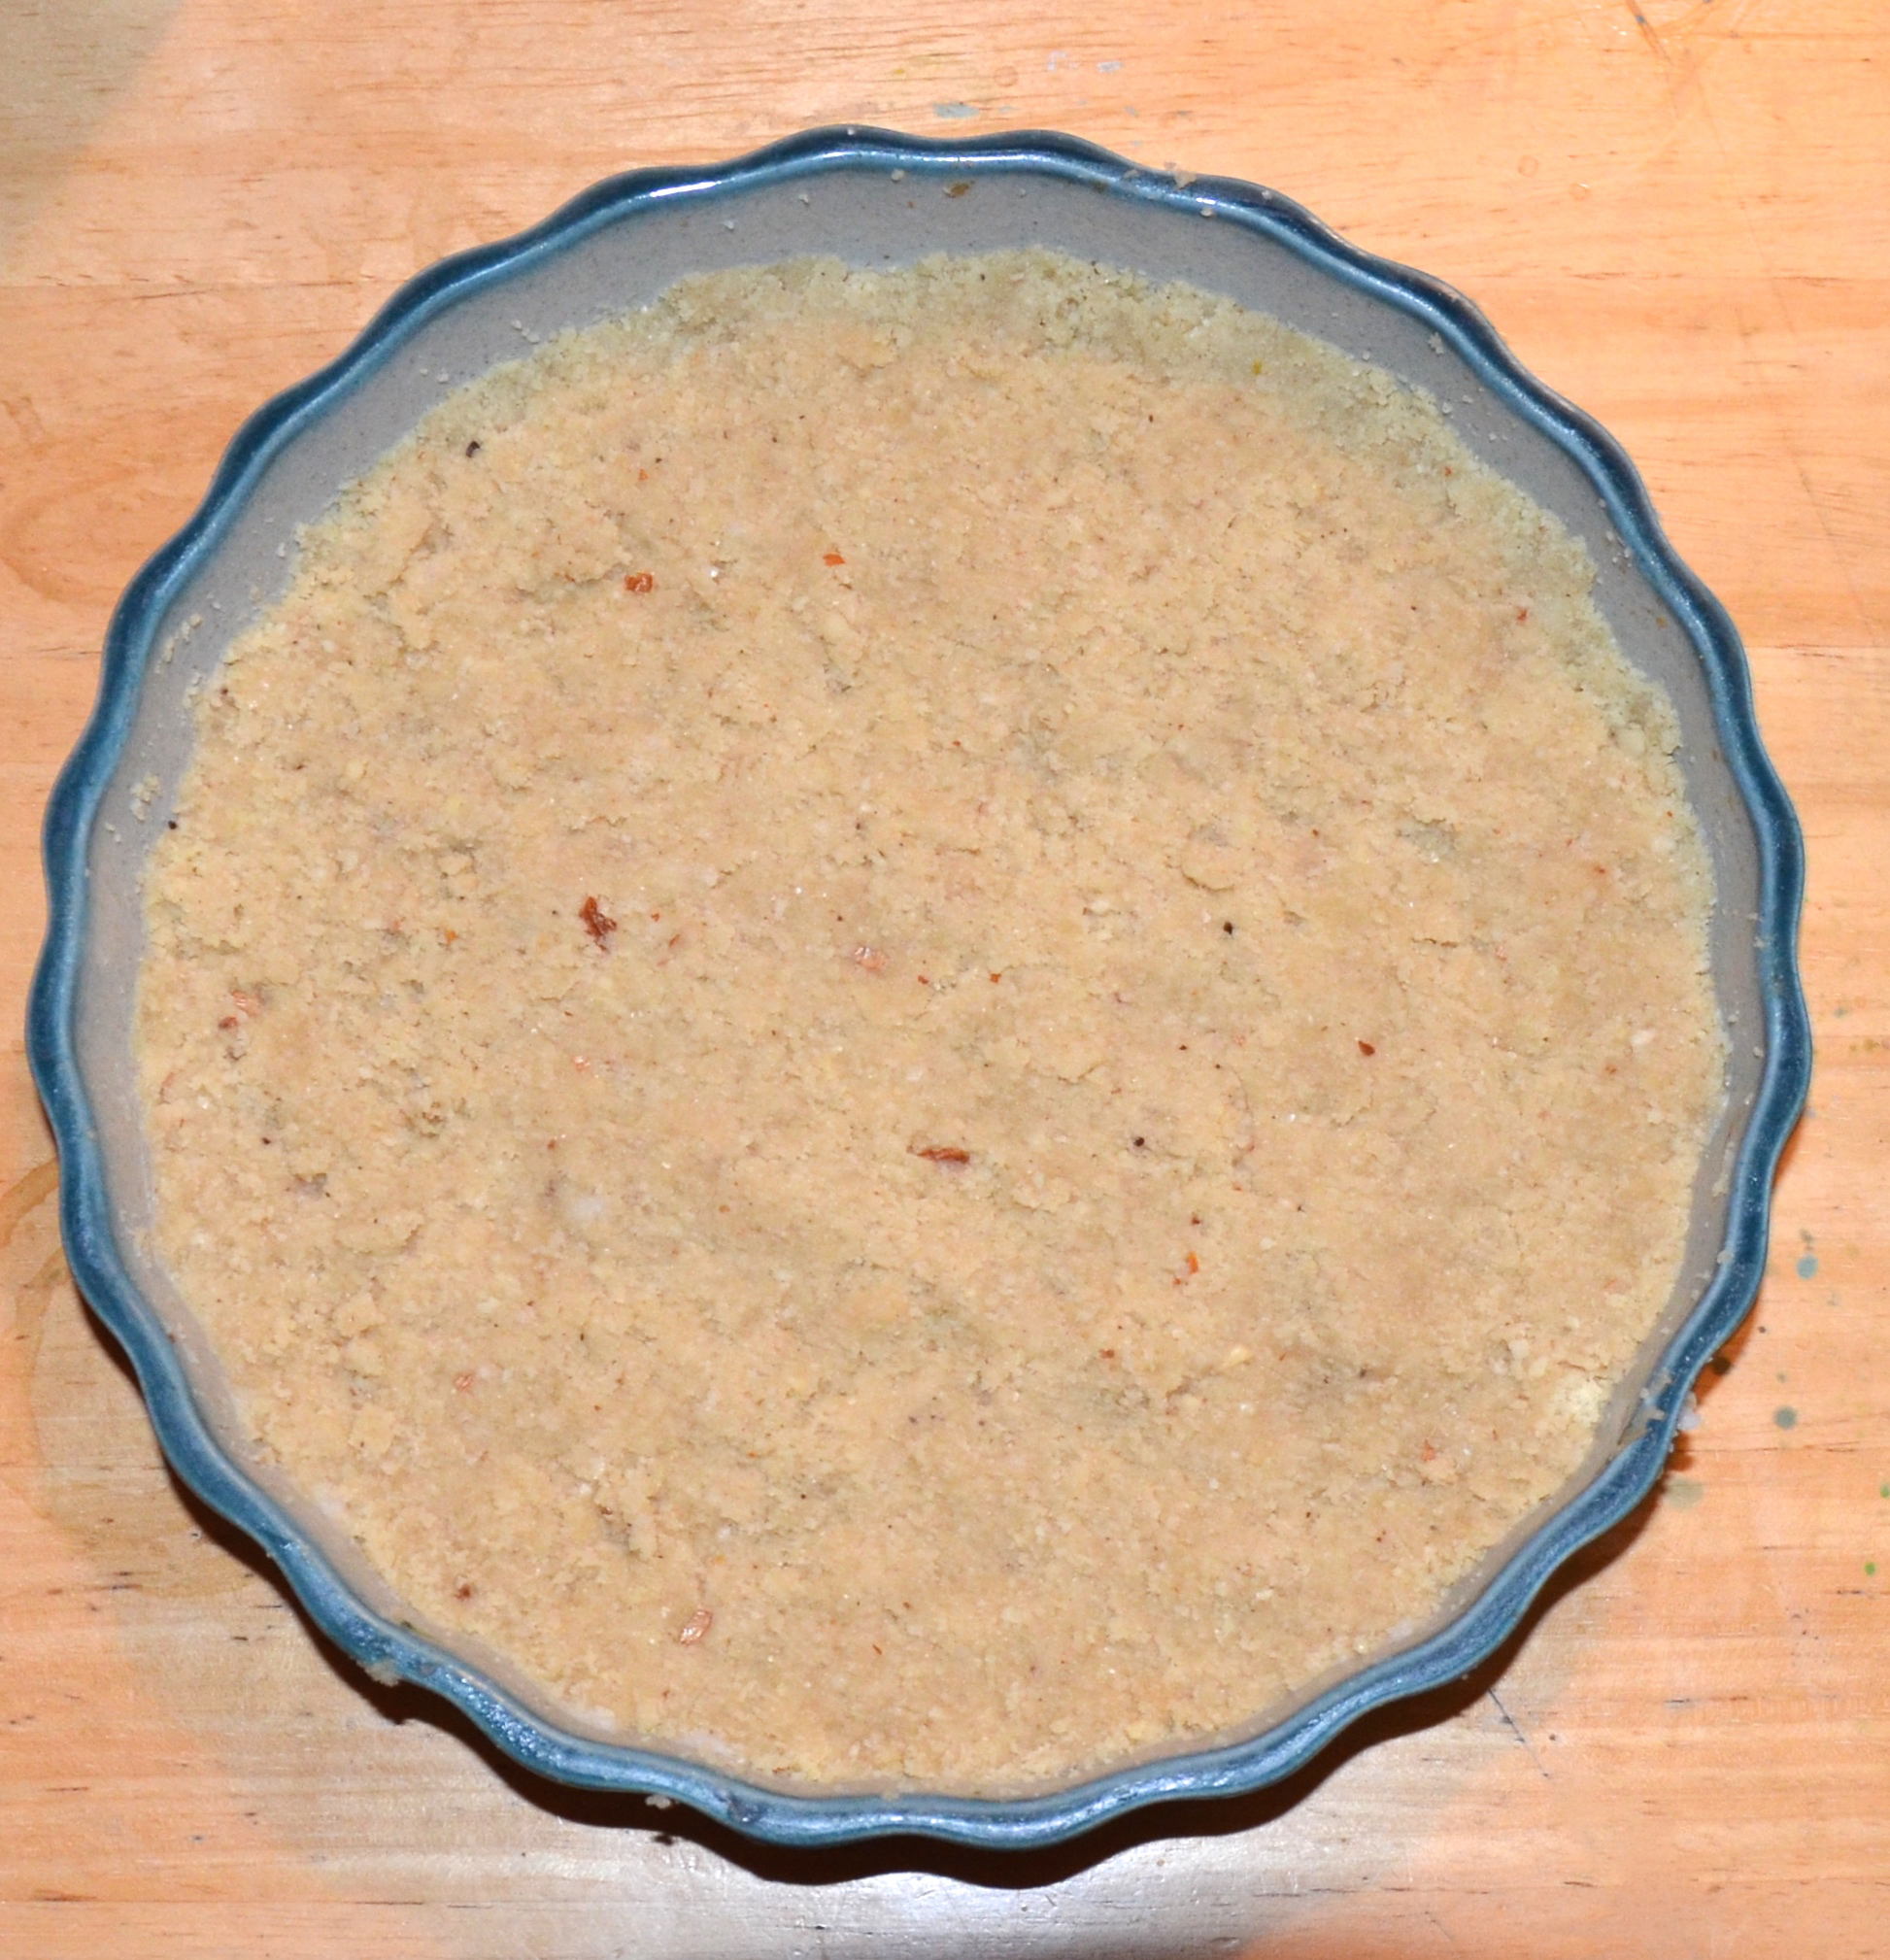
Fluffy horseradish ready to apple cyder vinegar-d
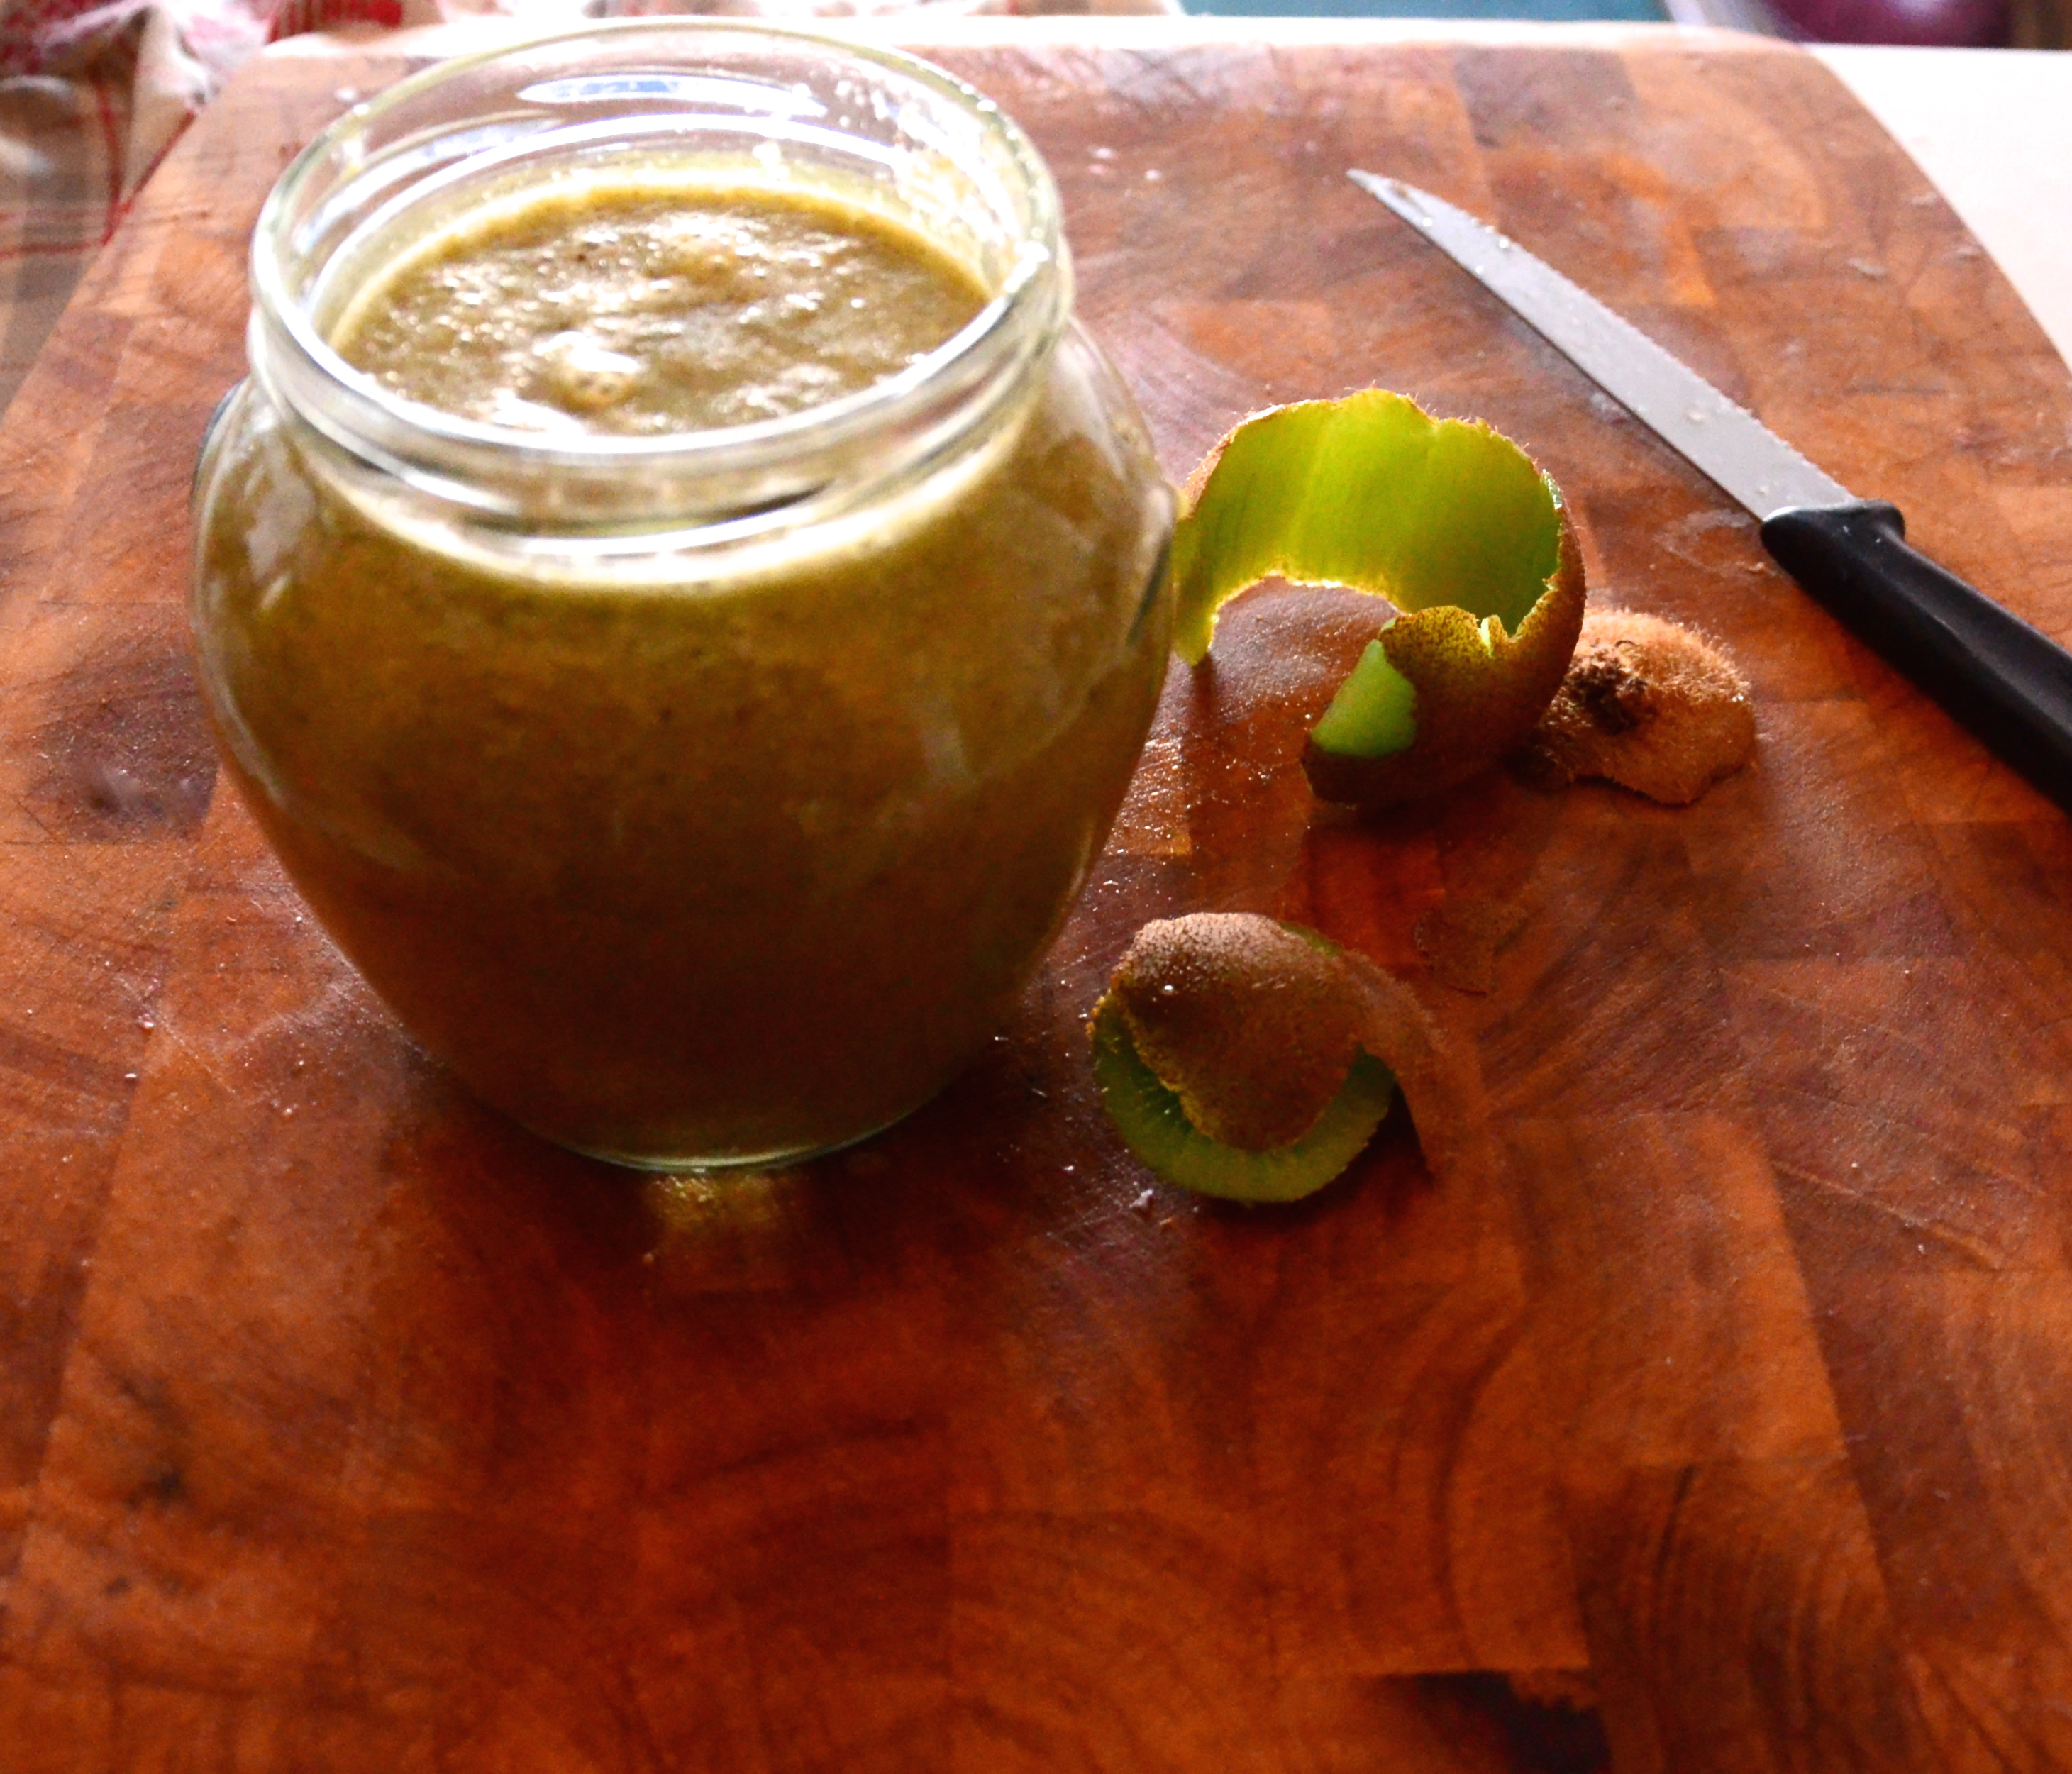
All that spicy goodness is heading off into the air so to catch it cover the horseradish with the apple cyder vinegar fast! A good apple cyder/ cider vinegar- that is naturally fermented and raw is full of good bacteria and malic acid (helps break down uric acid – which in turn is good for your joints). This good vinegar will preserve your horseradish- I have had a jar for months at a time in the fridge.

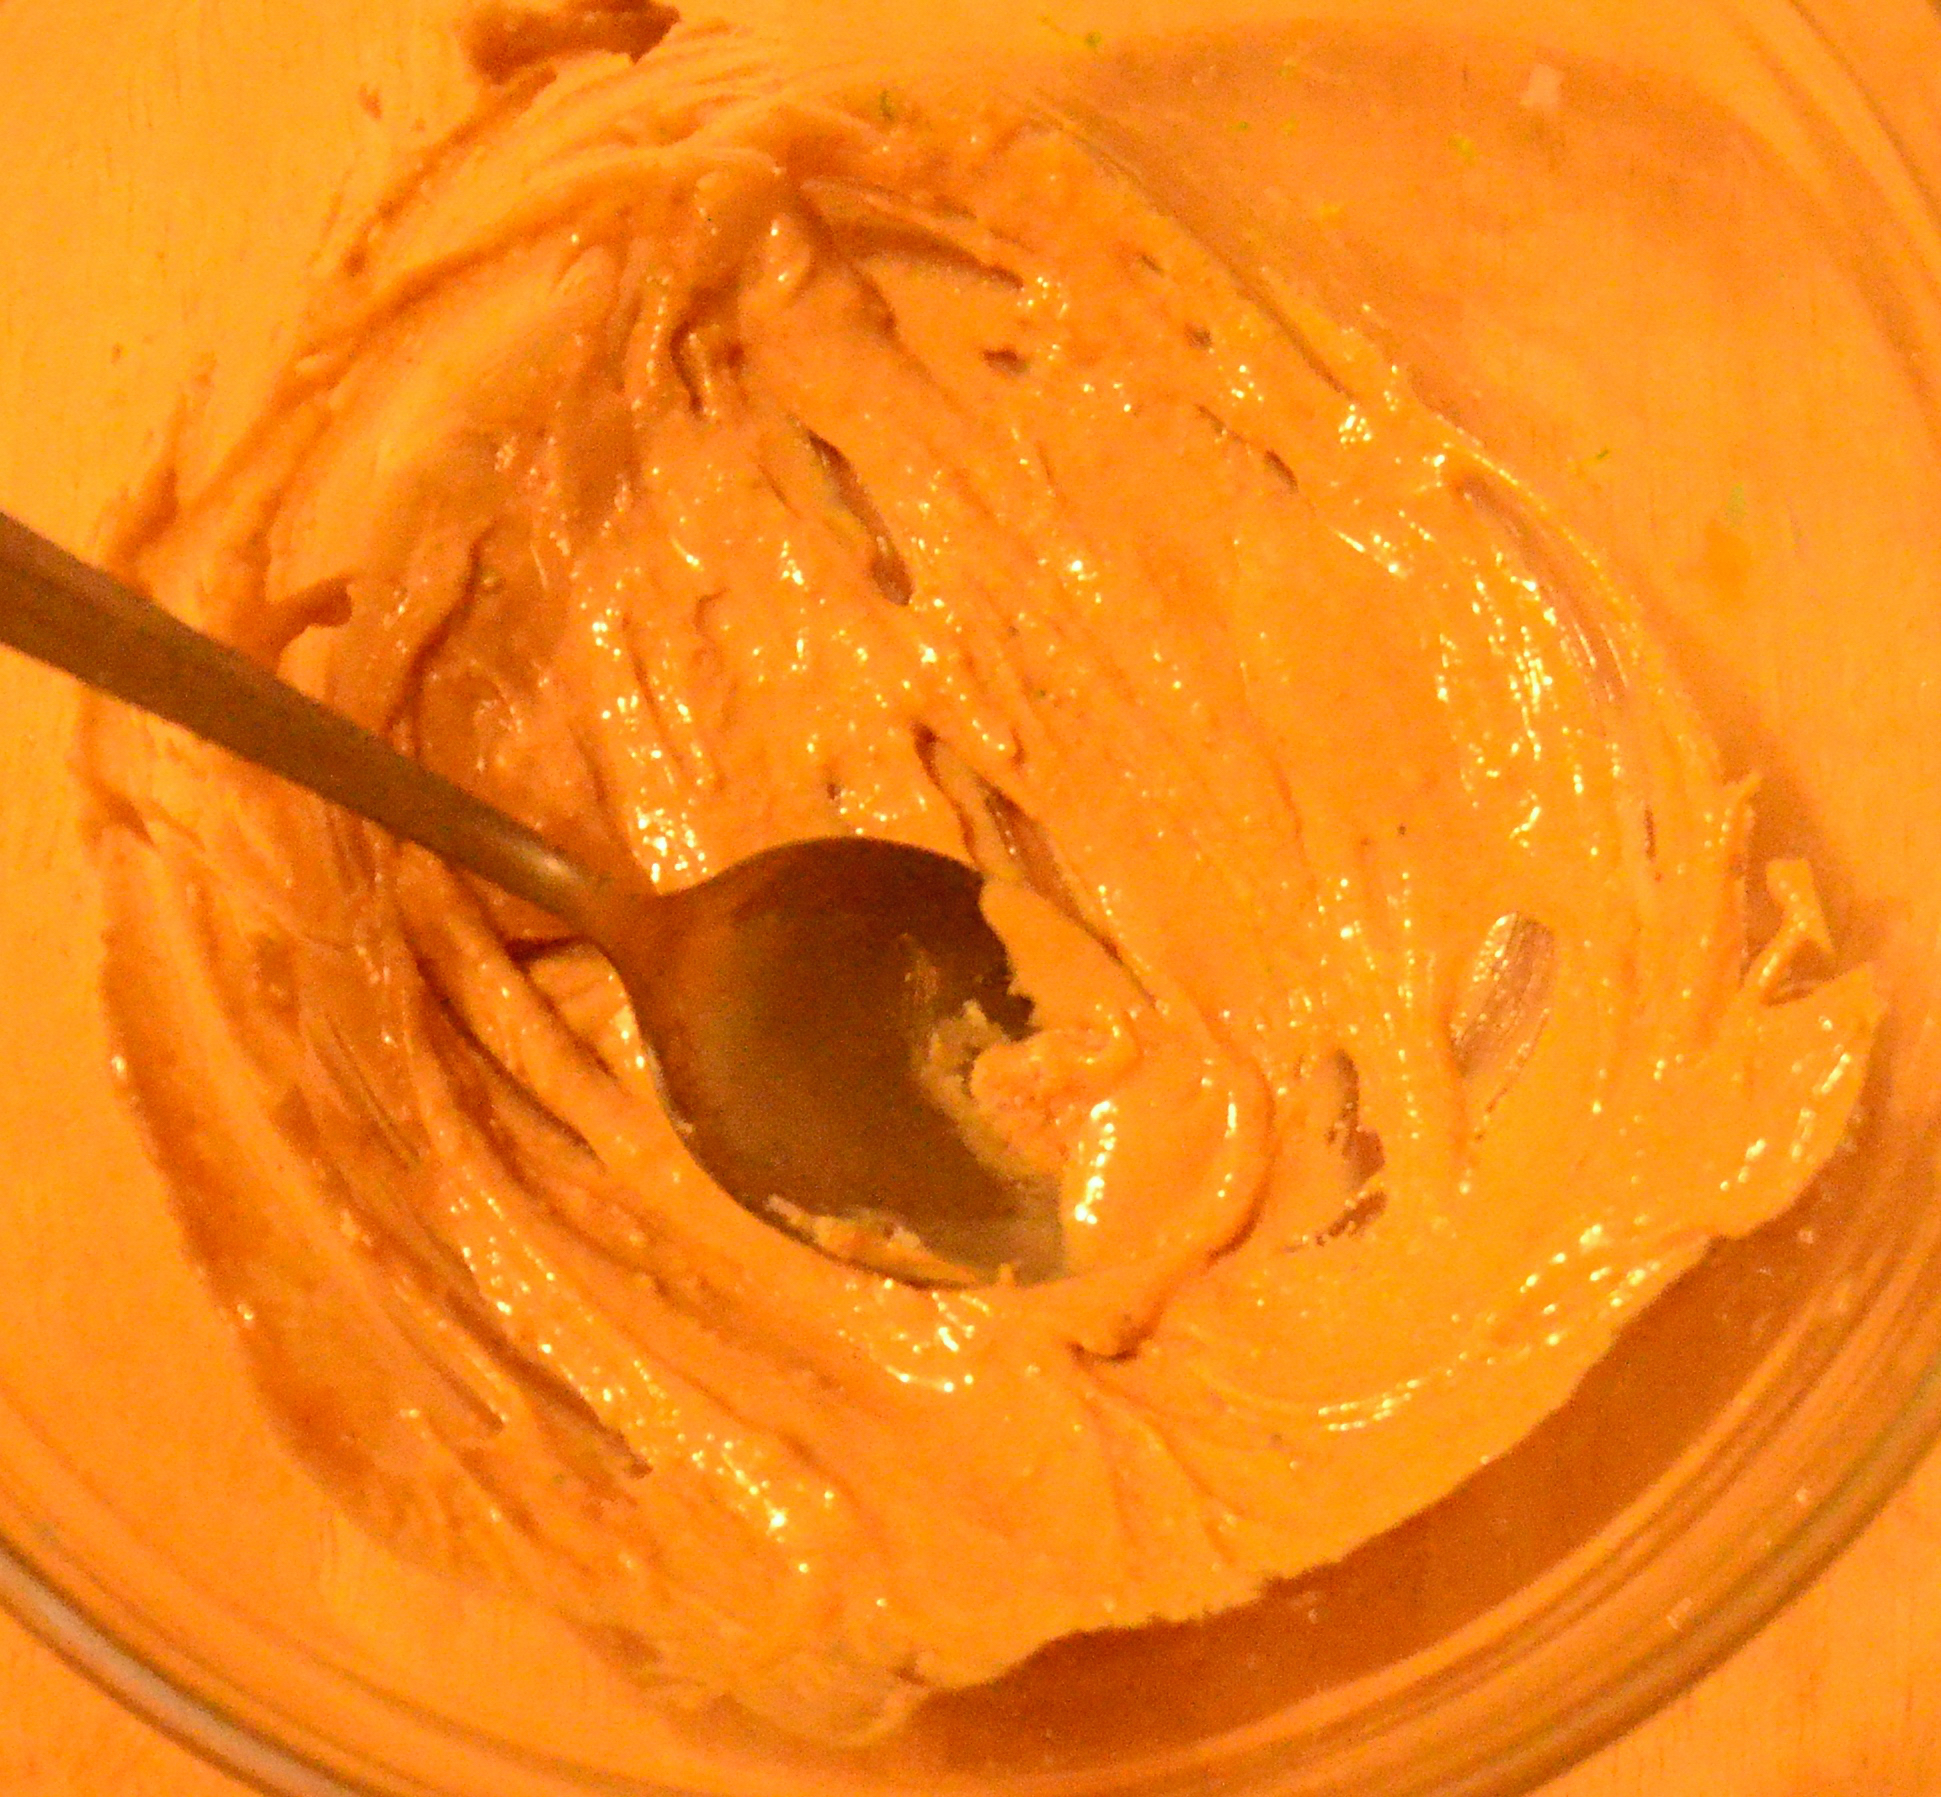
Looks like snow but it is HOT HOT HOT 🙂
It is a wonderful accompaniment to any meal – but is a especially good mixed with avocado, hummus or a pinch added to your homemade salad dressing. even when using the jar I don’t leave it open to the air for long- to keep all the great spices in!
Hope you guys try it out. It is pretty amazing stuff. It will be called a superfood yet! 🙂
xs Aissa
*footnote. I am not a health practitioner. but I have read if you are on low thyroid medication or pregnant you should not being eating truckloads of horseradish!