Tags
Cacao, Cacao Butter, Chocolate, Gluten free, No bake, Pie, Superfoods, Tart, Vegan
Chocolate, Coconut, almonds and mint, they are such a lovely combination! Pre my launch into an imformed healthy veggism* and then veganism I used to be fond of a after dinner mint chocolate. Who says I can’t have one??? and I’ll make it better too, added uber antioxidants from the cacao and minus the nasty processed sugar and artifical stuff! Ta-da! Vegan After Dinner Mint Pie!
Chocolatey goodness
Though there are three layers to make, really all you are doing is mushing stuff together, blending bits to something and melting a whole lot of things and pouring them ontop of eachother. What I am saying is- it is easy!! 🙂
After Dinner Mint Pie / Torte
Almond Base
- Two and a half dessertspoons of raw organic coconut oil
- Four dessertspoons of raw dark agave
- A quarter teaspoon of natural almond extract or five ground apricot kernals
- A quarter teaspoon of sea salt or himalayan pink salt
- One and two third cups of ground almonds
- Half a teaspoon of vanilla powder or one pod
- One or two dessertspoons of fresh lemon juice
Coconut Peppermint Filling
- One cup of dessicated/ shredded coconut
- One and a half dessertspoons of raw organic coconut oil
- Nine drops of food grade peppermint oil or a teaspoon of natural extract
- This is an odd measure- 15 dessertspoons of non dairy milk
Raw Chocolate Layer
- Three dessertspoons of chopped cacao paste
- Two dessertspoons of chopped cacao butter
- One dessertspoon of cacao powder
- One and a half dessertspoons of raw organic coconut oil
- A quarter teaspoon of himlayan pink salt or fine sea salt
- A quarter teaspoon of vanilla powder or half a pod
- Four dessertspoons of raw dark agave
- Five dessertspoons of non dairy milk
Base Method:
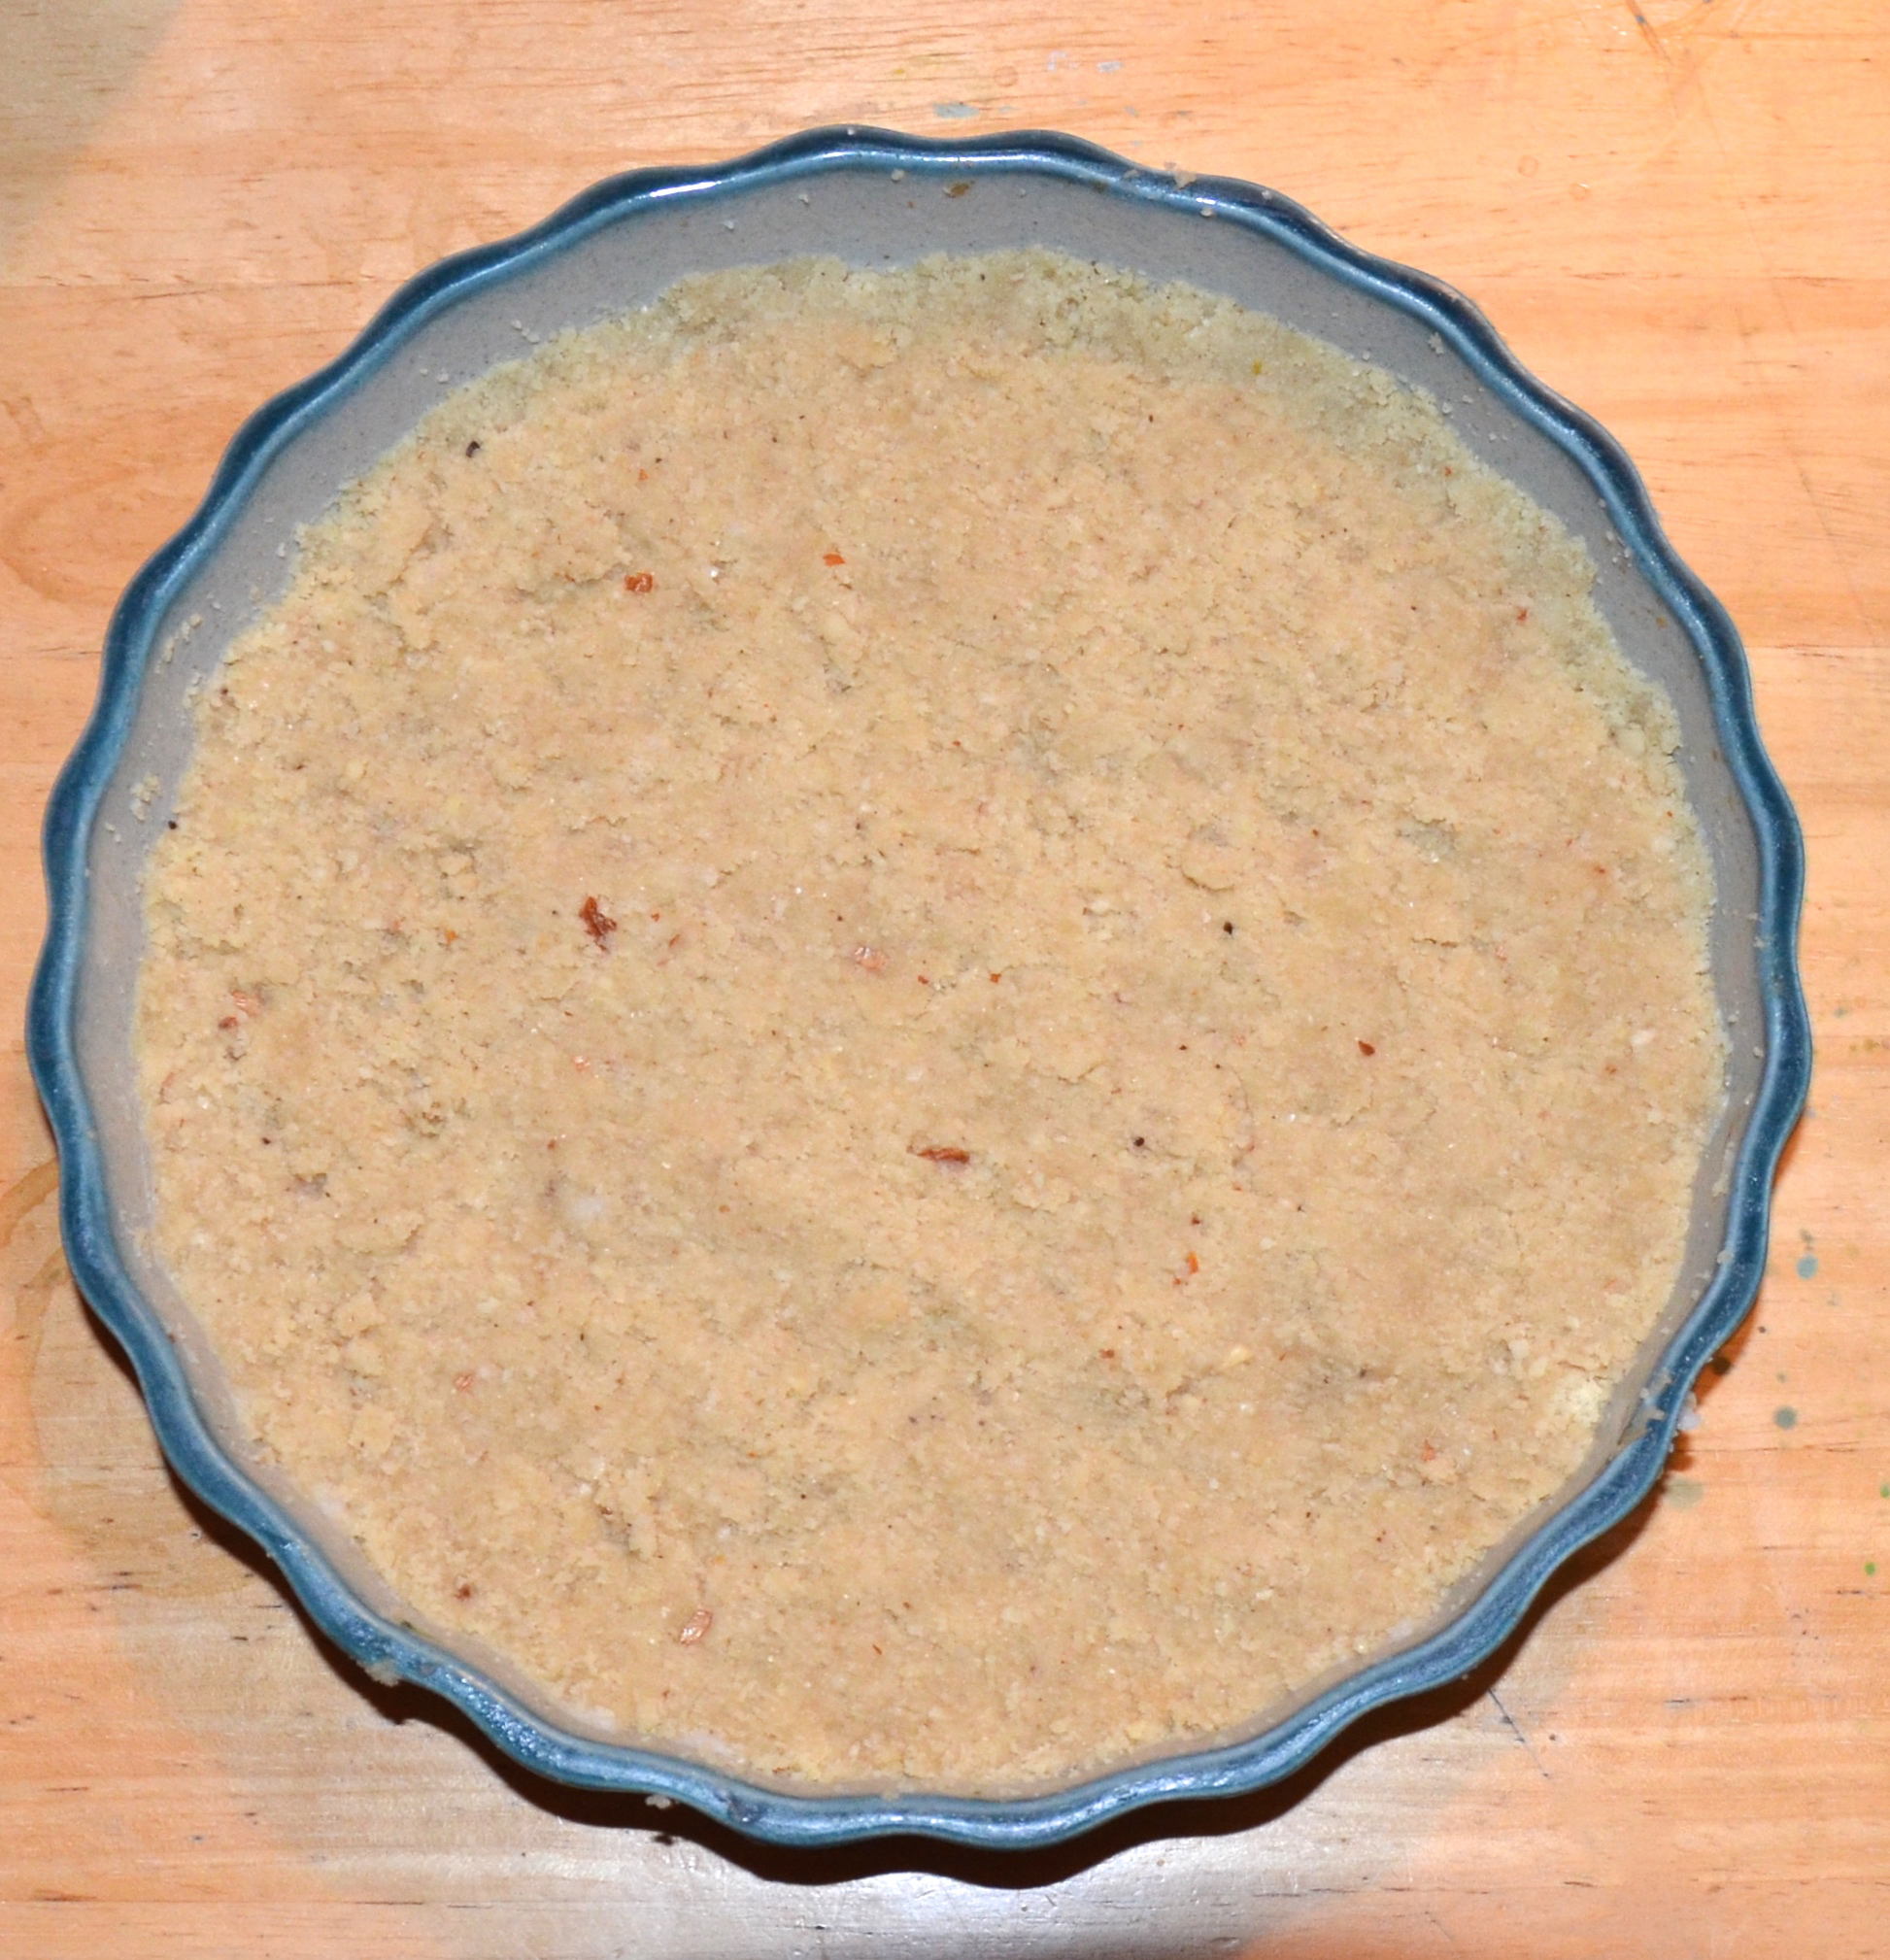
Grab your 7.5 inc or 20cm tart tin/ pie dish!! Rub it with a little coconut oil or if using a spring form one line with grease proof paper.
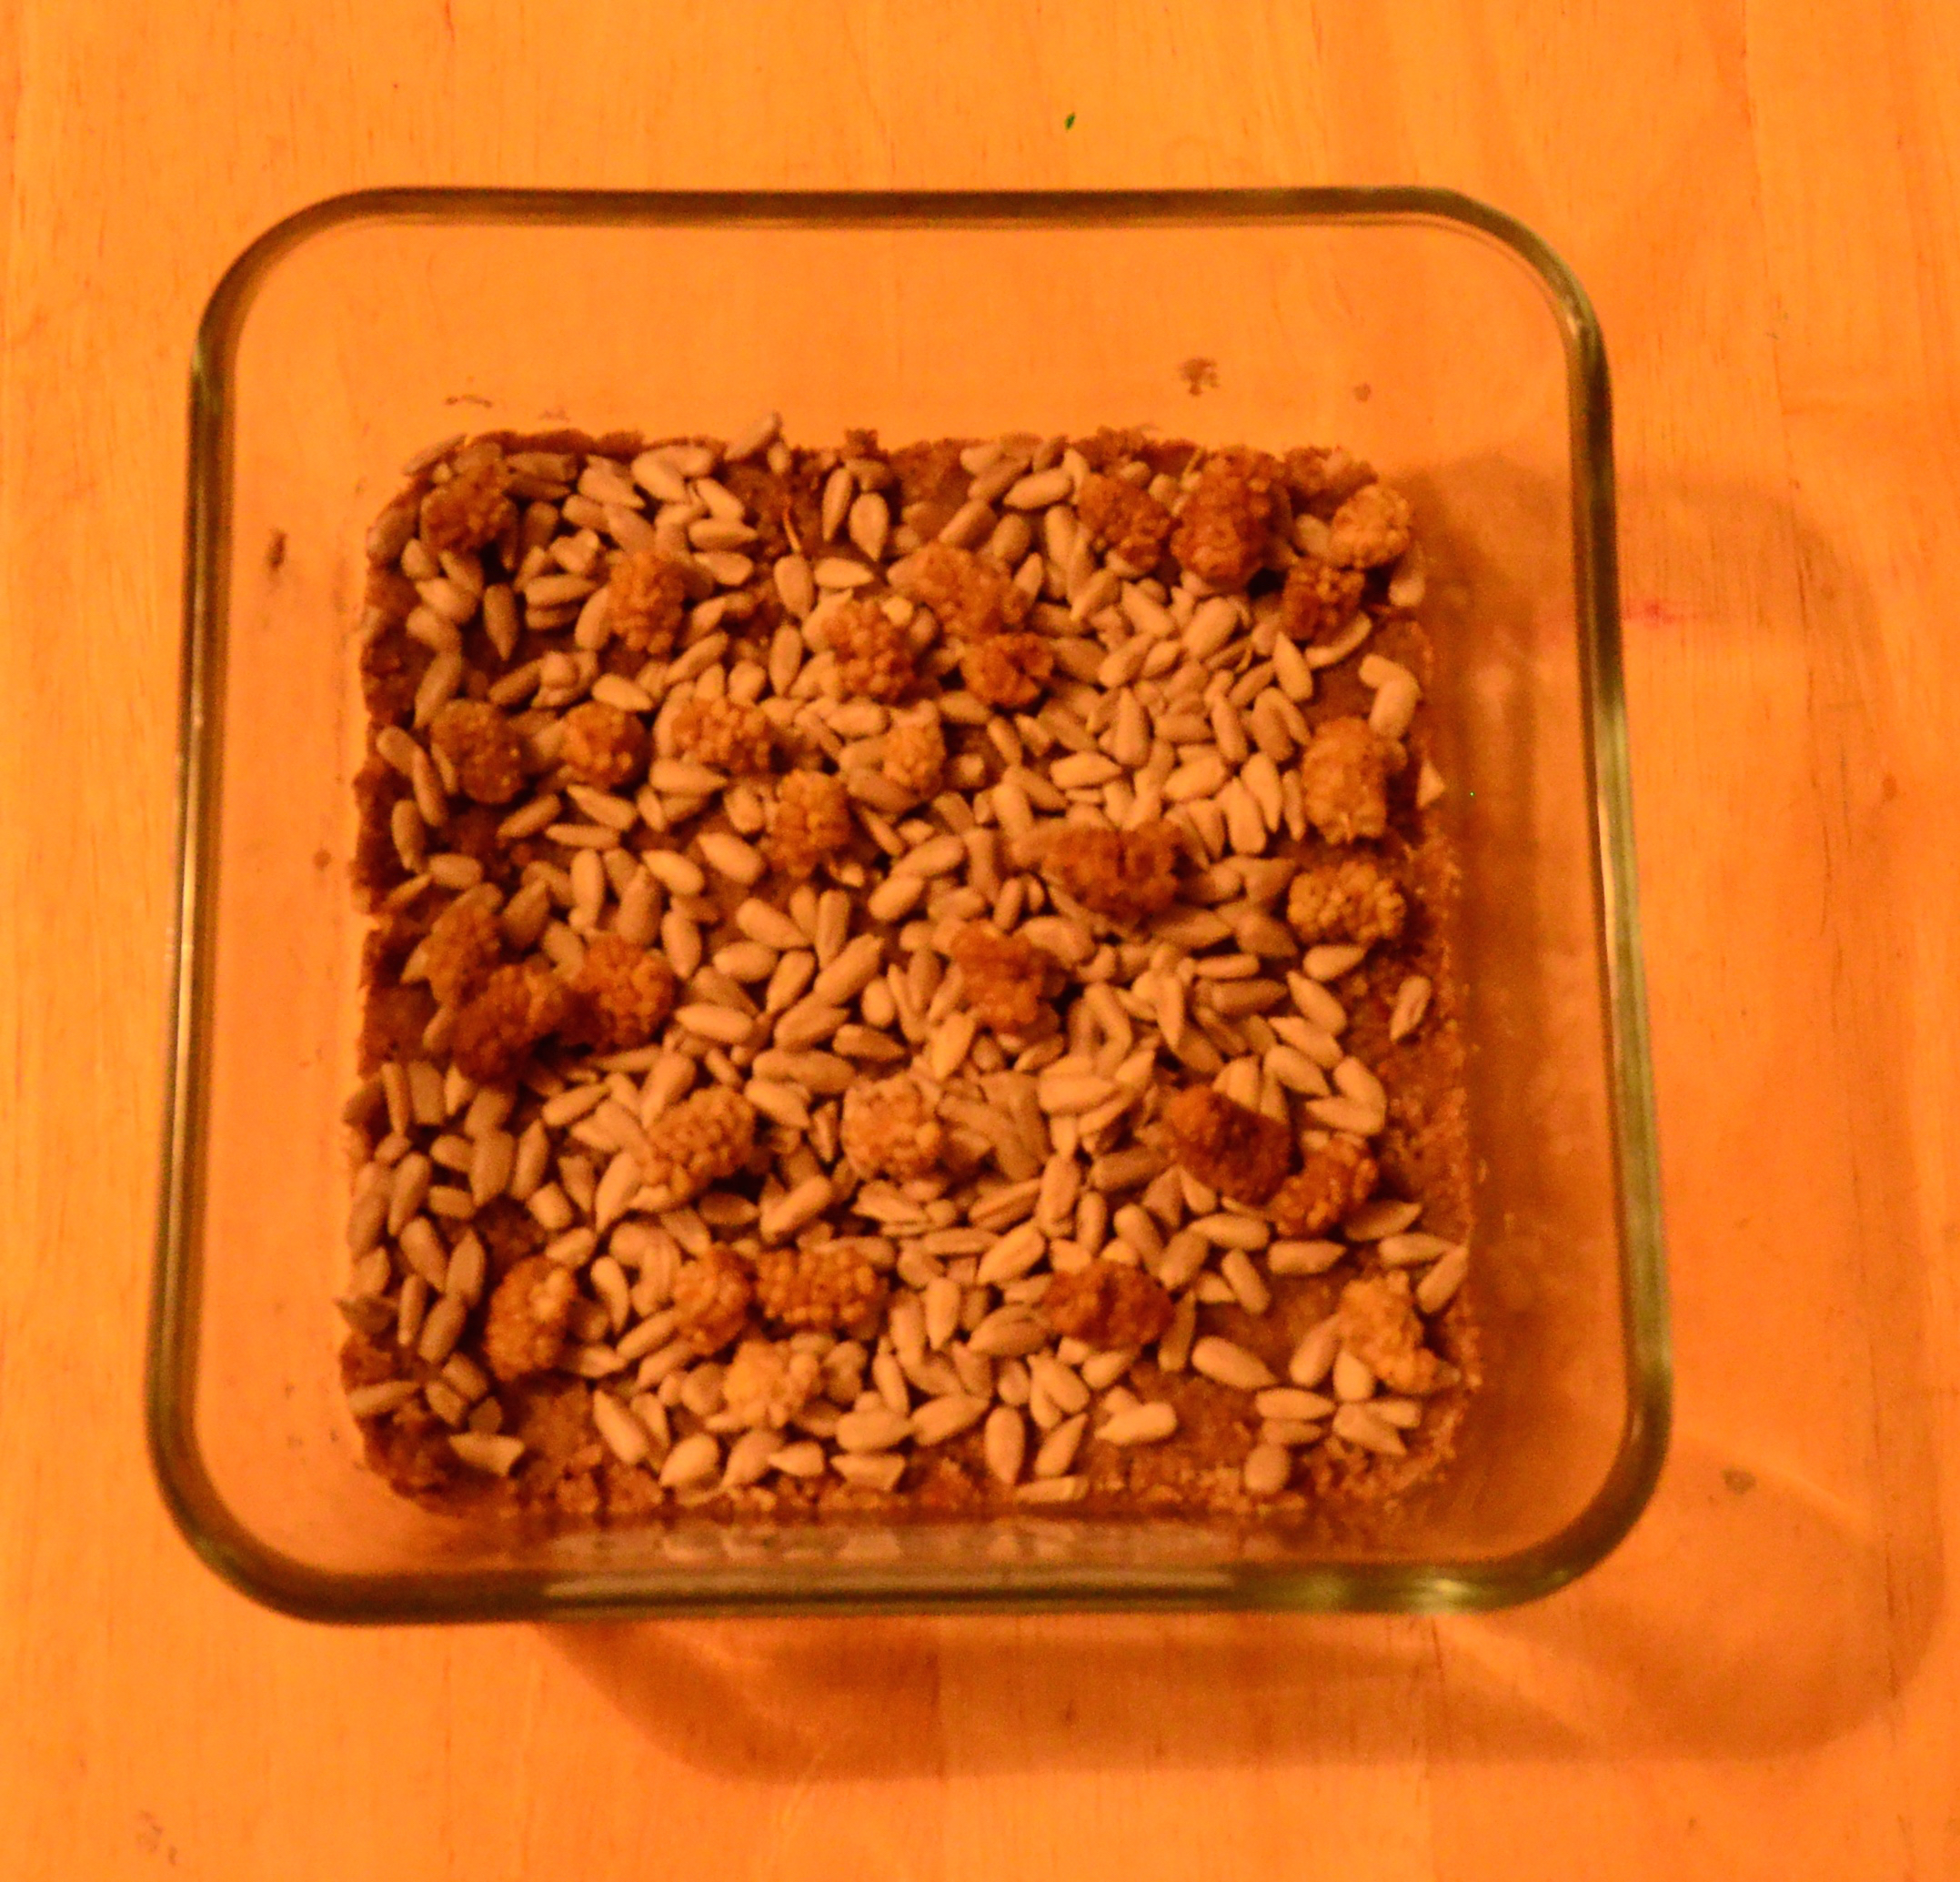
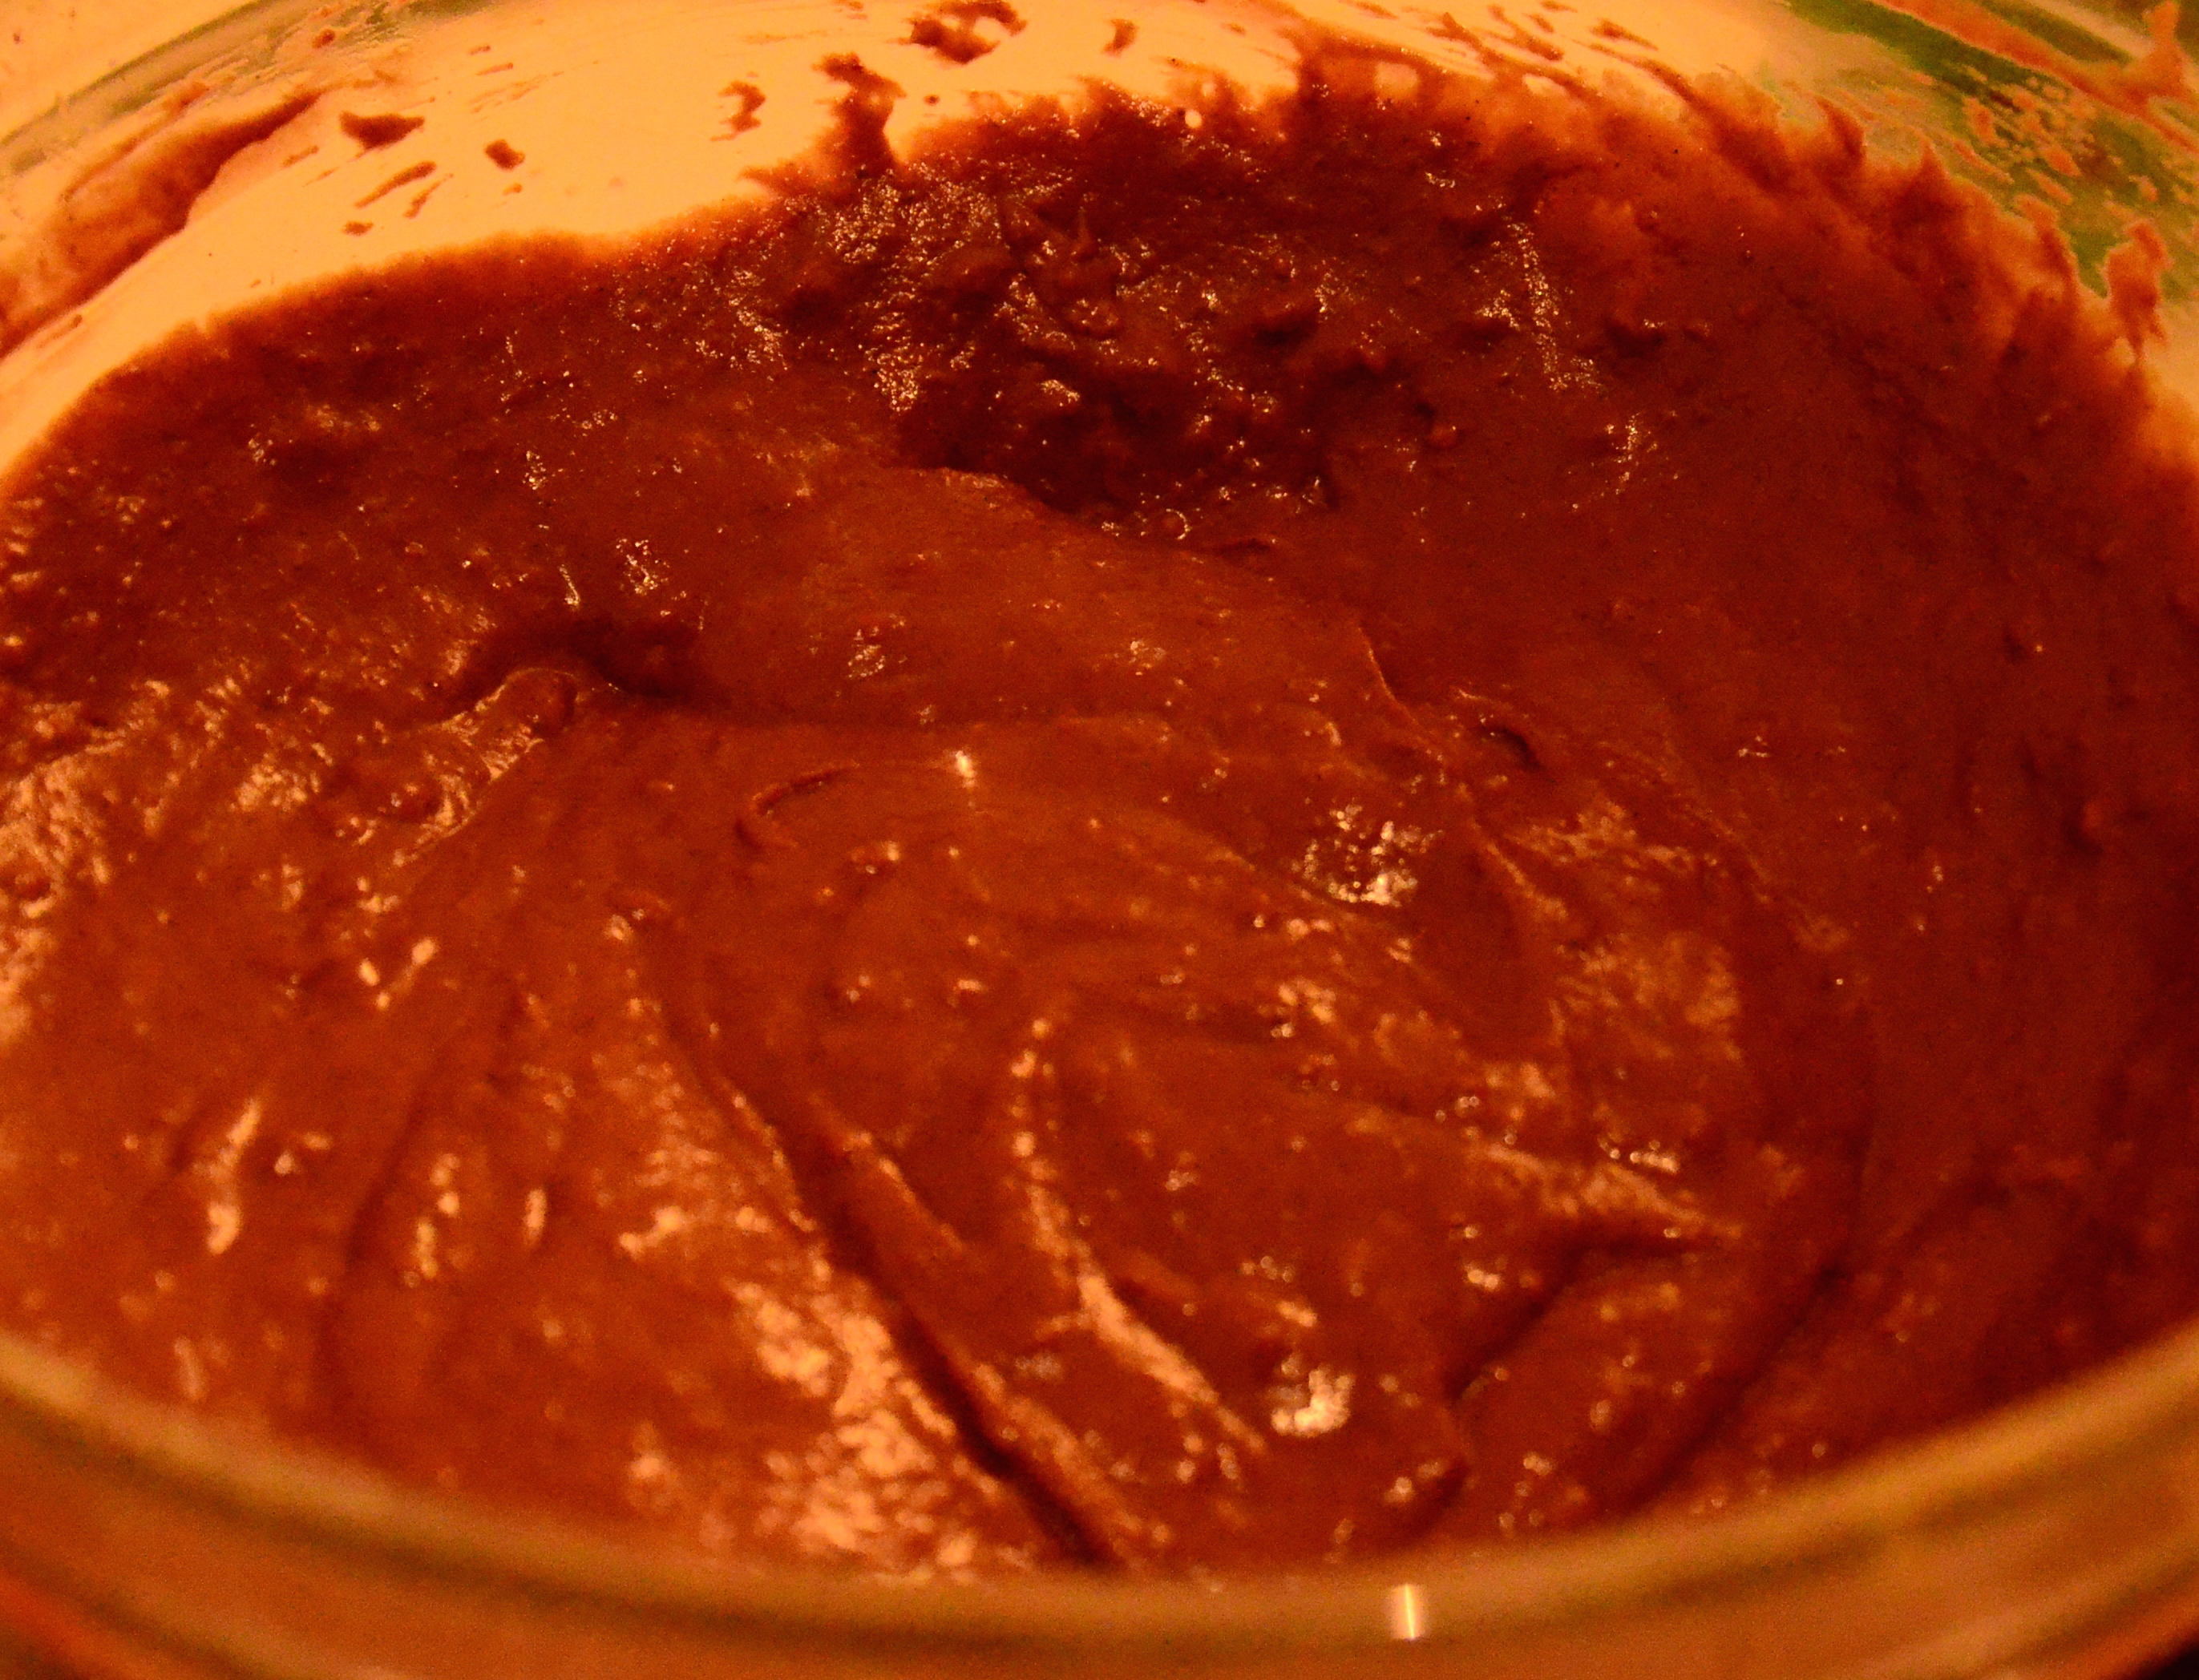
Mash your coconut oil together with the dark agave first. Mix your ground almonds, salt and vanilla and add these into the wet. Mix and then get in there with your fingers and start pressing the mix together. It will remain a little crumbly. Sprinkle one spoon of your lemon juice in and press the mix again. You may or may not need another spoon. You just want to wet the ingredients enough that it will hold together when pressed between your fingers.

from another base recipe- but this gives you an idea- the base for this will be darker
Now press into your tart/pie dish. Attempt to do so evenly- it will look prettier when cutting it later! 🙂 Cover it up and put in the fridge.
Coconut Peppermint Filling Method
You will need your blender or food processor for this bit. I imagine an immersion blender would do fine if you can figure out away to stop the coconut from flying all over the room!
Start with your coconut, coconut oil, peppermint and half the non dairy milk ( I used a light coconut one designed for use in cereals or coffee). Give this a blitz with your preferred pre-mentioned electric contraption. Gradually add more non dairy milk until you get the desired snow like consitancy.

Peppermint coconut snow! With very planned soft focus- really…
Take your base out of the fridge and gently press the peppermint coconut snow ontop. Again try and keep it even. Cover up again and put back into the fridge.

Coconut moon!
Raw Chocolate Topping-hmmm
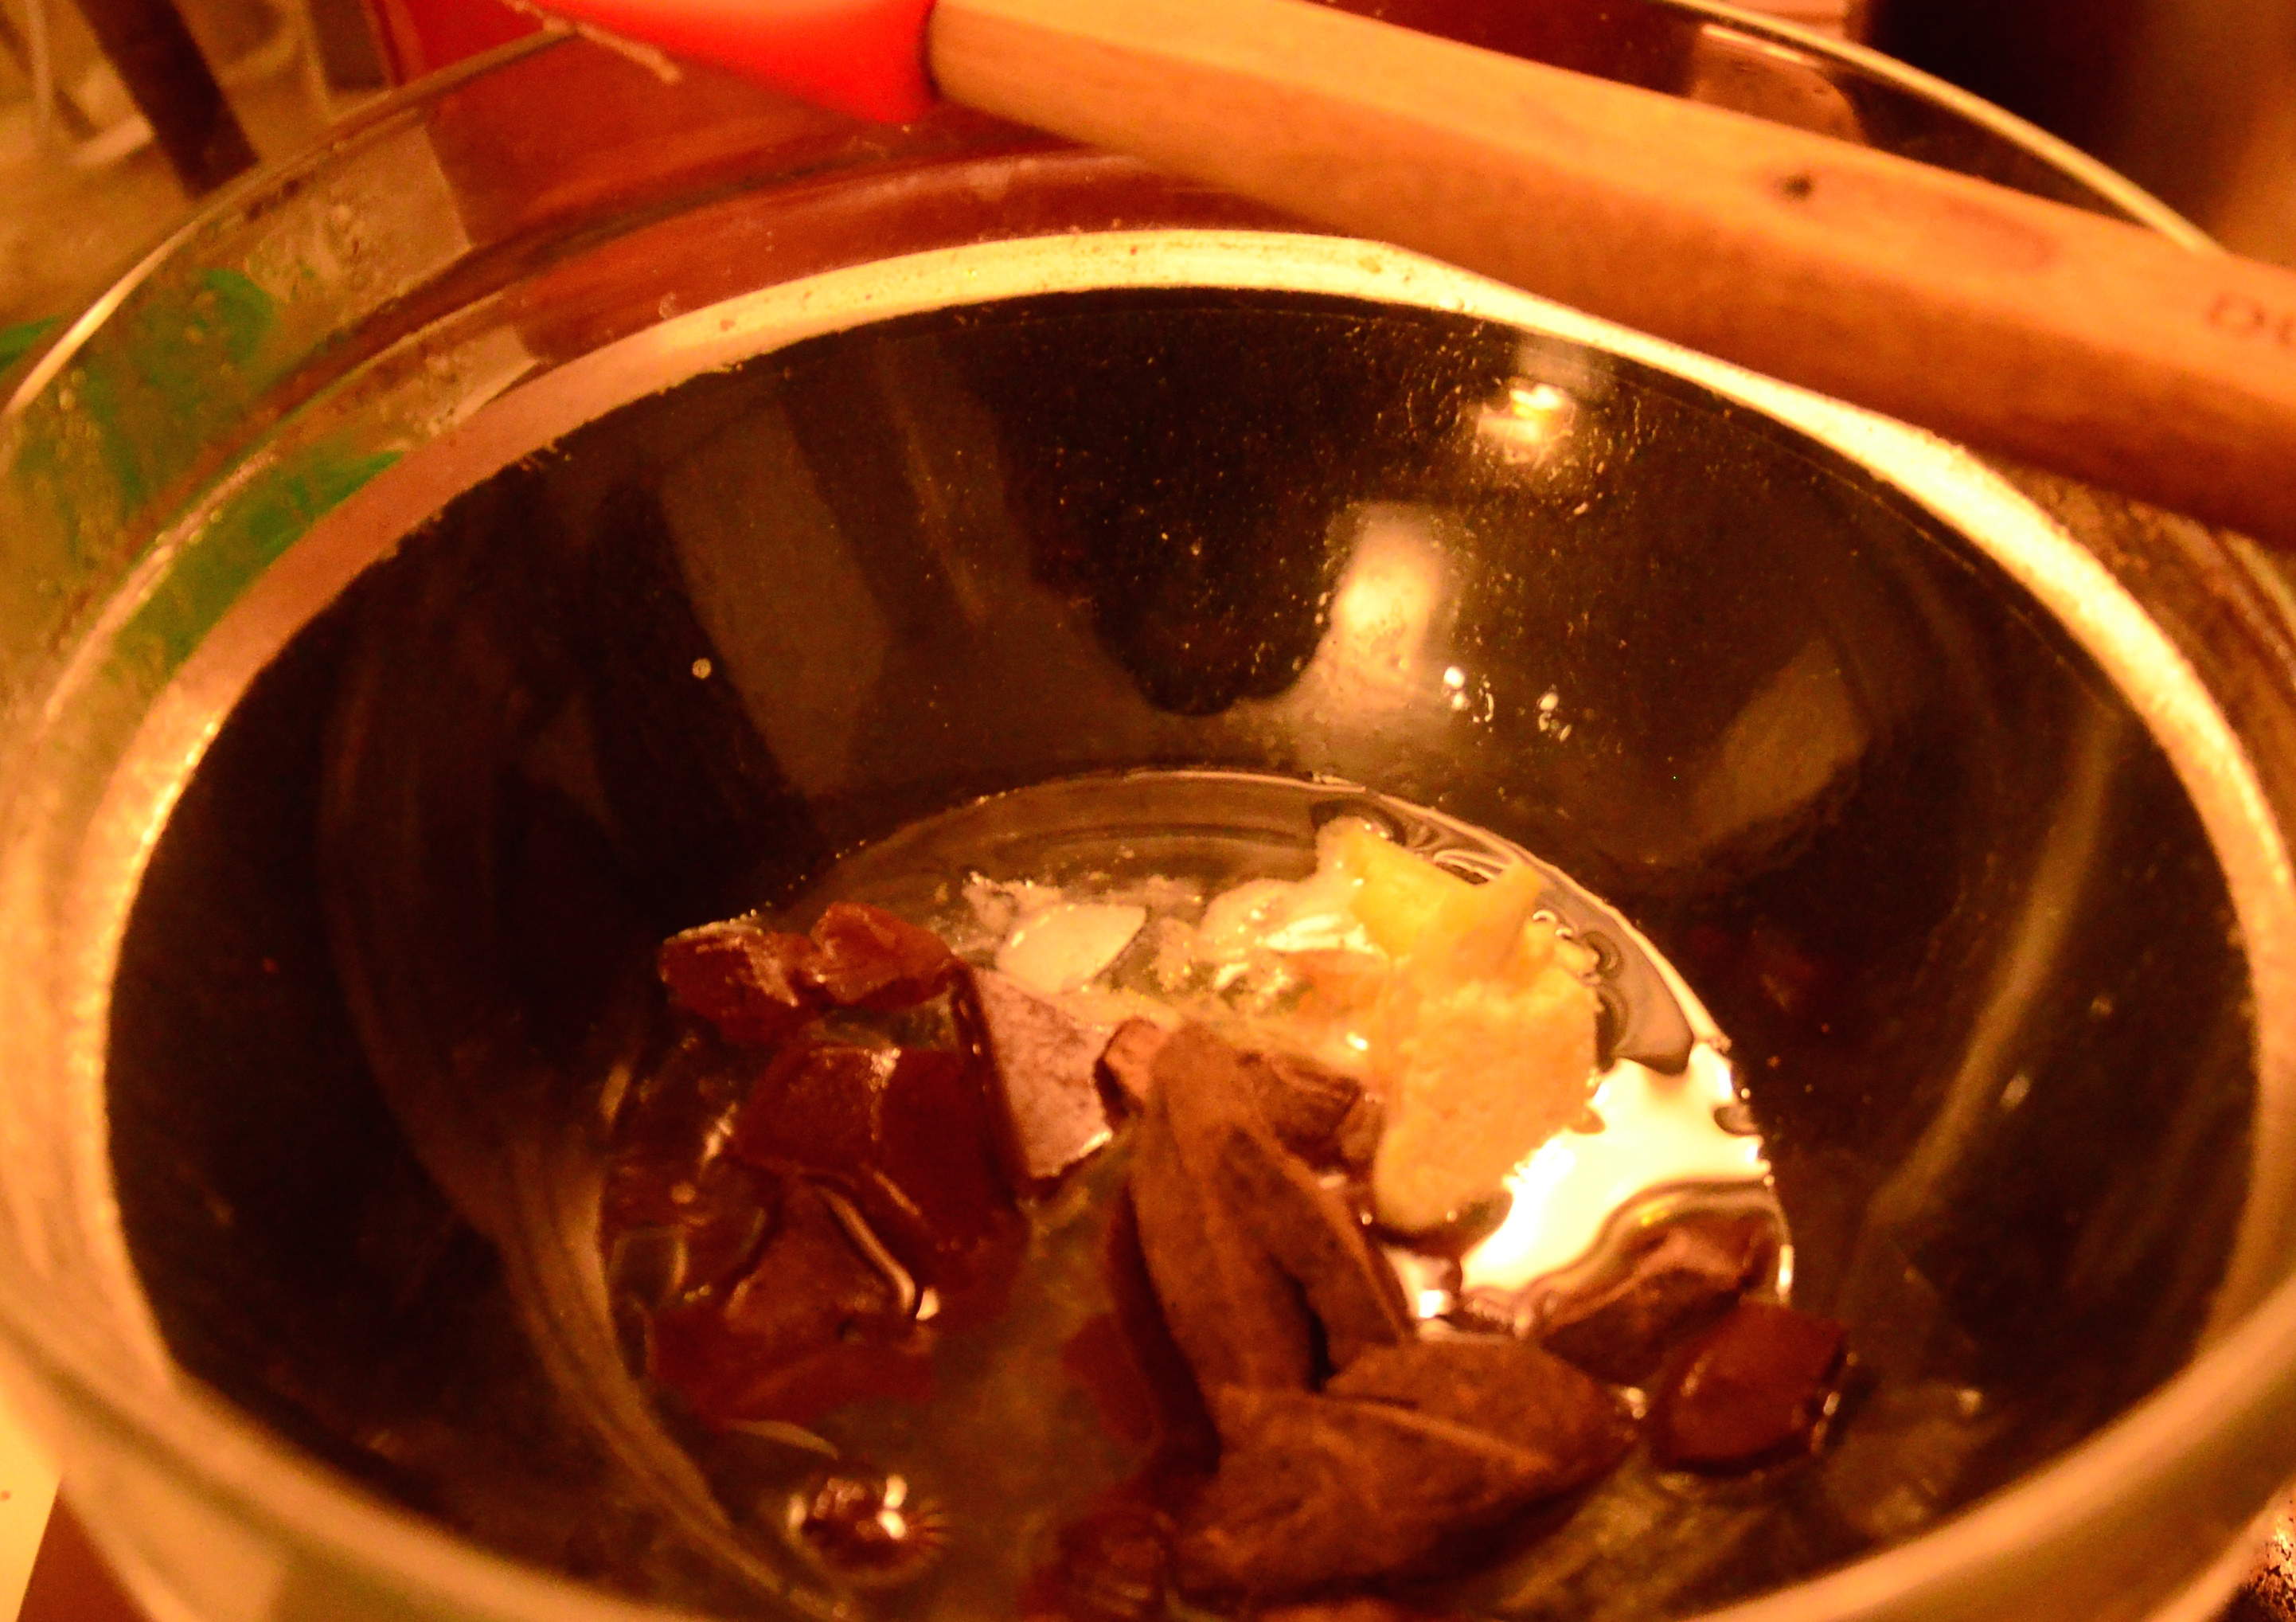
Chop your raw cacao paste and cacao butter. I use an Irish brand called Nua Naturals- it is where I get my vanilla powder and agave too!

The raw fabulousness
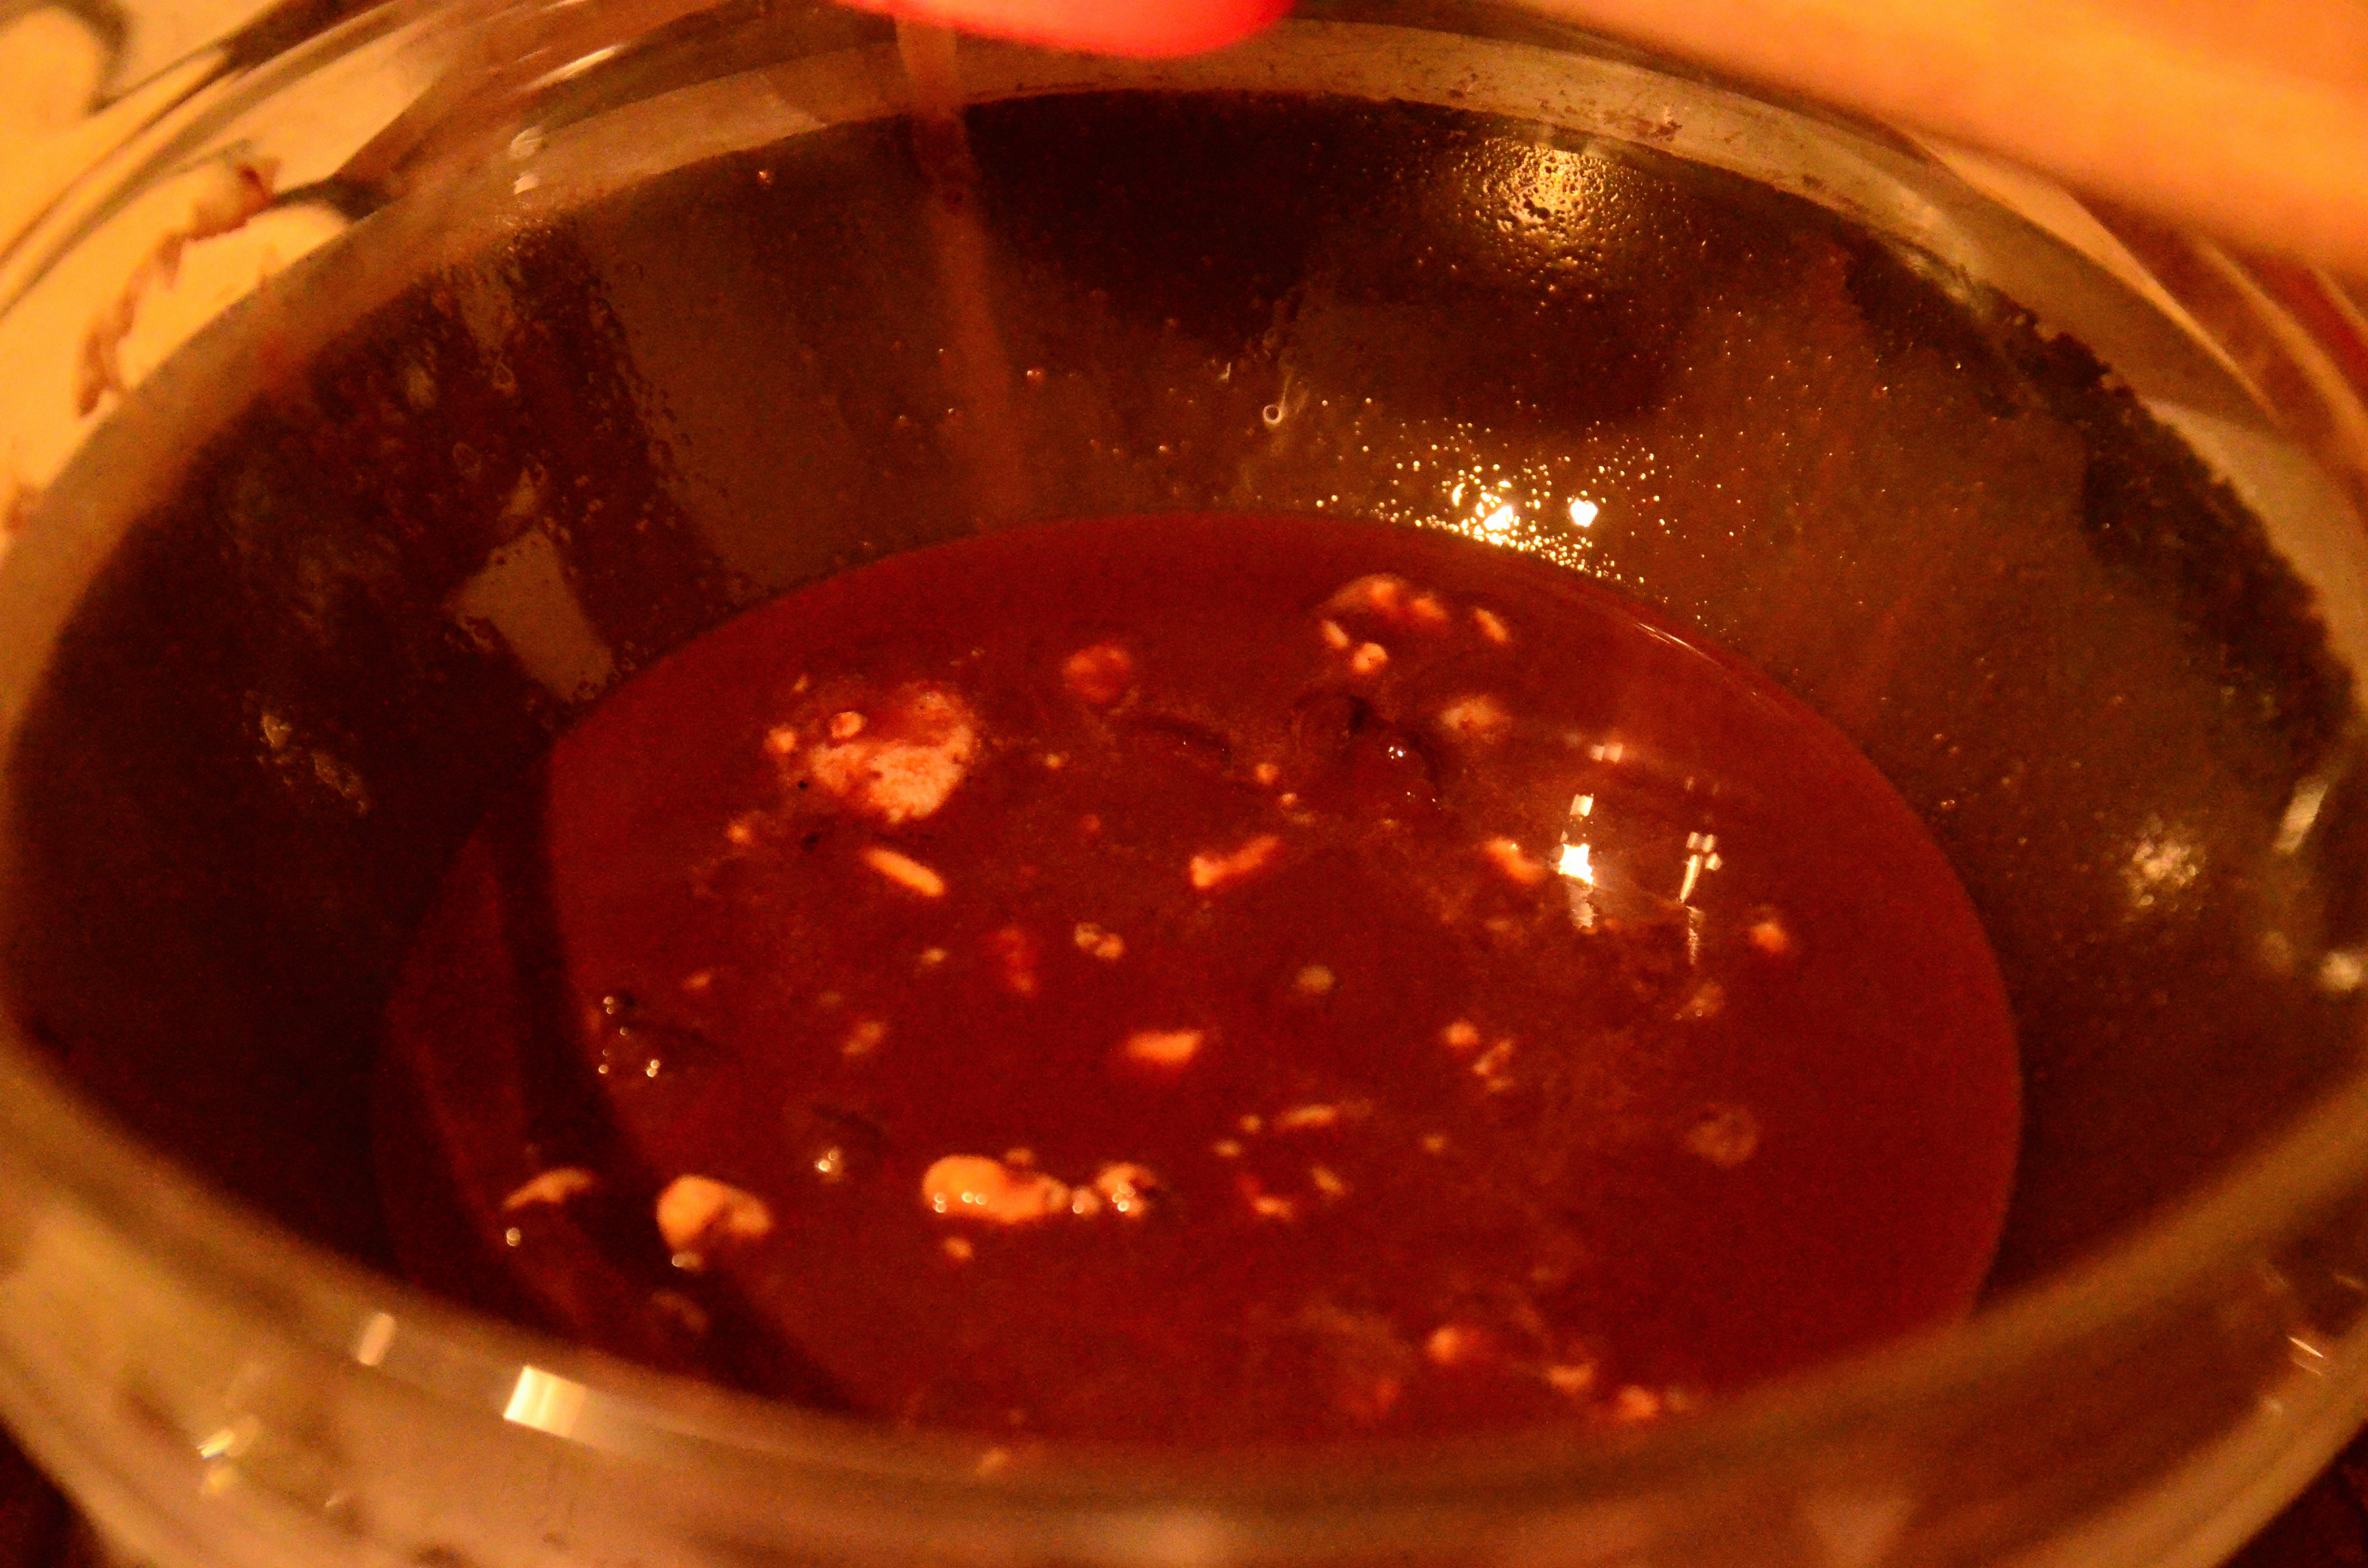
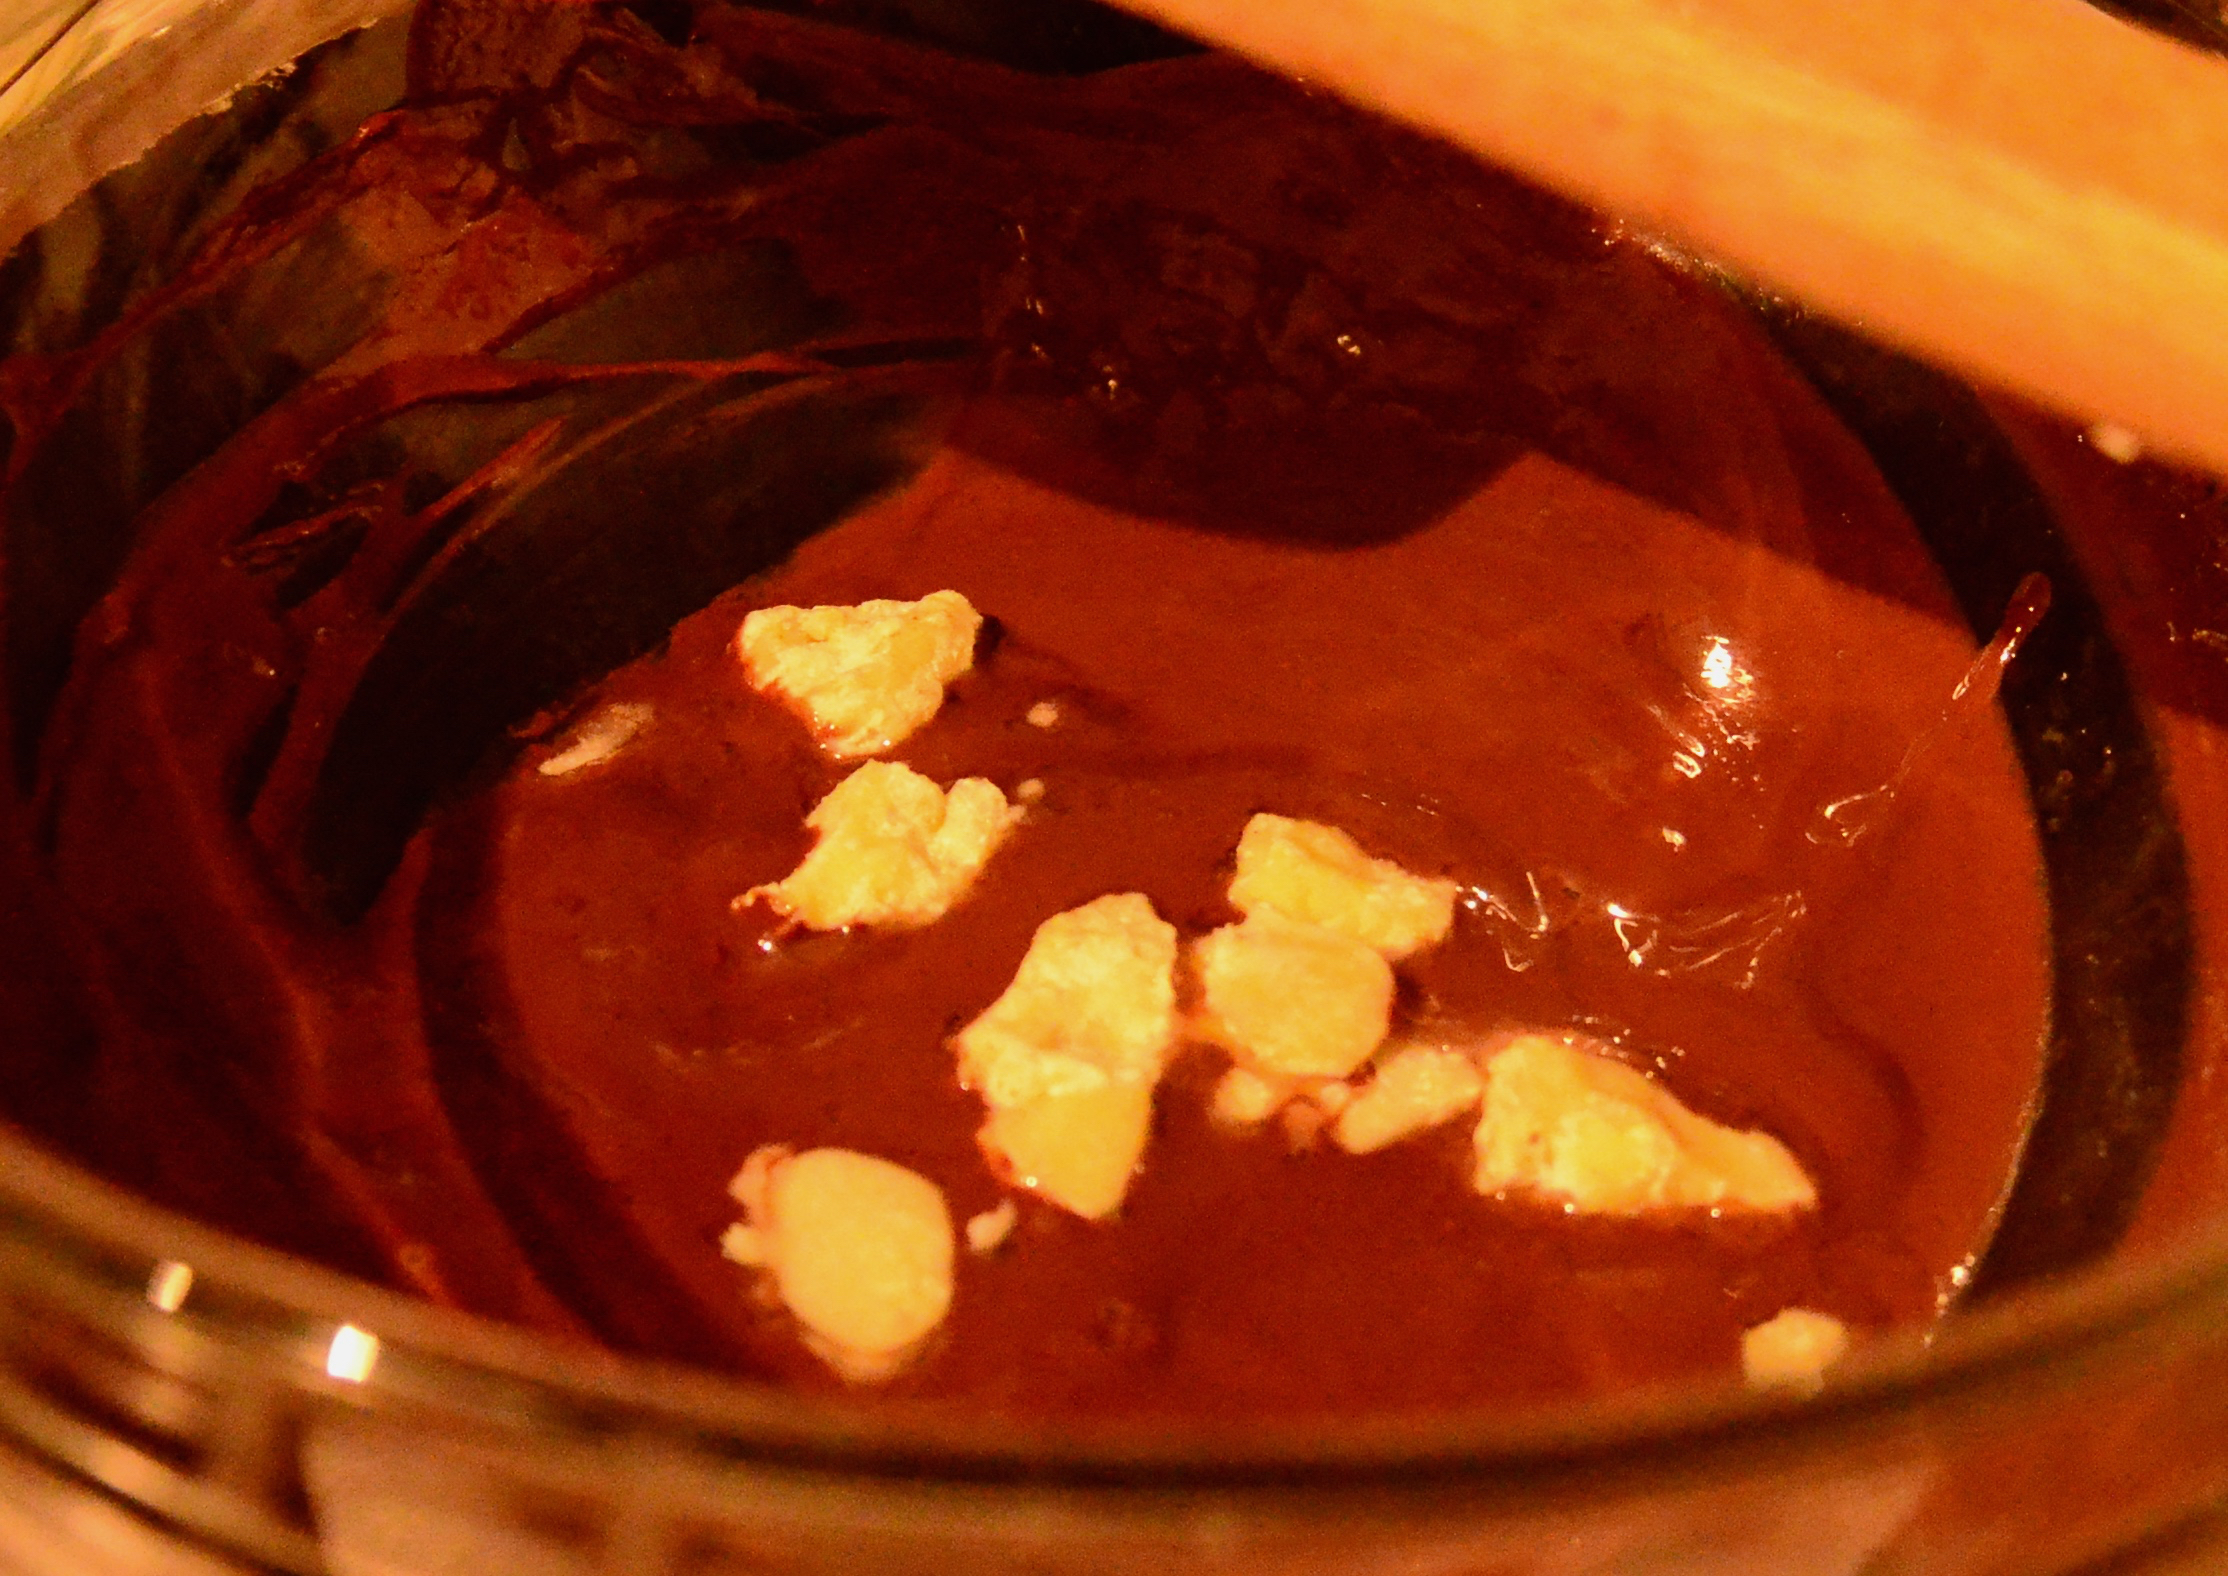
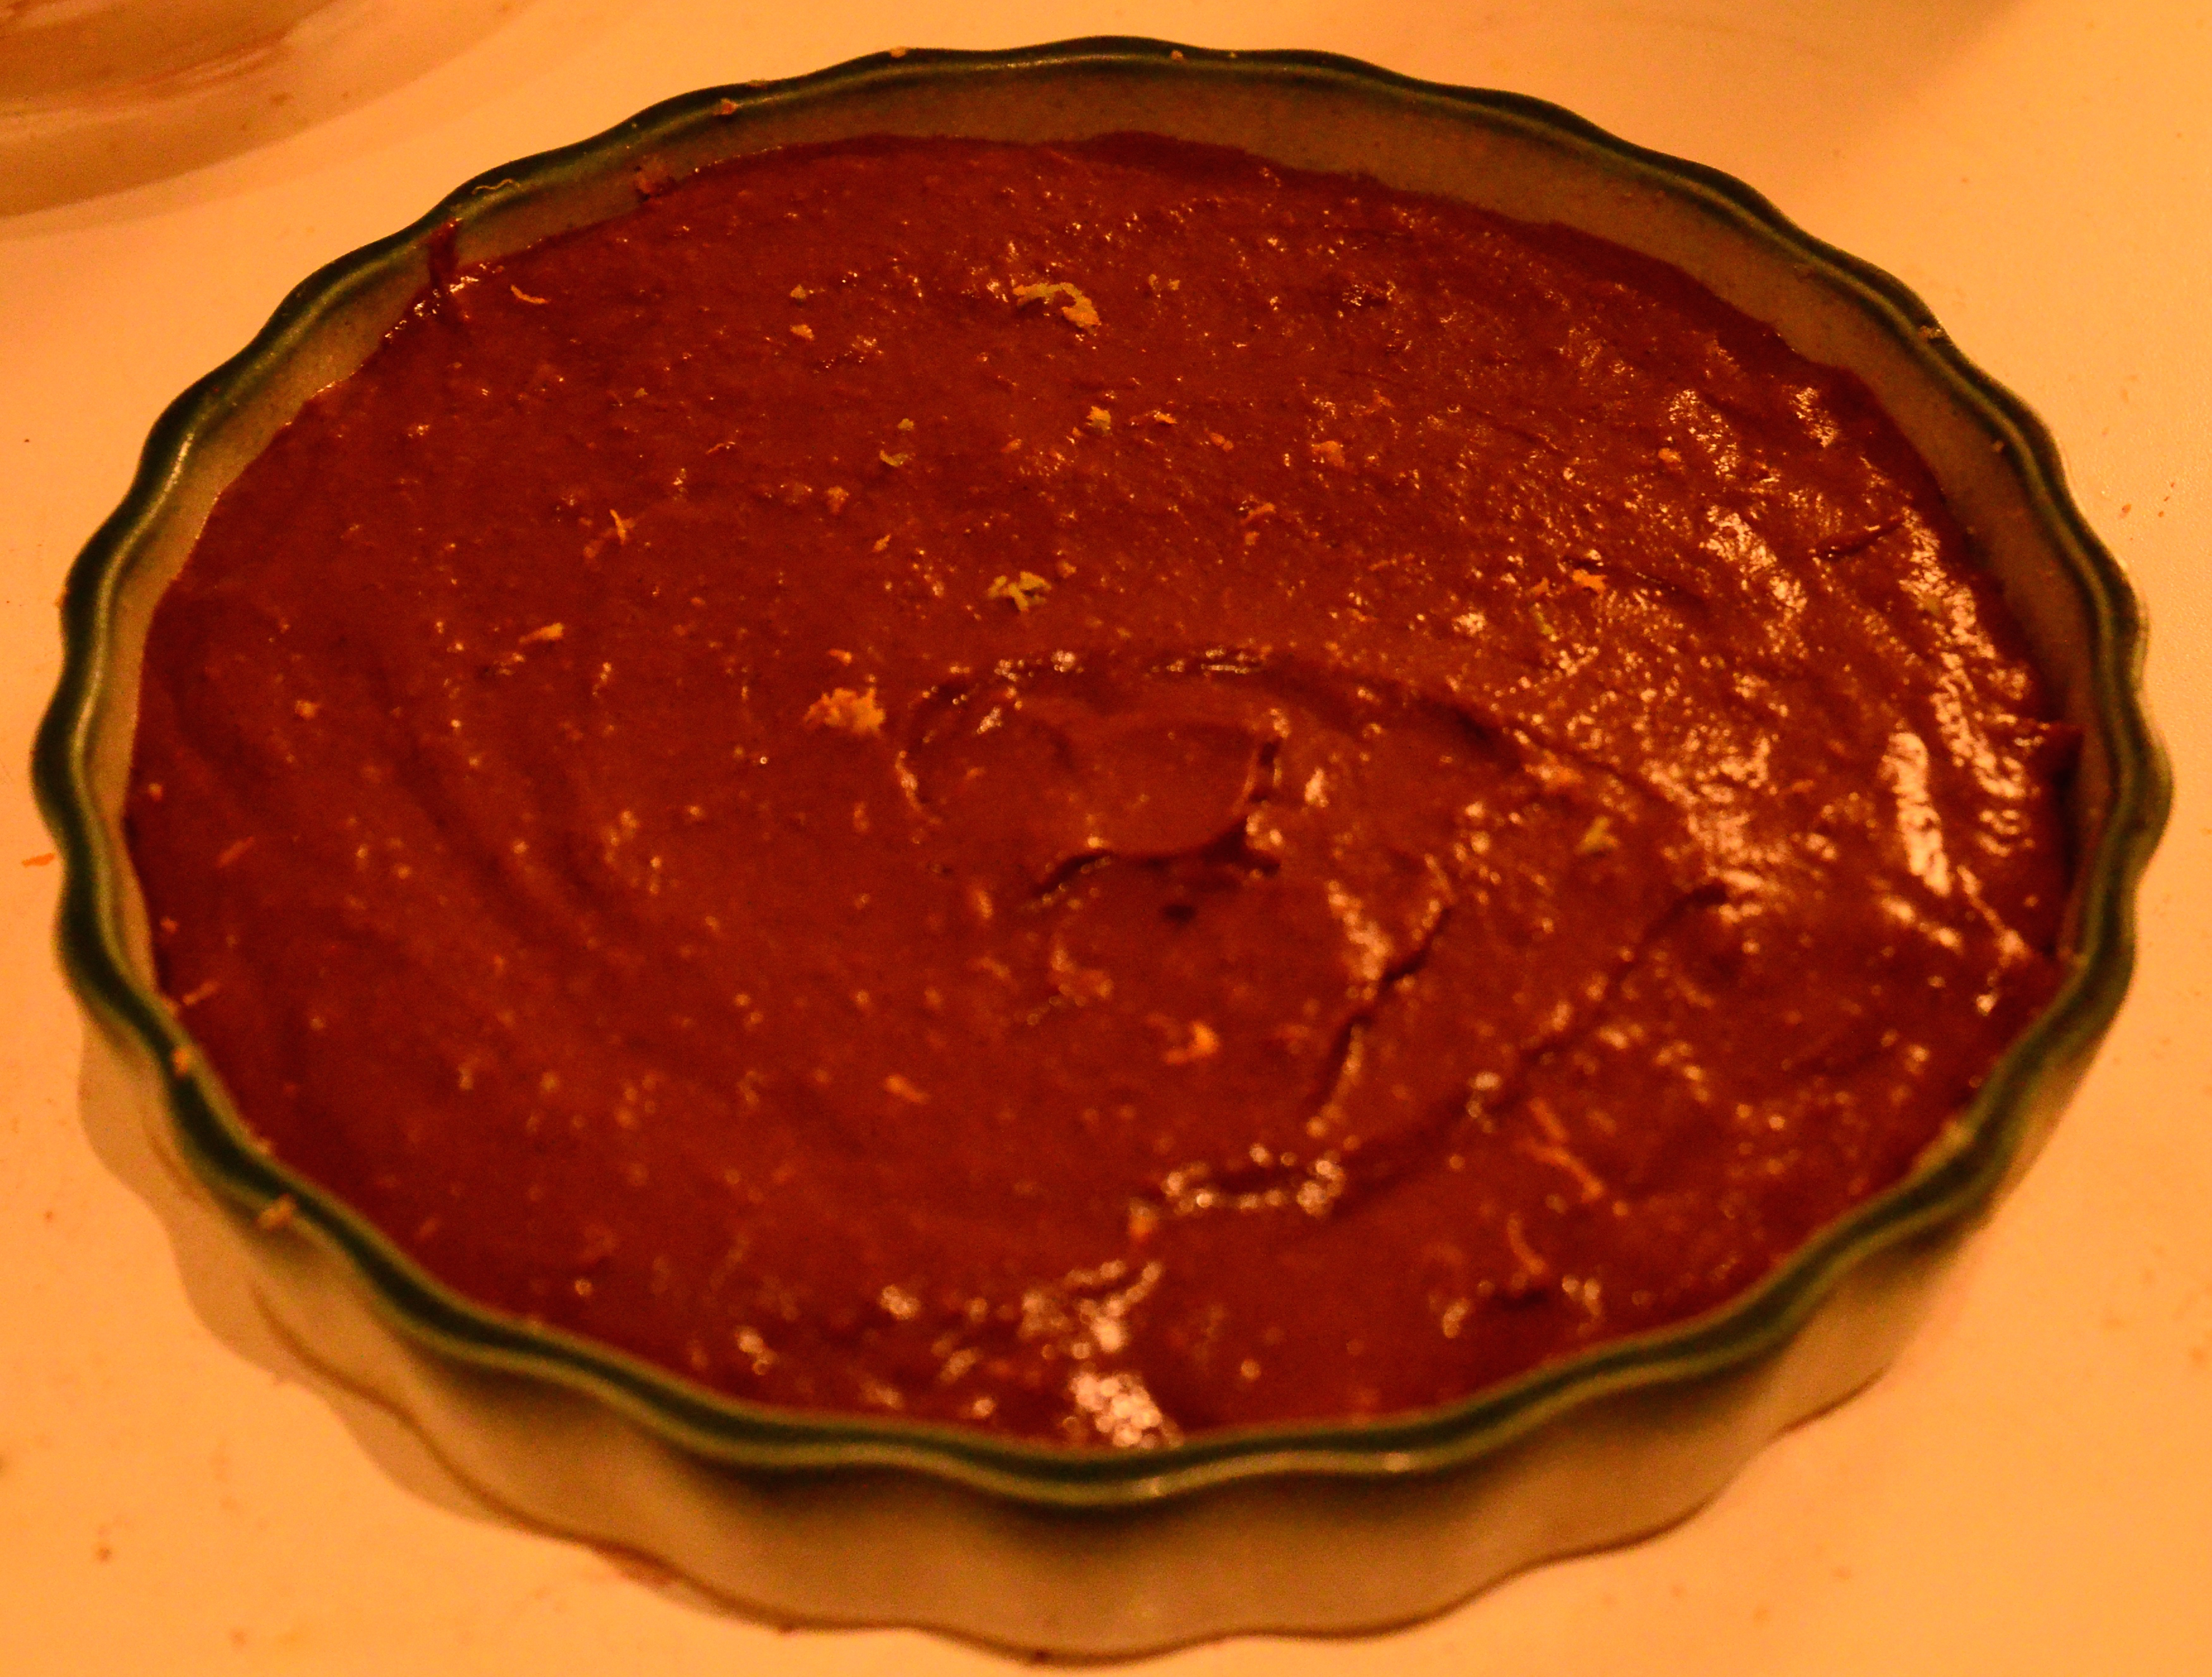
Put some water on to simmer and find the right sized a heat proof bowl (e.g perspex ) to place ontop. The water should not touch the bowl or it will be too hot. Pop in your cacao paste, cacao butter and coconut oil. Once melted add the agave, gently stir in the cacao powder, salt, vanilla and non dairy milk of choice. The milk helps the chocolate layer be a little bit softer so that it possible to cut the torte / pie.
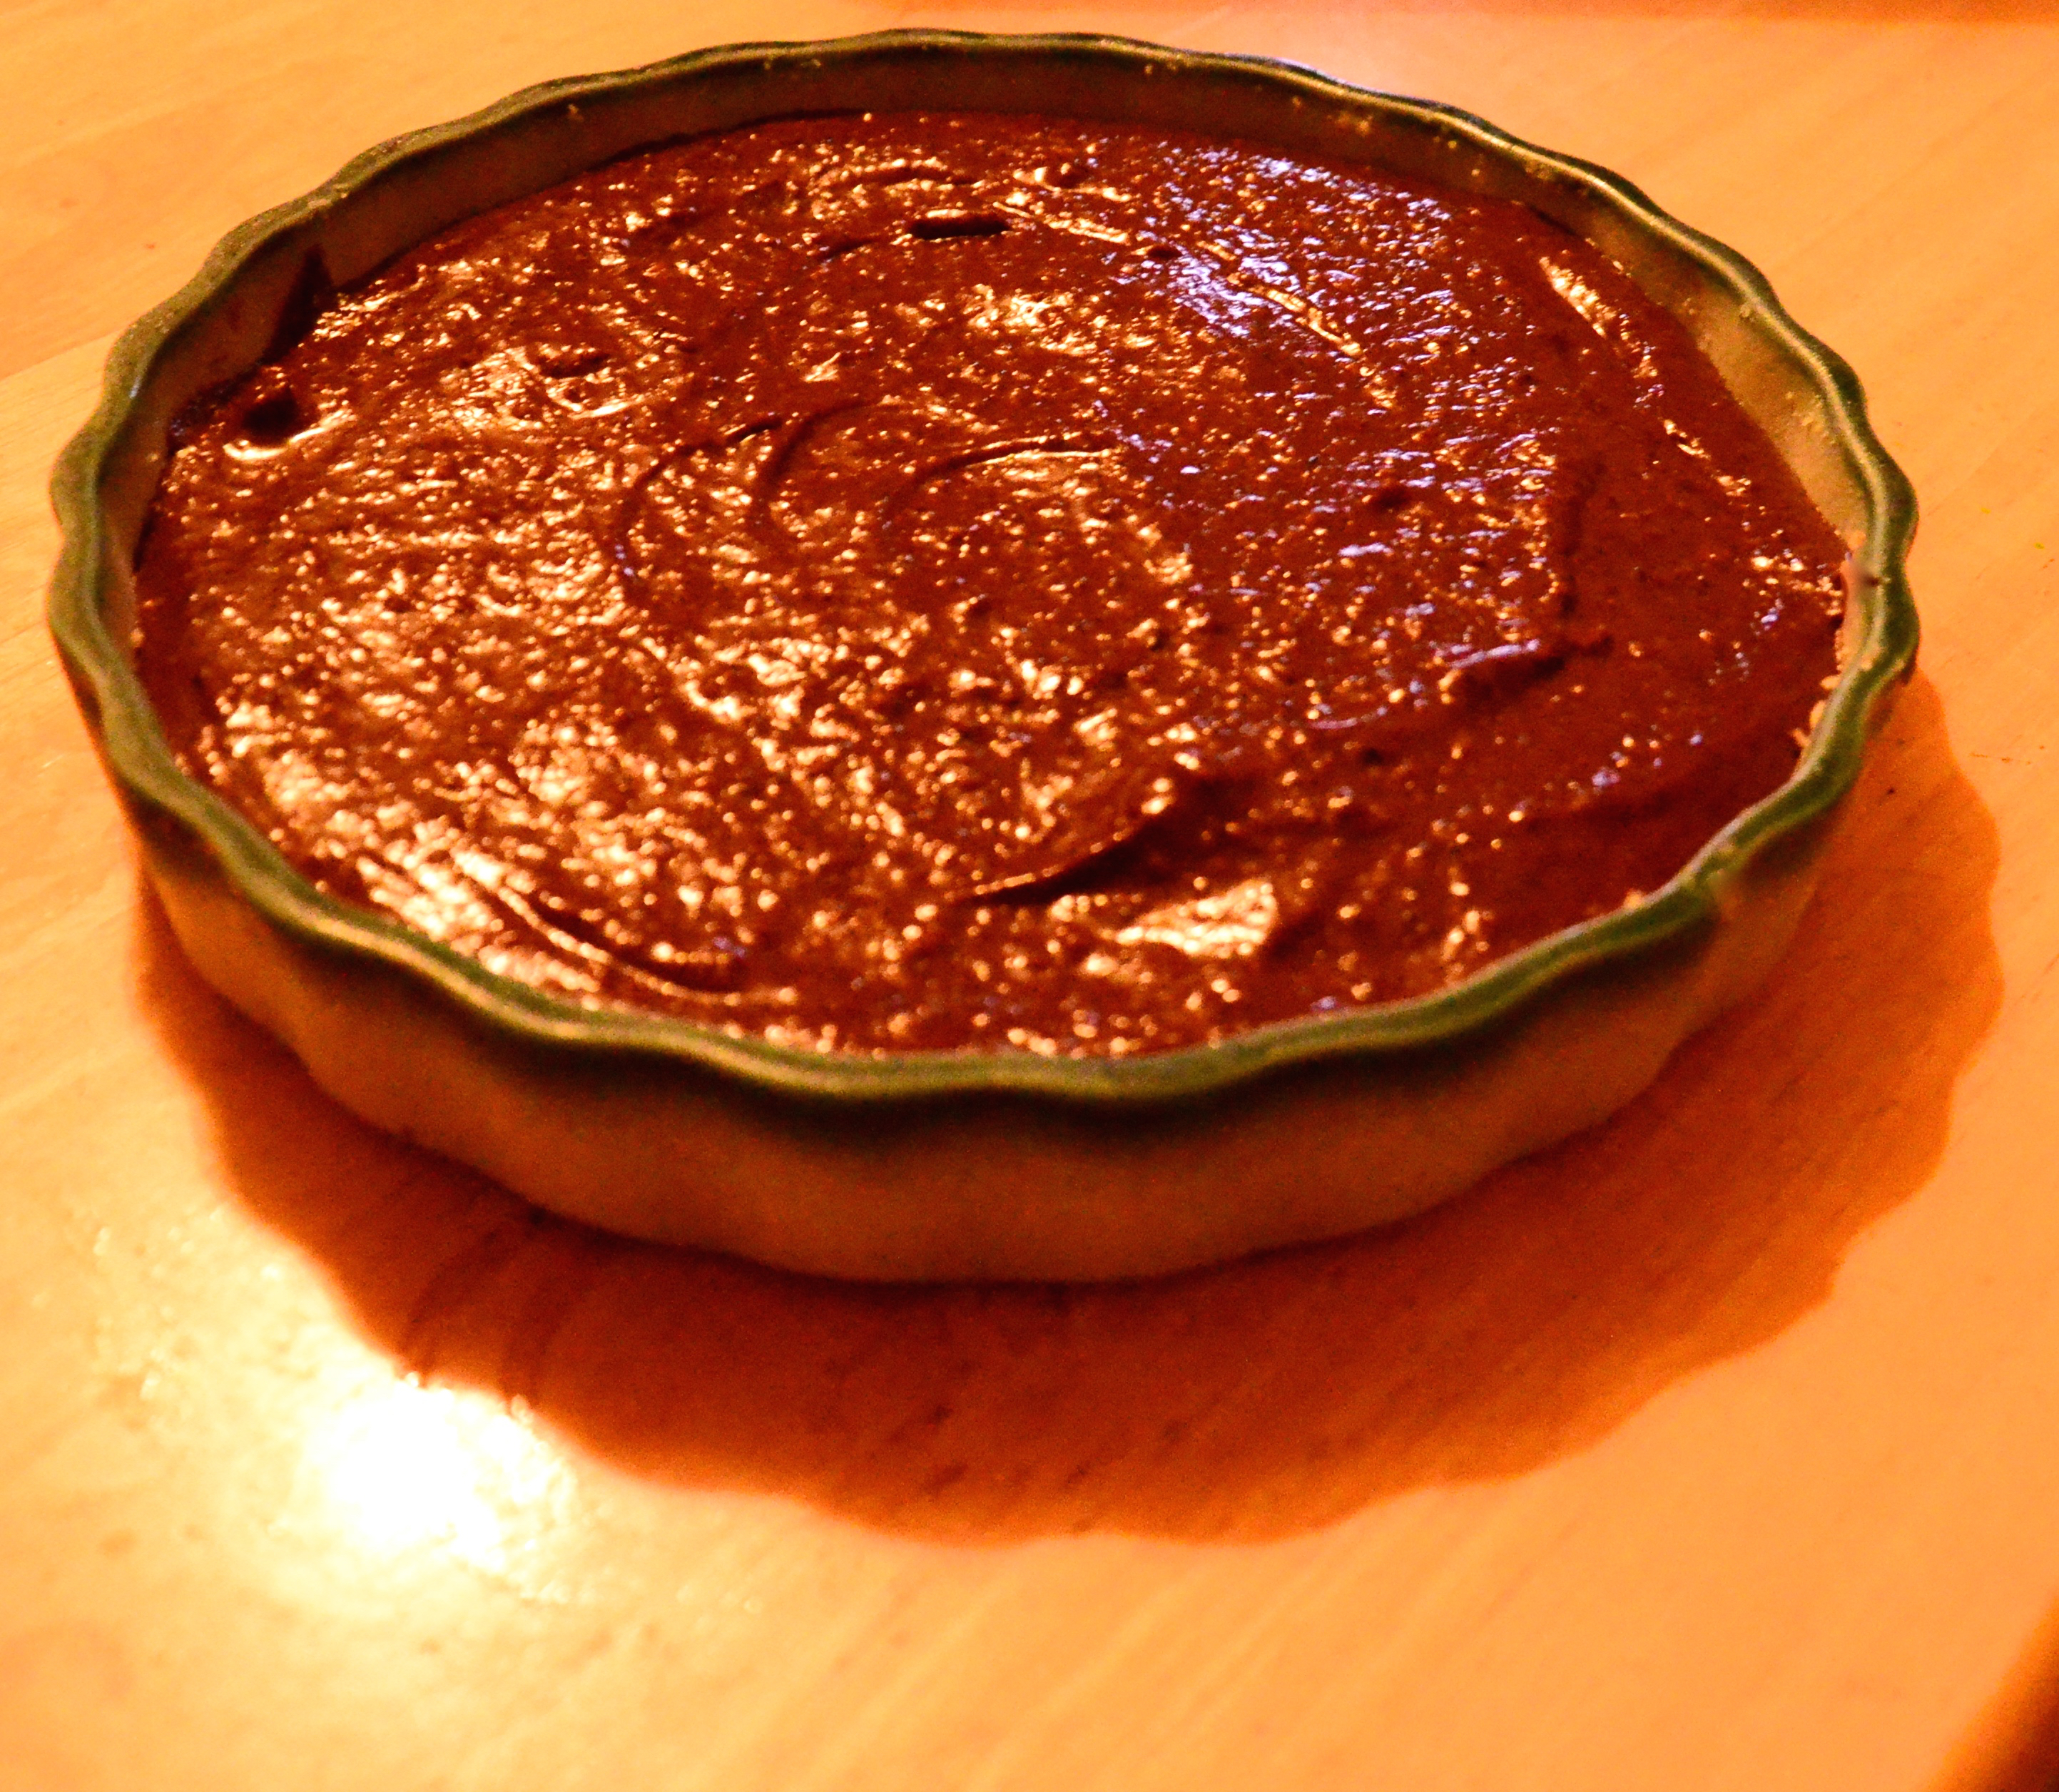
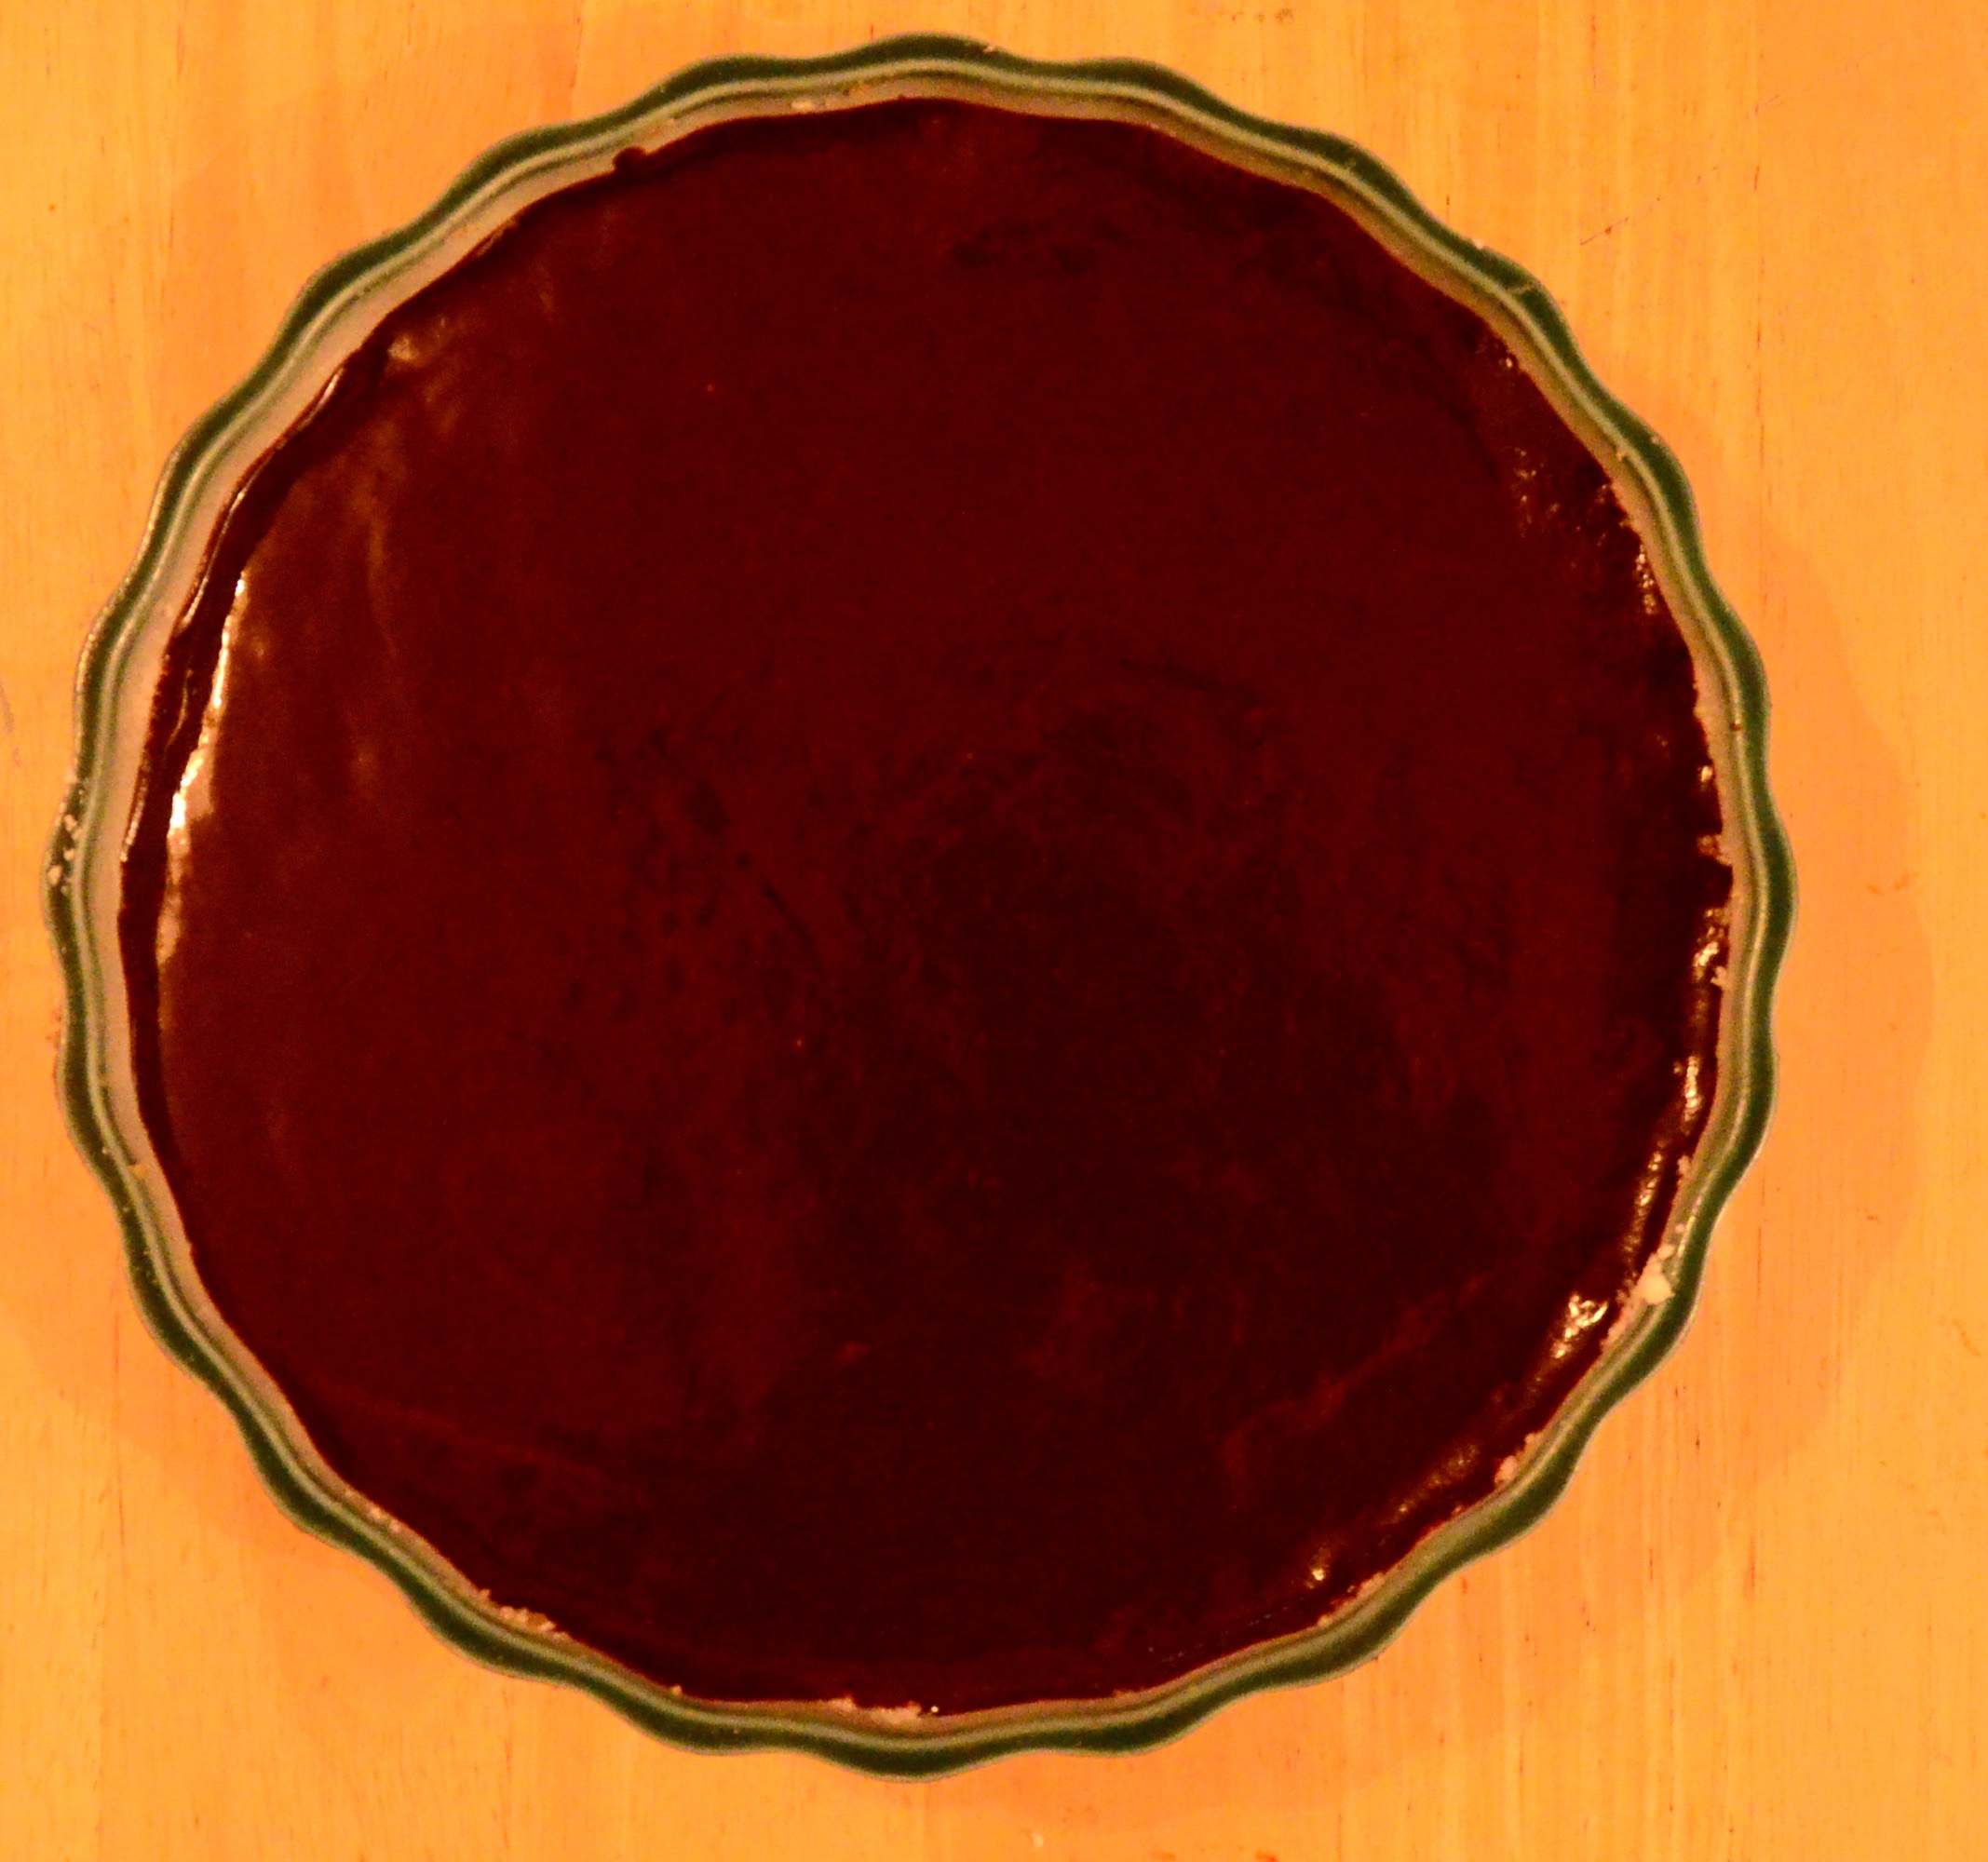
Take your nearly finished pie out of the fridge. Use a towel or oven mitt to pick your perspex bowl and pour the yummy gooey chocolate goodness over the snowy coconut layer. It looks so lovely as it coats it. I find it easiest to pick the pie dish up and gently tilt it this way and that until the chocolate has coated it all in a pretty swirling manner. I like to make a tent or tee-pee for my pie out of paper. This keeps it hidden and also reduces the risk of the top of the pie being marked by a collapsing cover.
Leave to chill for a couple of hours at least. You can keep it in the fridge but it really does need to be out at room temprature for a half an hour before serving. I find the the coconut layer goes so solid when refridgerated it will actually separate from the base upon slicing. At room temprature it softens and it all holds together like pies should!
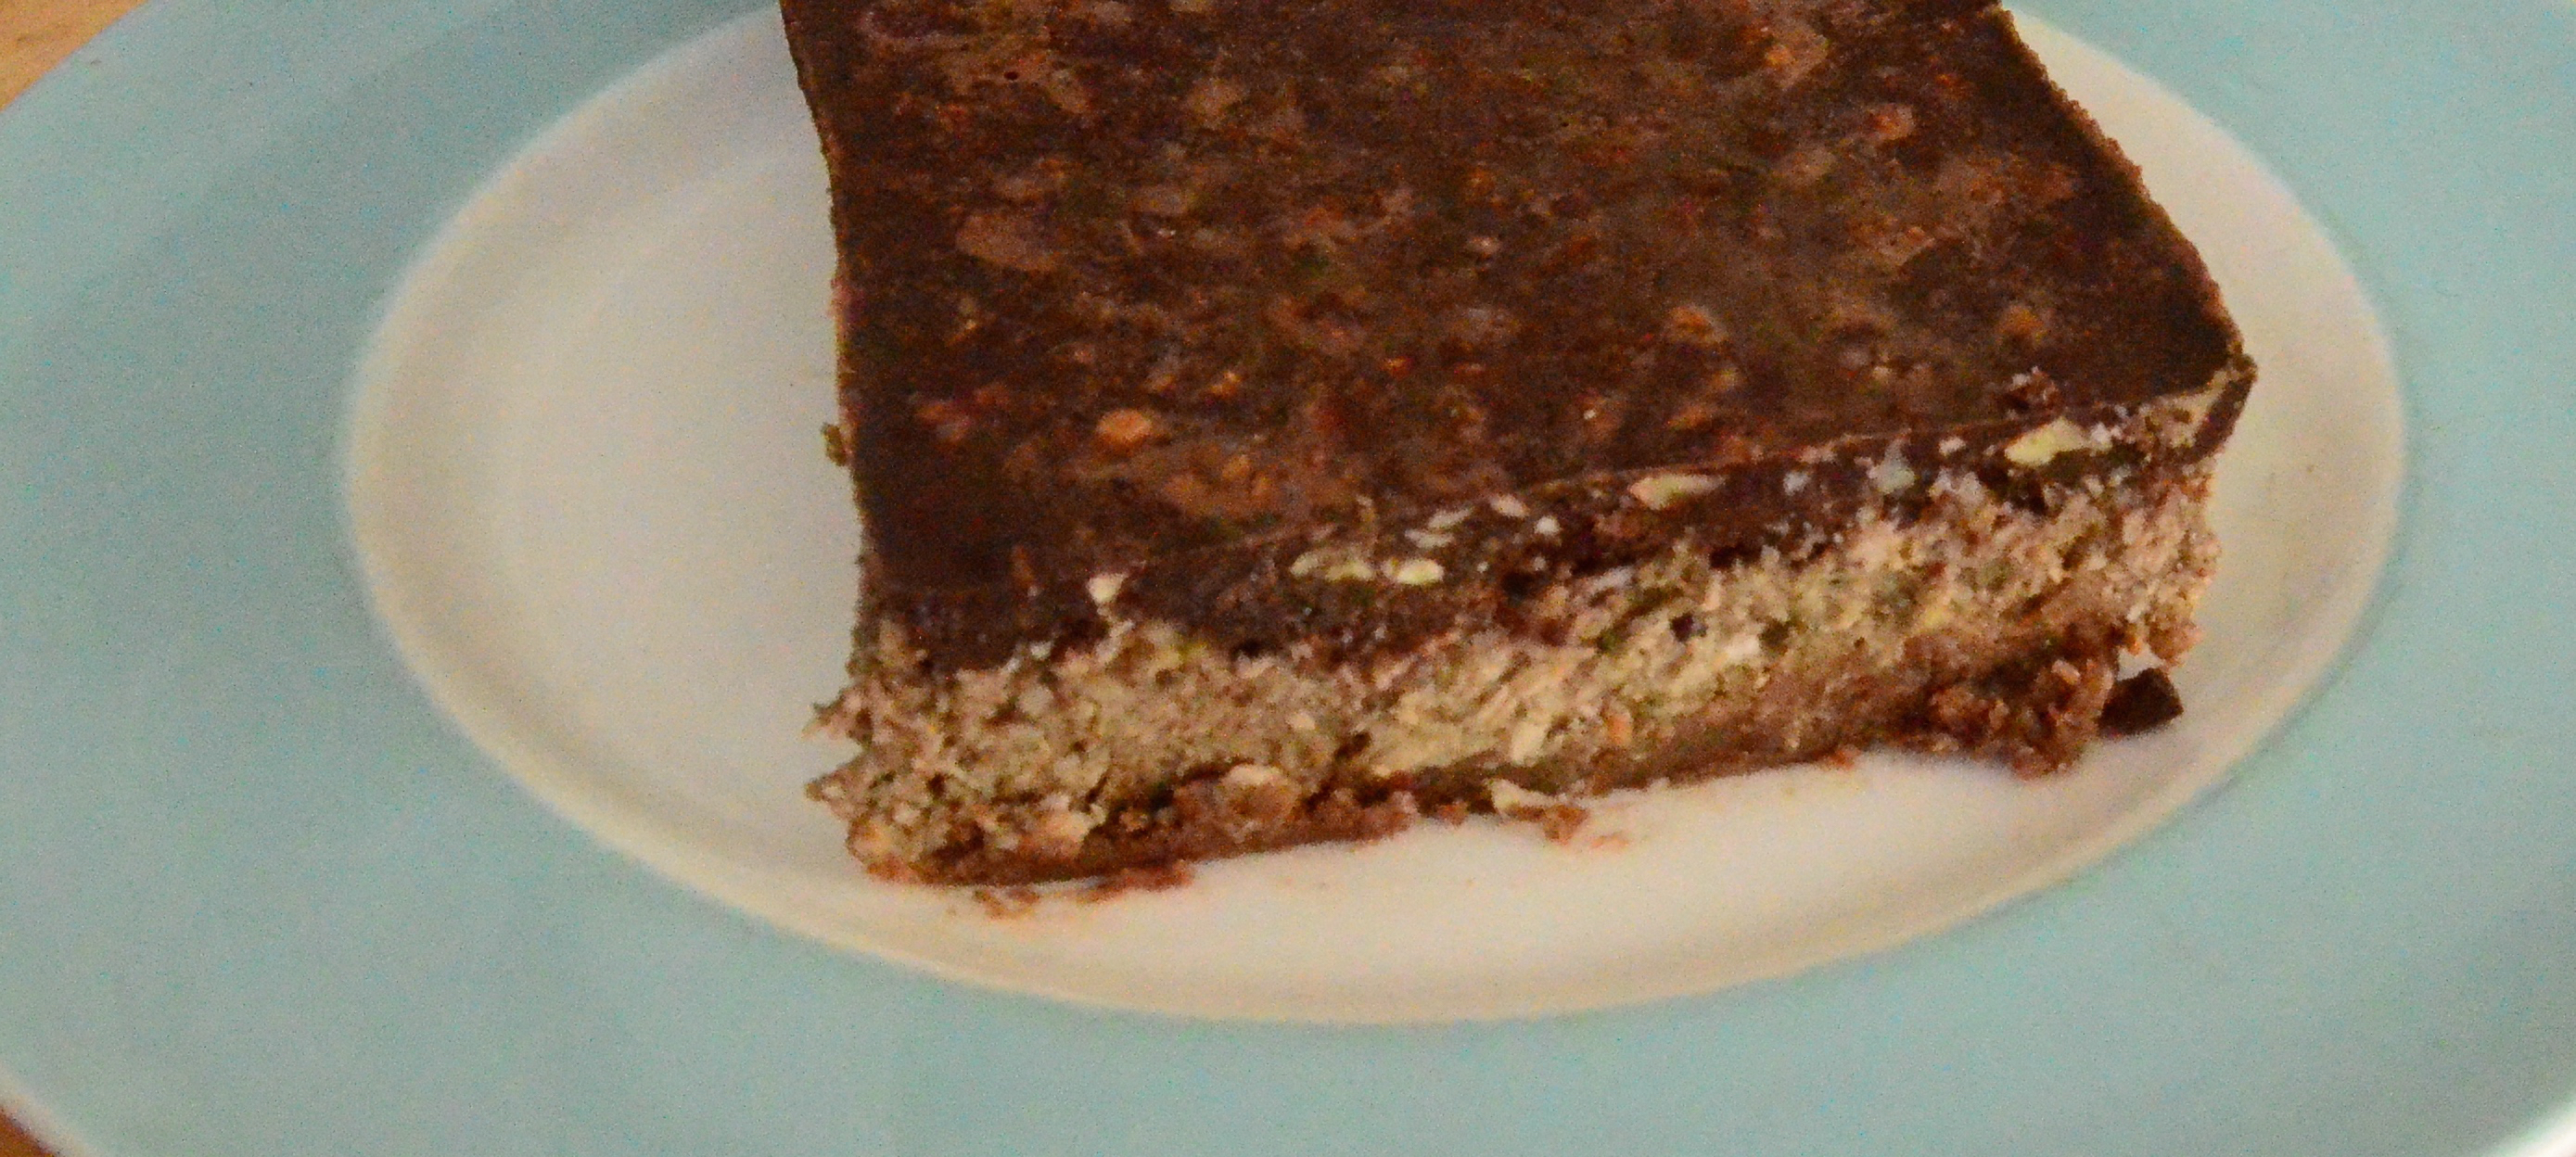
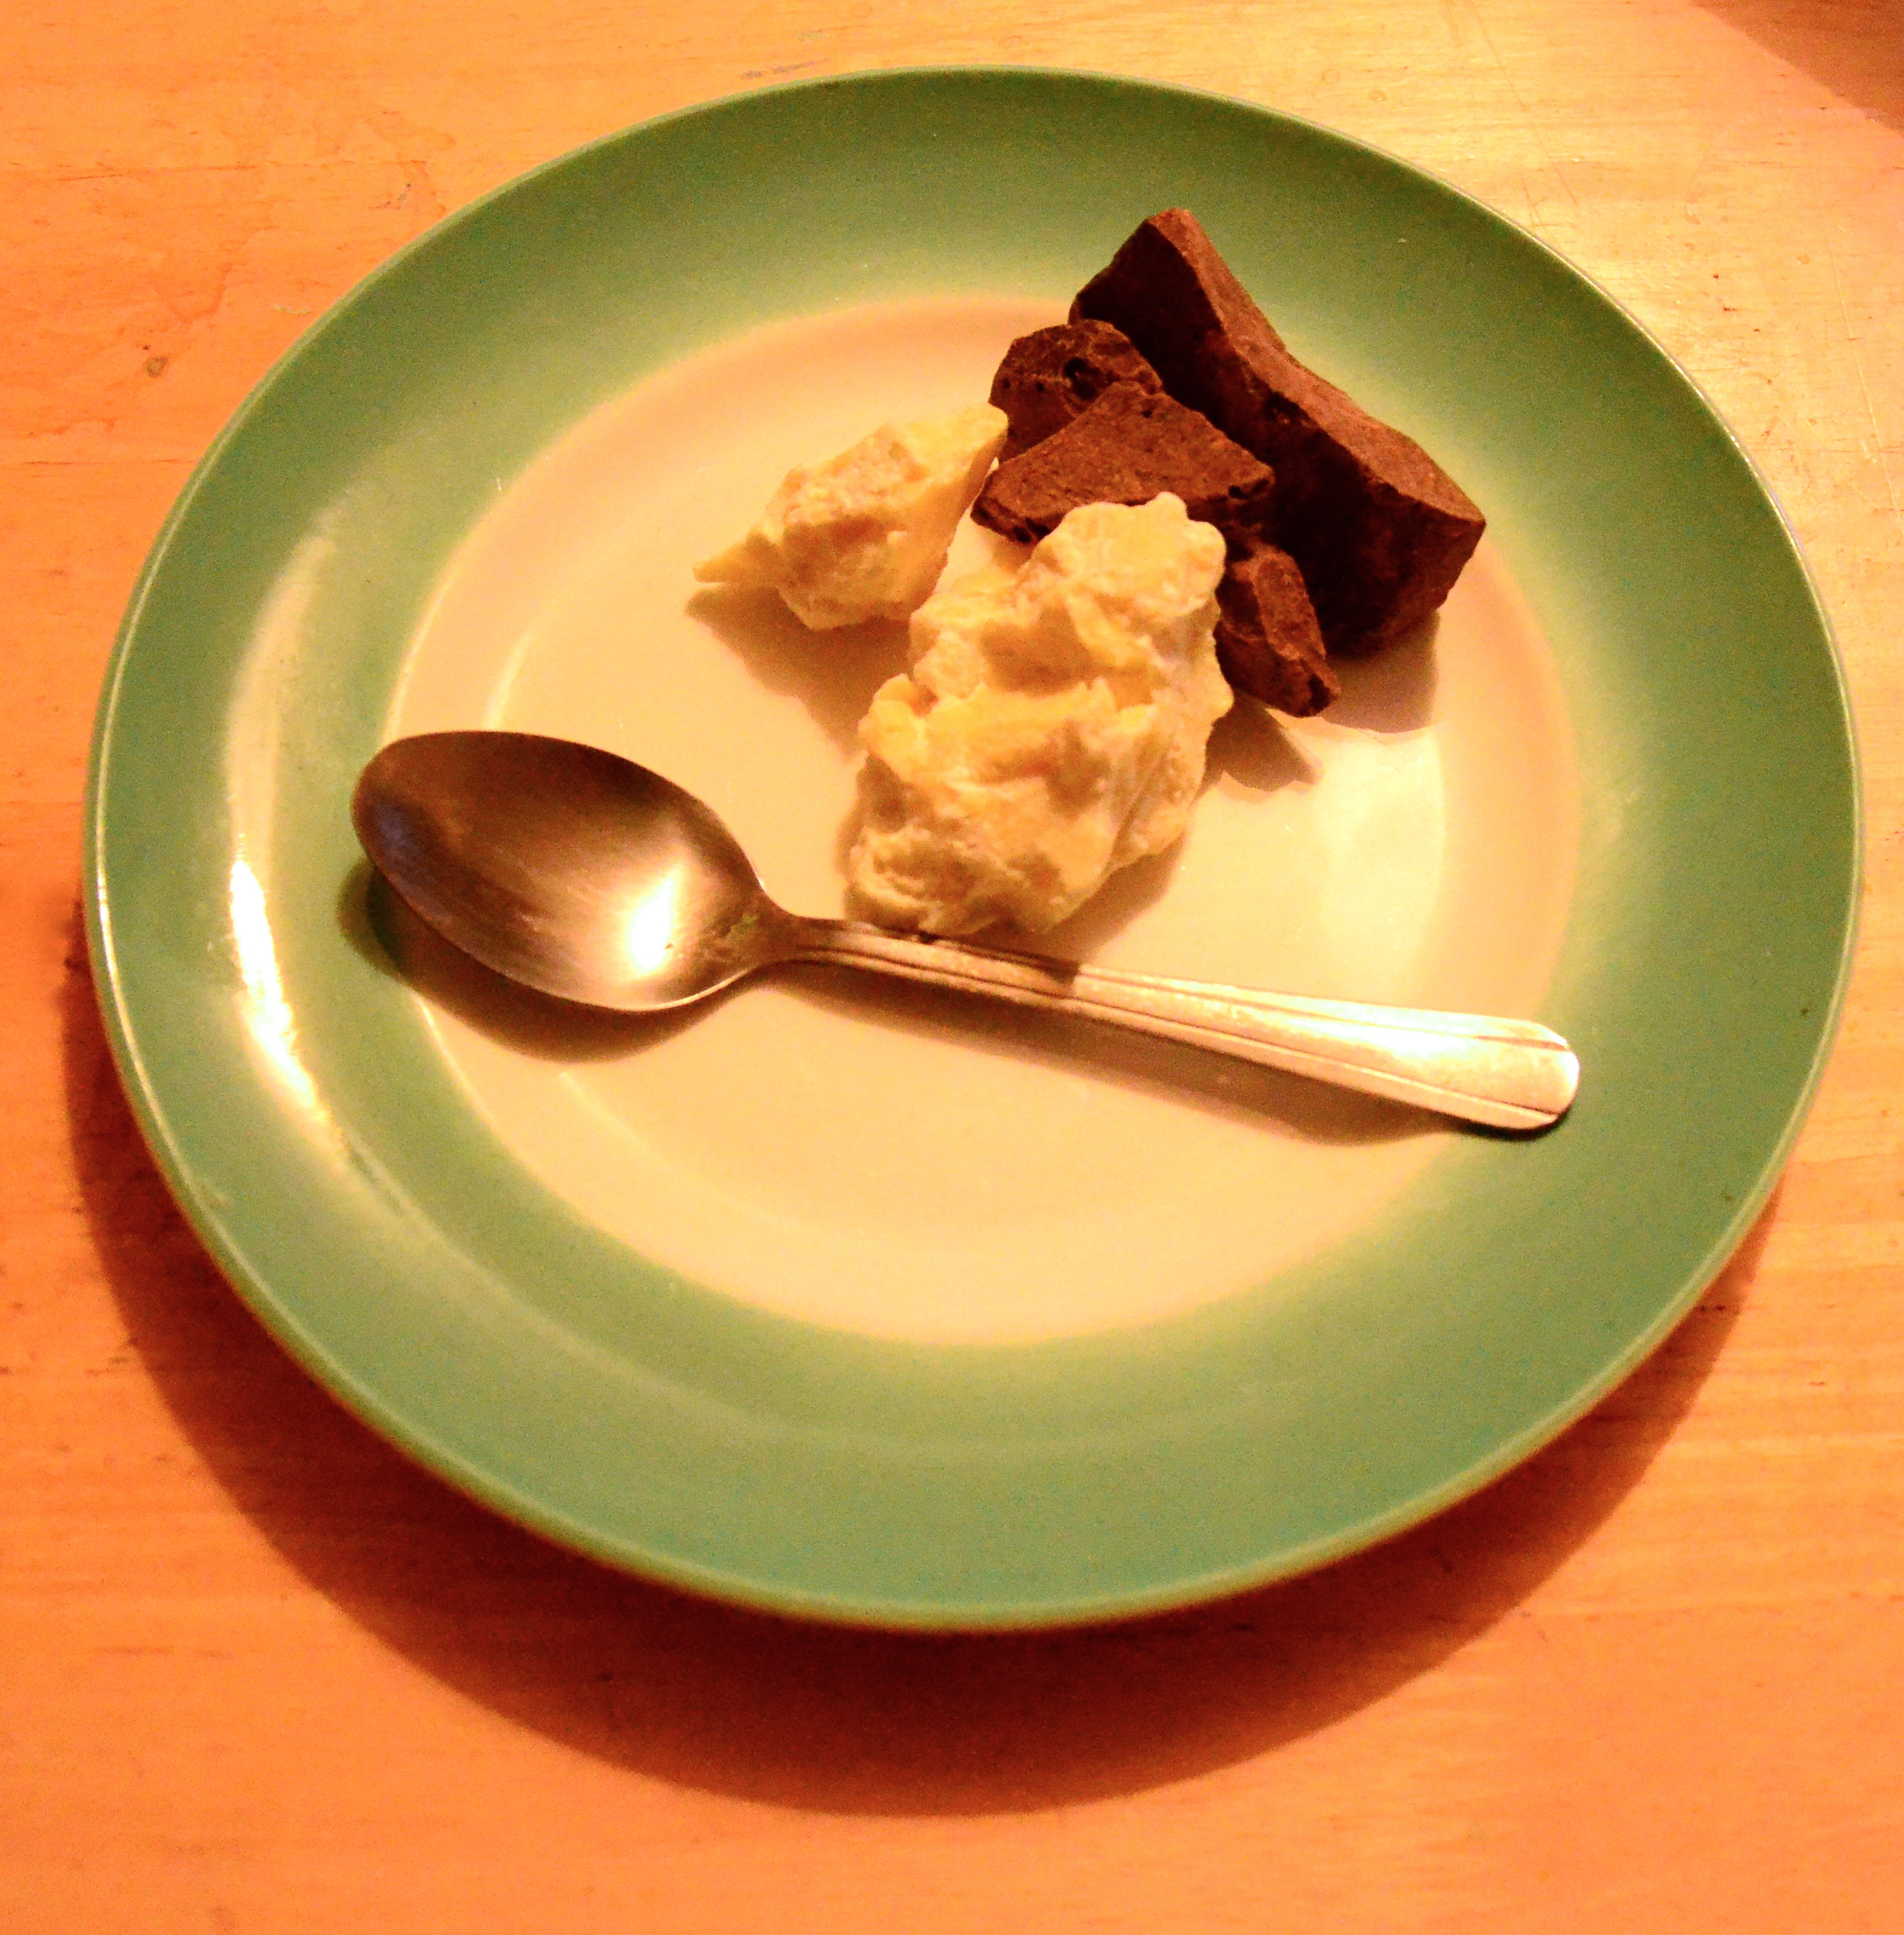
The after dinner mint pie !
Though rich and chocolatey the peppermint adds a freshness that keeps it from being too heavy! Hope you try it out . Xs Aissa
* I was ten when I turned veggie first, so my eduaction re ingredients was a gradual process!