Hey guys! Long time no post! 😦 Here I am with another Vegan Pancake Recipe… but it is Pancake Tuesday back in Ireland and my sister is up in Nordic country for a visit … so here we are!
Vegan Pancakes- Spelt!
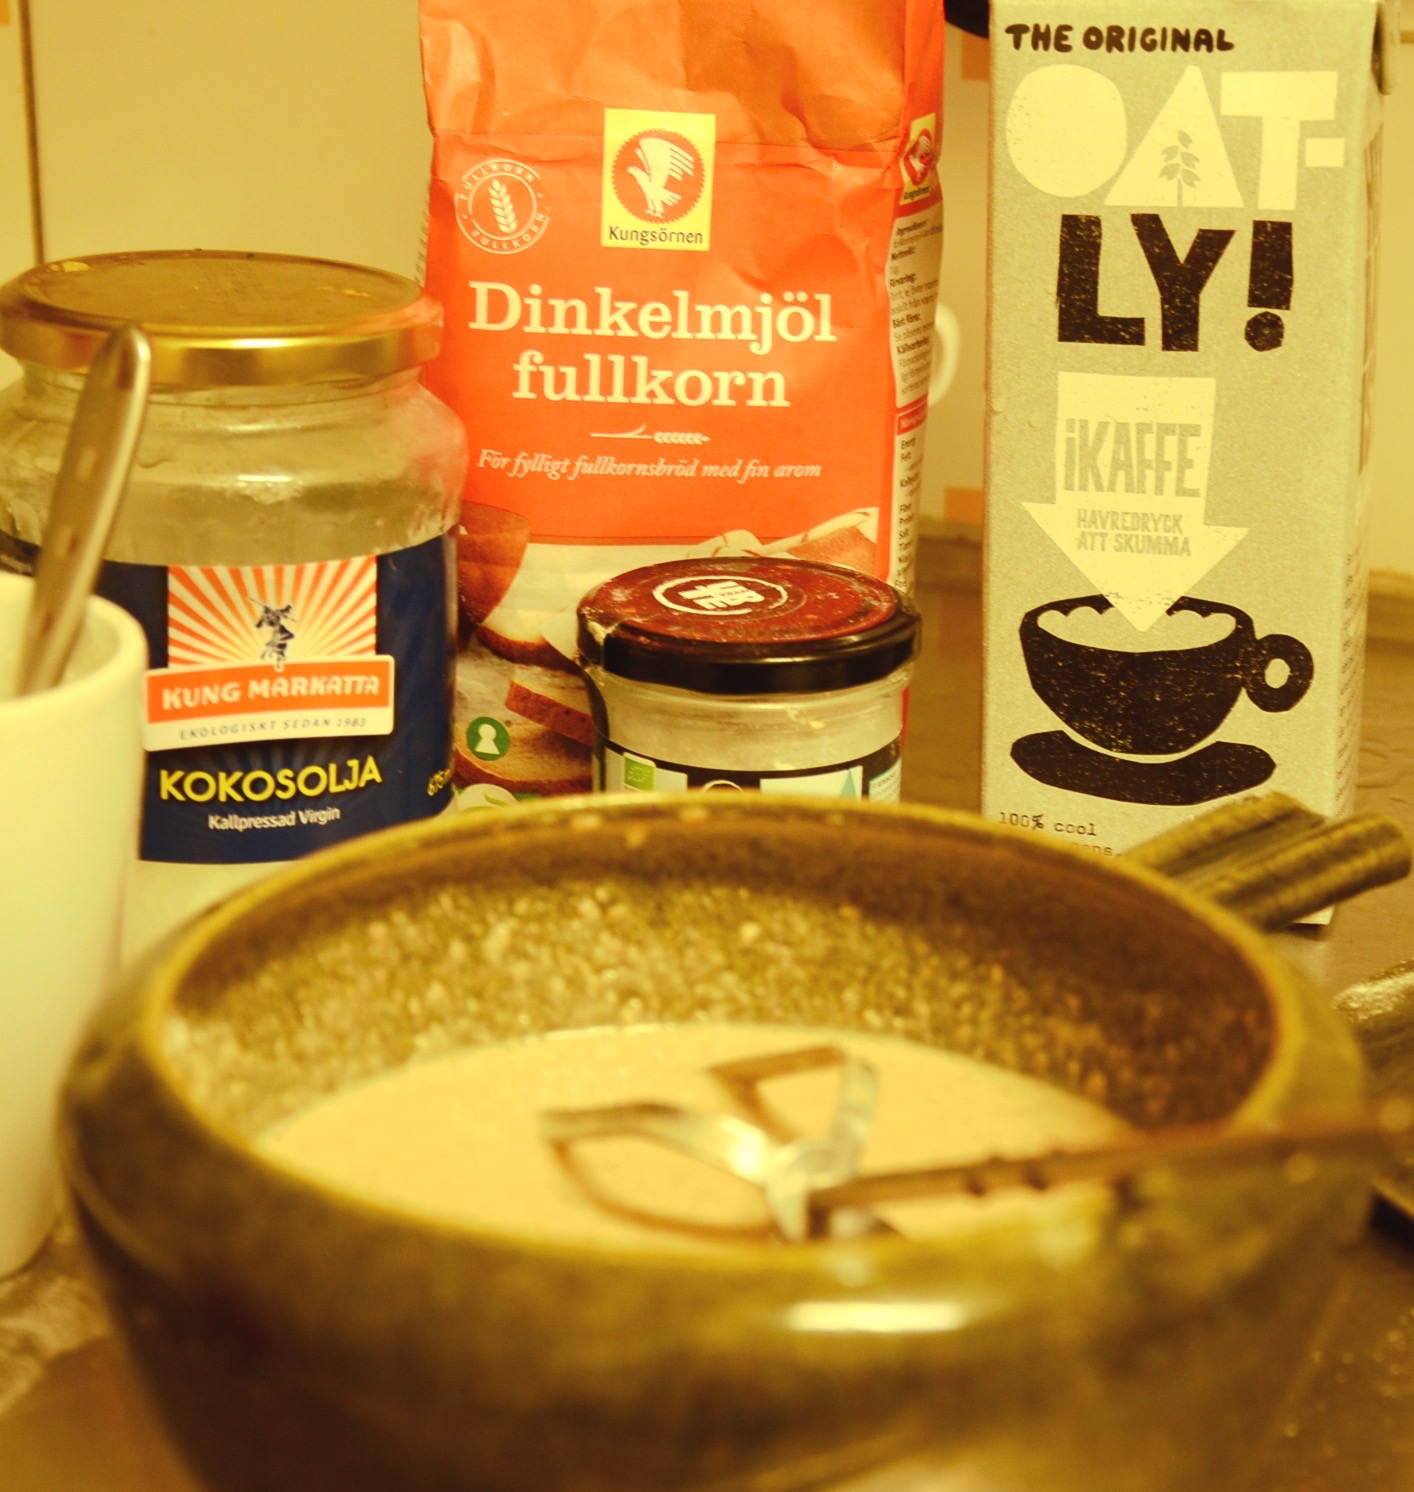
- 1 generous cup of whole spelt flour (called Dinkel here!)
- 2 teaspoons of baking powder (as aluminium free as possible)
- A quarter teaspoon of sea salt
- Half a teaspoon of vanilla powder
- OR a teaspoon of extract in the wet stuff
- 2 dessertspoons of org raw coconut oil melted
- 1 and a half dessertspoons muscovado sugar
- A cup and a few dessertspoons of vegan friendly milk (warm)
I used the Swedish “Oatly”, they have a version here for coffee that is richer … foams so all the cafes here use it.
Method
Sooo melt the said coconut oil on a medium heat. In a bowl… I used a cool green Swedish dish i found in the kitchen…you can use your own, no found Swedish dishes necessary. Where was I?
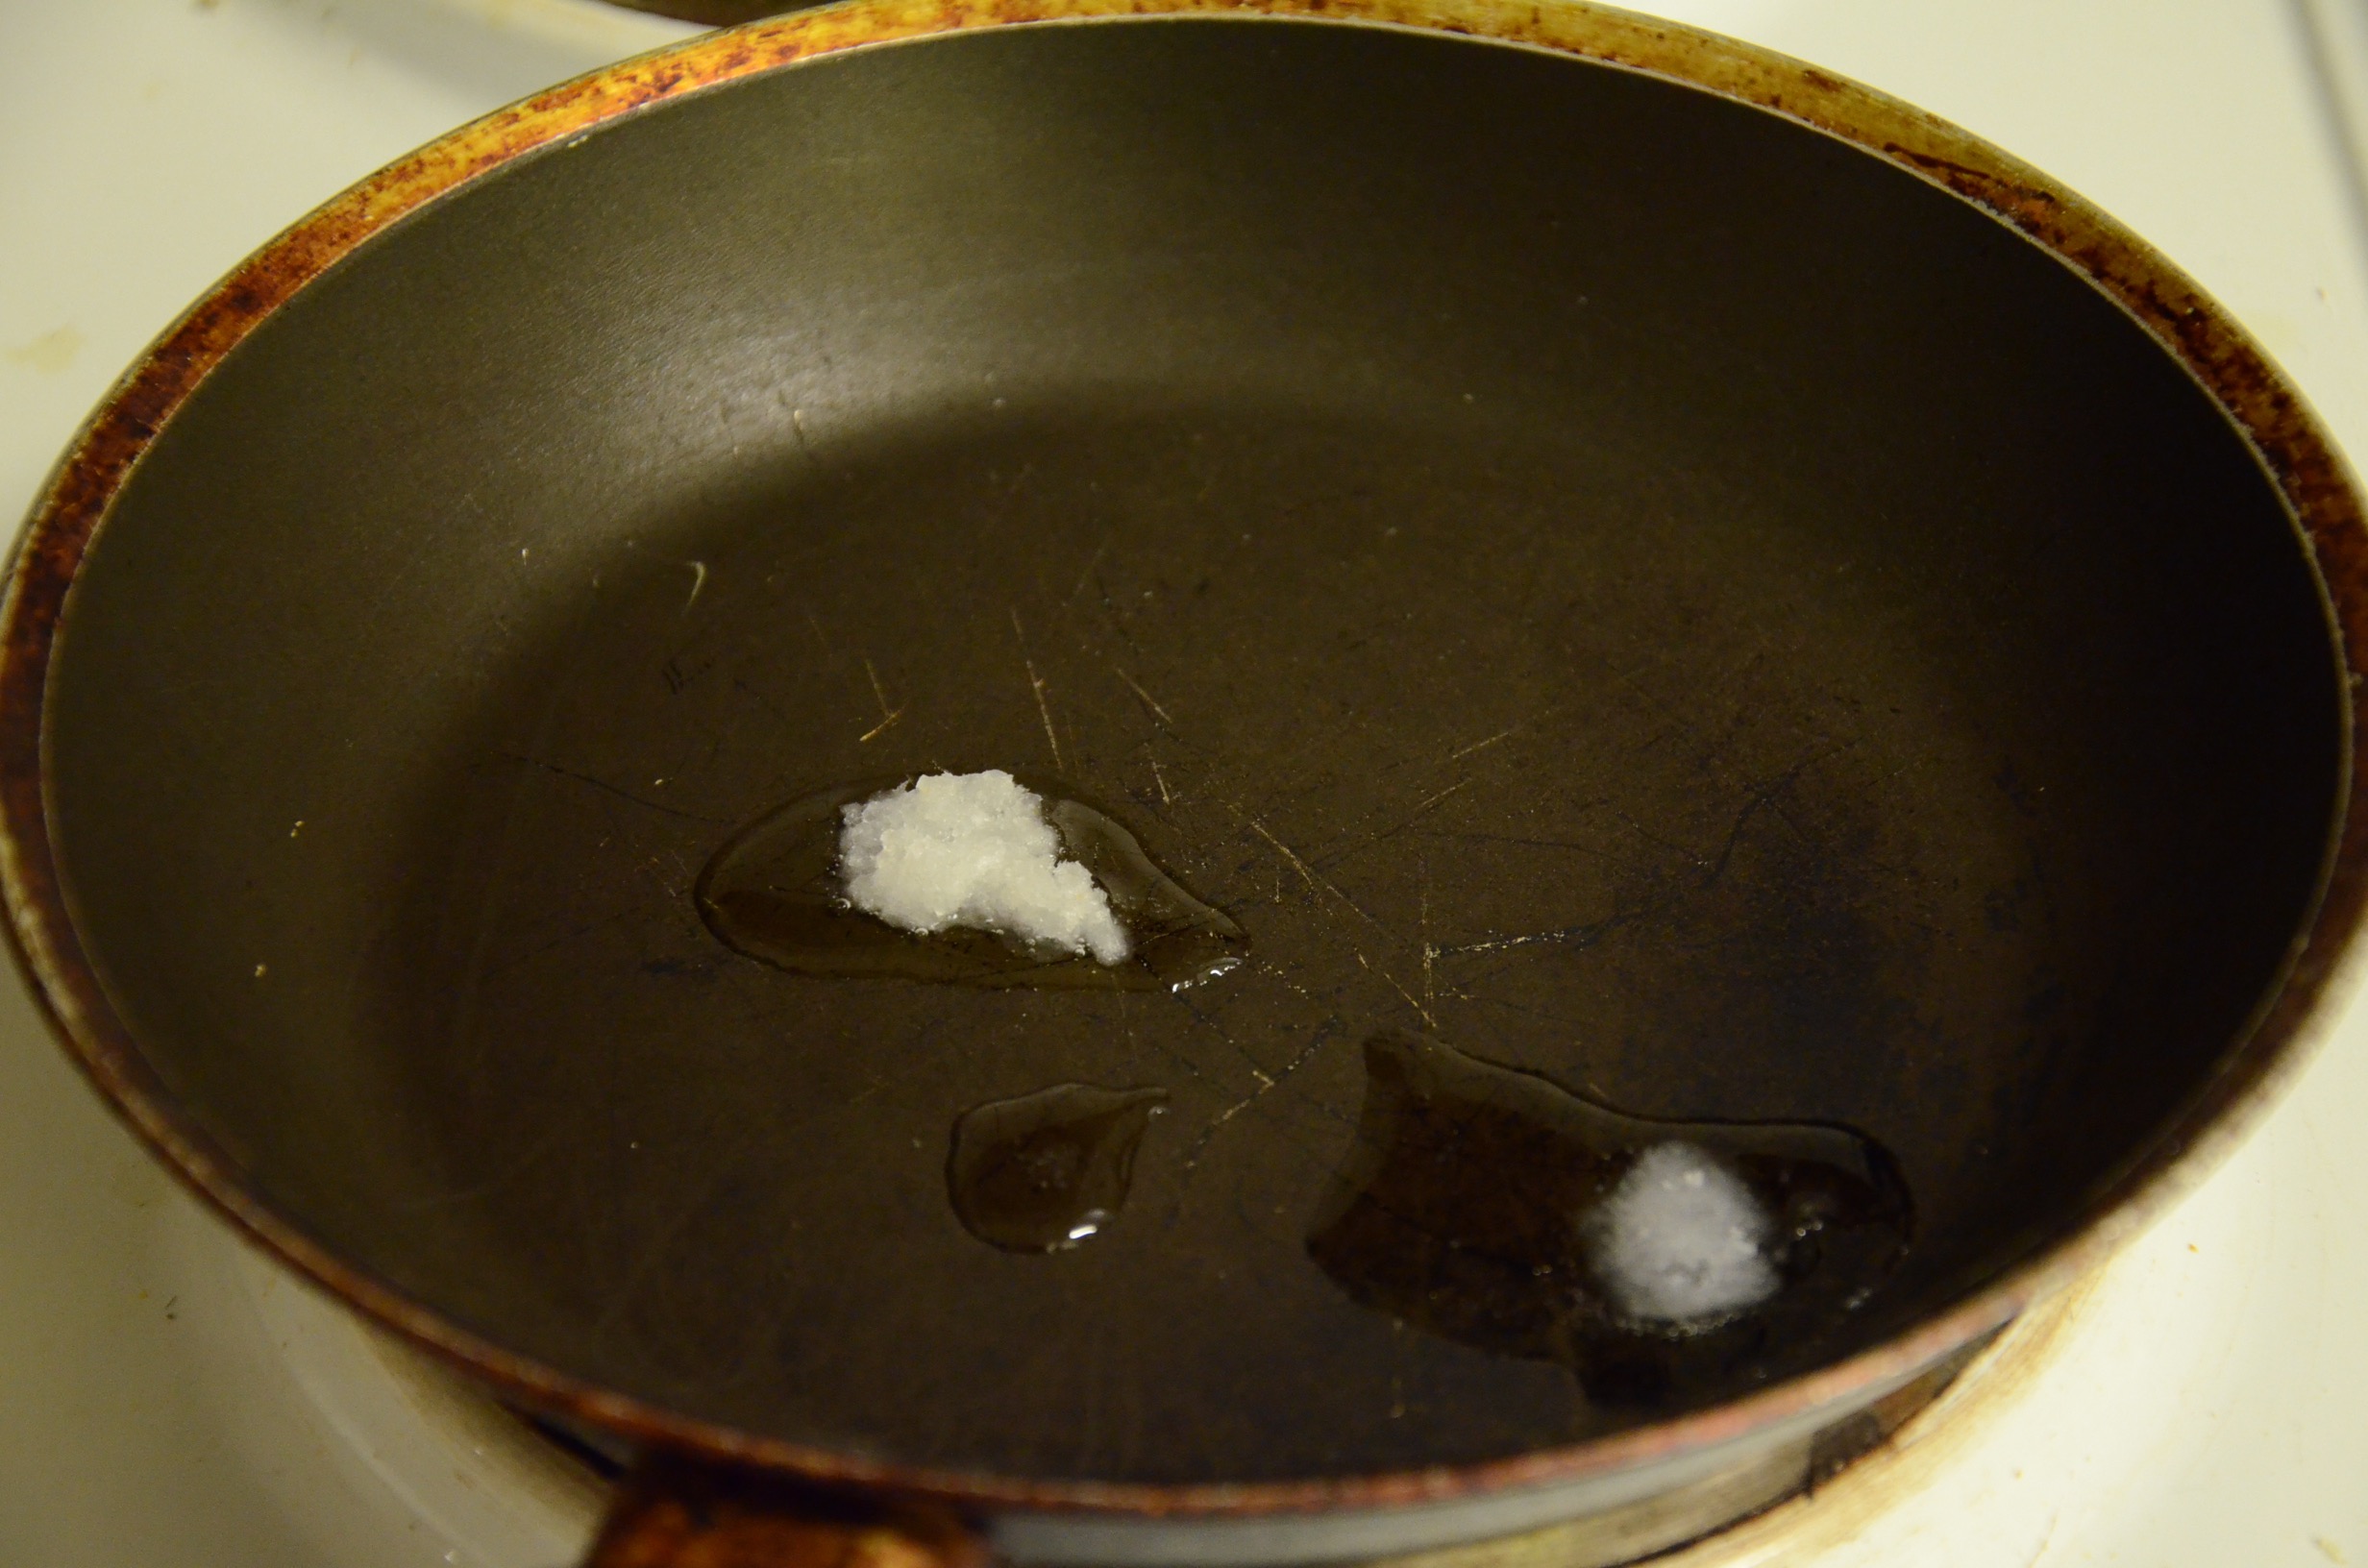
In a bowl mash your muscovado it is a soft packed sugar and tends to have clumps. Rapadura/sucucant would be fine too. Now pour in your coconut oil and mash and smush them together.
Put your Vegan friendly milk in the saucepan you melted your oil (so no waste!) and warm it up to finger temperature. Do do this, doing this is important as cold milk will make the coconut oil go hard again.
Whilst this warms… measure out the dry stuff. Flour, salt, baking powder and vanilla powder and mix together. If using vanilla extract add it to your warming milk.
Add the warm milk to the oil and sugar- mix mix mix mash mash mash- NO LUMPS PEOPLE! Grab a whisk like implement- being in a foreign country without my kitchen supplies I used one whisk from an electric mixer. Add in your dry ingredients and whisk everything together so no bits.
Pancake stuff Sweden style!
Leave to sit for sit least a half an hour, so it thickens up a bit.
Put a frying pan on a quite high heat and put a teaspoon of coconut oil in to melt. You will most likely have to sacrifice the first pancake to the pancake gods, but a good test is to put a tiny drop of the batter in the pan and if it sizzles and changes colour really fast it is hot enough.
This is a small non stick frying pan! 😉
I had a small pan so I used only two thirds of a soup ladle per pancake. I like them thin too. Leave one side cook for over thirty seconds, until it turns golden brown at the edges, it should then be ready to flip. Then leave that side sit for a least thirty second before you try and move it. I had my sister supervising me so I did not give into my terrible impatience and interference with the natural cooking order of pancakes… much more of a mix stick in oven or fridge or jar to ferment person! 🙂

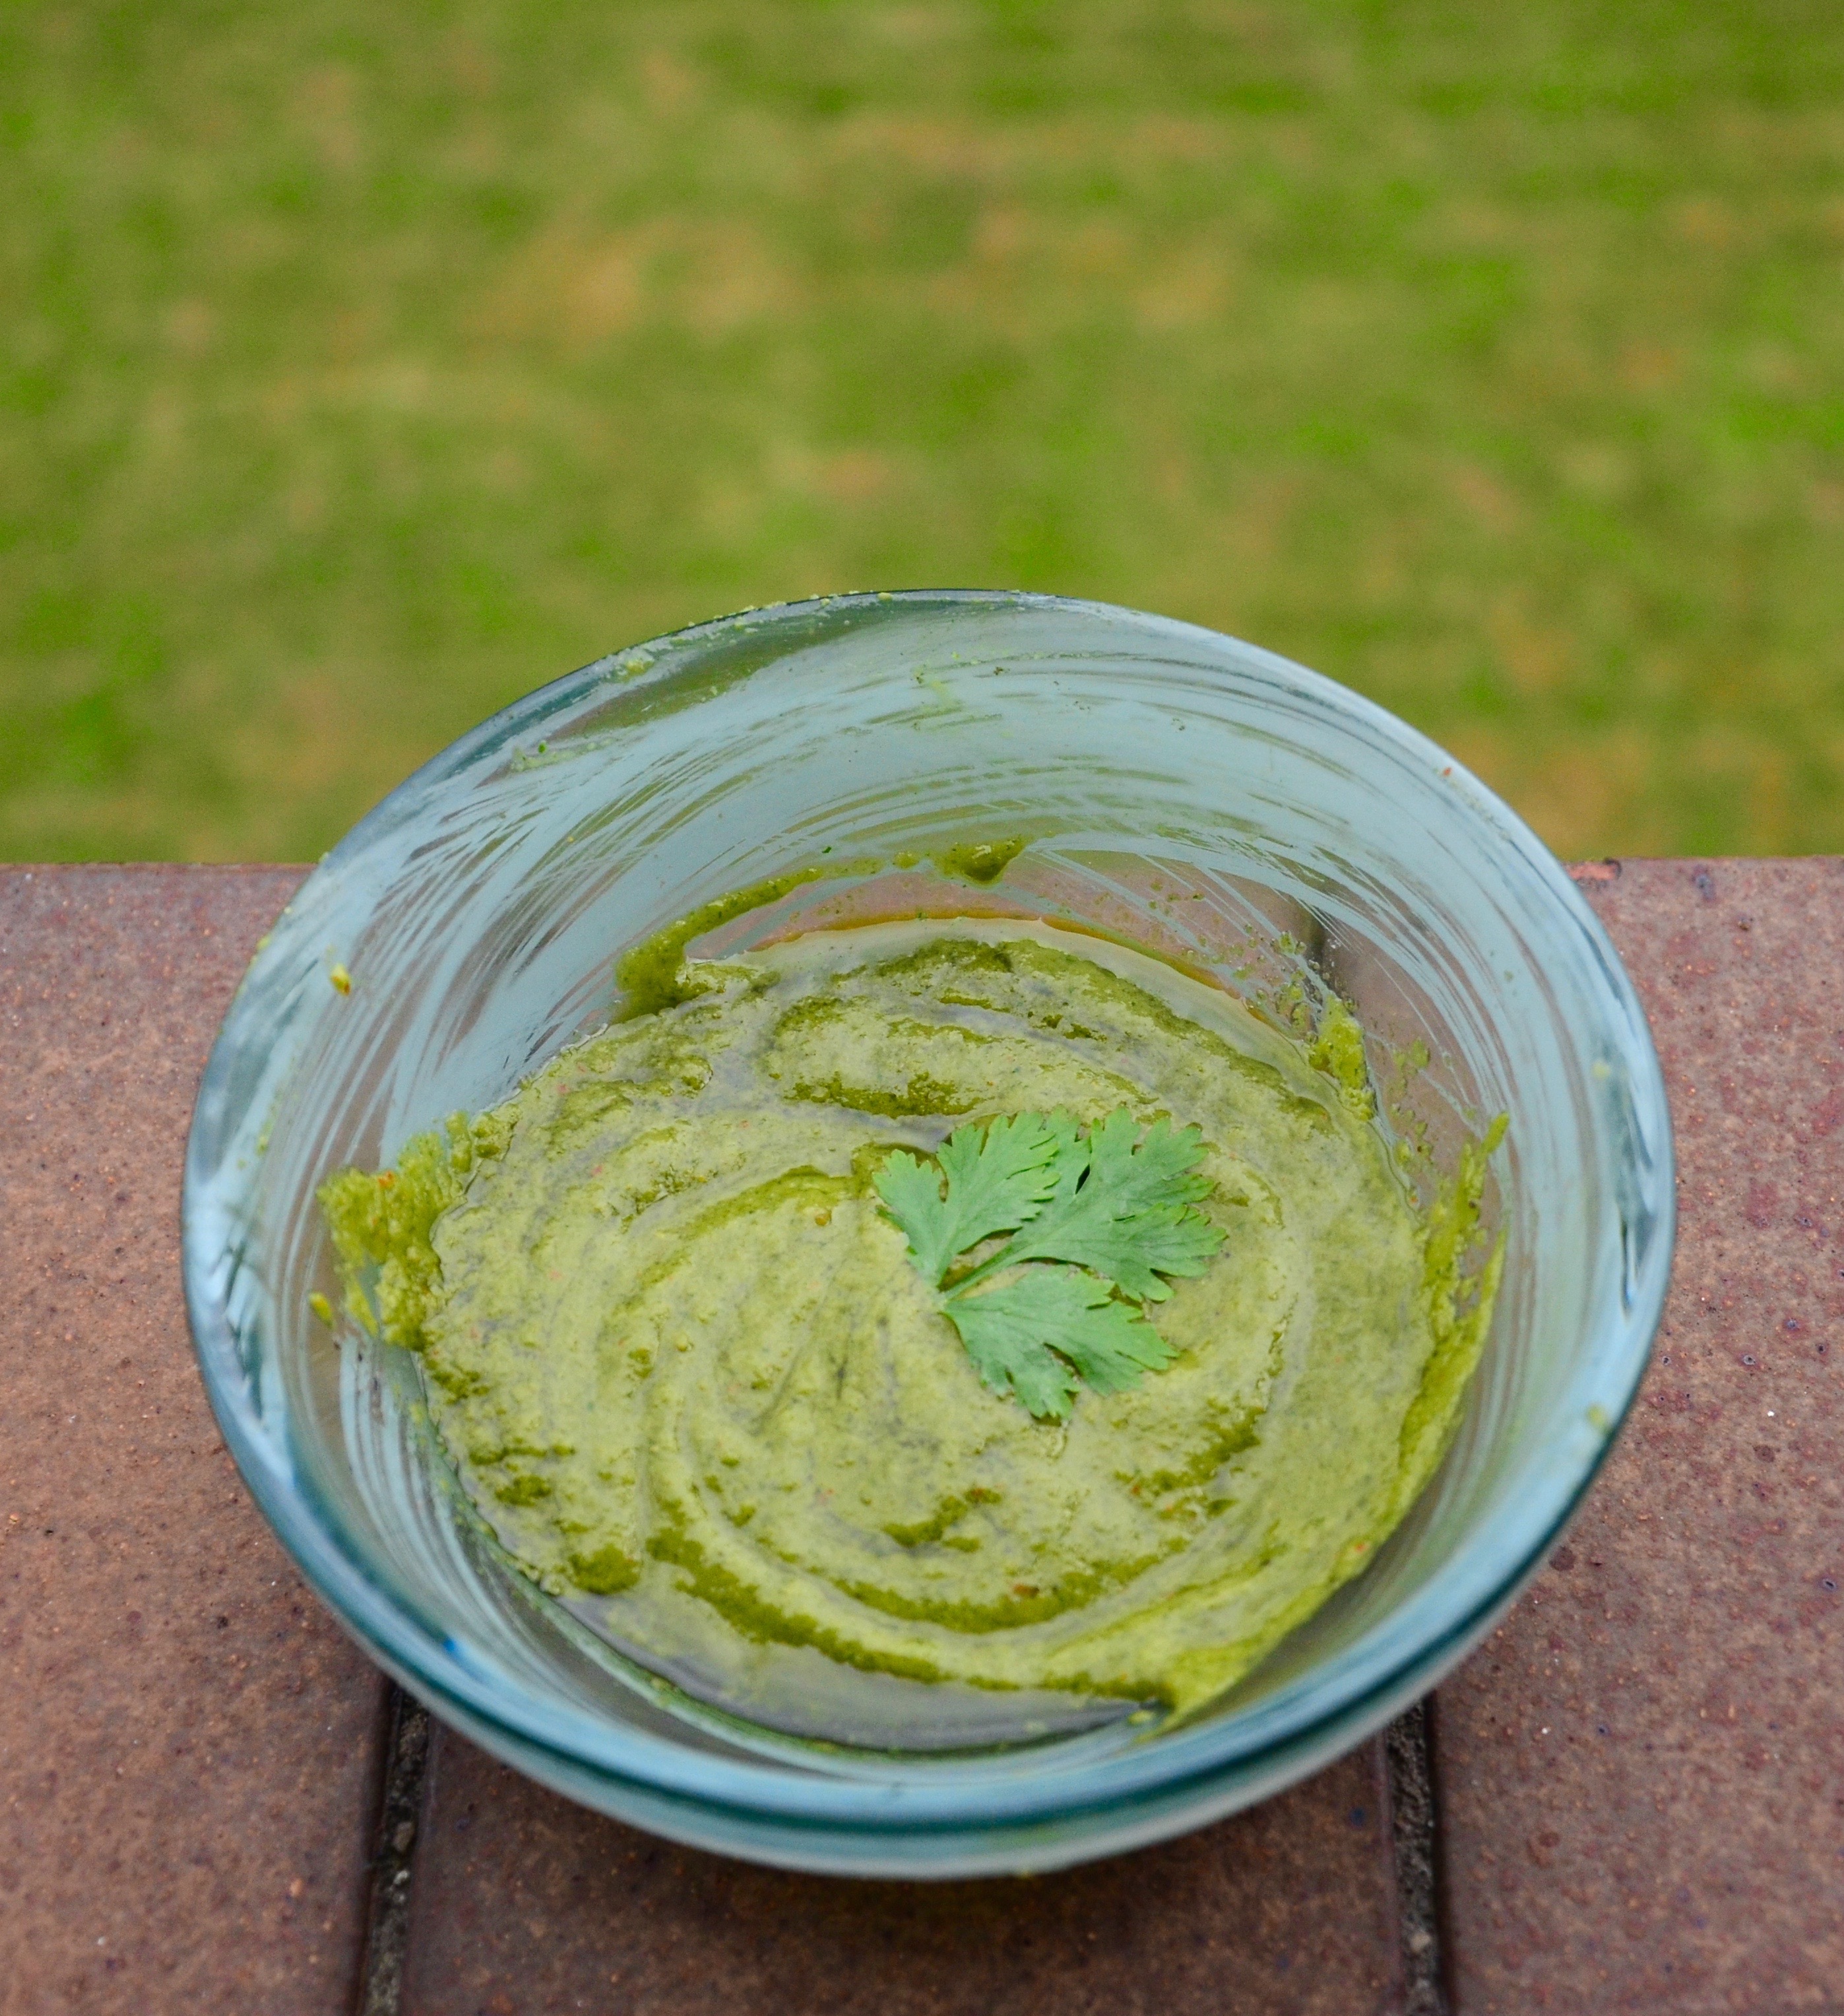
La Vegan Pancake, in a bowl.
TA-DA! Et Volia! Vegan pancakes. I had mine with Oat cream, organic lemon and real Maple Syrup. Because I like the classics!
I have been baking since I got to Sweden, but nothing I felt good enough about to share, my last place the oven didn’t close correctly … weird bakes ensued! The odd batch of biscuits/cookies were okay but by ‘gum were the cakes a mess!! New season, new semester in college and new place- last biscuits I baked took… wait for it FORTY FIVE minutes 🙂 But I currently have a Beetroot and Red Cabbage Sauerkraut brewing do will share that next!