• Home
  • About
  • Vegan
  • Gluten Free
  • Chocolate
  • Cookies
  • Cupcakes
  • Cake
  • No bake/ Raw
  • Savoury
  • Natural Health
  • yoga
  • Tradtional
  • juice

VeganEtcetera

~ Eating healthily easily

VeganEtcetera

Category Archives: Gluten Free

Beetroot & Red Cabbage Purple Sauerkraut – ferment!

05 Sunday Mar 2017

Posted by Aissa in Fermentation, Gluten Free, Natural Health, No bake/ Raw, Savoury, Superfoods, Traditional, Vegan

≈ 2 Comments

Tags

Fermentation, Gluten free, Natural Health, Raw, recipe, Sauerkraut recipe, Savoury, Superfoods, Traditional, Vegan

There is a lovely beetroot sauerkraut you can buy in good health shops here… after a couple of jars I was like “I should just make this.” I have a collection of KJOVS (kilner jars of various sizes) at home and though I did not travel very light when moving to Sweden I did draw the line at kilner jars.

I seemed to have lost the lovely pics I took of this process- so please bare with my phone photographs! If the originals turn up then I will delete these ones and this note of my incompetence. 🙂

Gothenburg has a many second-hand shops and a picked up a glass jar with a rubber seal easily. So you will need a mason or kilner jar, steam sterilise it or wash in very hot water* and rinse very well – so there was no soapy residue, the only other equipment needed is a knife, a bowl and a plate and maybe a veg peeling tool. (*not too close to boiling- glass can explode! I have foolishly done this and have a scar to prove it)

I prefer to ferment organic veg, I find the idea of fermenting chemicals a bit off-putting. That said if you peel the non-organic beetroot and remove the outer leaves of your cabbage you will certainly lower the levels.

It is very simple and quick to prepare. I chopped everything but you could give things a whizz in a food processor or use a spiralizer for the beetroot.

Beetroot & Red Cabbage Purple Sauerkraut

  • Two and a half medium purple beetroot
  • Just under Half of a medium sized red cabbage (chop half)
  • A flat dessertspoon of sea salt
  • Maybe some boiled cooled water with a pinch of salt in it.
  • A bulb of garlic if you like

Method:

You will prob only need two beetroot and under half the cabbage, but it is good to have extra, as you need to fill your jar.

So chop them into small bits. Not teeny tiny bits, but kind of as small as you’d get in a normal slaw.  As you chop, put stuff in a bowl, I tend to add half the salt half way through and then the rest at the end.


The Vegan's use of a cheese slicer- beet peeling!

The Vegan’s use of a cheese slicer- beet peeling!

chopped

chopped

Now to dye your hands a purple colour. With clean but NOT soapy (antibacterial and we don’t want to risk killing the good guys). Squeeze, mash, rub and press your mix. Lots of water will start to be drawn out by the salt. If not much water has come out yet, you can put a plate on top and leave it rest for a bit. You can put a weight on top if you like (I’ve used a bag of flour in the past). I didn’t use a weight this time.

Now start squishing the veg into your jar. If the liquid is not covering the contents you can add some of your cooled salty water. You could squash everything down with a bulb or layer of garlic cloves. But you will have some of a garlic-y flavour to sauerkraut. When doing large jars and I have been caught out by not enough prepared veg I have pressed everything down with a glass jar. Check it out in my detailed Sauerkraut post inc. troubleshooting Sauerkraut the new old superfood. I am tagging this again as a superfood, it is filled with colourful anti-oxidants and SOO much live bacteria it deserves the title, as do the beetroot red cabbage and garlic…I will stop or I will end up listing all veg, nuts, legumes, seeds, beans and herbs and spices in the world.

Once the jar is up to the tip-top put on your lid. I would ideally leave for 10 days to a month. I know some people leave their sauerkraut for even longer, but I like a bit of a bite in this slaw. I was nervous as to how well my vintage jar might keep it all airtight, I still opened everyday to leave gases out – to prevent a build up and explosion – kinda like burping the sauerkraut. I stuck mine in the fridge after a week I might be barely, barely fermented. I think I will buy a traditional kilner jar (rubber seal and metal clamp) in the second-hand shop this week and ferment again- in a less nervous manner.

Barely Fermented Purple Sauerkraut

Barely Fermented Purple Sauerkraut

You will know all is well as after about a week you should start to get a vingear-er-ry smell from the kraut. It is an amazing what smell can tell you. It should never smell “bad” or “off putting” or mouldy. It should smell cabbage-y and then a bit vingear-y. It should stay the same colour- i.e no bloom of mould! You shouldn’t have any of these problems if your jar is full, contents covered by liquid and airtight.

It is lovely on toasted rye bread with avocado! Hope you try it!  Xs Aissa

P.S If you have concerns or it is your first fermenting rodeo you might like check out my other Sauerkraut post linked above for more detailed troubleshooting. 🙂 But don’t be overly anxious it really is a simple process!

Jam Crumble Cookies Vegan & Gluten free

03 Sunday Apr 2016

Posted by Aissa in Biscuits, Cookies, Gluten Free, Sweets, Vegan

≈ Leave a comment

Tags

Biscuits, Cookies, Gluten free, recipe, Sweets, Vegan

Biscuits were required eating yesterday evening.. sometimes they are just necessary. I have made various versions of these over the years, sometimes with spelt flour sometimes with the addition of different nut butters. It is a flexible recipe. Since i planned to share the recipe I thought I would do my GF version! More egalitarian 🙂

You will need : A couple of bowls, measures and an 8inch pie or cake tin.

Jam Crumble Cookies

  • Three and a half dessertspoons of org coconut oil
  • Two dessertspoons of a nut or seed butter *
  • One dessertspoon of real maple syrup
  • Scant half a cup of coconut blossom sugar
  • A quarter cup of buckwheat flour
  • Two big dessertspoons of gram flour/ cornstarch
  • Two thirds of a cup of gluten free flour **
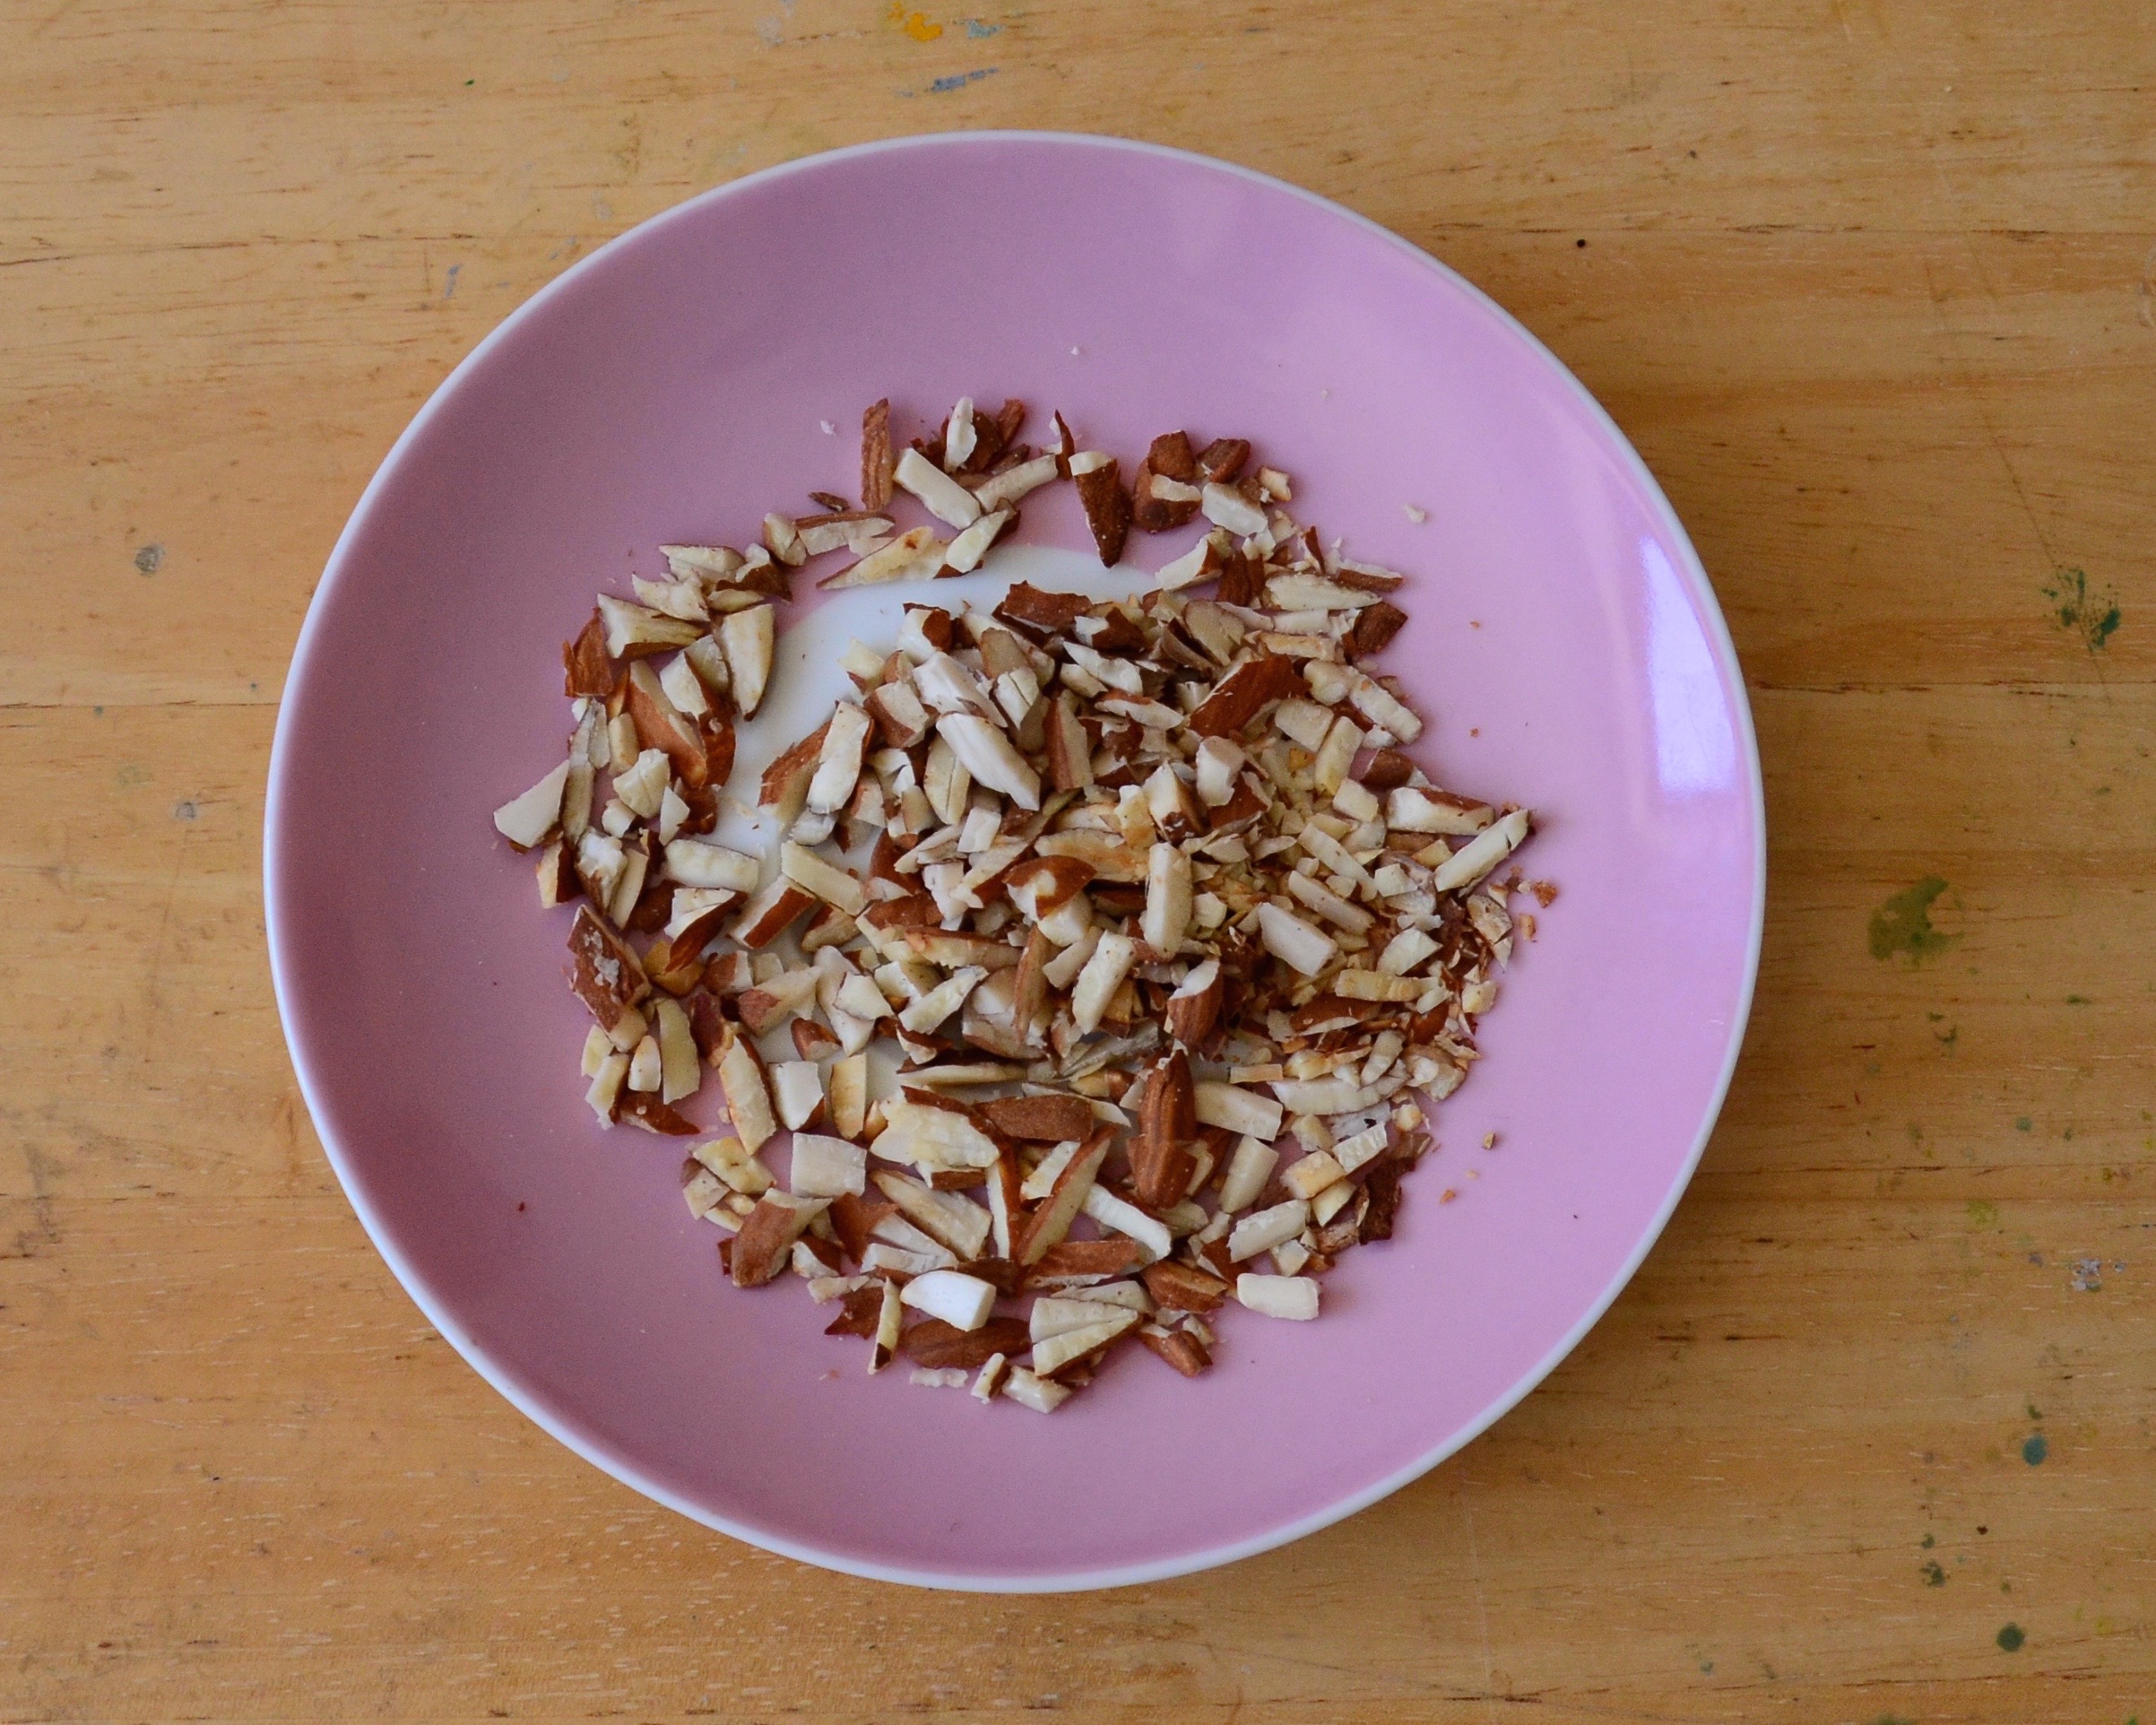
  • Almost half a cup of ground almonds
  • Two big dessertspoons of fine maize meal
  • A good pinch or eighth of a tsp of himalayan pink salt / sea salt
  • A dessertspoon of vanilla powder/ paste / extract
  • Three to six dessertspoons of almond milk
  • Roughly half a cup of no added sugar jam- I used apricot

*I used a sunflower cashew one I had made

**I used a brand called Doves which is a mix of rice, buckwheat, tapioca and potato

Method:

Preheat your oven to 180C/ 350F. Rub a bit of coconut oil on your pie/tart dish or line a metal cake tin with paper.

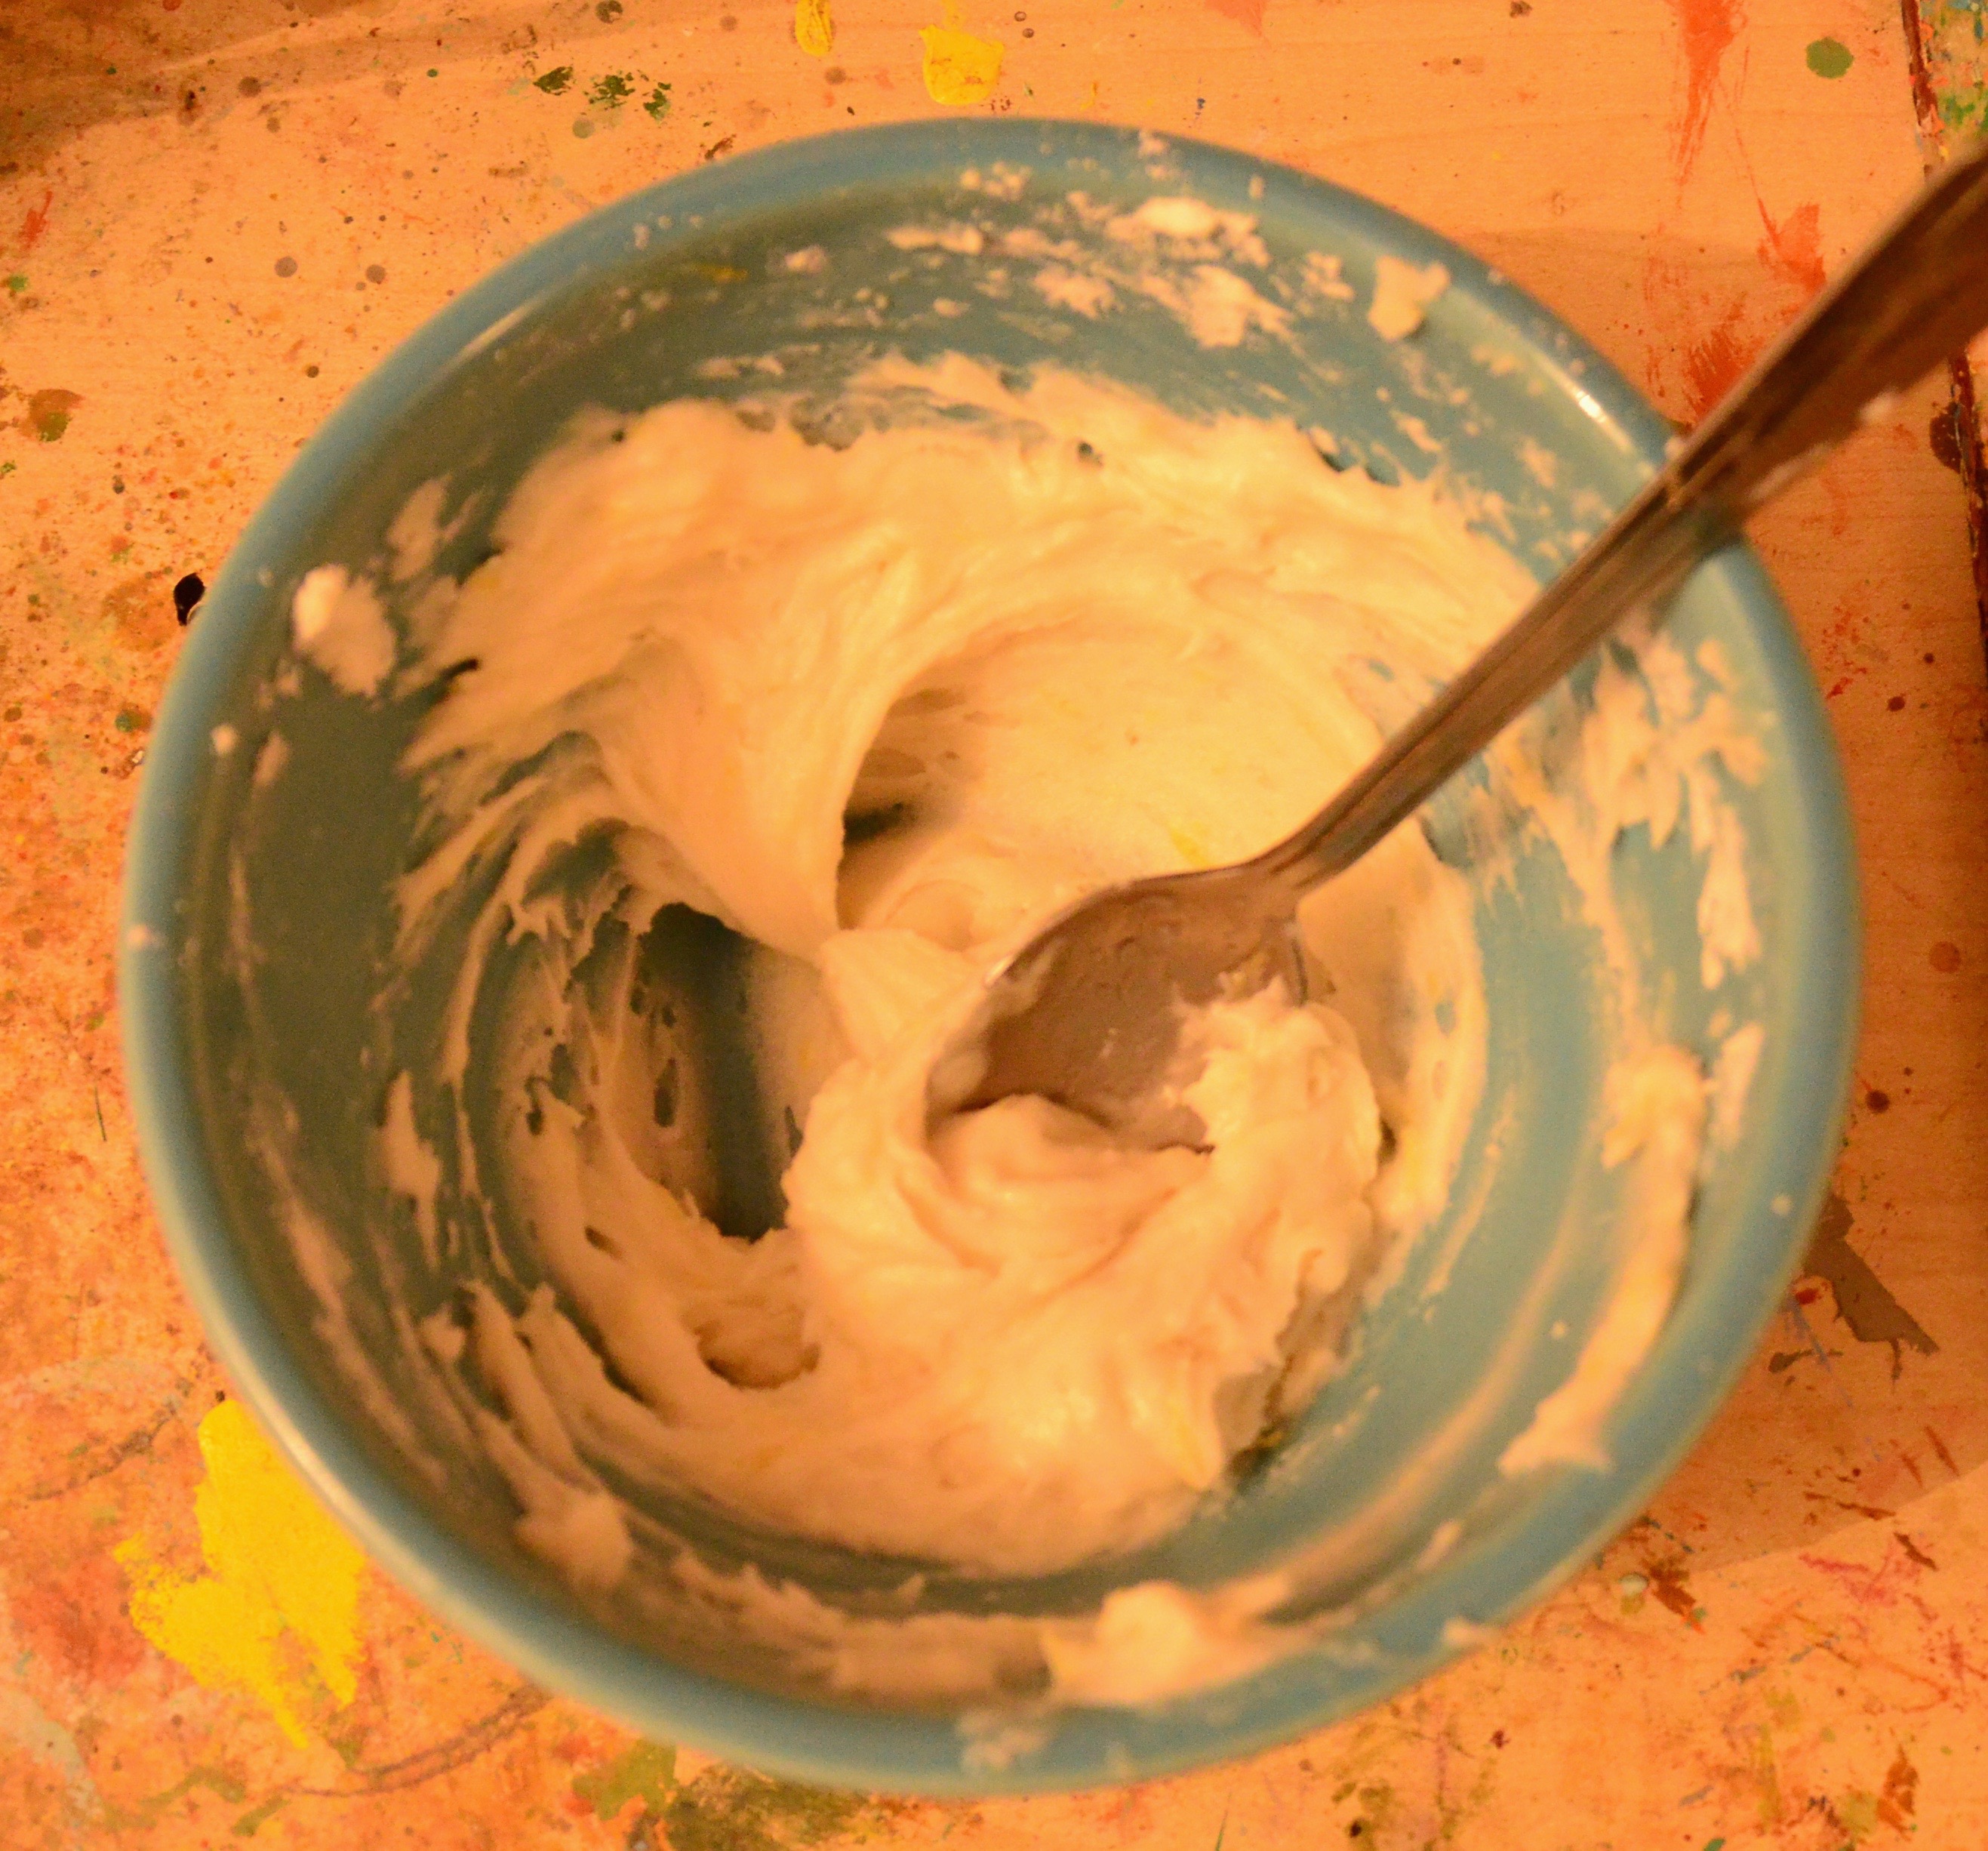
Grab a bowl and mash your coconut oil and seed / nut butter together. Add in your maple syrup and mash mash mash some more, make sure to press out any lumps of coconut oil that may be hiding in there.

Coconut oil and Sunflower cashew butter

Coconut oil and Sunflower cashew butter

Add in your coconut sugar. Yes you guessed it! More mashing, biscuit exercise, working on that upper body strength! Again make sure it is blended properly so it has all become one colour.

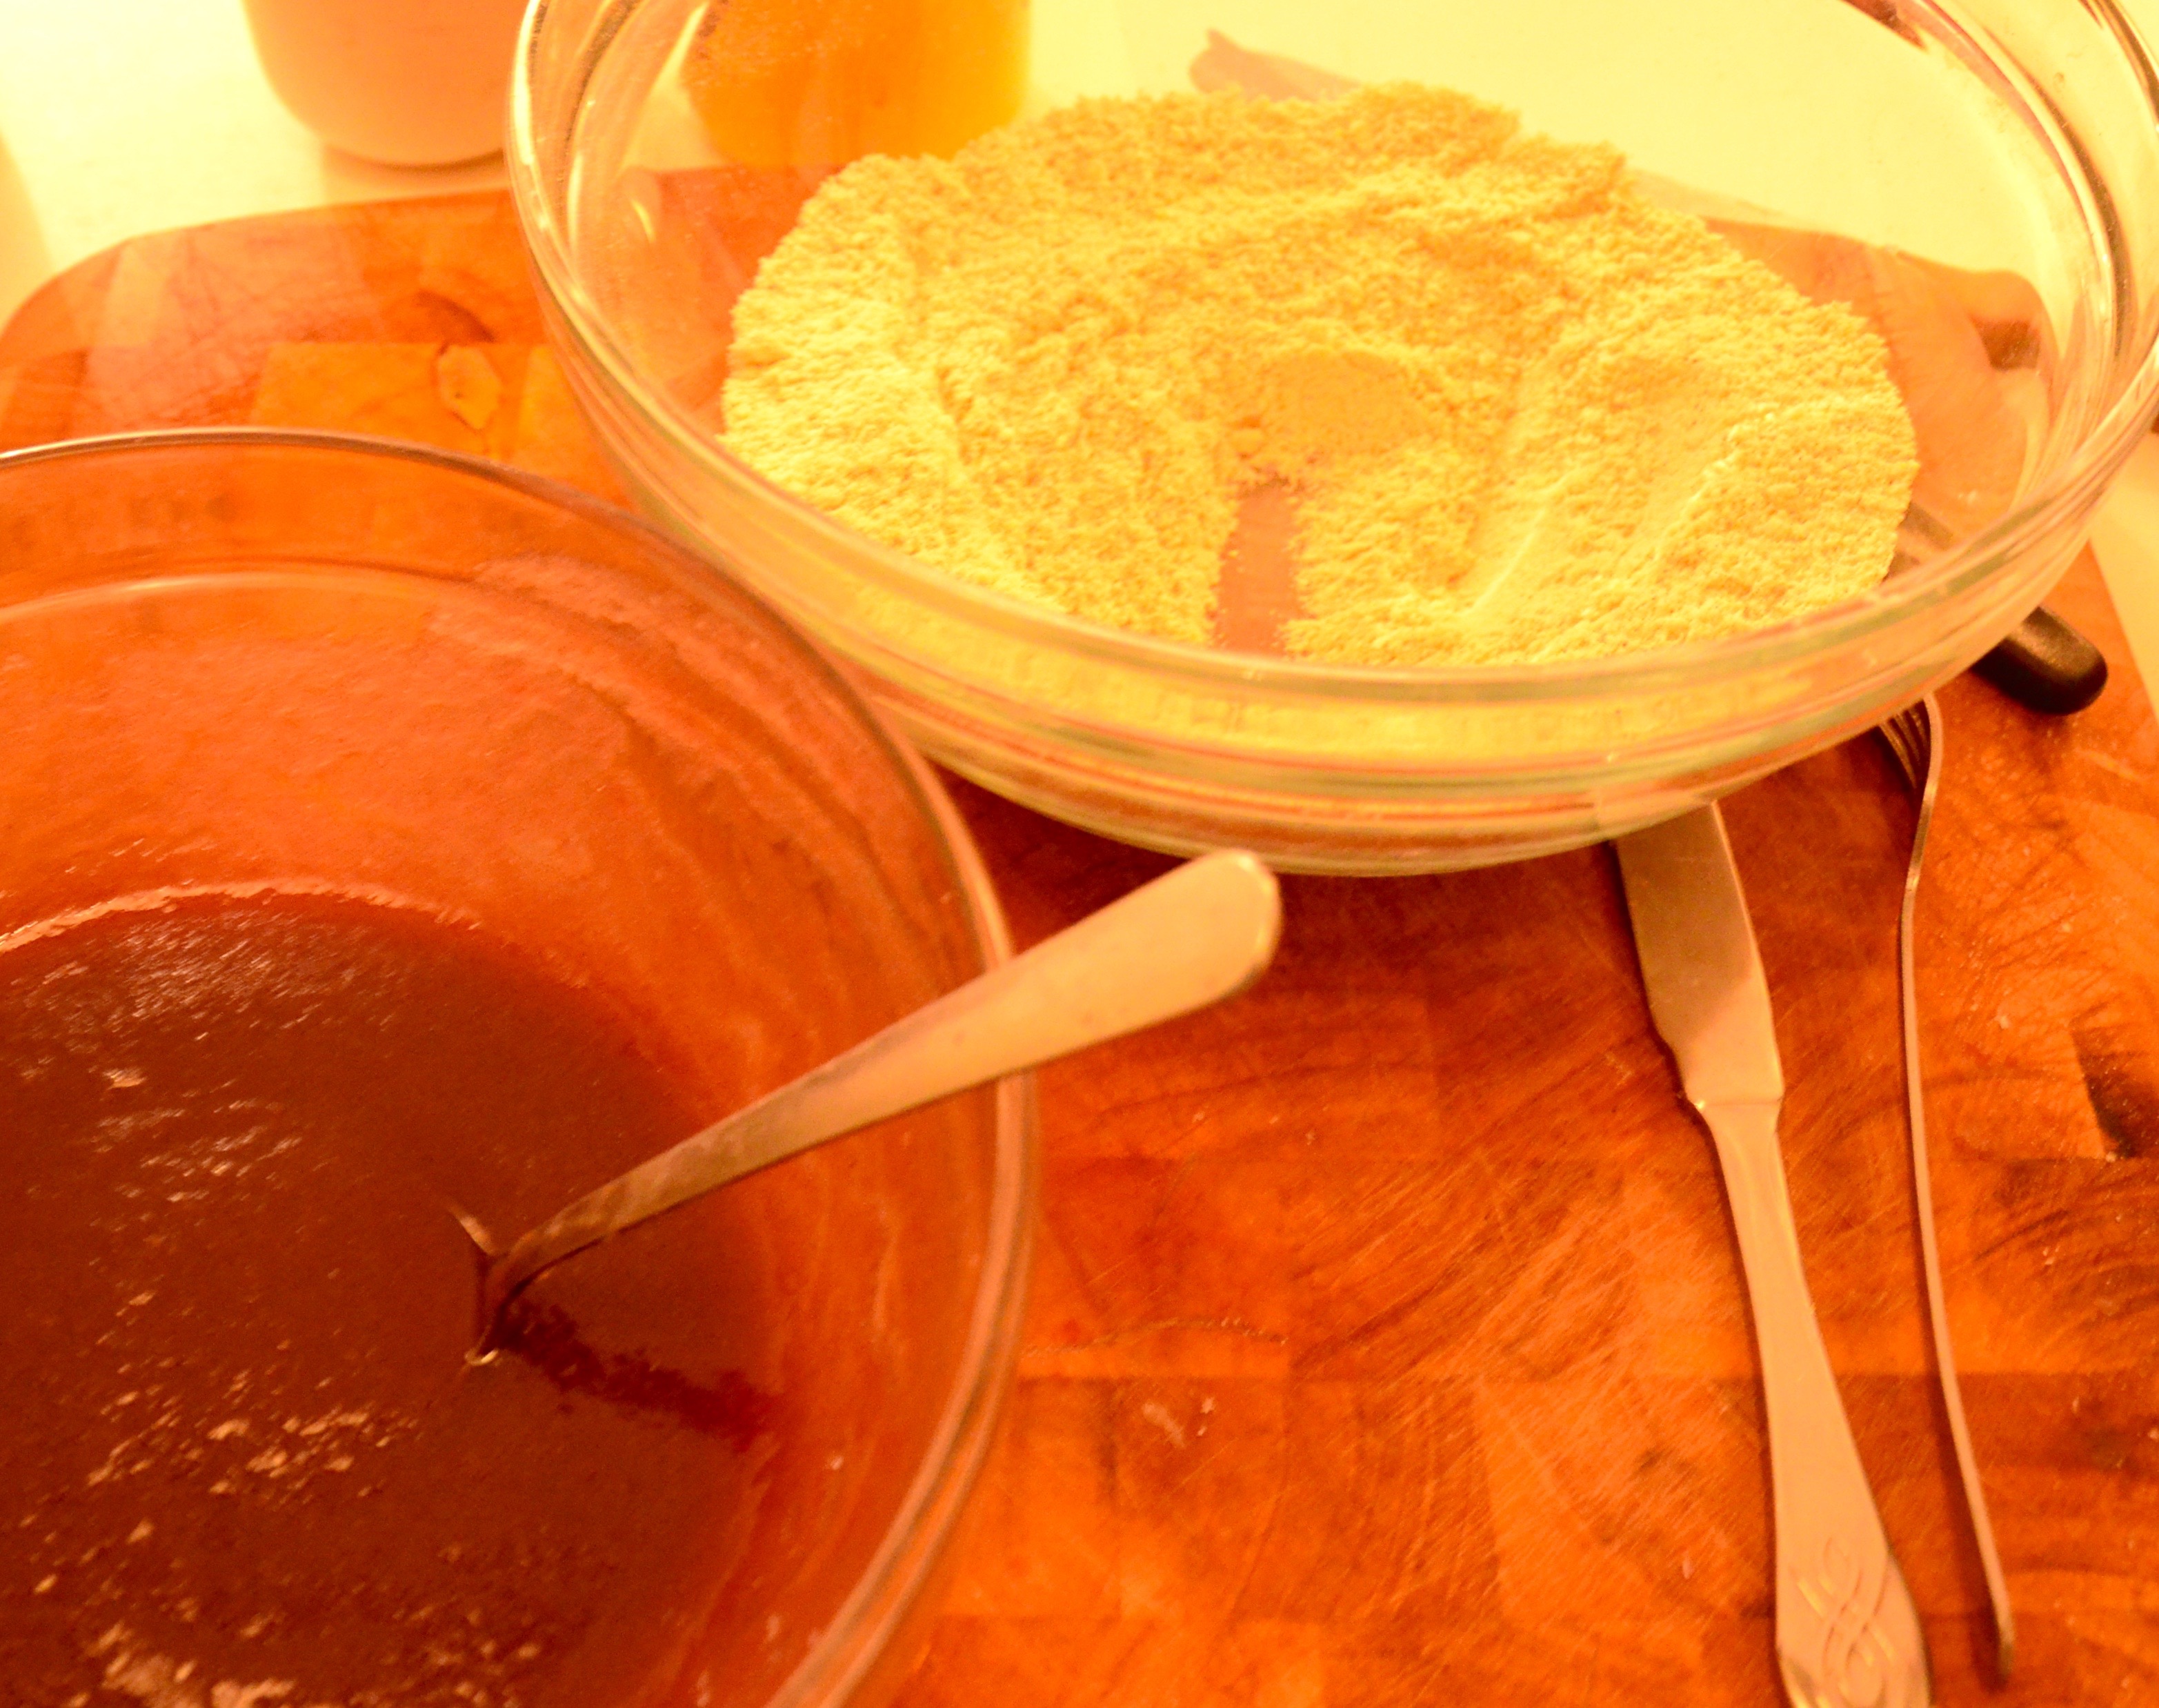
Plop all your flours, the ground almonds, vanilla powder and salt into another bowl. I don’t bother sieving .. but if you are not using gram (chickpea) flour and choosing cornstarch you should sieve the cornstarch alright.

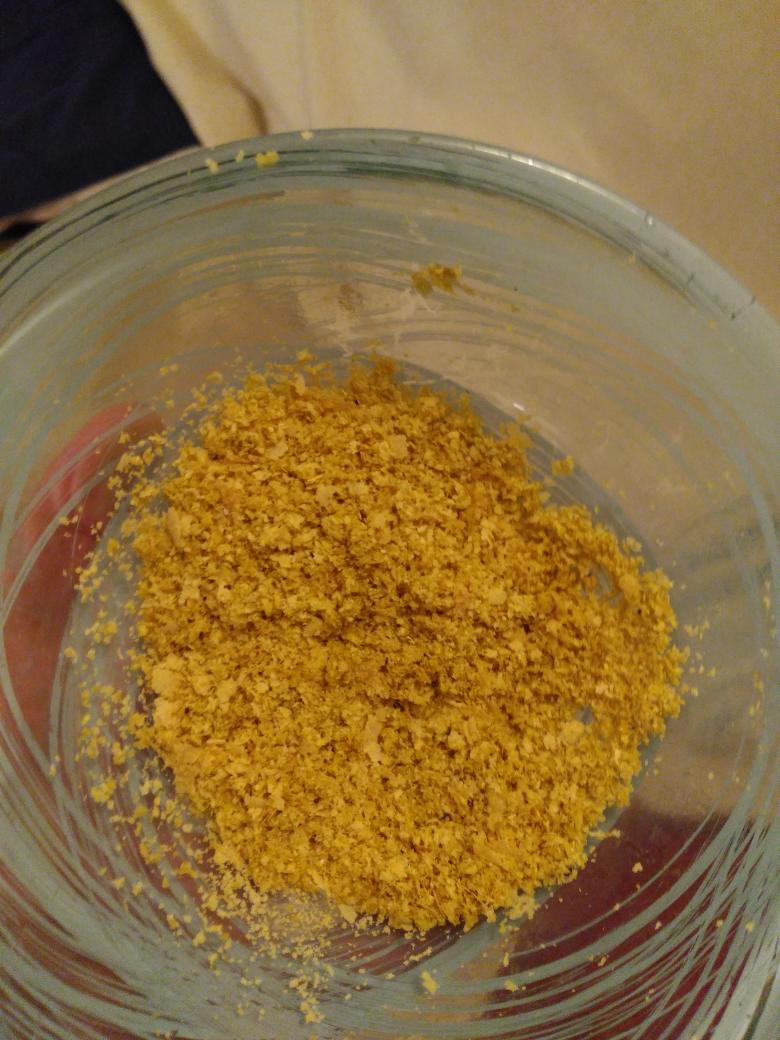
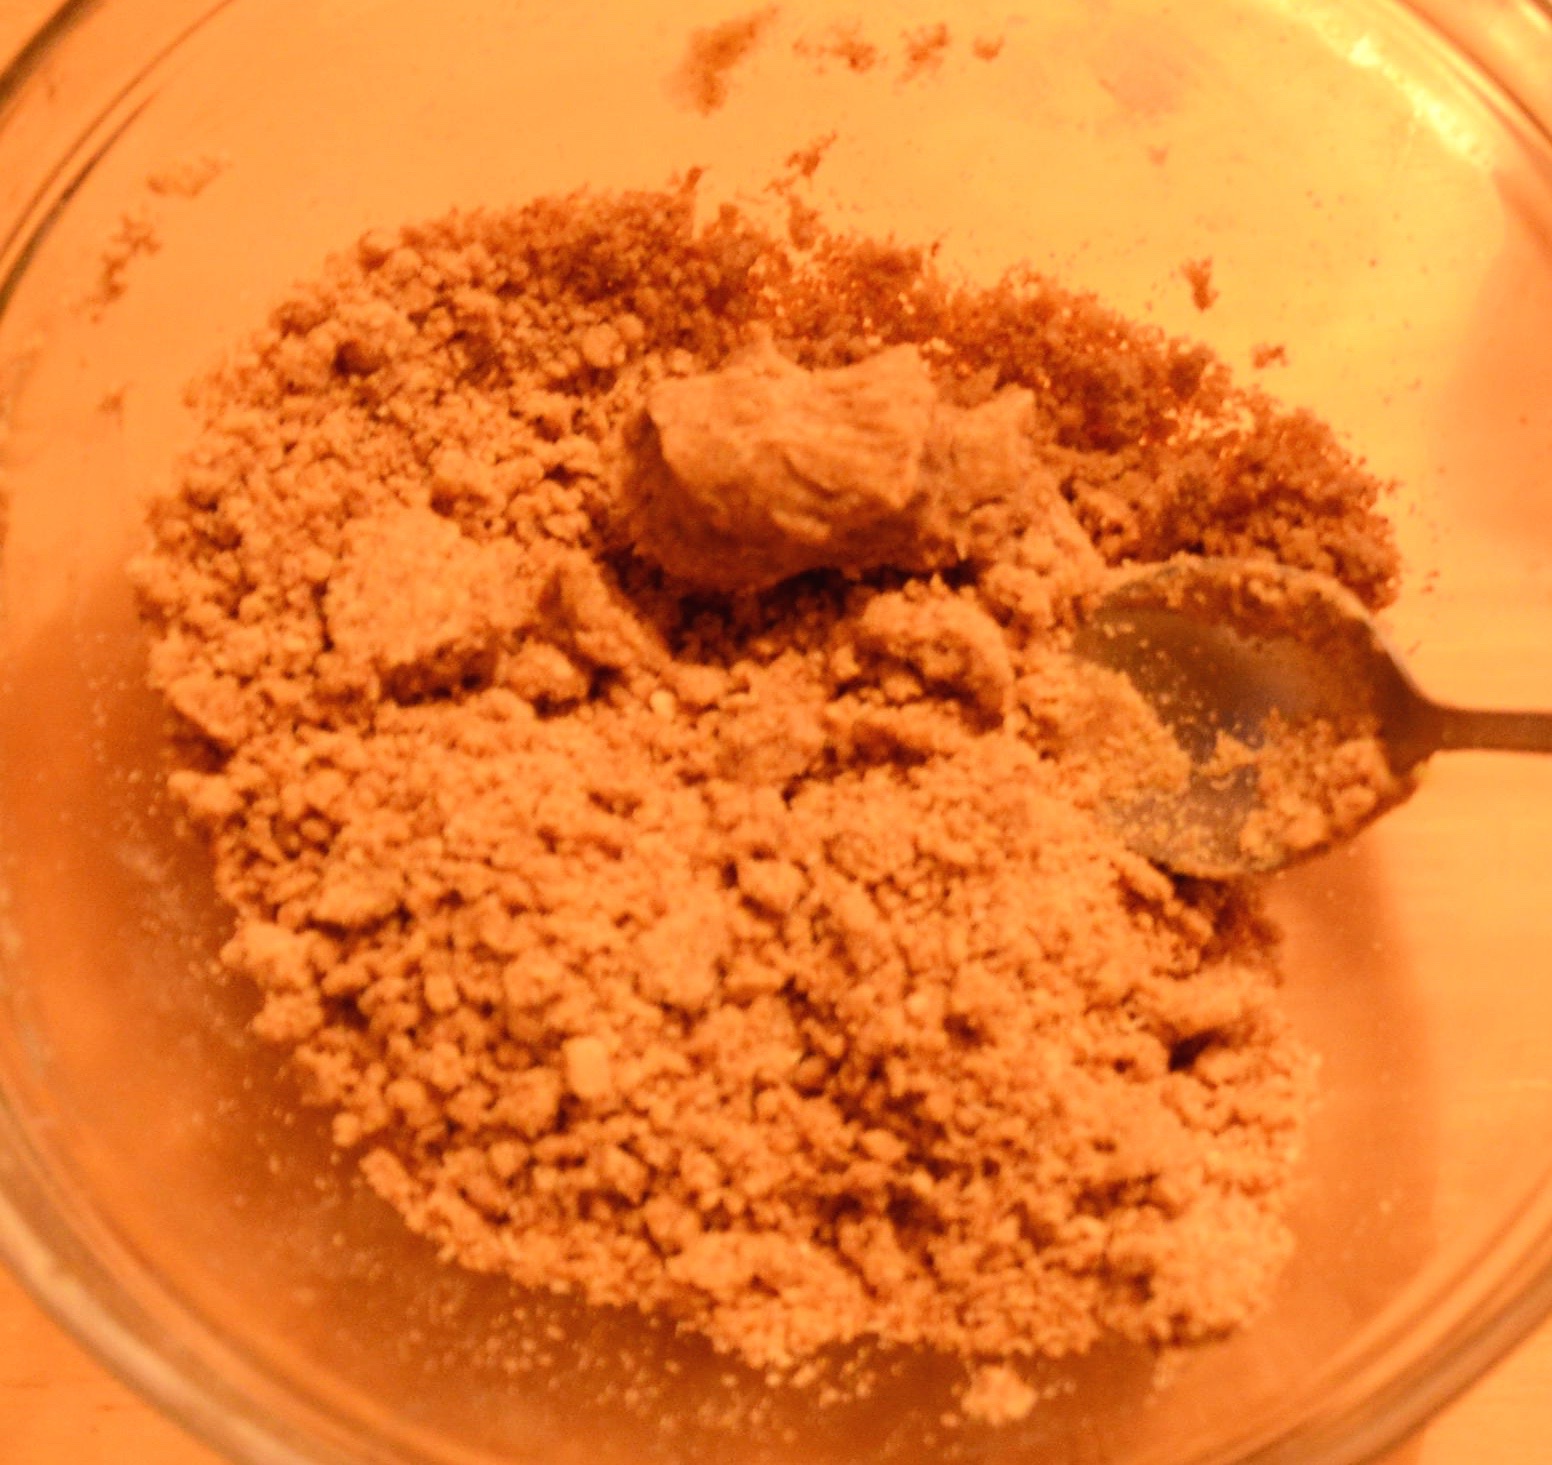
Put your dry ingredients into the wet. It will take a bit of pressing to get them pressed together. If you find it is looking more floury than bread-crumby (see pic) you may need to add a dessertspoon or two of almond milk. Start by sprinkling one spoon of milk over the ingredients and mix and press again. If still dryish add another spoon. It should just hold together when pinched. If you are happy with its crumbliness take a generous half a cup plus a dessertspoonful out and put it aside.

crumble

crumble

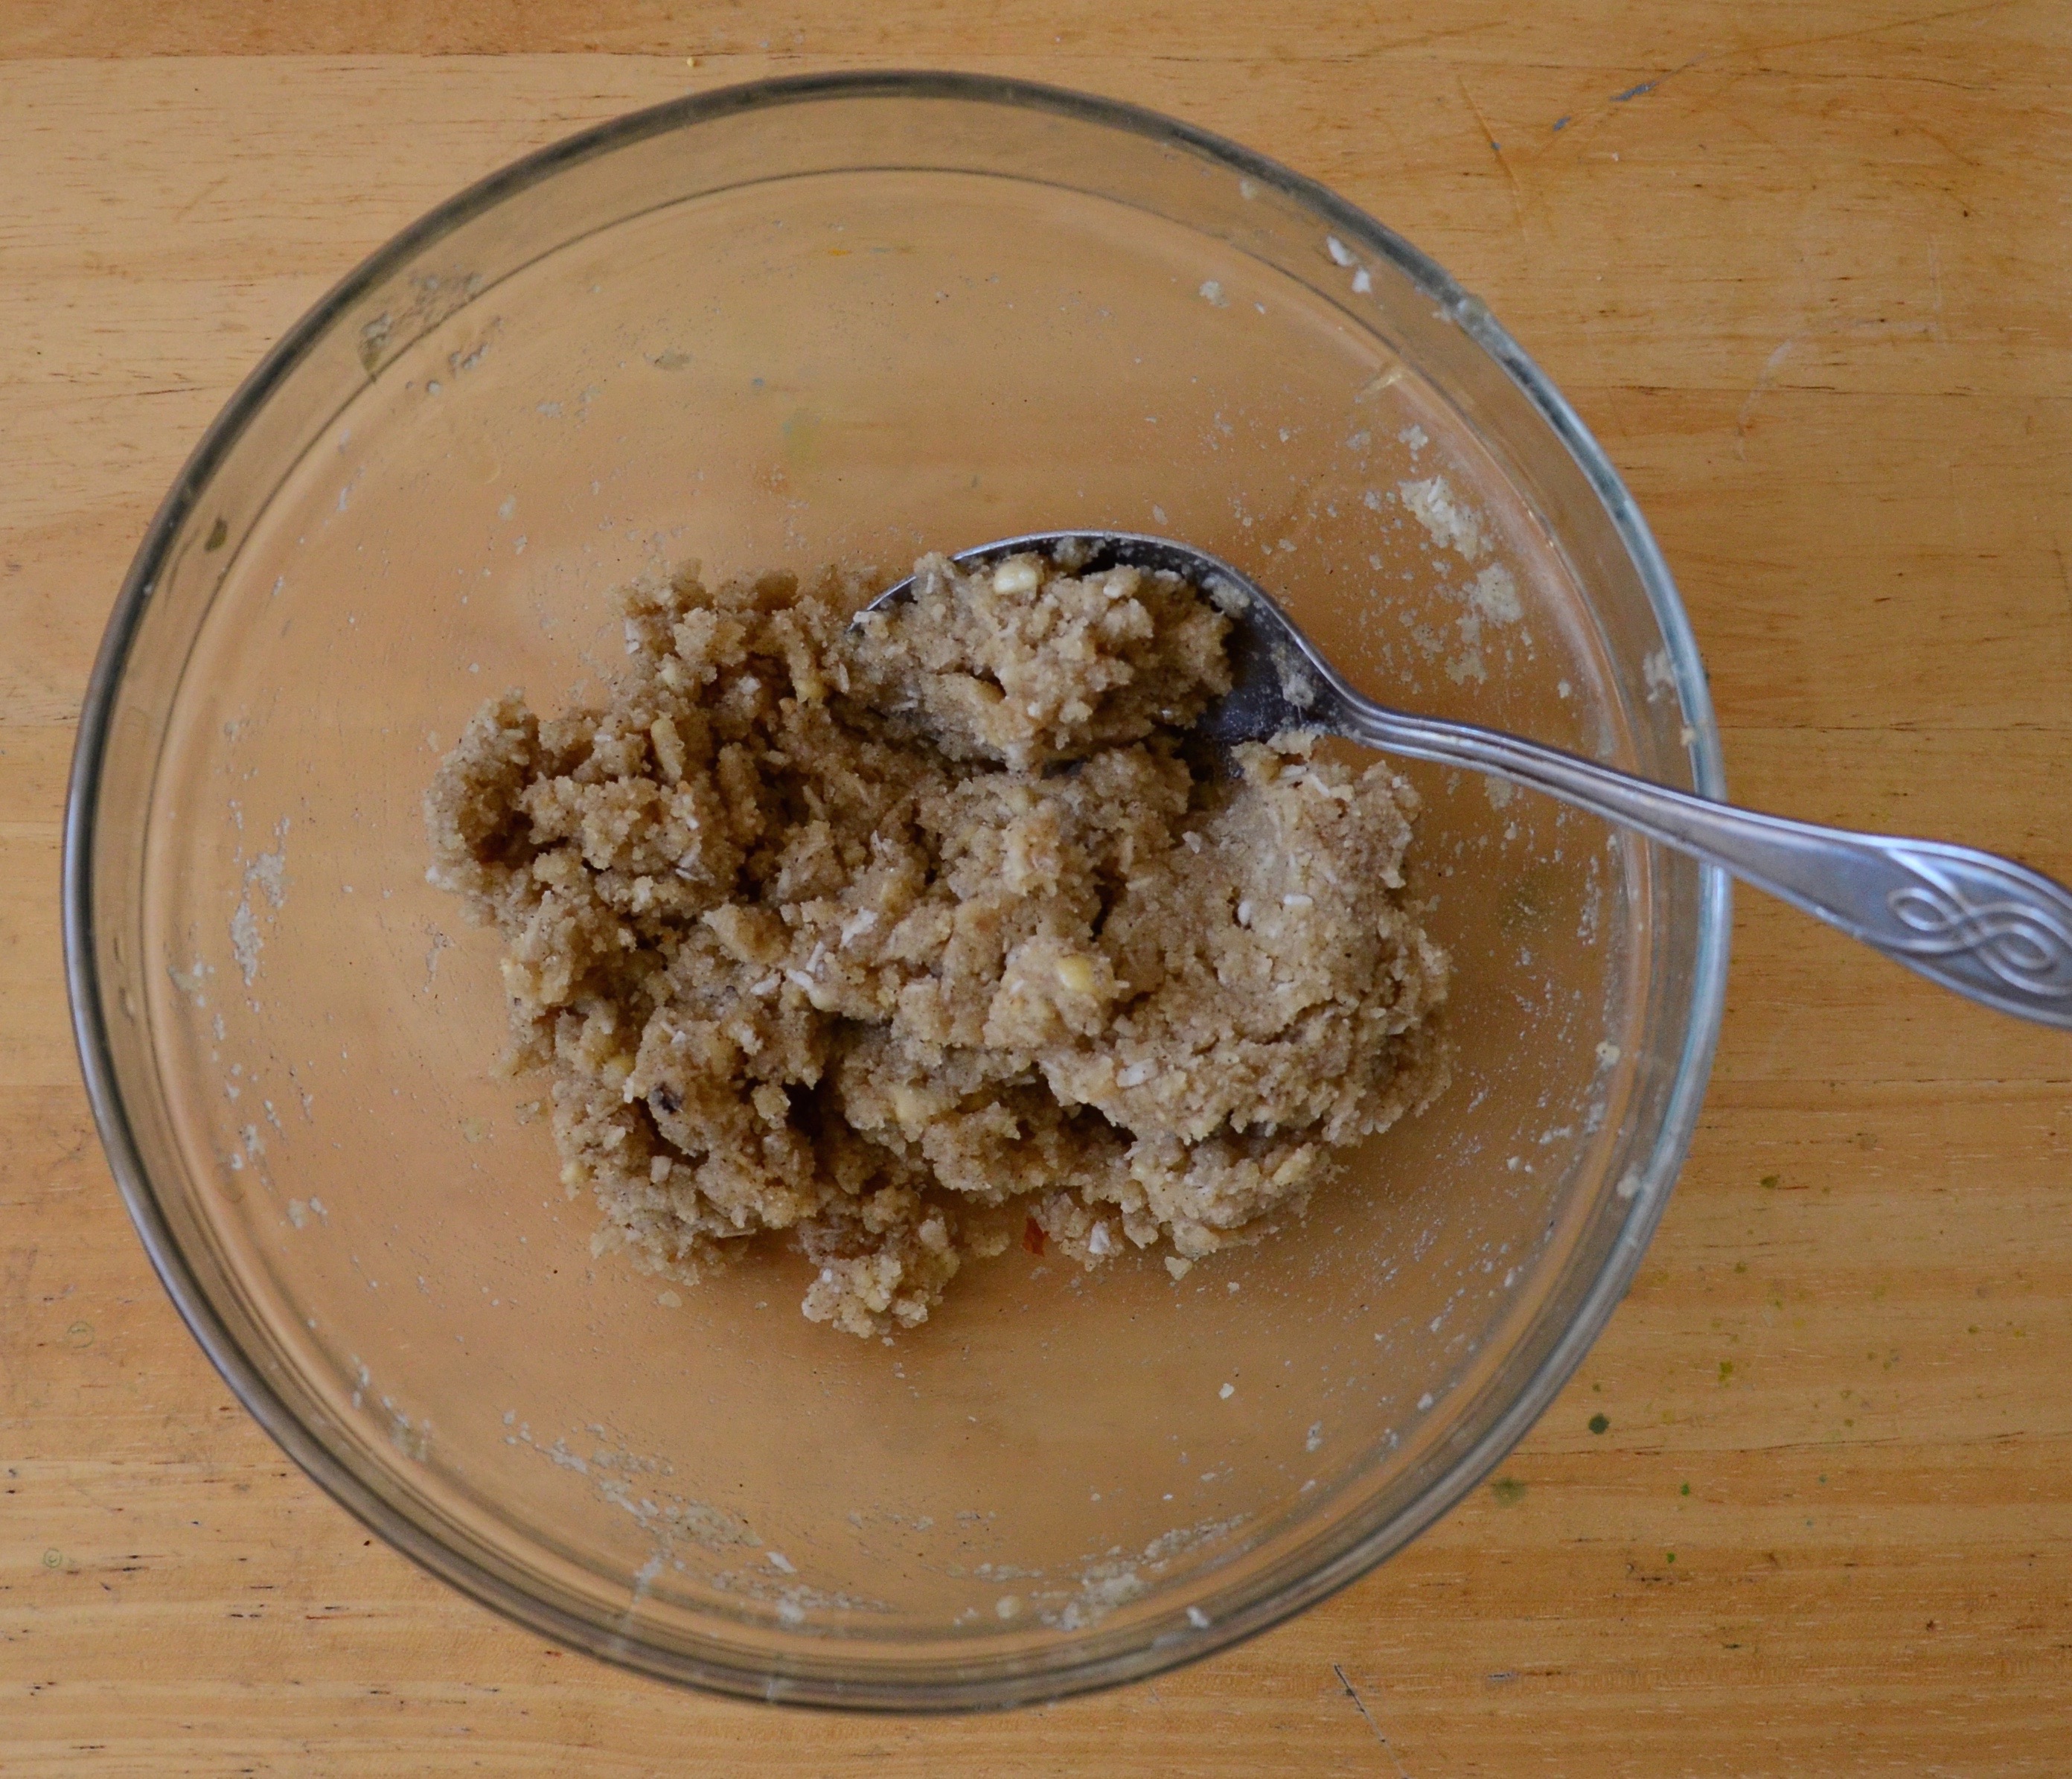
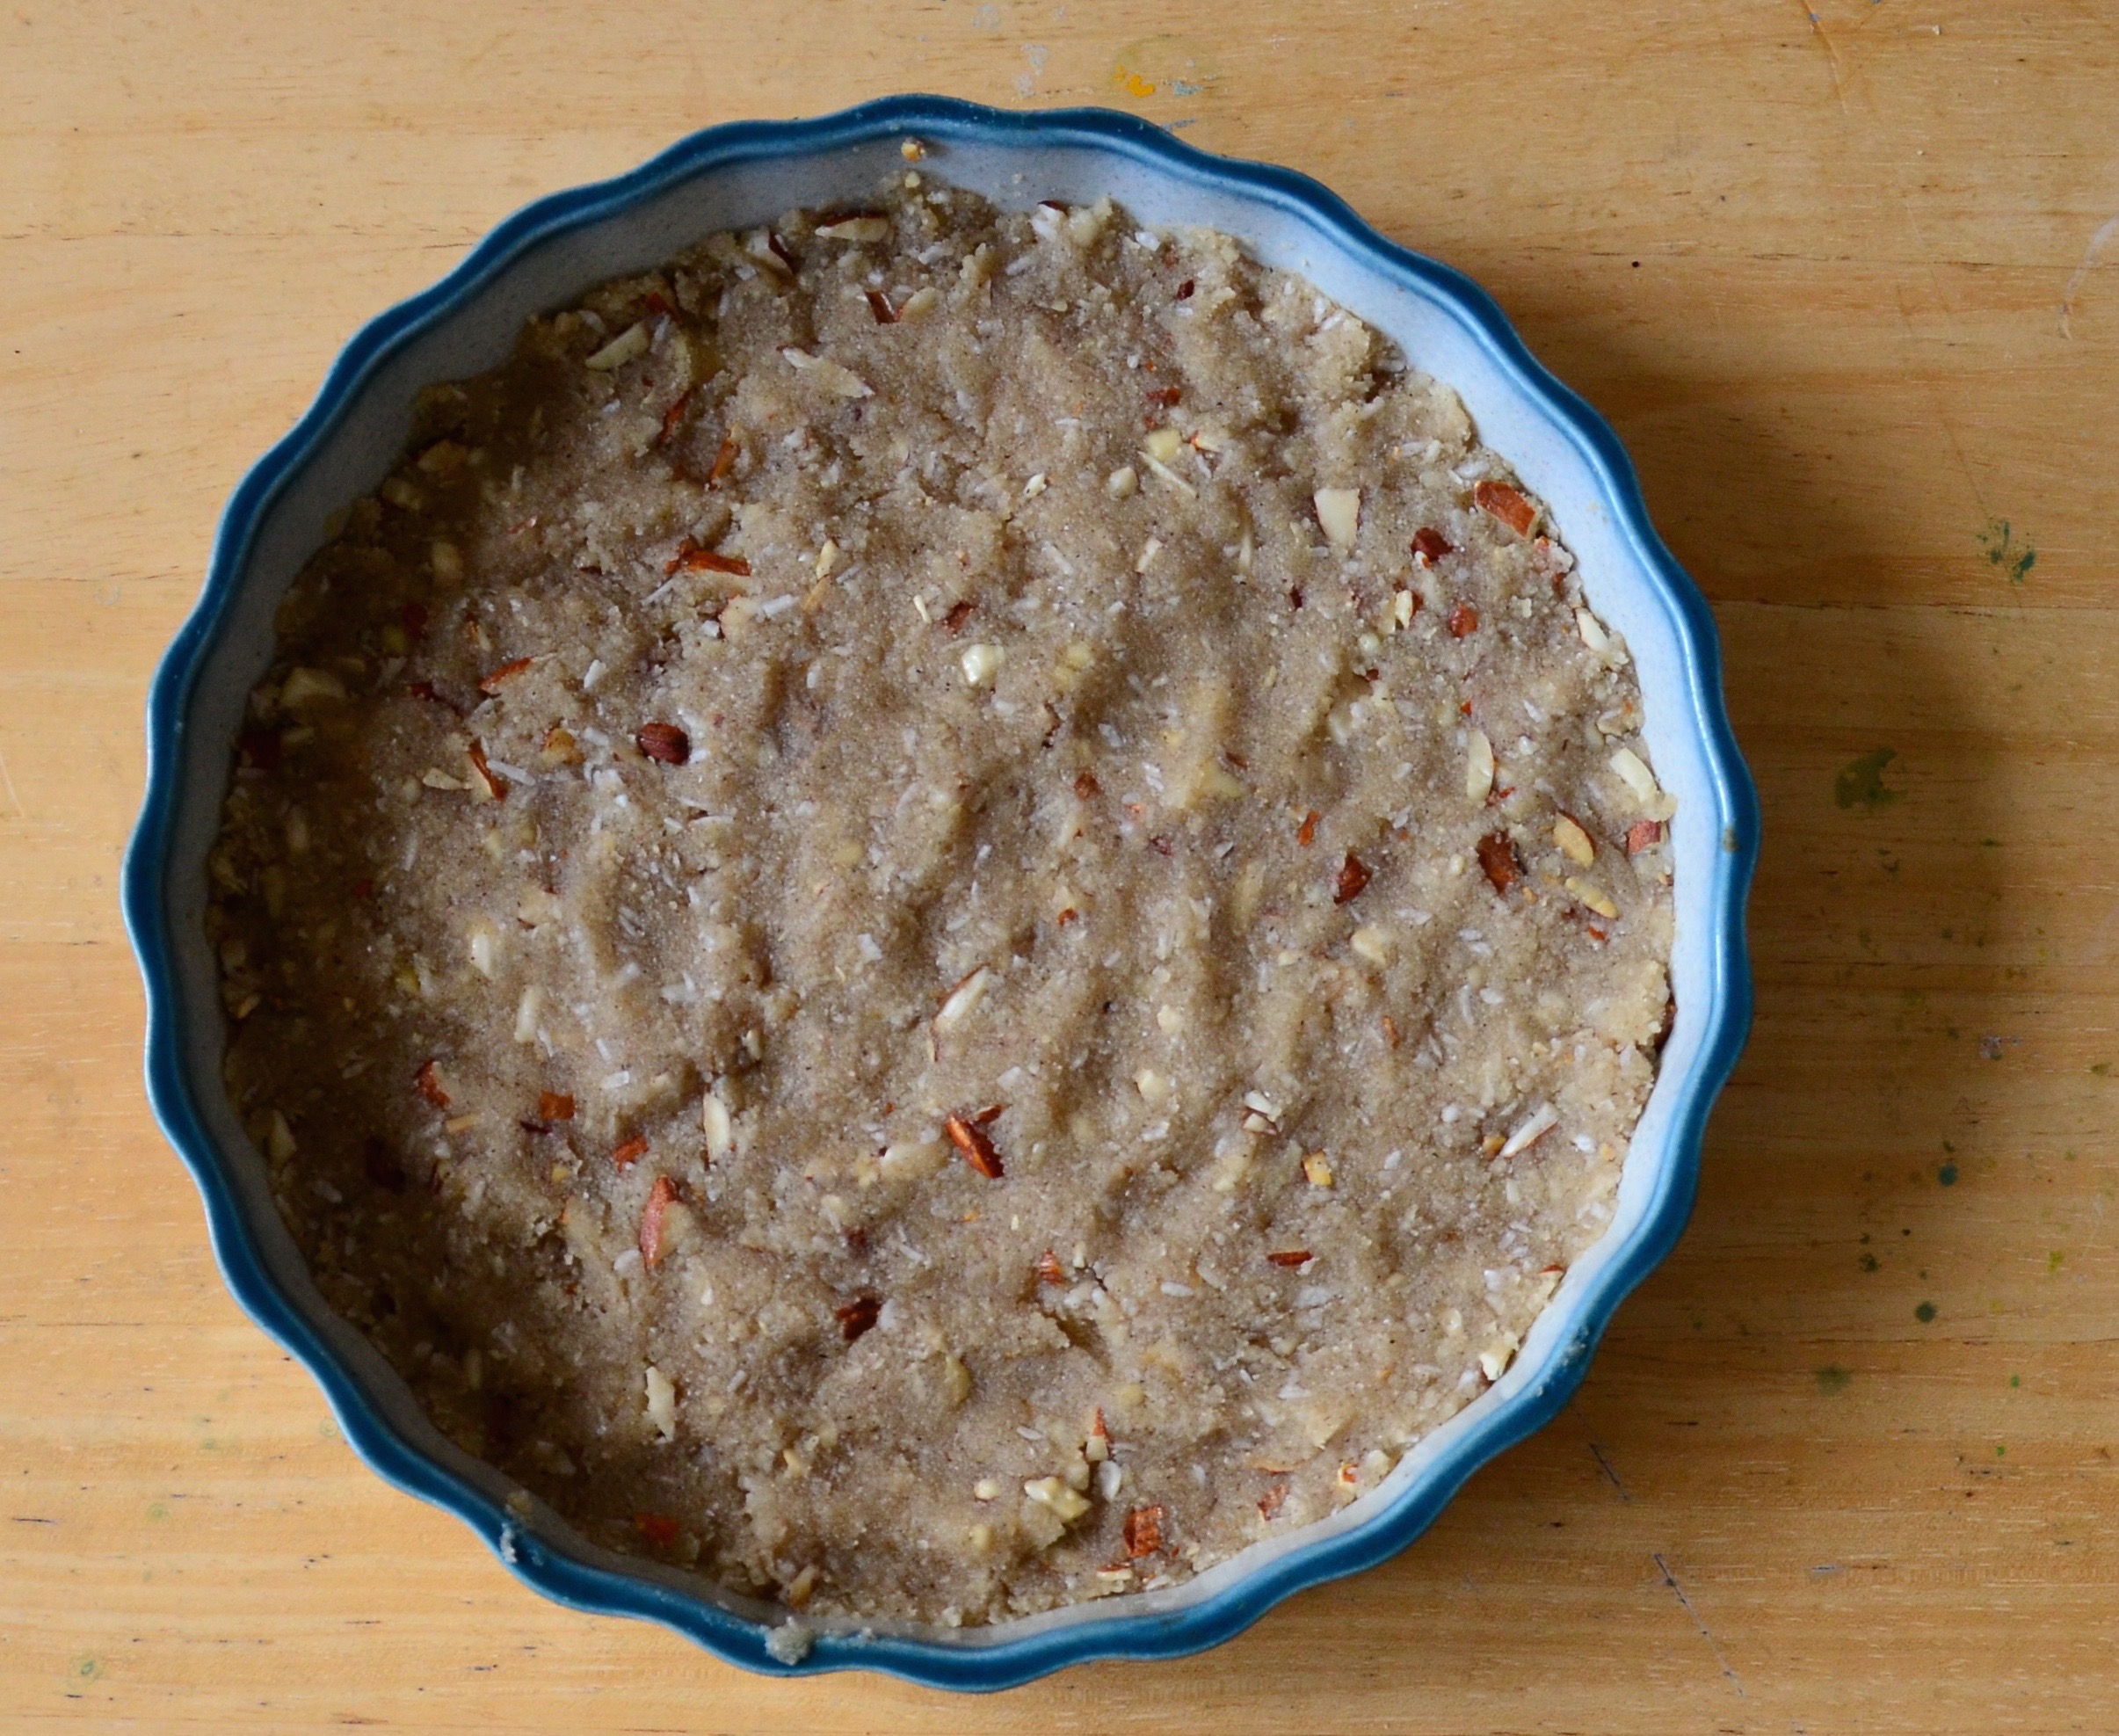
Add another two spoons of almond milk and mix again. It should turn to a doughy texture when you squeeze it with your hand. Grab your prepared pie/ cake tin and press the mixture in – evenly.

The stickier dough

The stickier dough

Next the jam! Usually half a cup will do but always good to have a spare spoon to make sure the base is properly covered.

what unevenly spread jam looks like ;-)

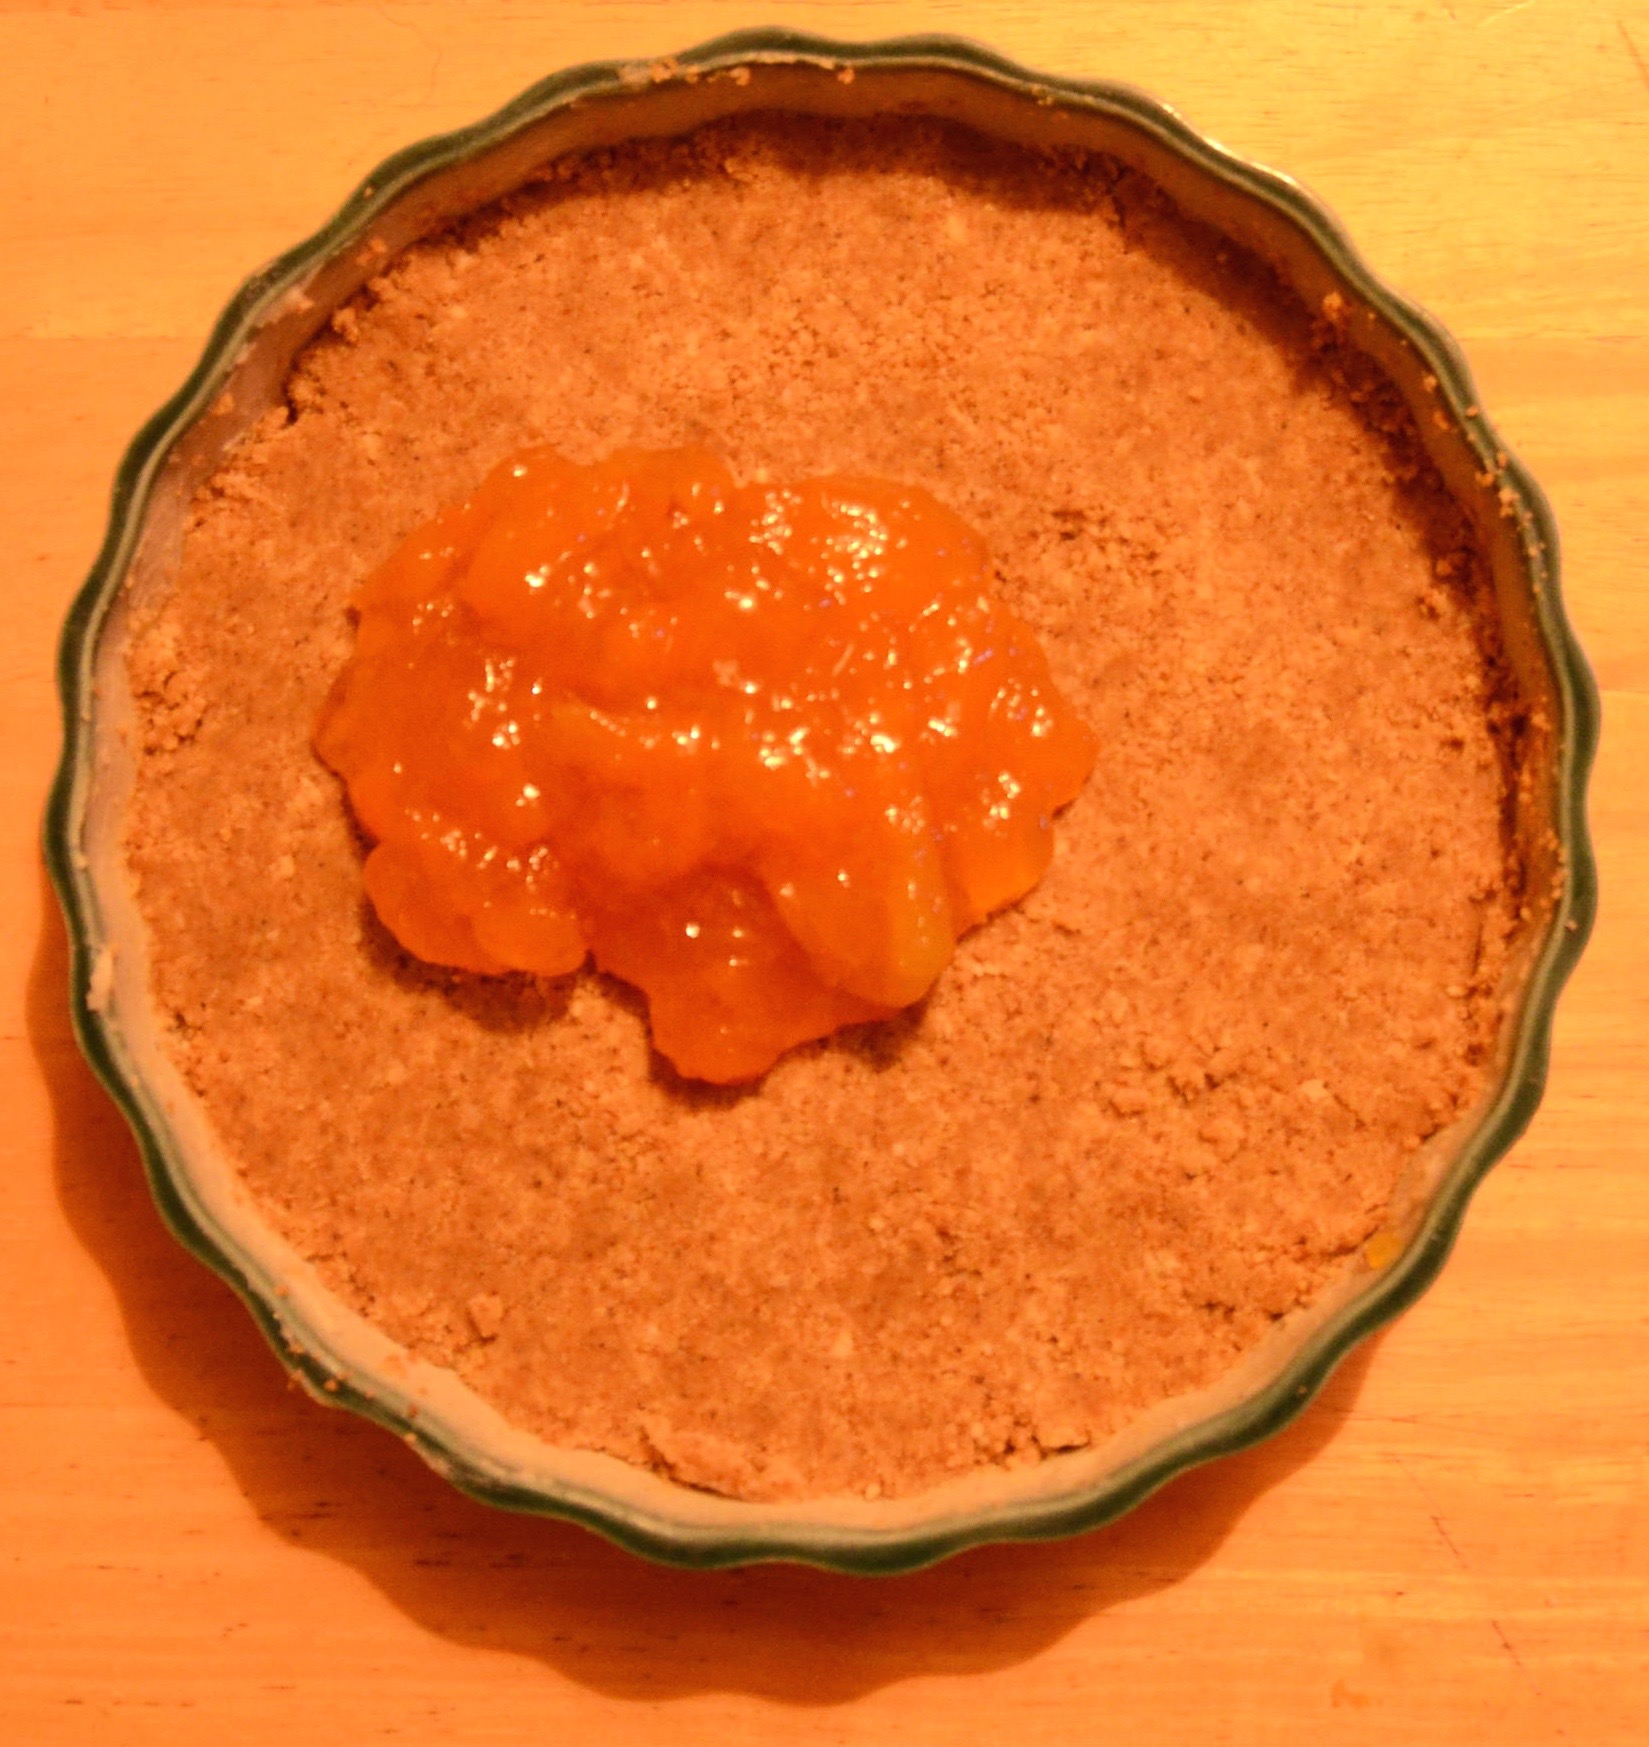
what unevenly spread jam looks like 😉

Next get the crumble you had set aside. Sprinkle the crumble over the top making sure no jam is visible!

pre baking

pre baking

Pop it in the centre of your oven (slightly to left in mine as right side of my oven is hotter!). It took 35min in my fan oven so I ‘reckon it could take 40 in a non fan.

Posing for it's close up

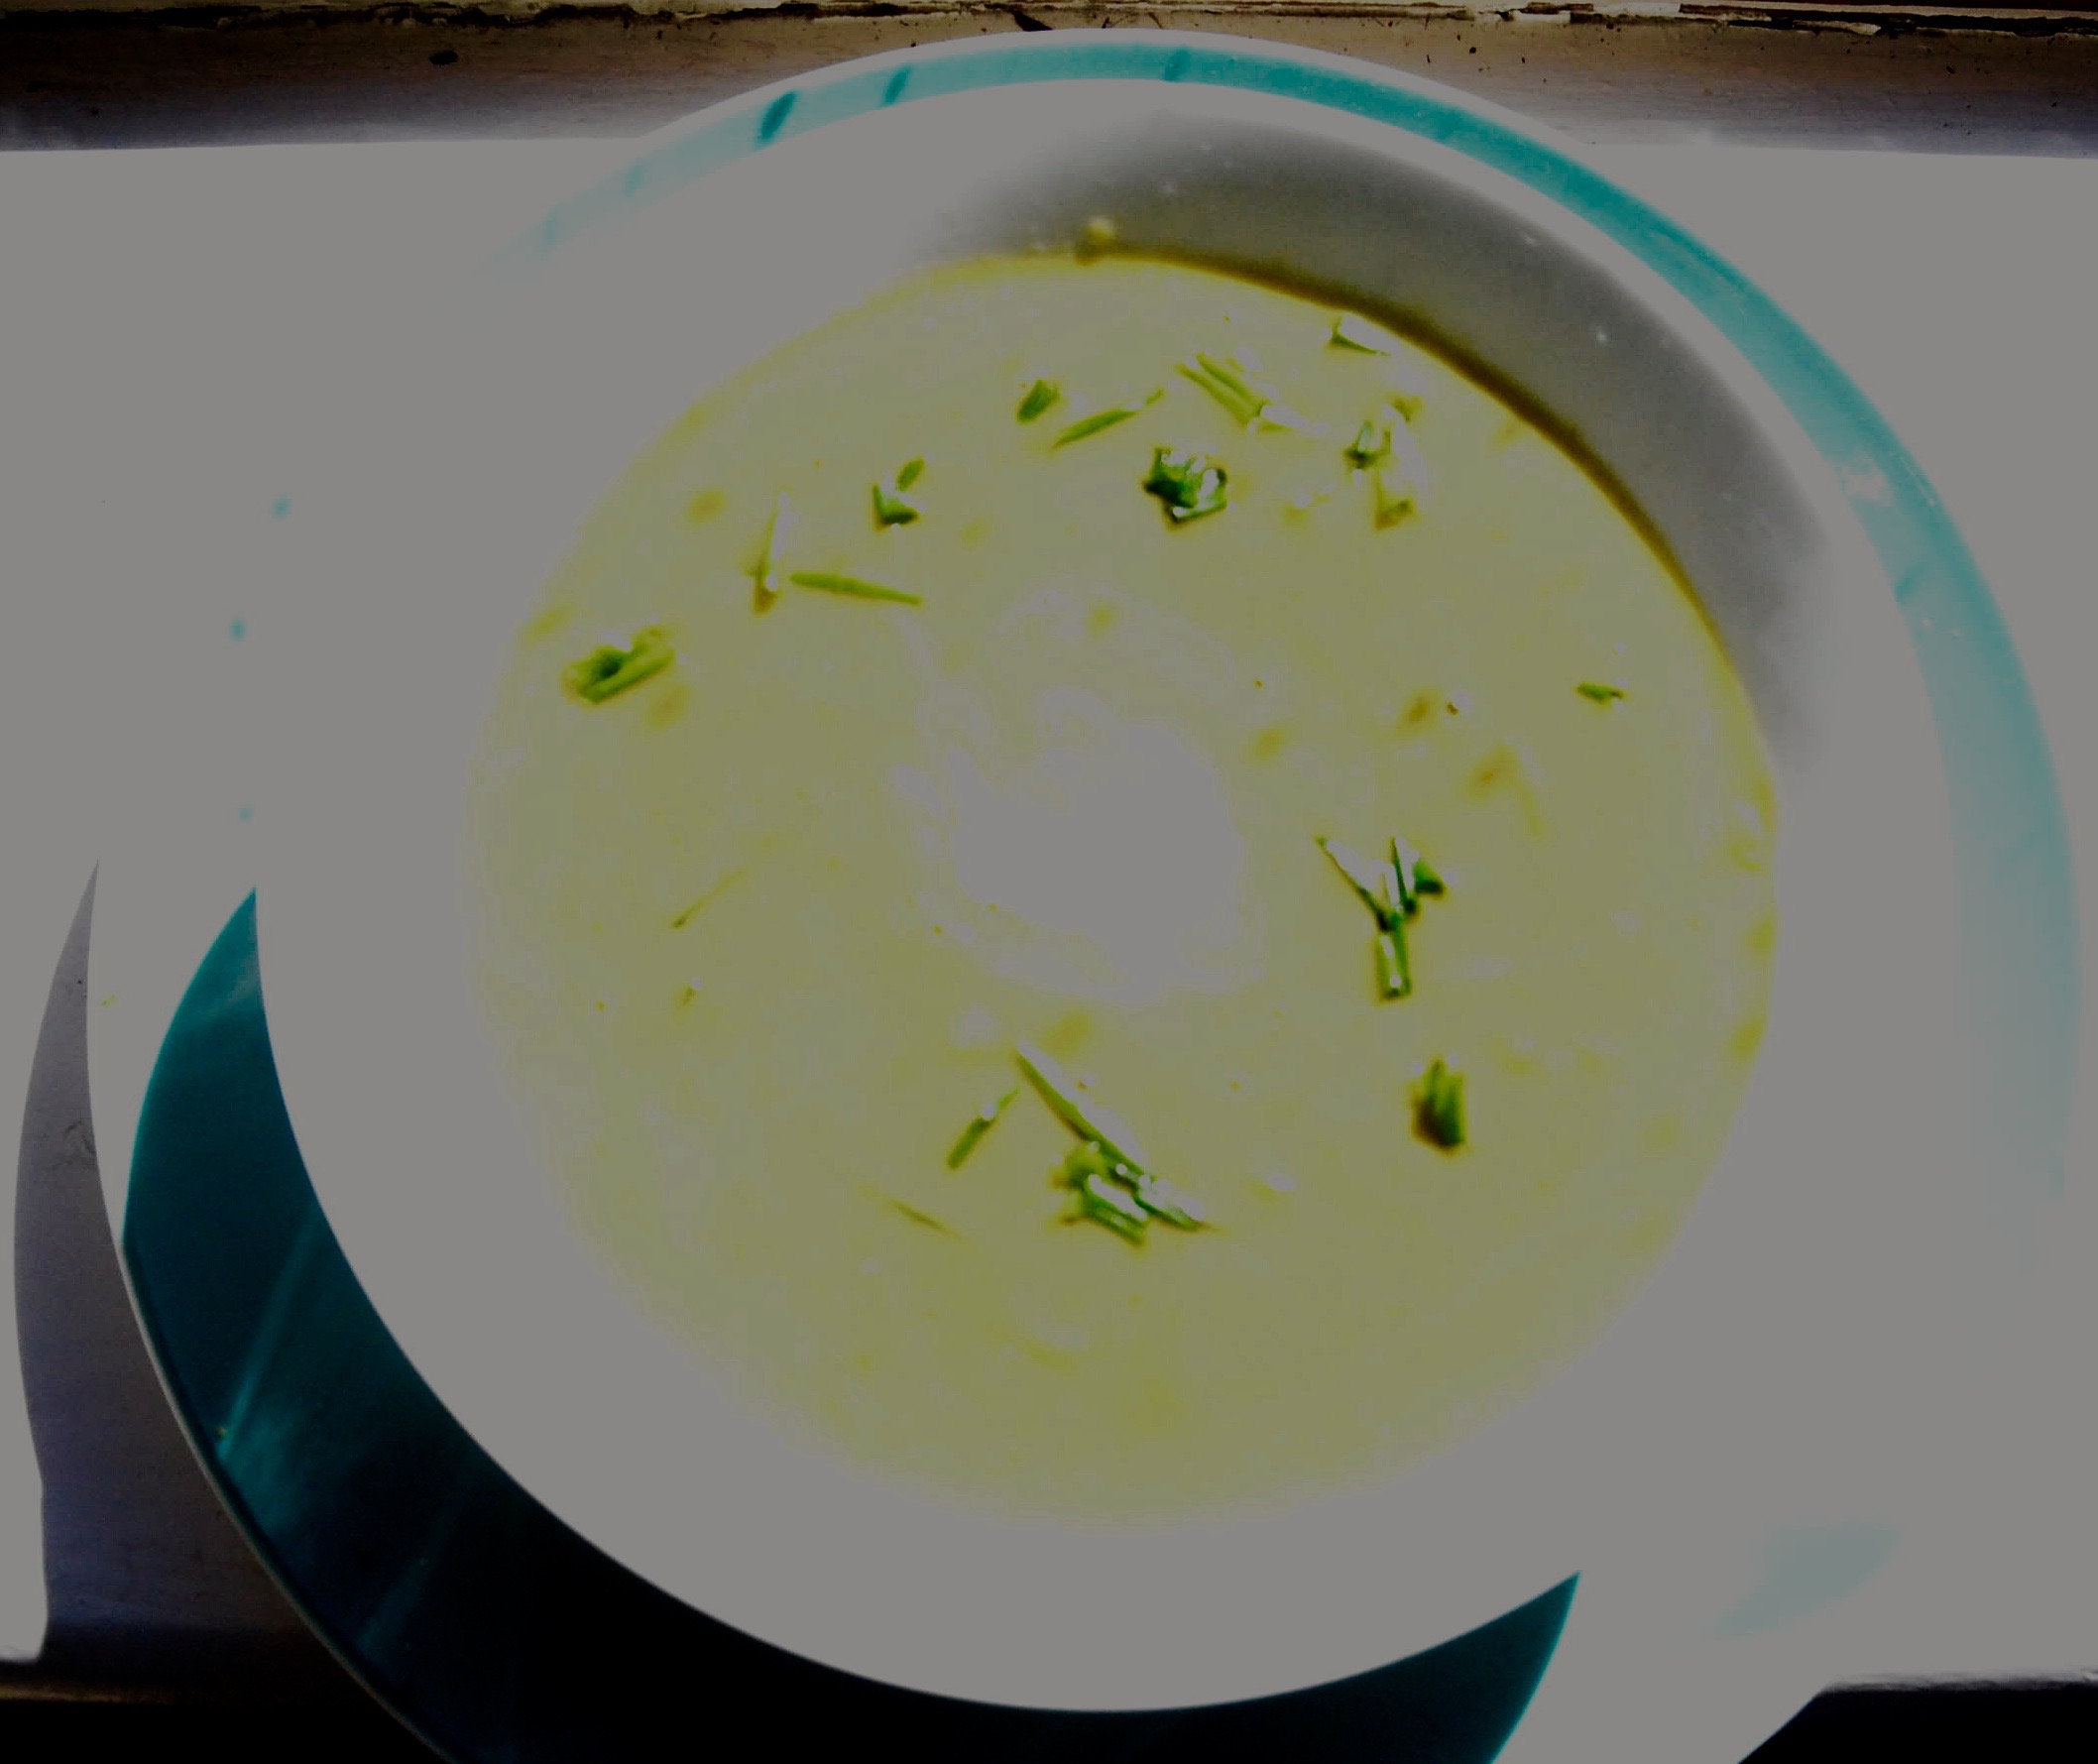
Posing for it’s close up

If you used a square tin you could cut little squares but mine is round so it is tart slice style biscuits for me!

Hope you try it or make your own version of it! Xs Aissa

Footnote:

I was inspired by a multitude of jam crumbly recipes when scouring the internet but special kudos mention to “Have Cake will Travel” recipe as inspiration.

It is also lovely made with raspberry or blueberry jam! It is also very easy to make nut free- use a seed butter, use fine maize meal instead of the ground almonds and use a non diary milk not made from nuts! Problem with coconut? Use vegan butter instead of coconut oil and use rapadura / sucucant sugar instead of coconut sugar!

Vegan Creamy Vegetable & Herb Soup & Gluten free

27 Sunday Mar 2016

Posted by Aissa in Gluten Free, Savoury

≈ Leave a comment

Tags

Gluten free, medicinal mushrooms, Savoury, Soup

It is a typical Irish Spring day, varying from beautifully sunny to intense showers of rain. A bright green soup seemed to be the order of the day. I think it took me half an hour to make – so fast, healthy and importantly yummy! 🙂

So you will need one or two pots and a blender (hand held will do)

Creamy Vegetable & Herb Soup Vegan & Gluten Free

  • Five cloves of garlic – I used wet cos it’s in season
  • A dessertspoon of org coconut oil
  • A teaspoon of nigella seeds
  • A quarter teaspoon of dried chilli flakes
  • One medium sweet potato
  • Half a teaspoon of ground turmeric
  •  Approx. Two cups of stock*
  • Ten organic shiitake mushrooms (very good for you)
  • A small head of broccoli
  • A half teaspoon of dried oregano
  • Approx. twenty fresh oregano leaves
  • Approx. thirty chives – chopped
  • A teaspoon of dried dill
  • A can of coconut milk (keep a tablespoon of the cream aside)
  • A pinch of himalayan pink salt or sea salt
  • Black pepper a good few twists/ a quarter tsp of powder
  • A dash of brown rice vinegar or a small squeeze of fresh lemon juice.

*you can use half an onion stock cube- I buy one free of palm/ hydrogenated oil and hydrolysed veg protein by a brand called Kallo, or you can make your own! See my recipe for homemade stock  at the bottom of the post here : https://veganetcetera.com/2015/01/24/vegan-french-onion-stew-oup-quick/

Method:

If you are using a homemade stock put it on to a high heat so that you can be bringing it to a simmer while you prepare your ingredients. If using a cube or bouillon then boil the kettle so you have hot water ready!

Put your saucepan on to a medium high heat and pop in your coconut oil to melt. Meanwhile chop your garlic and have your nigella seeds, chilli and turmeric ready. Start chopping your sweet potato into inch size cubes. don’t peel the potato – the skin is good for you!

Once the oil is melted and warmed put in your nigella seeds and chilli to sizzle. Add in your garlic- giving it the odd stir to stop it burning. Now add in your turmeric powder- and a tiny splash of water or stock so that it doesn’t burn and leave it cook for few seconds. Add in a cup of stock and throw in your sweet potato. Add in your dried oregano and dried dill. Add your salt and pepper. Make sure the potato is just covered by stock- so you will prob need to add the second cup now. Cover the pot so the potato can cook.

Wash your org mushrooms. I like to chop a few of them really finely so that they can impart more flavour and then thinly slice the rest ( I save a few from blending near the end as I like the odd bit of mushroom in my soup). Now chop your broccoli, peel the tough stem and chop this too- it is very nutritious! This should have taken a few minutes unless you are super skilled with a cleaver!

Add your shiitakes to the pot and put the cover back on. Get your fresh herbs ready. Keep a big dessertspoon of chopped chives for later. Add in the fresh oregano and chives. Keep the top off the pot- as you want the water to reduce a little. Check if the sweet potato is nearly cooked. It should be softish and certainly no crunch to it. If it is nearly cooked and in your chopped broccoli. Press the veg down so the water is pretty much covering everything. Leave it to simmer.

Grab your can of coconut milk and take a spoon of the creamy stuff off the top. This is to add to your soup when serving.

Check how the broccoli is cooking. If they are nearly cooked add in your coconut milk. You will need to stir it through so the creamy goodness mixes in properly. Reduce the heat to medium, you just need to leave it cook for another few minutes so the broccoli is done and it has all warmed up to a simmer again. Add a dash of the brown rice vinegar or a squeeze (half a teaspoon) of lemon juice. The acidity really does help bring all the flavours together.

Take it off the heat so it is not a danger to you when you blend it. If you are using a jug blender ladle in the chunky bits first and pour the liquid. If you like save some mushrooms from the mushing and leave them in the pot/ Blend to creamy- takes about a minute in my blender.

If using a hand blender: again take it off the heat! 🙂 You need to make sure the veggies are properly cooked so your blender doesn’t hate you. Don your apron and get to blending!

Now put the creamy green soup back on the heat inc the shiitake mushrooms you saved. You may want to add a little hot water if it is too thick. You should have some chopped chives left. Add half of what you have left- approx. a teaspoon. Now have a taste and see if it needs more pepper or salt. Don’t leave it boil or you will loose flavour. Just warm it enough for it to be ready to serve.

Pour it into your bowls and a teaspoon of your creamy coconut and a sprinkle of chives. Ta-da! Voila! Green Hearty Creamy Veg and herb soup!

Over exposed soup! :-( I can't take another photo because I ate it!!!

Over exposed soup! 😦 I can’t take another photo because I ate it!!!


Xs Aissa

Horseradish Preserve! Vegan & Gluten free

24 Sunday Jan 2016

Posted by Aissa in Fermentation, Gluten Free, Natural Health, Savoury, Superfoods, Traditional, Vegan

≈ 1 Comment

Tags

Fermentation, Gluten free, Natural Health, Raw, recipe, Savoury, Superfoods, Traditional, Vegan

I’m on a spice kick! Wasabi-ing my popcorn and now horesradish-ing my everything! ( I can make my own verbs up and no-one can tell me otherwise!!) Horseradish is a some what overlooked root. Its super heat and flavour add that extra kick to.. well as I said everything, but it also as medicinal properties- anyone who has had the fresh stuff will tell you it clears your sinuses but it is also anti-bacterial (like garlic)- though traditional recommended for helping with respiratory conditions I have heard of it being used for fluid retention, urinary tract infections and inflammation. * So a great thing to have in your kitchen.

In order to keep the heat in your horseradish you need to make this all in one go. So no chopping the horseradish wondering off to look something up on line and spending three hours looking at cat videos 🙂 If left out to the air – esp. ones blended it starts to loose its heat.

I have made this a number of times so here is the list of what you will need to make:

Horseradish Preserve

  •  A good sharp knife
  • A good strong chopping board
  • A little upper body strength or a helper
  • A good strong blender or food processor
  • A jar
  • A Horseradish 🙂
  • Approx. a cup of apple cyder/ cider vinegar raw and with the mother culture in it.
  • Optional: Swimming goggles.

Method

Ideally the horseradish would be organic, but I couldn’t get any this time. So I made sure to peel it really well incase there were any residues left on it. Horseradish is very woody it even has a grain to it so it is a bit like trying to chop a soft-ish stick! If you find the grain it is easier to peel. The other tip is to cut length ways first , chop the top and bottom off and then chop  to smaller bits. With my blender I need to chop to top of finger size bits, you might have to chop smaller.

Horseradish root looking rooty

Horseradish root looking rooty

Pop the chopped up bits in your blender/ processor and add about six tablespoons of apple cyder vinegar. Pulse off and on five or six times – and then blend for thirty seconds. My blender has a setting for nuts and I actually do it on that first as the horseradish is so hard. Once it is pulverised a bit you can blend like normal.

WARNING! WARNING! WARNING! Maybe get the goggles!

DO NOT TAKE THE TOP OFF THE BLENDER WITH YOUR HEAD OVER IT!!!! It is like putting your head in a bowl of twenty freshly chopped onions. You eyes will be scalded and streaming! Even scooping it into the jar I try and keep my face well back.

Fluffy horseradish ready to apple cyder vinegar-d

Fluffy horseradish ready to apple cyder vinegar-d

All that spicy goodness is heading off into the air so to catch it cover the horseradish with the apple cyder vinegar fast! A good apple cyder/ cider vinegar- that is naturally fermented and raw is full of good bacteria and malic acid (helps break down uric acid – which in turn is good for your joints). This good vinegar will preserve your horseradish- I have had a jar for months at a time in the fridge.

Looks like snow but it is HOT HOT HOT :-)

Looks like snow but it is HOT HOT HOT 🙂

It is a wonderful accompaniment to any meal – but is a especially good mixed with avocado, hummus or a pinch added to your homemade salad dressing. even when using the jar I don’t leave it open to the air for long- to keep all the great spices in!

Hope you guys try it out. It is pretty amazing stuff. It will be called a superfood yet! 🙂

xs Aissa

*footnote. I am not a health practitioner. but I have read if you are on low thyroid medication or pregnant you should not being eating truckloads of horseradish!

Wasabi Popcorn! Vegan & Gluten Free

31 Thursday Dec 2015

Posted by Aissa in Gluten Free, Savoury, Traditional

≈ 1 Comment

Tags

Gluten free, Savoury, snack, Traditional, Vegan

Happy New Year! Here is my New Year’s Eve snack. This truly may be the easiest recipe I have put up yet. But it tasty so I wanted to share! 🙂

Wasabi Popcorn!!

  • Organic Popcorn- approx. a third of a cup
  • 2 big dessertspoons of org cold pressed coconut oil
  • 2 big teaspoons of wasabi powder
  • Roughly 8 dessertspoons of nutritional yeast
  • 2 teaspoons of org cold pressed olive oil
  • 6 twists of black pepper
  • A pinch of himalayan pink salt

Soo very easy..

Put your wide based saucepan on a medium to high heat.

Melt the coconut oil.

Add the popcorn. Shake the pan the odd time. Wait for a minute for it to start popping. Put the lid on and turn the heat down to medium.

Start making the wasabi mix. The odd time agitate the saucepan to stop the popcorn from burning.

Wasbai Nutrional Yeast mix Method:

Put your wasabi powder in a bowl. Add four dessertspoons of nutritional yeast and your black pepper and salt. Put in the olive oil and mash the ingredients a bit. It should be kinda bread crumb… crumbly.

Add in the rest of the nutritional yeast, mix again. Taste add more wasabi if you would like it hotter. Ta-da!

BzMB7Oph.jpg-large

Once the popcorn is only popping a few times every 30 seconds, take it off the heat. Put some of the wasabi mix in a bowl and pour your popcorn in the bowl. Add more of the wasabi mix on top. Keep some to the side for adding more.

Lh4iybCr.jpg-large


Hope you have a happy healthy New Year! Xs Aissa

Almond Cake with Lemon Icing- Vegan & Gluten free!!

01 Sunday Nov 2015

Posted by Aissa in Cake, Cupcakes, Gluten Free, Uncategorized, Vegan

≈ Leave a comment

Tags

Cake, Cupcakes, Gluten free, Vegan, Vegan icing/ frosting

Sorry for the gap in posts! Life has been very life-y. I changed jobs, visited family and one of my wisdom teeth has turned out to be the source of all evil- currently quite uneven faced. So…. though I am seriously sugar free at the moment in order to give my immune system some chance of winning the battle against invading forces, here is the as promised the almond cake! Gluten free of course. The base recipe is similar to my last few cake ones, I guess I am really liking the texture the coconut oil gives to the cake. Springy and moist with good structure.

Almond cake!

Almond cake- wish I had vegan vanilla ice-cream with it

Almond Cake- gluten free & vegan of course!

  • A full cup or 200g of apple blueberry puree (or apple puree and add a some mashed blueberries)
  • 4 scant dessertspoons of org cold pressed coconut oil
  • Just under half a cup of rapadura / sucucant/ turbinado sugar
  • Half a teaspoon of apple cyder vinegar
  • Half a teaspoon of almond extract – 1tsp if you like it intense
  • A third of a cup of buckwheat flour
  • Two thirds of a cup of ground almonds
  • Half a cup of fine maize meal
  • A pinch/ eighth of a teaspoon of Himalayan pink salt/ fine sea salt
  • A generous tsp of vanilla powder/ a pod/ extract
  • 1 teaspoon of cornstarch
  • 1 teaspoon of aluminium free baking powder
  • 1 teaspoon of aluminium free bread / baking soda

Method:

Preheat your oven to 170C. Prepare a 20cm/ 7.5 inch cake tin

Put your fruit puree and coconut oil in a perspex / heat proof bowl and put it in the preheating oven for a few minutes to melt.

Meanwhile prepare all your dry ingredients. Sieve your baking powder and soda incase of lumps.

Take the oil and fruit puree out of the oven and mix in the sugar, stir until it dissolves. Next add in the apple cyder vinegar and almond extract.

wet and dry

wet and dry

Put your dry ingredients into the wet. Mix gently, just until there are no lumps.

Pour into you tin, make sure it is evenly spread. Place in the centre of the oven- or slightly to the right for me as the left is hotter.

Bake for 25mins (fan) or 30 min. Done when it is coming away from the sides and if you put a skewer in it and it comes out dry.

If you want to make cupcakes take 5mins off the baking time! O and put a dab of oil in your cupcake liners to stop them sticking to the paper.

Lemon Icing

  • 2 big teaspoons of org cold pressed coconut oil
  • The zest of an organic unwaxed lemon
  • Half a cup of vegan icing sugar
  • Five teaspoons of fresh lemon juice

Method:

Mash the coconut oil until soft. Add the lemon zest.

Press out any lumps in the icing sugar and add to the coconut oil. Mash press and mush them together. The sugar and oil take a bit of work, gradually begin adding the lemon juice and it will turn into icing.

Lemon icing

Lemon icing

I put it on the cake when it was still a little tepid- so it melted a bit. Normally I would advise leaving it cool completely- but actually the fact it melted a little into the cake was nice!!

I will also be putting up a fermented cauliflower recipe next- which I will be partaking in -lots – for the good bacteria, enzymes and yeasts! I will defeat you yet tooth!

Xs Aissa


Homemade Almond Milk -Vegan & Gluten Free

27 Sunday Sep 2015

Posted by Aissa in Gluten Free, Natural Health, No bake/ Raw, Traditional, Vegan

≈ Leave a comment

Tags

Almond Milk, Gluten free, Natural Health, Raw, Traditional, Vegan

I am on a almond kick at the moment. Almonds in my smoothies, ground almonds in sauces, plans for a version of almond butter and I will have a Almond Cake recipe for you guys after this.

Once you have a metal sieve and a strong blender or food processor you are all set for making Almond Milk. I was in Sicily for my holidays recently, we stopped in a small town near Mt.Etna and when getting our necessary espressos the gentleman in the bar gave us a taste of his almond milk. It was made from locally grown almonds, was crazily sweet and had a just a hint of lemon in it. Delicious! So I was inspired to add a little lemon juice! The organic unwaxed lemon I got is Italian – so I have decided it was a Sicilian one!

Warning extremely addictive!

Warning extremely addictive!

Almond Milk

  • A generous cup of whole organic almonds- soaked overnight
  • Two big dessertspoons of desiccated/ shredded coconut
  • Less than an eighth of a teaspoon of himalayan pink salt
  • Half a teaspoon of vanilla powder/ insides of a pod
  • Two teaspoons of fresh lemon juice
  • Optional: two medjool dates/ two teaspoons of maple syrup
  • A pint and a quarter or approx. 600ml of water (maybe more)

Method:

Soak your almonds overnight- make sure they are well covered by water as they will swell.

Throw the water out that they have been soaked in and give them a brief rinse. Put  them into your blender/ food processor. Add your coconut, date/maple syrup, water, salt and vanilla. I blend mine on the setting for nut butters/ dips. Basically a few short burst and then continuously for 45 seconds. Add half your lemon juice. Blitz again for another 30 seconds. Taste it and see if it needs more lemon juice or not!

Straining your milk. You can use a nut bag or muslin cheese cloth. I just use my metal sieve. I pour some in to the sieve over a wide topped measuring jug. Press the ground almonds to get all the milky-ness out of them! It should deliver just over a pint.

Taste again! If very creamy you may want to add more water- you can either stir it through or give a quick blitz again to throughly mix. Put in the fridge it is best served chilled! I keep the almond pulp for making cookies/ raw little sweets or adding to a dinner.

I will have a glass tonight to toast the Lunar Eclipse! Hope you try making it!Xs Aissa

Moon looking beautiful already!

Moon looking beautiful already!

Vanilla Berry Summer Sponge Cake, Strawberry Mint Sorbet- Vegan & Gluten Free

01 Saturday Aug 2015

Posted by Aissa in Cake, Cupcakes, Gluten Free, No bake/ Raw, Superfoods, Vegan

≈ Leave a comment

Tags

Cake, Gluten free, No bake, Superfoods, Vegan

I made Seasonal Rhubarb & Orange Crumble Cake a little while ago. I was quiet happy with it, especially the texture. So I thought I could adapt it for further use! I have to apologise though- there are pics of the sorbet but the cake pictures are not up to par. I thought I took a picture of my berries- nope. I thought I took a picture of the cut cake- showing the crumb and melted berries in it- nope…I just ate it. So I will put a pic of the Rhubarb cake in so you get an idea of the cakes texture at least! 😦

It has a creamy caramel colour due to the coconut blossom sugar.* It has a lovely fruity flavour, as one would expect, what with it having berries in it. It is the fruit puree that gives it an overall … fruity almost summery taste. I used some defrosted organic mixed berries I had, but fresh ones would of course be great too. Lots are in season here now, we had such a lovely spring there seems to be a bounty crop this year! This cake would make lovely faery cakes (cupcakes). Just reduce your cooking time by five or six minutes.

Dark Vanilla Berry Summer Sponge Cake

  • I cup of apple and strawberry puree (200g)
  • Three and a half dessertspoons of melted coconut oil
  • A quarter cup of xylitol
  • A quarter cup of coconut blossom sugar
  • A third of a cup of hot water- for right near the end
  • A third of a cup of buckwheat flour
  • Half a cup of ground almonds
  • Two thirds of a cup of fine maize meal
  • An eighth of a teaspoon of himalayan pink salt or sea salt
  • One teaspoon of vanilla powder- two pods/ teaspoons of extract
  • One teaspoon of gf & aluminium free baking powder
  • Half a teaspoon of gf & aluminium free baking / bread soda
  • One teaspoon of gf cornstarch
  • Two/ three dessertspoons of defrosted or fresh berries
  • I used a mix and chopped the strawberries so everything was the same size

* If you would prefer it the more traditional pale colour you can use all xylitol or replace the coconut sugar with agave and increase the dry ingredients by a few dessertspoons.

Method:

You will need a 7.5inch/ 20cm cake tin, if using a metal one be sure to line the base.

Preheat your oven to 170C/340F/ or 180C/350F if not a fan oven.

There are lovely sugar free mixed organic fruit purees you can get here by Clearspring. If you cannot get your hands on something similar then just sugar free apple puree will do.

Grab a perspex bowl and pop in your fruit puree and coconut oil. Put them into your preheating oven, this is so your coconut oil melts and your puree warms. Add in the xylitol and coconut blossom, stir stir stir and you will find the sweet stuff melts into the mixture.

In another bowl and throw in your flours, salt and vanilla powder. Sieve in the baking powder, soda and cornstarch. Mix and make sure there are no lumps.

Now for the fast bit. Ensure your cake tin is at hand. Add your hot water to the wet ingredients, mix through and pour into the bowl of dry ingredients. Stir until there are no dry lumpy bits and toss in your berries and give a quick stir. Pour into your cake tin and put straight in the oven. The hot water starts to react with the soda so it can’t be left sitting about the place.

The batter

The batter

It takes about 25 minutes. It is done when coming away from the sides of the tin, the top has little cracks and if you stick a skewer or knife in it  comes out dry.

Under exposed cooked cake!

Under exposed cooked cake!

Rhubarb Crumble Cake on the windowsill!

Rhubarb Crumble Cake on the windowsill!

Enjoy with vegan vanilla ice-cream (suggestion not an order). OR with….

Strawberry Mint Sorbet... melting

Strawberry Mint Sorbet… melting on my windowsill.

Strawberry Mint Sorbet

  • About two and half cups or 250g of frozen strawberries
  • Two dessertspoons of organic dark raw agave
  • Four big mint leaves

Soo I took the leaves off my Irish strawberries, washed them and popped them in the freezer over night. I advice chopping the berries before freezing, as even in the crazy strong jug blender the whole ones were like little rocks bopping about the place. They took ages to blend.

Frozen strawberry rocks

Frozen strawberry rocks

This is so easy. Put the CHOPPED frozen berries, agave and mint in your blender/ food processor and blend them to a liquid. Put in a freezer safe container and put in the freezer for at least three hours. Or use an ice-cream sorbet maker!

Blended nearly sorbet- what a colour!

Blended nearly sorbet- what a colour!

If you are good at quenelle-ing you can do that..or pop it in a ramekin like I did!

Hope you enjoyed the berry fest! Xs Aissa


Red Pepper Hummus & Wacky Wasabi Poppy Seed Dressing Vegan & Gluten Free

17 Friday Jul 2015

Posted by Aissa in Gluten Free, Savoury, Traditional, Vegan

≈ Leave a comment

Tags

Gluten free, Red Pepper Hummus, Savoury, sweet red pepper, Traditional, Vegan

I seem to be going through a dip, sauce and spread phase. The one in my last post kicked it off I think. The “Sweet Red Pepper Hummus” I just enjoyed with my salad-y dinner. I accidentally lashed an overpowering amount of black pepper powder in it at the end…I ate some of the hummus that I had to fish out because of the pepper and my eyes are still watering! Got my circulation going at least 🙂 So I would just stick to using your sense both taste and common and not looking away as you pour said peppery pepper.

The “Wasabi Poppy Seed Dressing” is made extra yummy by some cooked shiitake. It almost tastes mustard like with the hot wasabi and brown rice vinegar. It was lovely with the aduki chicory salad that night. But first…..

Sweet Red Pepper Hummus

  • One large pointed sweet red pepper
  • A cup or 240g of cooked or sprouted chickpeas
  • Two dessertspoons of whole dark tahini
  • One clove of garlic – two if using a less powerful hand blender
  • A squeeze of lemon juice
  • Three or four dessertspoons of water
  • Three dessertspoons of extra virgin olive oil
  • A third of a spoon of powdered black pepper
  • A third of a teaspoon of smoked paprika
  • A bare half of a teaspoon of ground cumin
  • A teaspoon of sweet raw miso paste*
  • A pinch of sea salt or a tsp of nutritional yeast flakes

*no miso? use a half teaspoon of tamari for an unami flavour

Roughly chop your pepper and garlic. Throw everything into your blender/ food processor and blend. Or use a hand blender in a bowl- you may need a little more water. If using a can of organic chickpeas with no added ingredients in it you can use some of the water from the can- as it has a chickpea flavour.

That is it super simple sweet and spicy red pepper hummus. Adding naturally colourful foods where you can =  bonus nutrients and antioxidants! Serve in a pretty bowl with a sprig of parsley!

The red pepper hummus seems to have brought the sun out... or maybe it is a coincidence

The red pepper hummus seems to have brought the sun out…perhaps just a coincidence!

And now… next!

“Wacky Wasabi Poppy Seed Dressing”

Cooked bit:

  • Approx. five or six or so organic shiitake mushroom
  • A dessertspoon of coconut oil
  • A teaspoon of nigella seeds
  • About ten twists of black pepper
  • Three cloves of garlic- finely chopped

Throw in the blender bit:

  • Quarter cup of a vinegar mix
  • I used brown rice and apple cyder vinegar*
  • A quarter a small onion chopped – approx. two dessertspoons
  • Four dessertspoons of poppy seeds
  • Third of a teaspoon of wasabi powder**
  • Eighth of a teaspoon of sea salt- but check if it needs more
  • A teaspoon of maple syrup
  • Three/ Four dessertspoons of extra virgin olive oil

*real vinegars traditionally fermented

**if wasabi is unavailable you could grate a teaspoon of horseradish

Method

So wash your shiitake and slice. Put a pan/ wok on a medium high heat. Melt the coconut oil and leave for a minute. Put in your nigella seeds and let them sizzle. Add in your pepper and chopped garlic. After leaving the garlic cook and soften add in your shiitake. Reduce the heat to medium. Keep an eye, give them the odd stir. The mushies will be done when they have shrunk and are nice and shiny. Take off the heat and let the mix cool.

Mushrooms!! Looking mushroom-y

Uncooked Mushrooms. Looking mushroom-y.

Put all the “throw in the blender bits” in the blender and add in the “cooked” bits. Blend! I have a setting on my jug blender for dip type things. It basically blitzes for a few seconds on and off at the start and then blends at a high speed for 30 second. It should start to thicken and emulsify. I gave a couple of five seconds blitz-iseses at the end.

wacky wasabi poppy seed dressing..on my windowsill

Wacky wasabi poppy seed dressing..on my windowsill

It was lovely with the aduki wilted wild chicory yoke I made. Also great on the spiralized side salad. Really mustard like! Got your dose of fermented food, and antioxidants with fabulous poppy seeds too!

Incase you would like to see..here’s the salad.

cucumber, carrot and onion and lemon juice...on my windowsill

cucumber, carrot and onion and lemon juice…on my windowsill.

i would like to point out that I do not keep all my food on my windowsill. I do actually bring it inside and eat off a plate at the table. Hope you like my foray into dips sauces and spreads. Think I will be back to my usual healthy sweet stuff next time. Xs Aissa

Vibrant Green Thai inspired Dinner- Vegan & Gluten Free

13 Monday Jul 2015

Posted by Aissa in Gluten Free, Savoury, Vegan

≈ 2 Comments

Tags

Gluten free, Savoury, Vegan

Last week I was sick of all my dinners, I am always happy to have a big salad and veggies, but sauce wise I felt like I had been eating variations of the same thing for weeks! Though most of my vegan cookbooks lean towards the sweet I have a precious few that vary. I was gifted a fab book called “Fresh” from the Canadian veggie restaurants of the same name. The wonderful Denise gave it too me, she also improved my life by sharing her water kefir babies when mine died in a tragic accident.

The recipe here is a blend inspired by two of the recipes. One is their “Tiger Noodles” and the other is their “Peanut Lime Dressing”. So here is my..

As green as the grass

As green as the grass

Vibrant Green Thai Inspired Dinner

Dressing/ Sauce- the cooked bit

  • One big dessertspoon of organic raw coconut oil
  • Half a teaspoon of nigella seeds
  • One medium yellow onion finely chopped
  • Three cloves of finely chopped garlic ( I used purple )
  • One de-seeded medium hot chilli pepper chopped
  • A baby finger tip of organic chopped ginger *
  • A baby finger tip of organic chopped turmeric**
  • A few dessertspoons of chopped fresh coriander/cilantro
  • A teaspoon of coconut blossom sugar
  • Five twists of black pepper
  • Less than an eight teaspoon of sea salt

*org as it can have been irradiated otherwise

**if unavailable you can use a half teaspoon of org ground

Dressing/ sauce-the bits you blend with the cooked bit

  • Two handfuls of de-stemmed coriander
  • A dessertspoon of brown rice vinegar (the proper fermented no sugar stuff)
  • Two dessertspoons of fresh lime juice- one tiny lime in my case
  • One dessertspoon of tamari (again the real fermented stuff, gluten free too!)
  • Two dessertspoons of natural unsalted peanut butter
  • Another finger tip of chopped org ginger
  • Two dessertspoons of soft coconut milk from the top of a can***
  • Scant quarter cup of cold pressed extra virgin olive oil
  • Scant half cup of cold pressed sunflower oil

***do not do the whole can of coconut milk in the fridge thing, you want it soft. I had a curry tonight with the rest of the coconut milk. you can do the hard creamed coconut just soften it with a little warm water.

Noodles and veg bit!

  • Enough buckwheat soba noodles for two people or your appetite****
  • 125g/ 3 cups of organic baby spinach
  • A cup of organic frozen peas
  • Two dessertspoons of toasted cashews
  • Some chopped coriander/cilantro for sprinkling when serving

**** I actually used sweet potato and buckwheat noodles- very nice

Method:

Get a wok on a medium high heat and add your coconut oil. Let it melt and heat for a minute. Add in your nigella seeds and black pepper and let them sizzle. Add in your onions, salt, ginger and turmeric. Cook until onions are softening add in your coconut sugar. Keep stirring until sugar melts and everything is coated. Add in your garlic. When onions are transparent add in your chopped coriander/cilantro. Set these aside to cool. Once cooled bung in your blender/ food processor.

Now boil a kettle and get water on for your noodles.

Using the same ring but a different pot, obviously! Let the dry pan warm for a minute. Toast your cashews until they just start to turn golden- don’t stray they burn easily… I speak from the experience as someone with no attention span. Set to one side.

Put your noodles on to cook. Mine only take 5-6 minutes.

Put all the ingredients for your dressing in the blender- put the sunflower oil in too. BUT NOT THE OLIVE OIL. Start blending and drizzle in the olive oil as it blends. If you can’t pour into your blender/ food processor then just put it in at the start. Blend and watch it turn a beautiful vibrant green!

GREEEEENNNNN!

GREEEEENNNNN!

Put your wok that you cooked your ingredients in earlier back on a medium heat. Rinse your fresh baby spinach and the peas ( to get the ice off). And throw into the wok to cook and wilt. Throw your cooked noodles into the spinach and peas and fry for a few minutes. Take off the heat, add your cashews and pour half of your scrumm-y yummy vibrant green dressing over the noodles and stir through. Check for seasoning- add more black pepper or salt if needed. Serve with a sprinkle of coriander/cilantro and with more of the dressing on the side!

Tasty, green and healthy.. and not another tomato sauce!! 🙂 Hope you try it out!!

Here is evidence of what a tidy cook I am….

healthy debris

healthy debris

Xs Aissa

← Older posts
Follow VeganEtcetera on WordPress.com

Blog at WordPress.com.

Privacy & Cookies: This site uses cookies. By continuing to use this website, you agree to their use.
To find out more, including how to control cookies, see here: Cookie Policy
  • Follow Following
    • VeganEtcetera
    • Join 93 other followers
    • Already have a WordPress.com account? Log in now.
    • VeganEtcetera
    • Customize
    • Follow Following
    • Sign up
    • Log in
    • Report this content
    • View site in Reader
    • Manage subscriptions
    • Collapse this bar
 

Loading Comments...