Tags
Banoffe Pie, Gluten free, No bake, Pie, recipe, Tart, Vegan
We have been having a bit of (lowers voice to a whisper) “summer weather” here recently- shh or we might scare it away! Warm weather = ripe bananas calling out to be dessertified. Hence Banoffe!
This is my second version of this pie. In the first version I did a base with medjool dates and I just found the fudge-y gooey-ness of the dates just a bit too fudge-y and gooey! Also the taste a little too strong. That said it went down well with my work mates so feel free to blend up four medjool dates instead of using the maple and agave syrup in this one. There will be a lot of either ors in this e.g. I blended cashews but I will give the measure in the recipe for substituting cashew butter if you would prefer to use that.
No Bake Nutty Banoffe Pie
- Half a cup of cashews soaked over night
Drain the cashews and blend with two dessertspoons of the soaking liquid. I did not blend it completely smooth as I wanted the odd chunk.
Press in Crust
- One and a half generous cups of ground almonds
- Three dessertspoons of chopped toasted almonds /almond flakes
- Two dessertspoons of desiccated / shredded coconut
- An eighth of a teaspoon of pink himalayan salt or sea salt
- Half a teaspoon of vanilla powder / insides of one pod
- Three ground apricot kernels
- OR a quarter teaspoon of natural almond extract
- One dessertspoon of organic raw coconut oil
- Two dessertspoons of the blended cashews
- OR one and a half dessertspoons of cashew nut butter
- Two dessertspoons of maple syrup
- Two dessertspoons of raw agave syrup
Banana Bananas Banana-y topping
- The rest of the blended cashews
- OR One and a half dessertspoons of cashew nut butter plus two dessertspoons of non dairy milk
- Three large ripe bananas or four medium ones*
- One dessertspoon of organic cold pressed coconut oil
- Half a teaspoon of runny tahini paste
- Two dessertspoons of the set coconut from the top of a can of coconut milk**
- OR two dessertspoons of hard creamed coconut mixed to a tick paste with some warm water
- Two dessertspoons of chia seeds
- Optional: one dessertspoon of roughly ground cacao nibs
- Half a teaspoon of vanilla powder/ insides of one pod
- A square of dark chocolate for grating on top
*when I say ripe I mean mostly brown skinned. If just ripe you could add a teaspoon of maple syrup to the mix.
** the rest to be used in a curry
Crust Method
So you need a 20cm or 7.5 inch pie tin. Rub it with a little raw coconut oil so you can get the pie out afterwards.
First chop and toast your almonds/ almond flakes and set to one side.
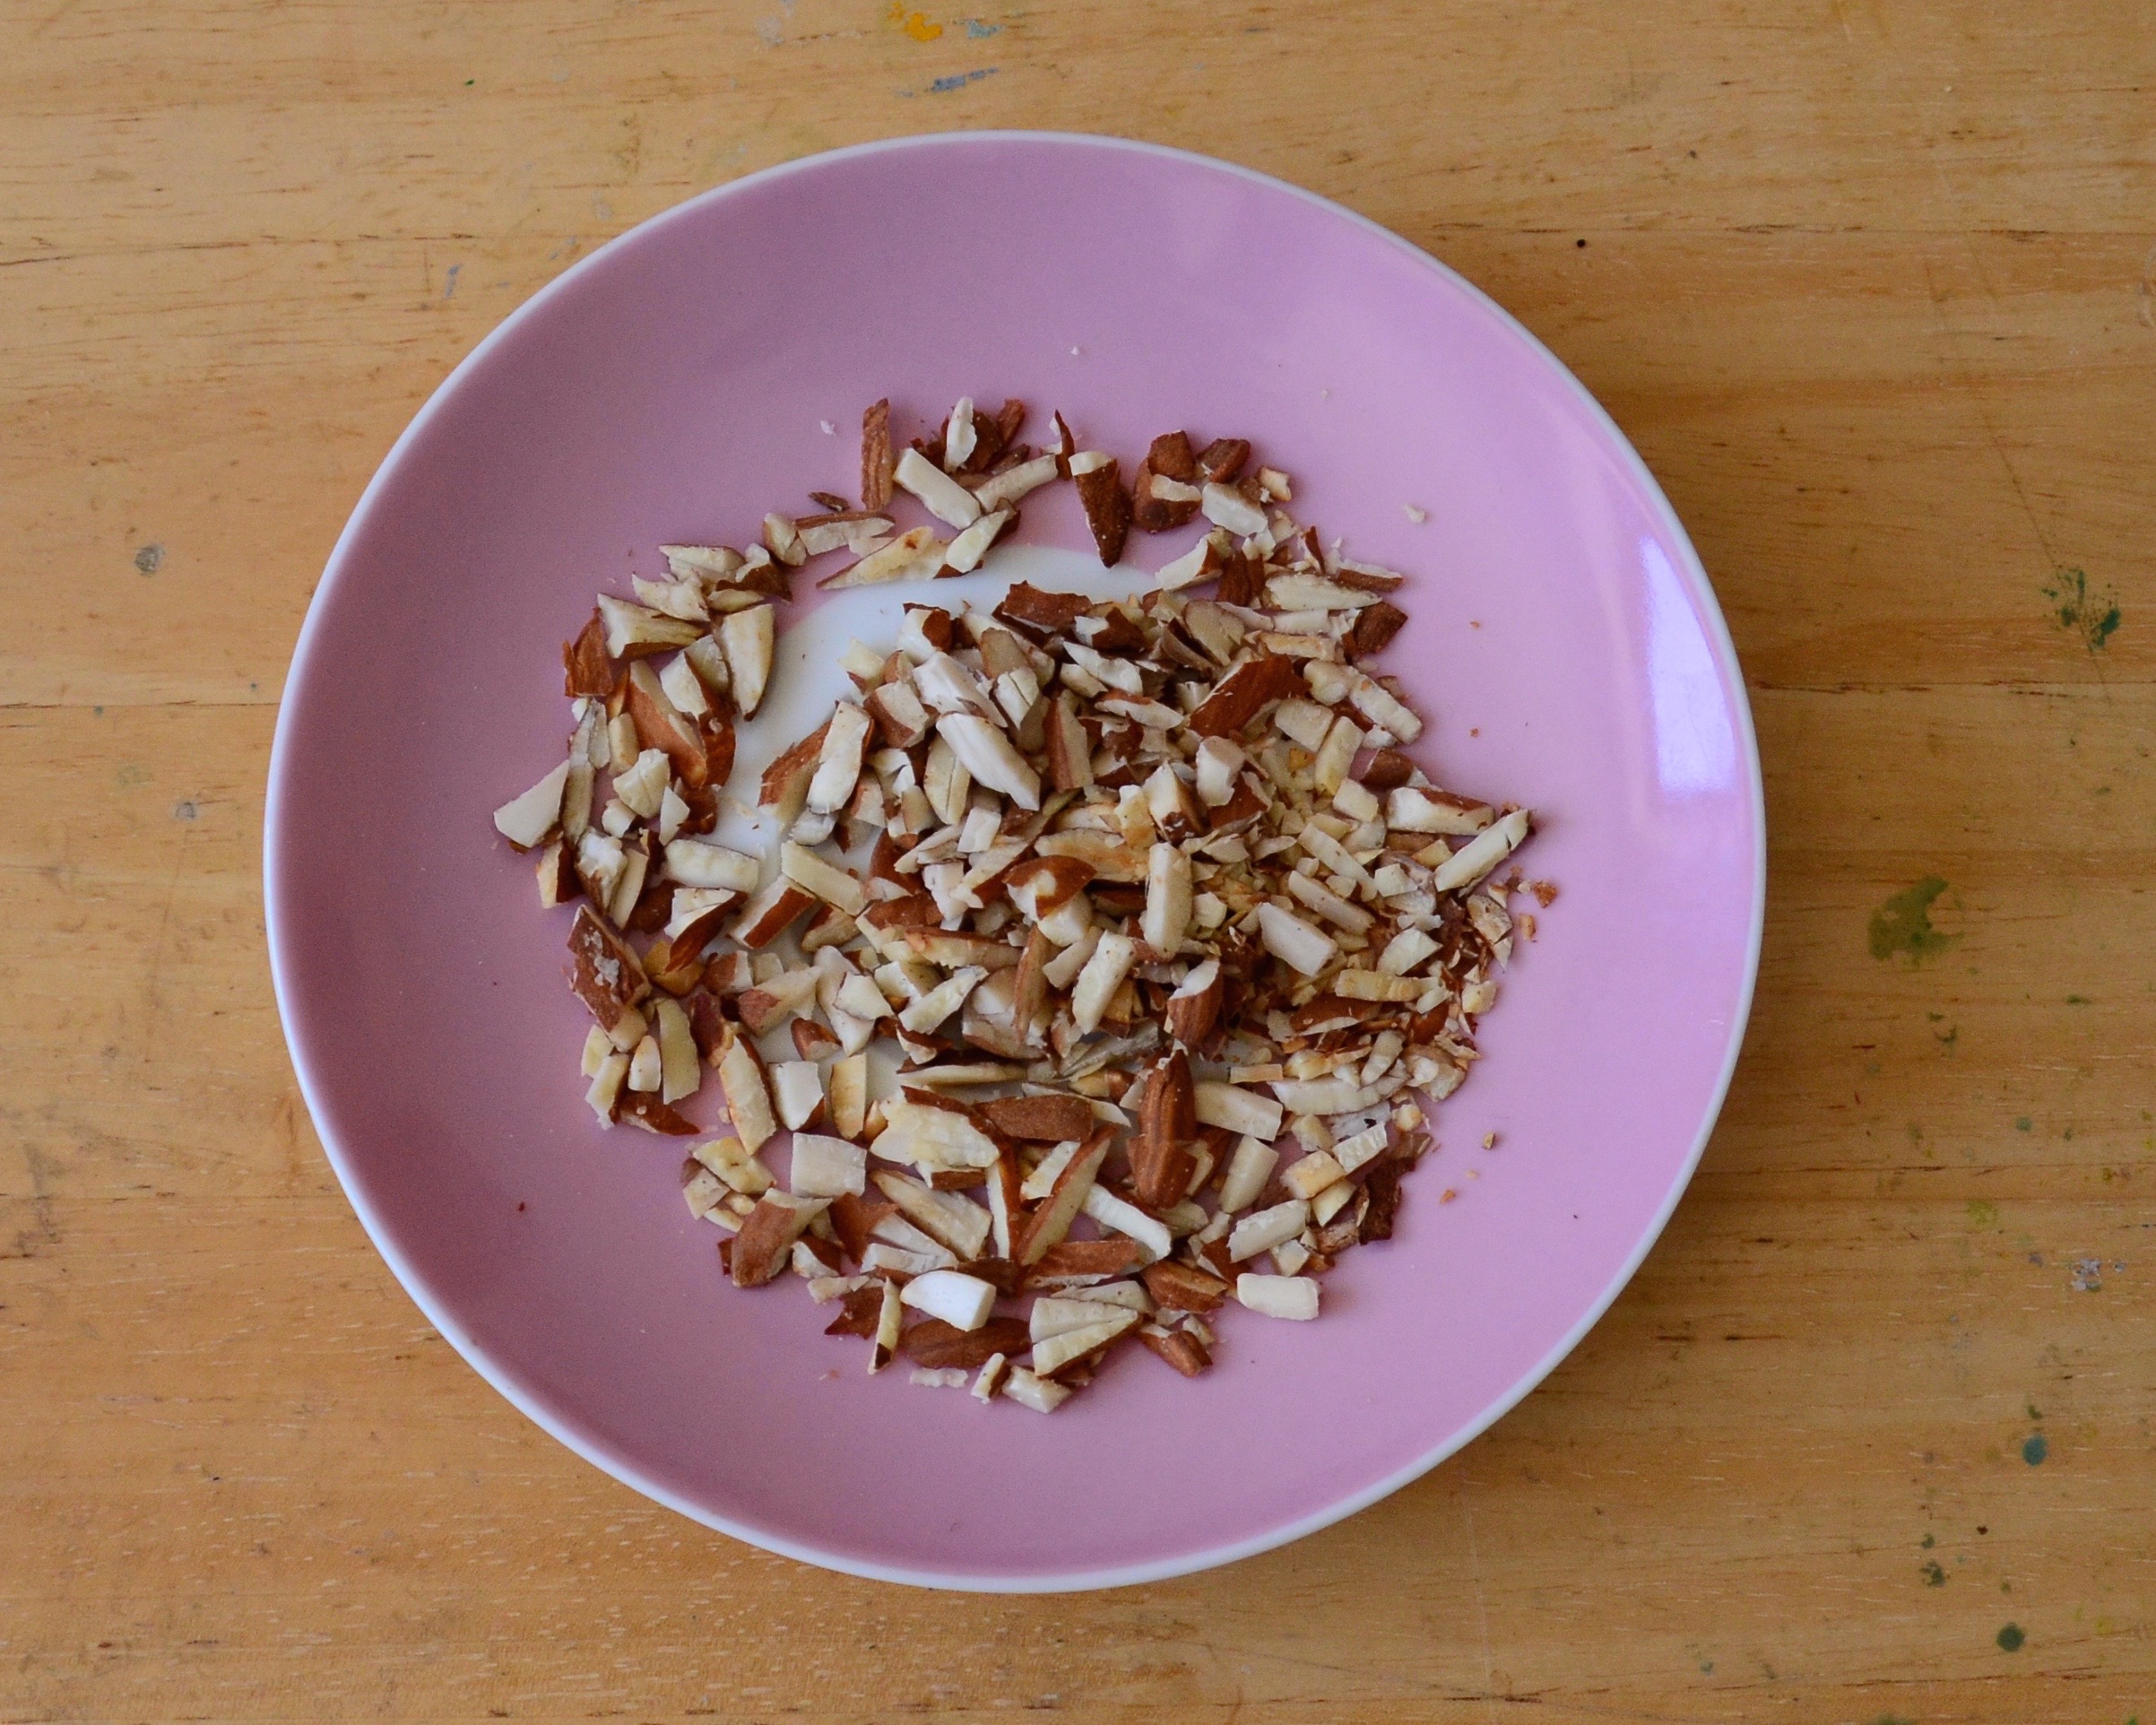
toasted almonds
Mash your coconut oil with the blended cashews. Add in the rest of the wet ingredients.
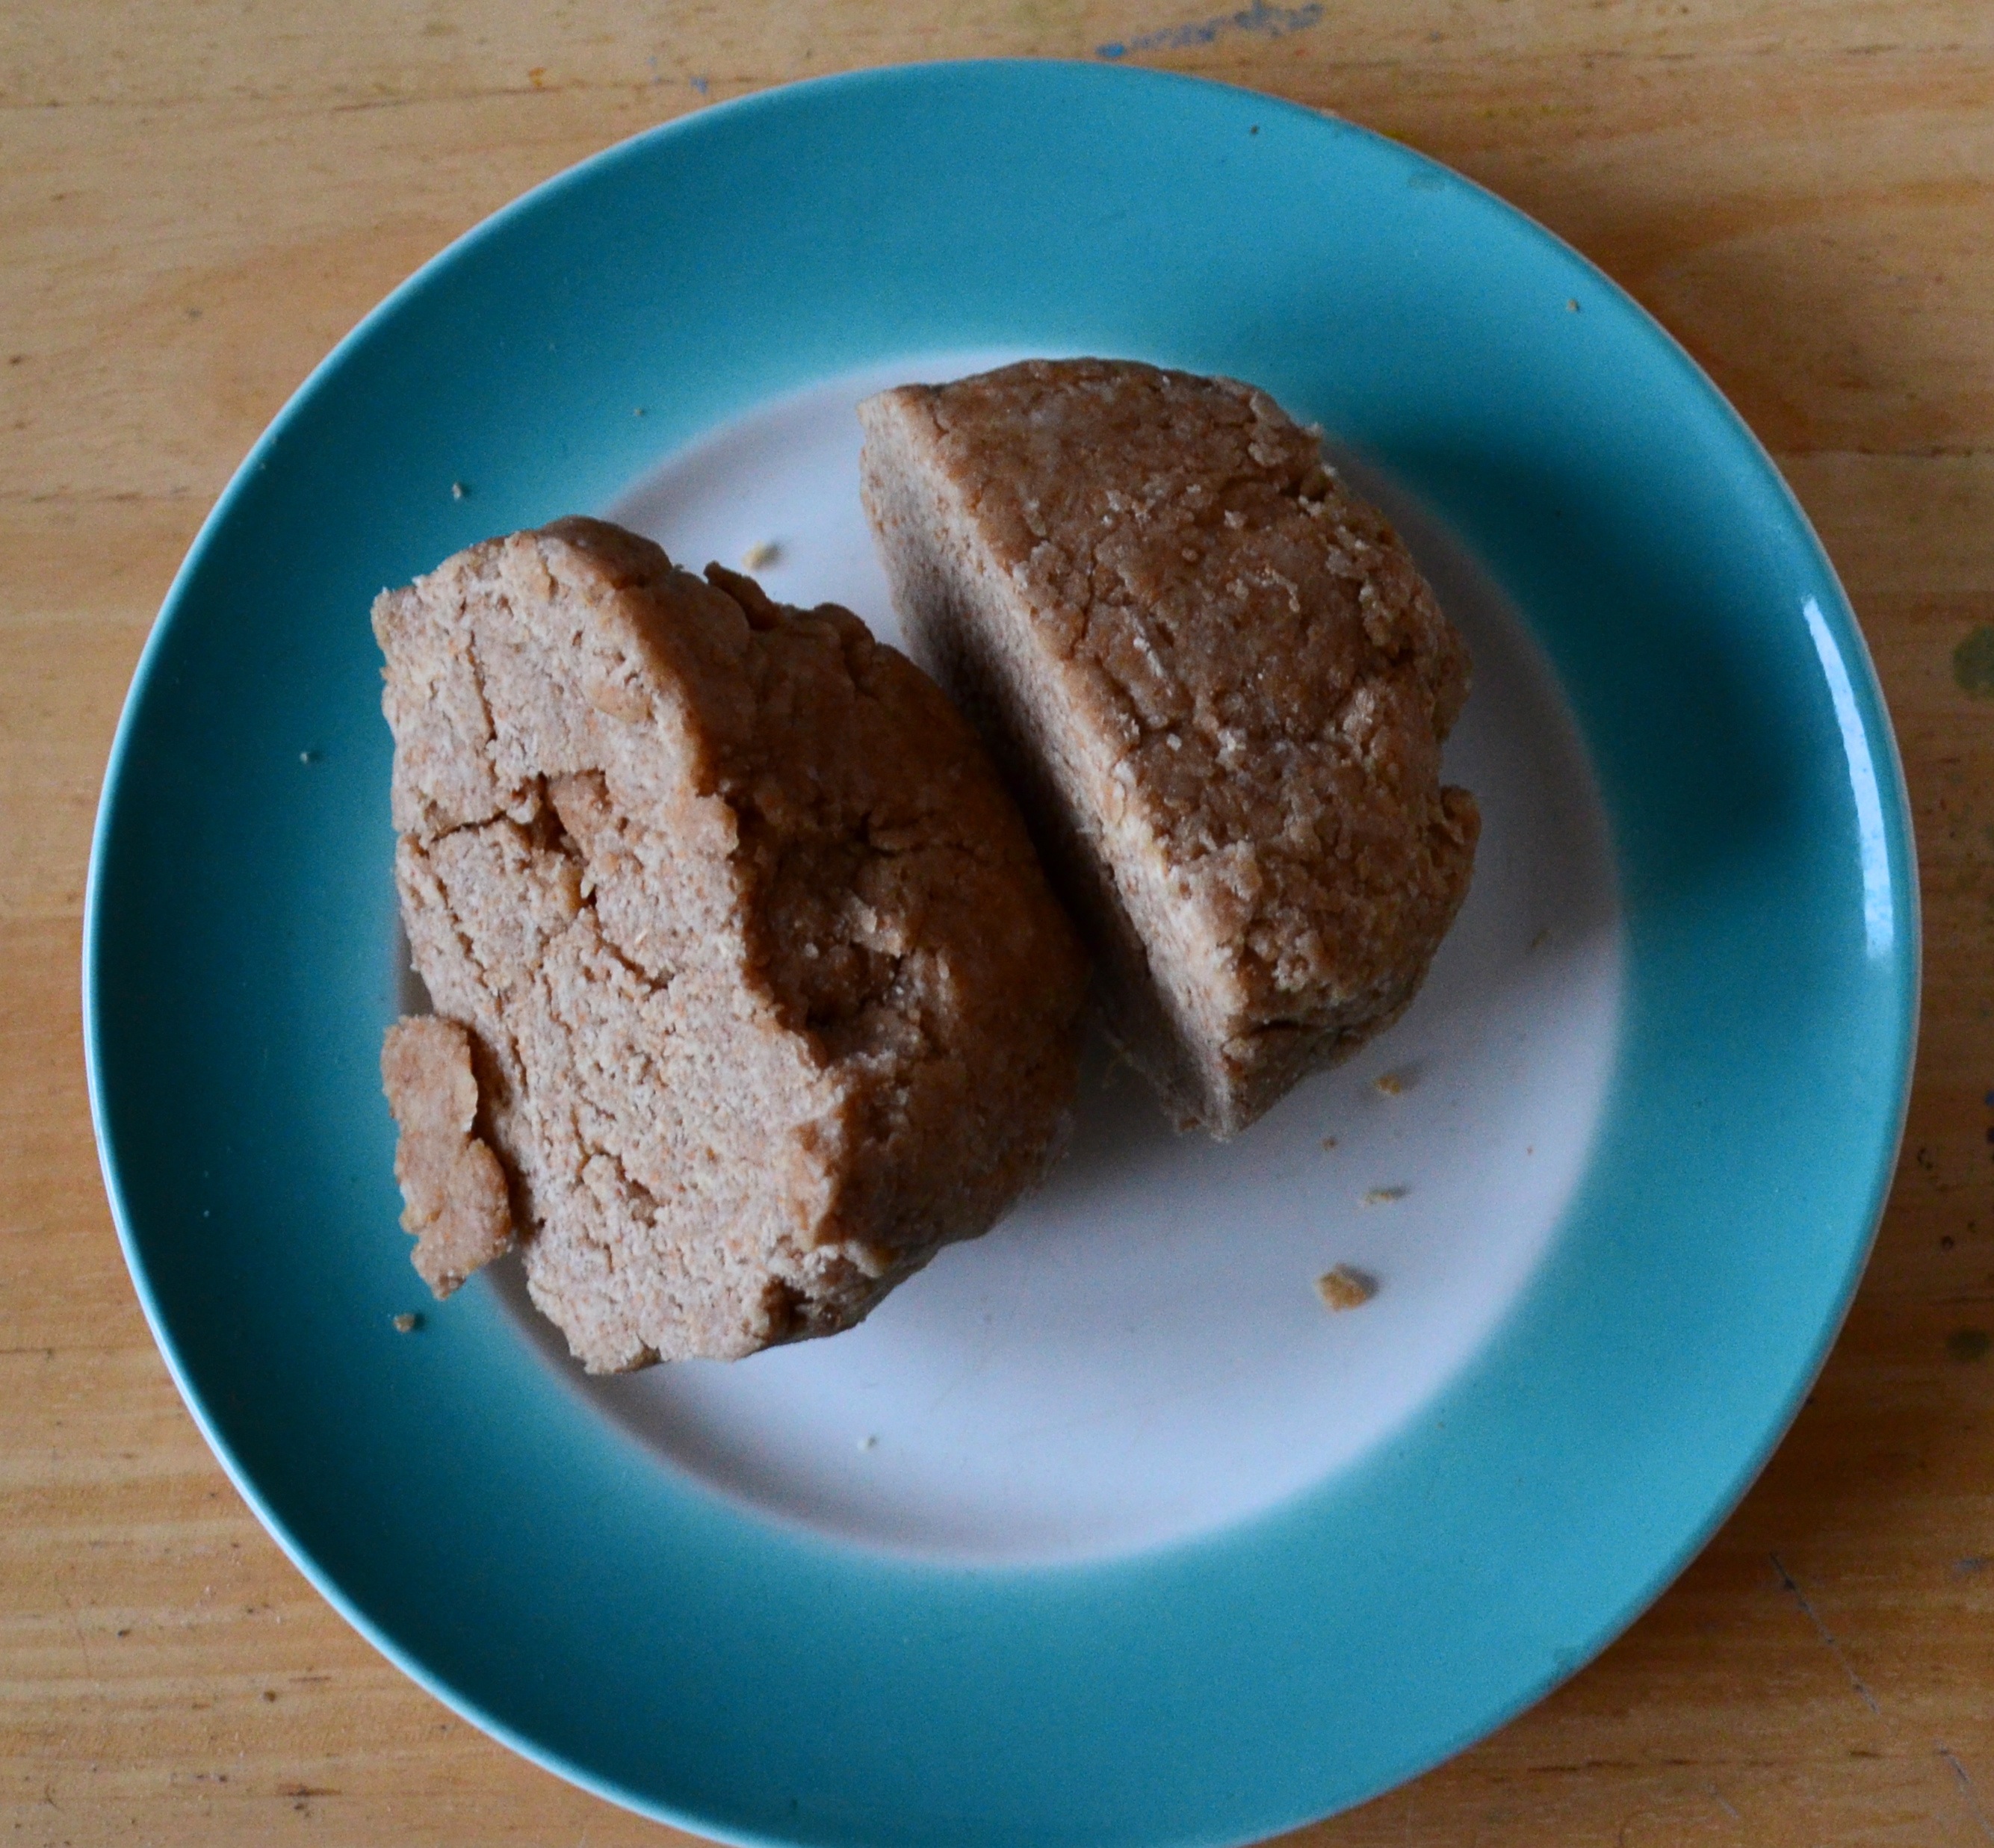
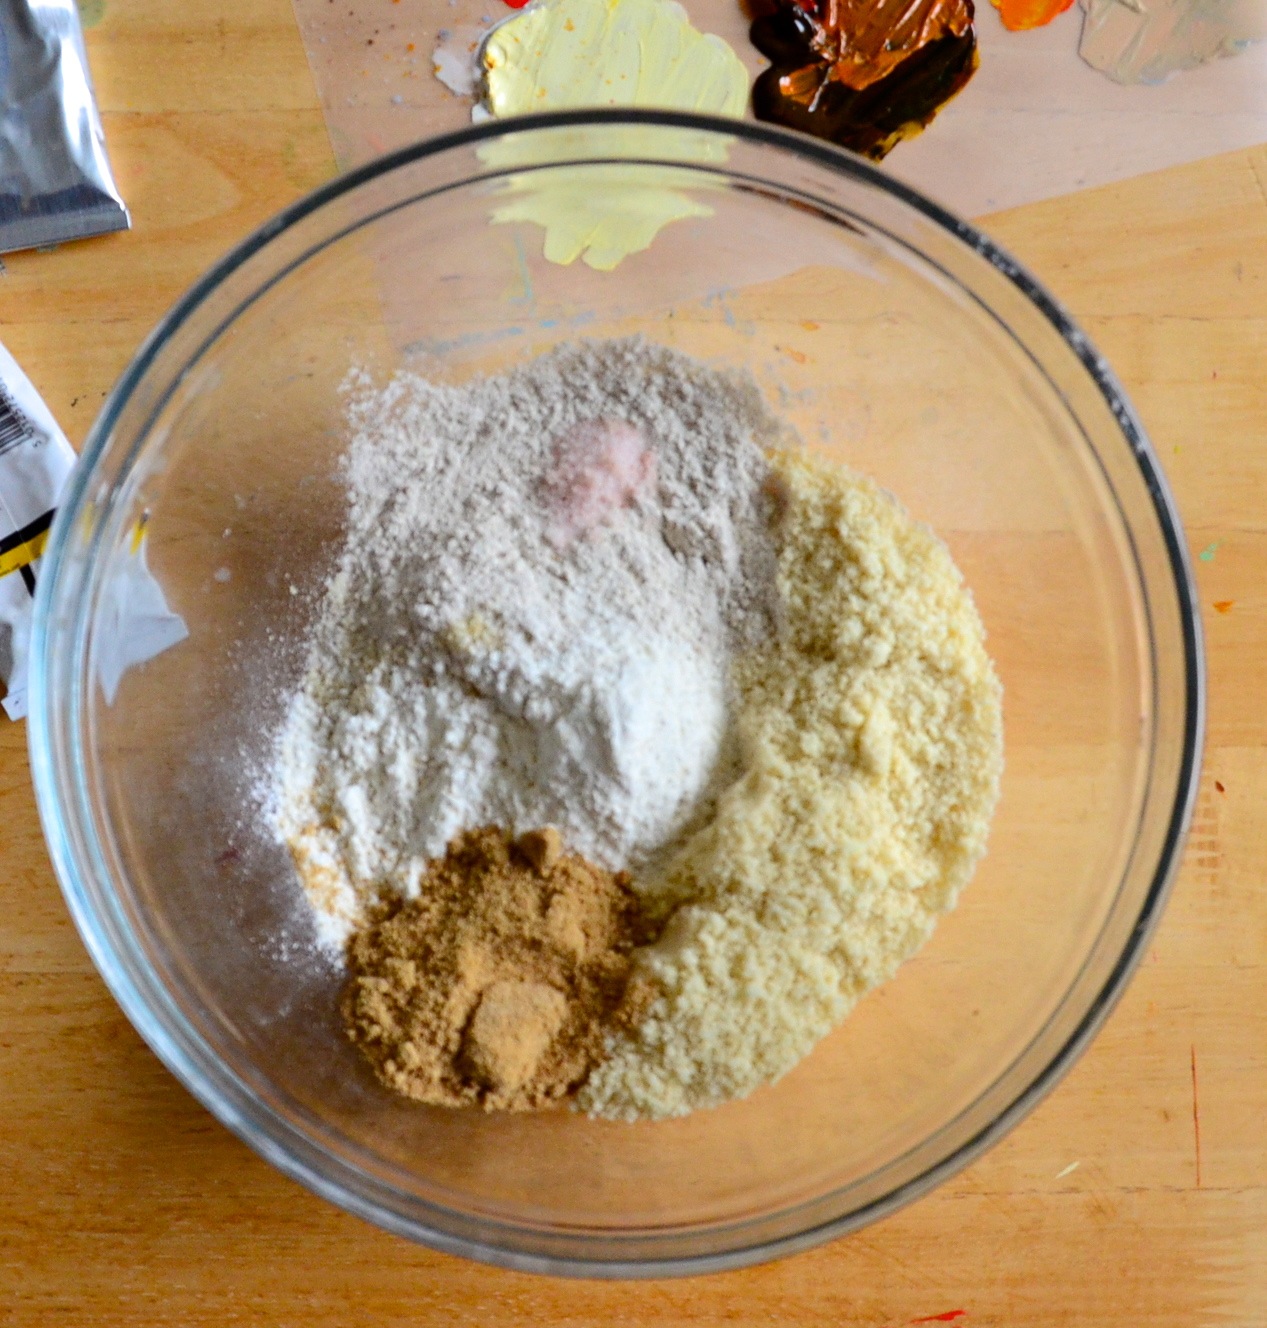
Mix your dry ingredients- except the toasted almonds. Add the dry to the wet mashing it together really well. It should be sticky but not sloppy- like a slightly wet drop cookie mix. It should be holding together 🙂 Now add in your toasted almonds and stir through evenly.
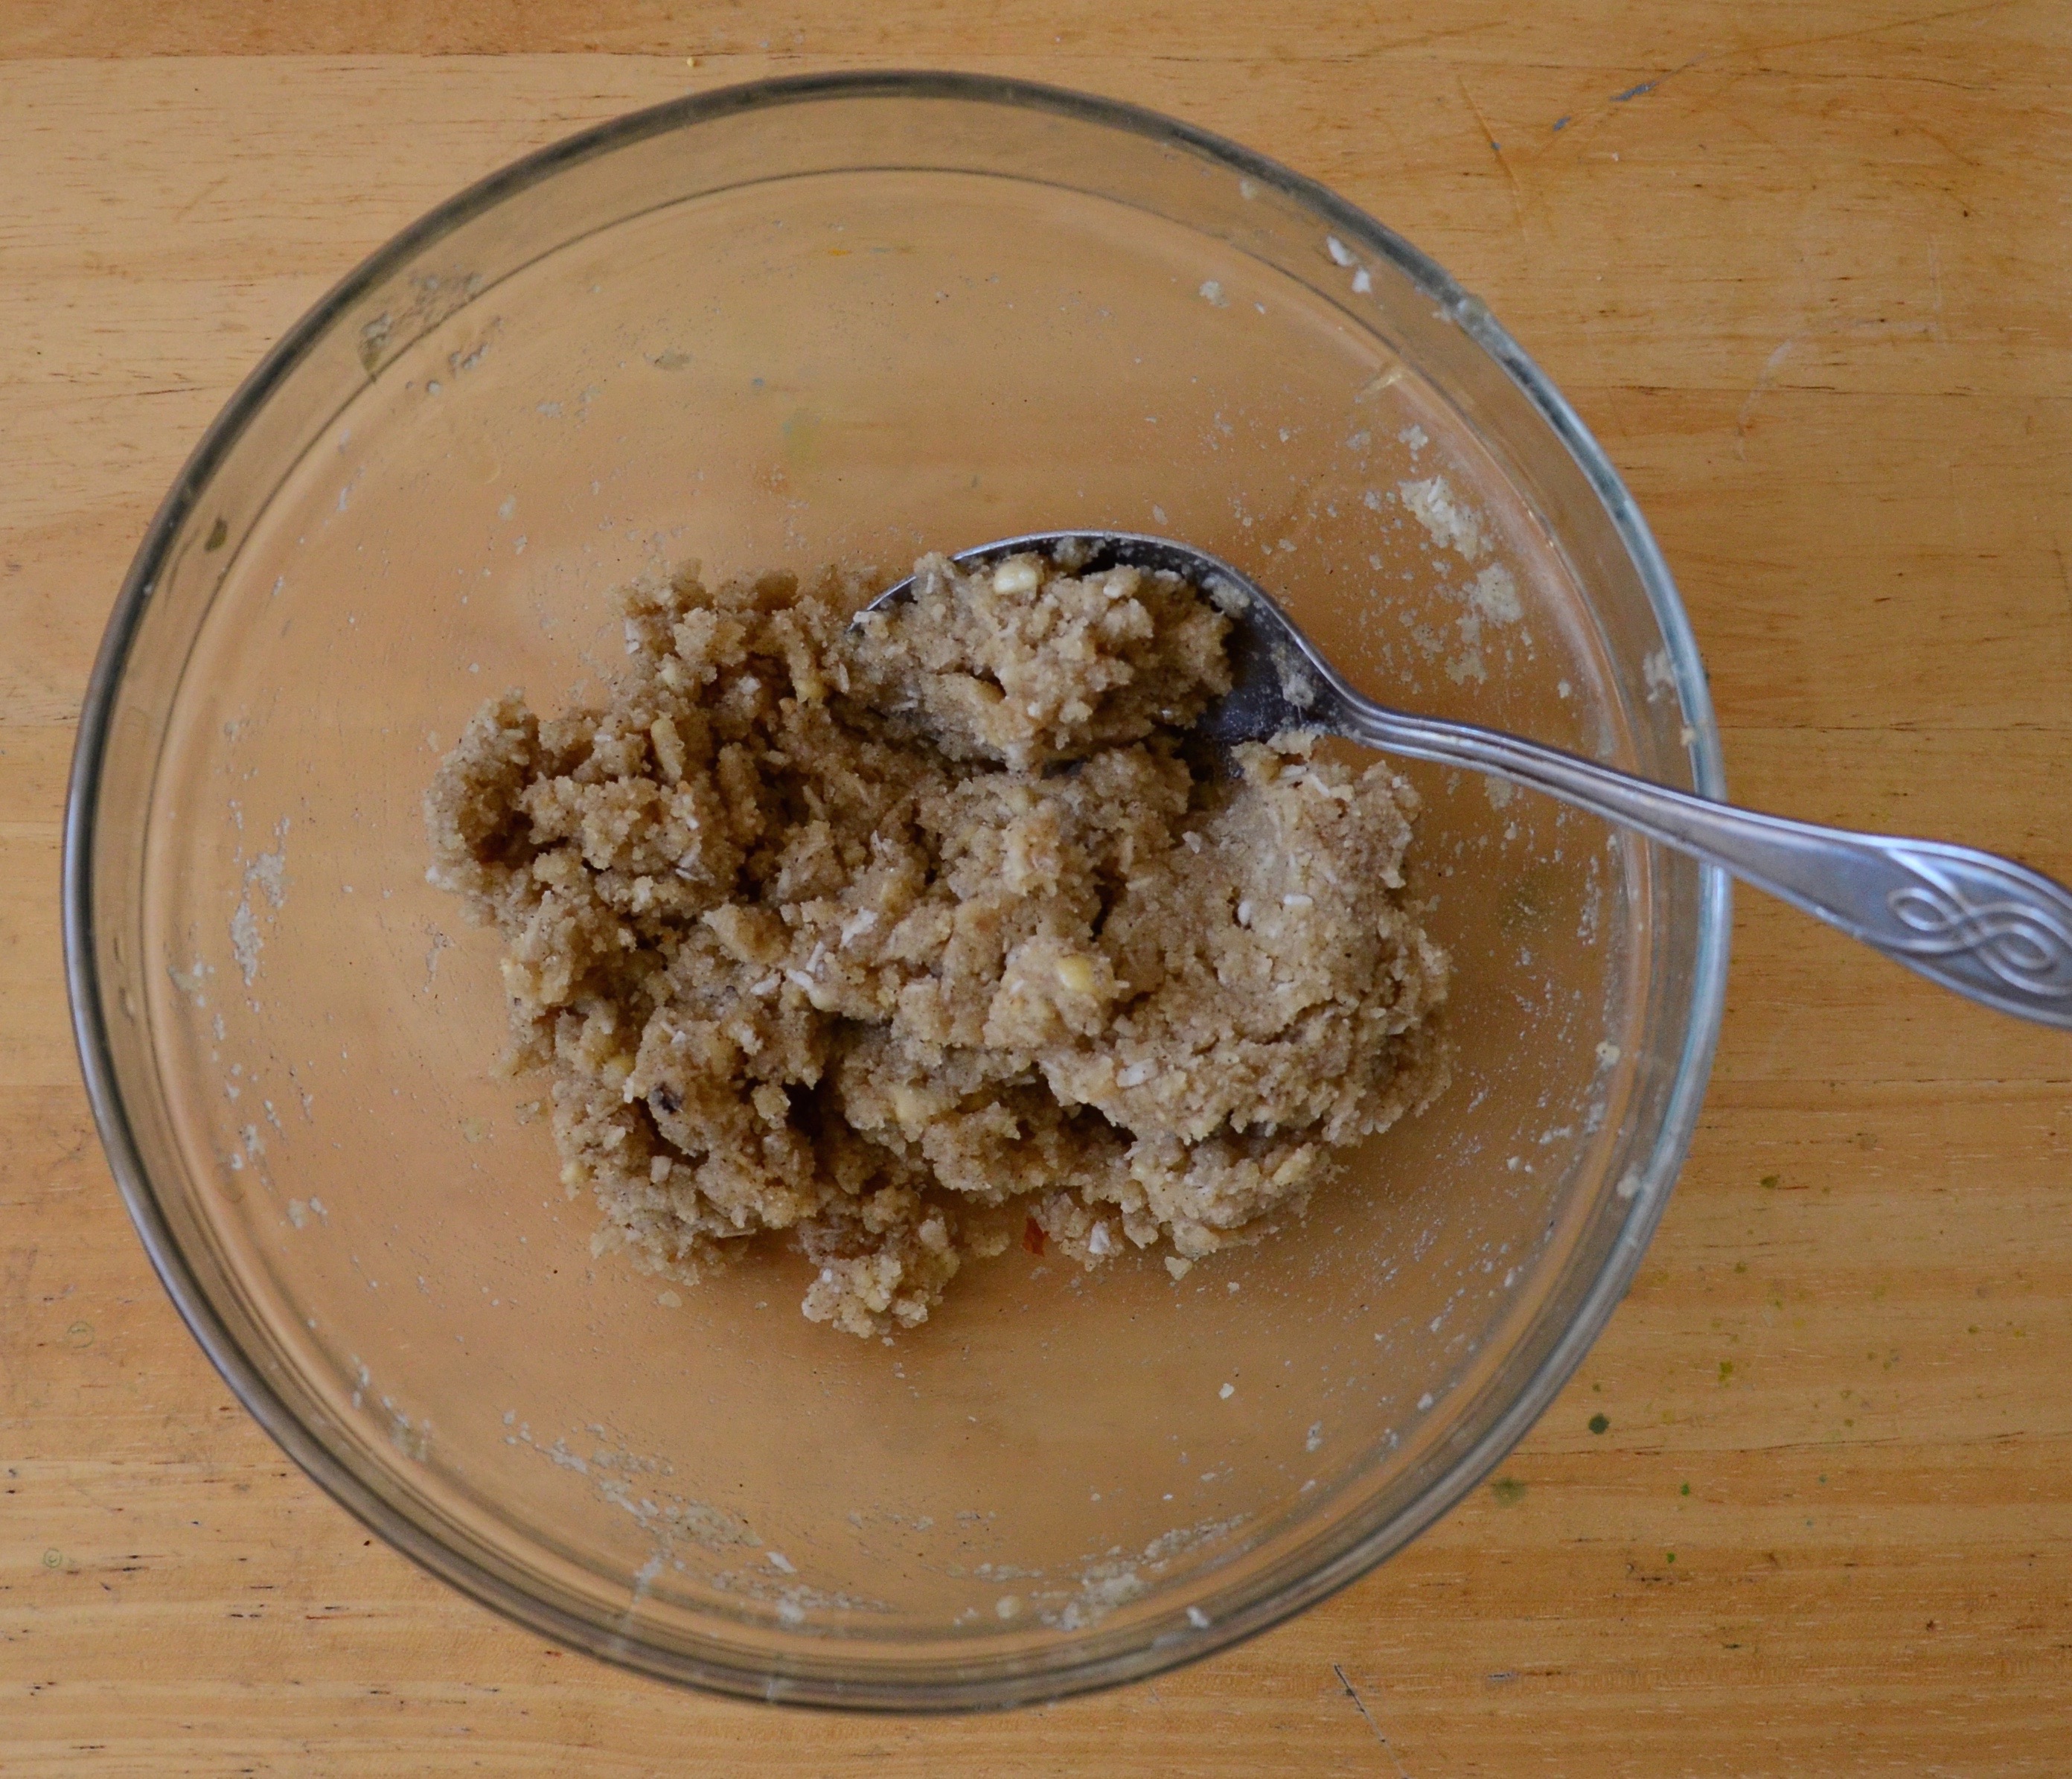
Crust mixture pre the toasted almonds
Press the crust into the pie tin as evenly as you can. It will make a thin crust. Cover and pop in the fridge while you make the topping.
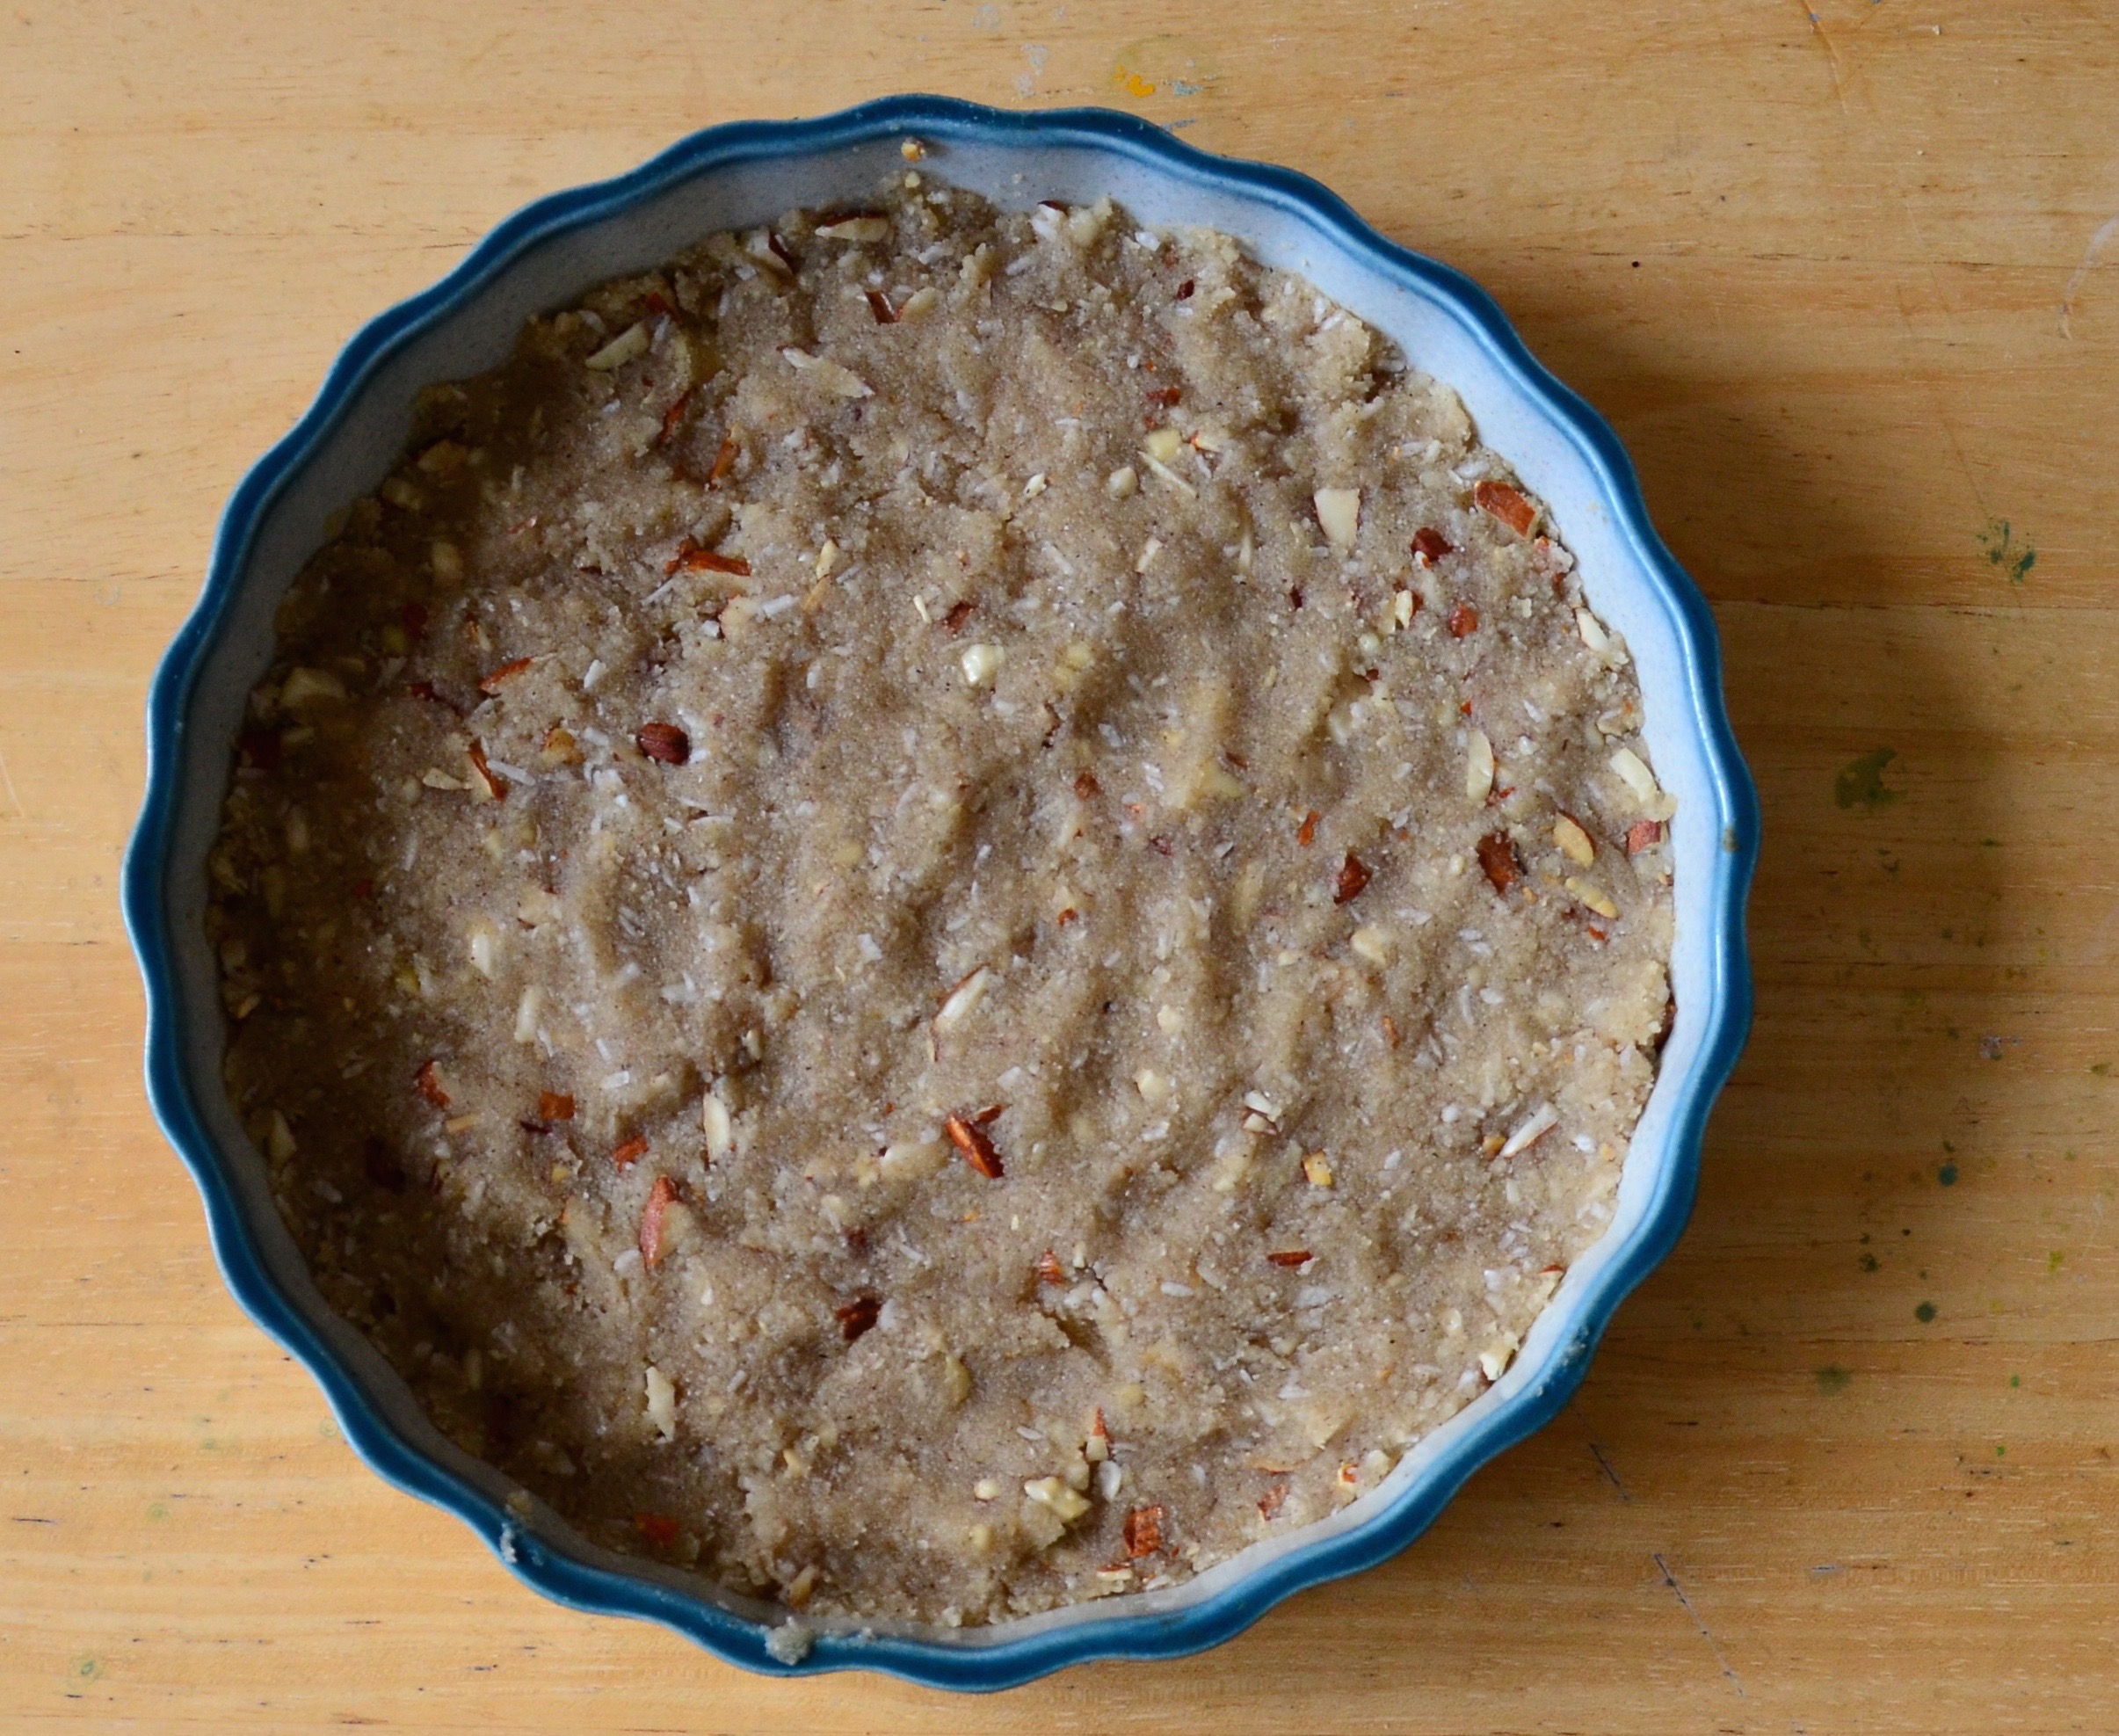
Press in crust
Banana Bananas Banana-y Topping Method
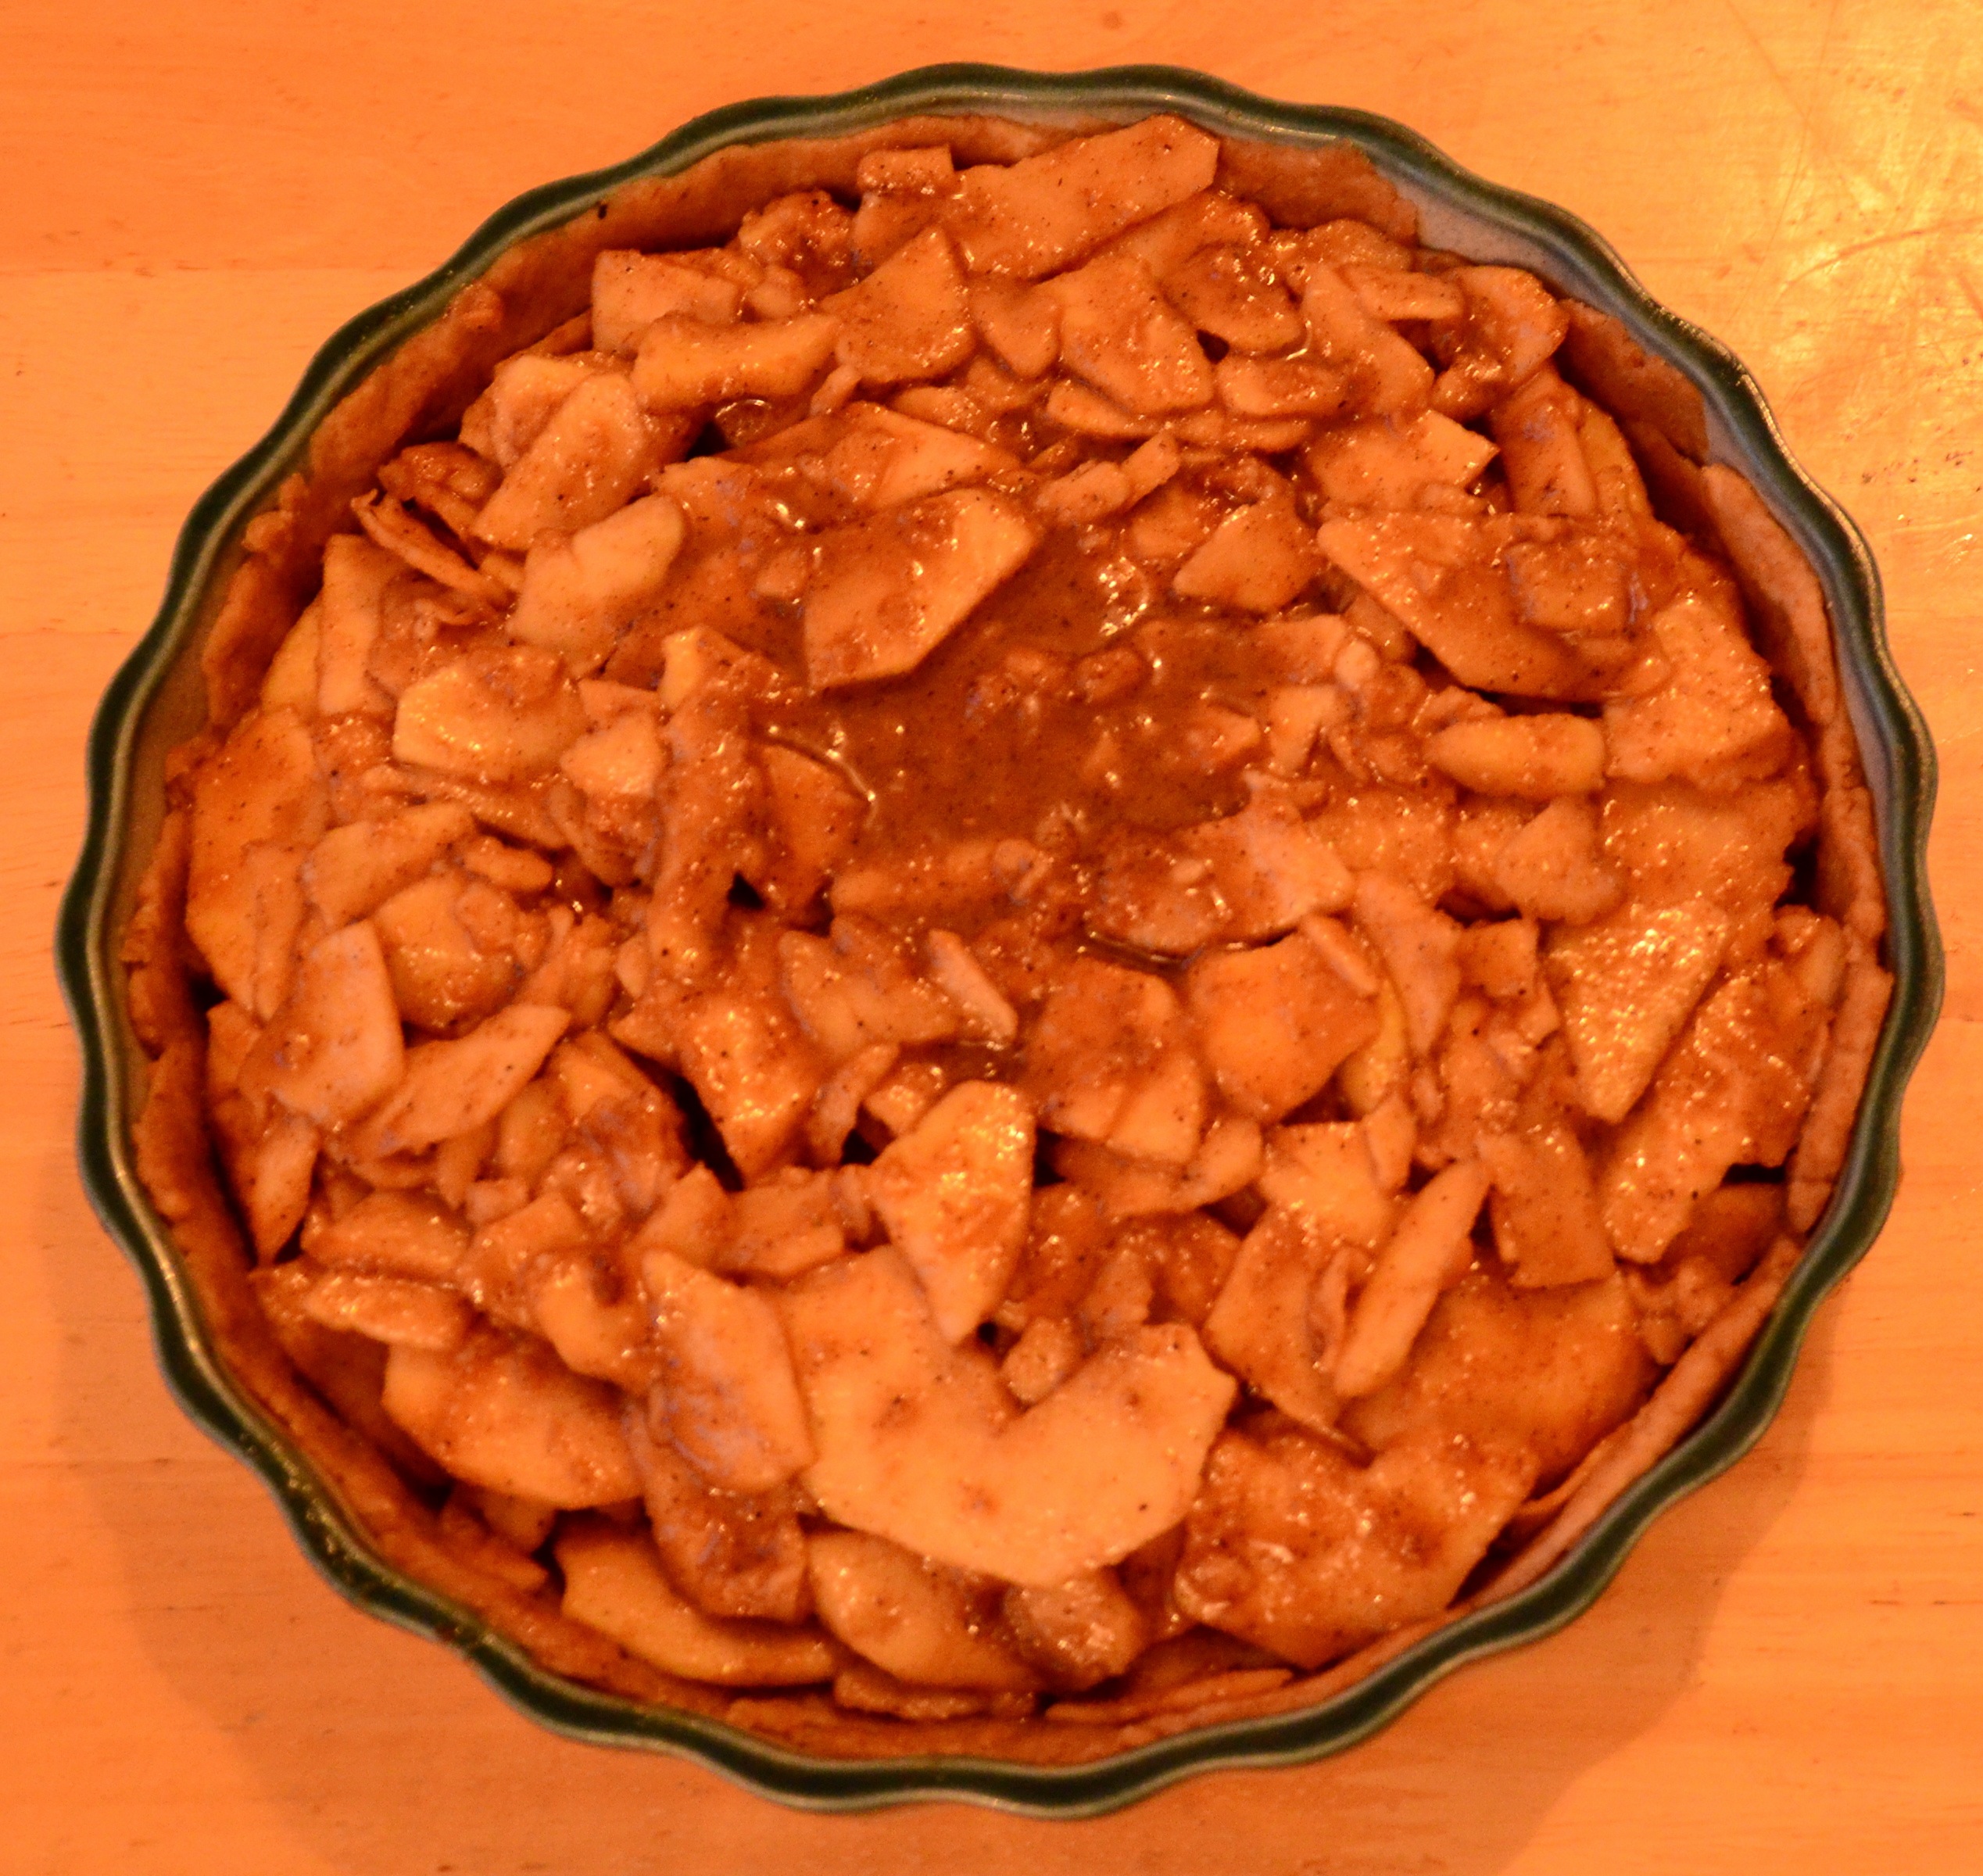
Get the rest of the blended cashews (or cashew butter and some non dairy milk) add in the coconut oil, the tahini, the creamy coconut (or the creamed one you’ve made into a paste) and either one large banana or two medium ones and blend together- or really really really really mash LOTS!
Next roughly mash in another banana- the reason for doing them separately is to give different textures. Add in the vanilla, chia seeds and ground cacao nibs.

The topping- pre the pretty
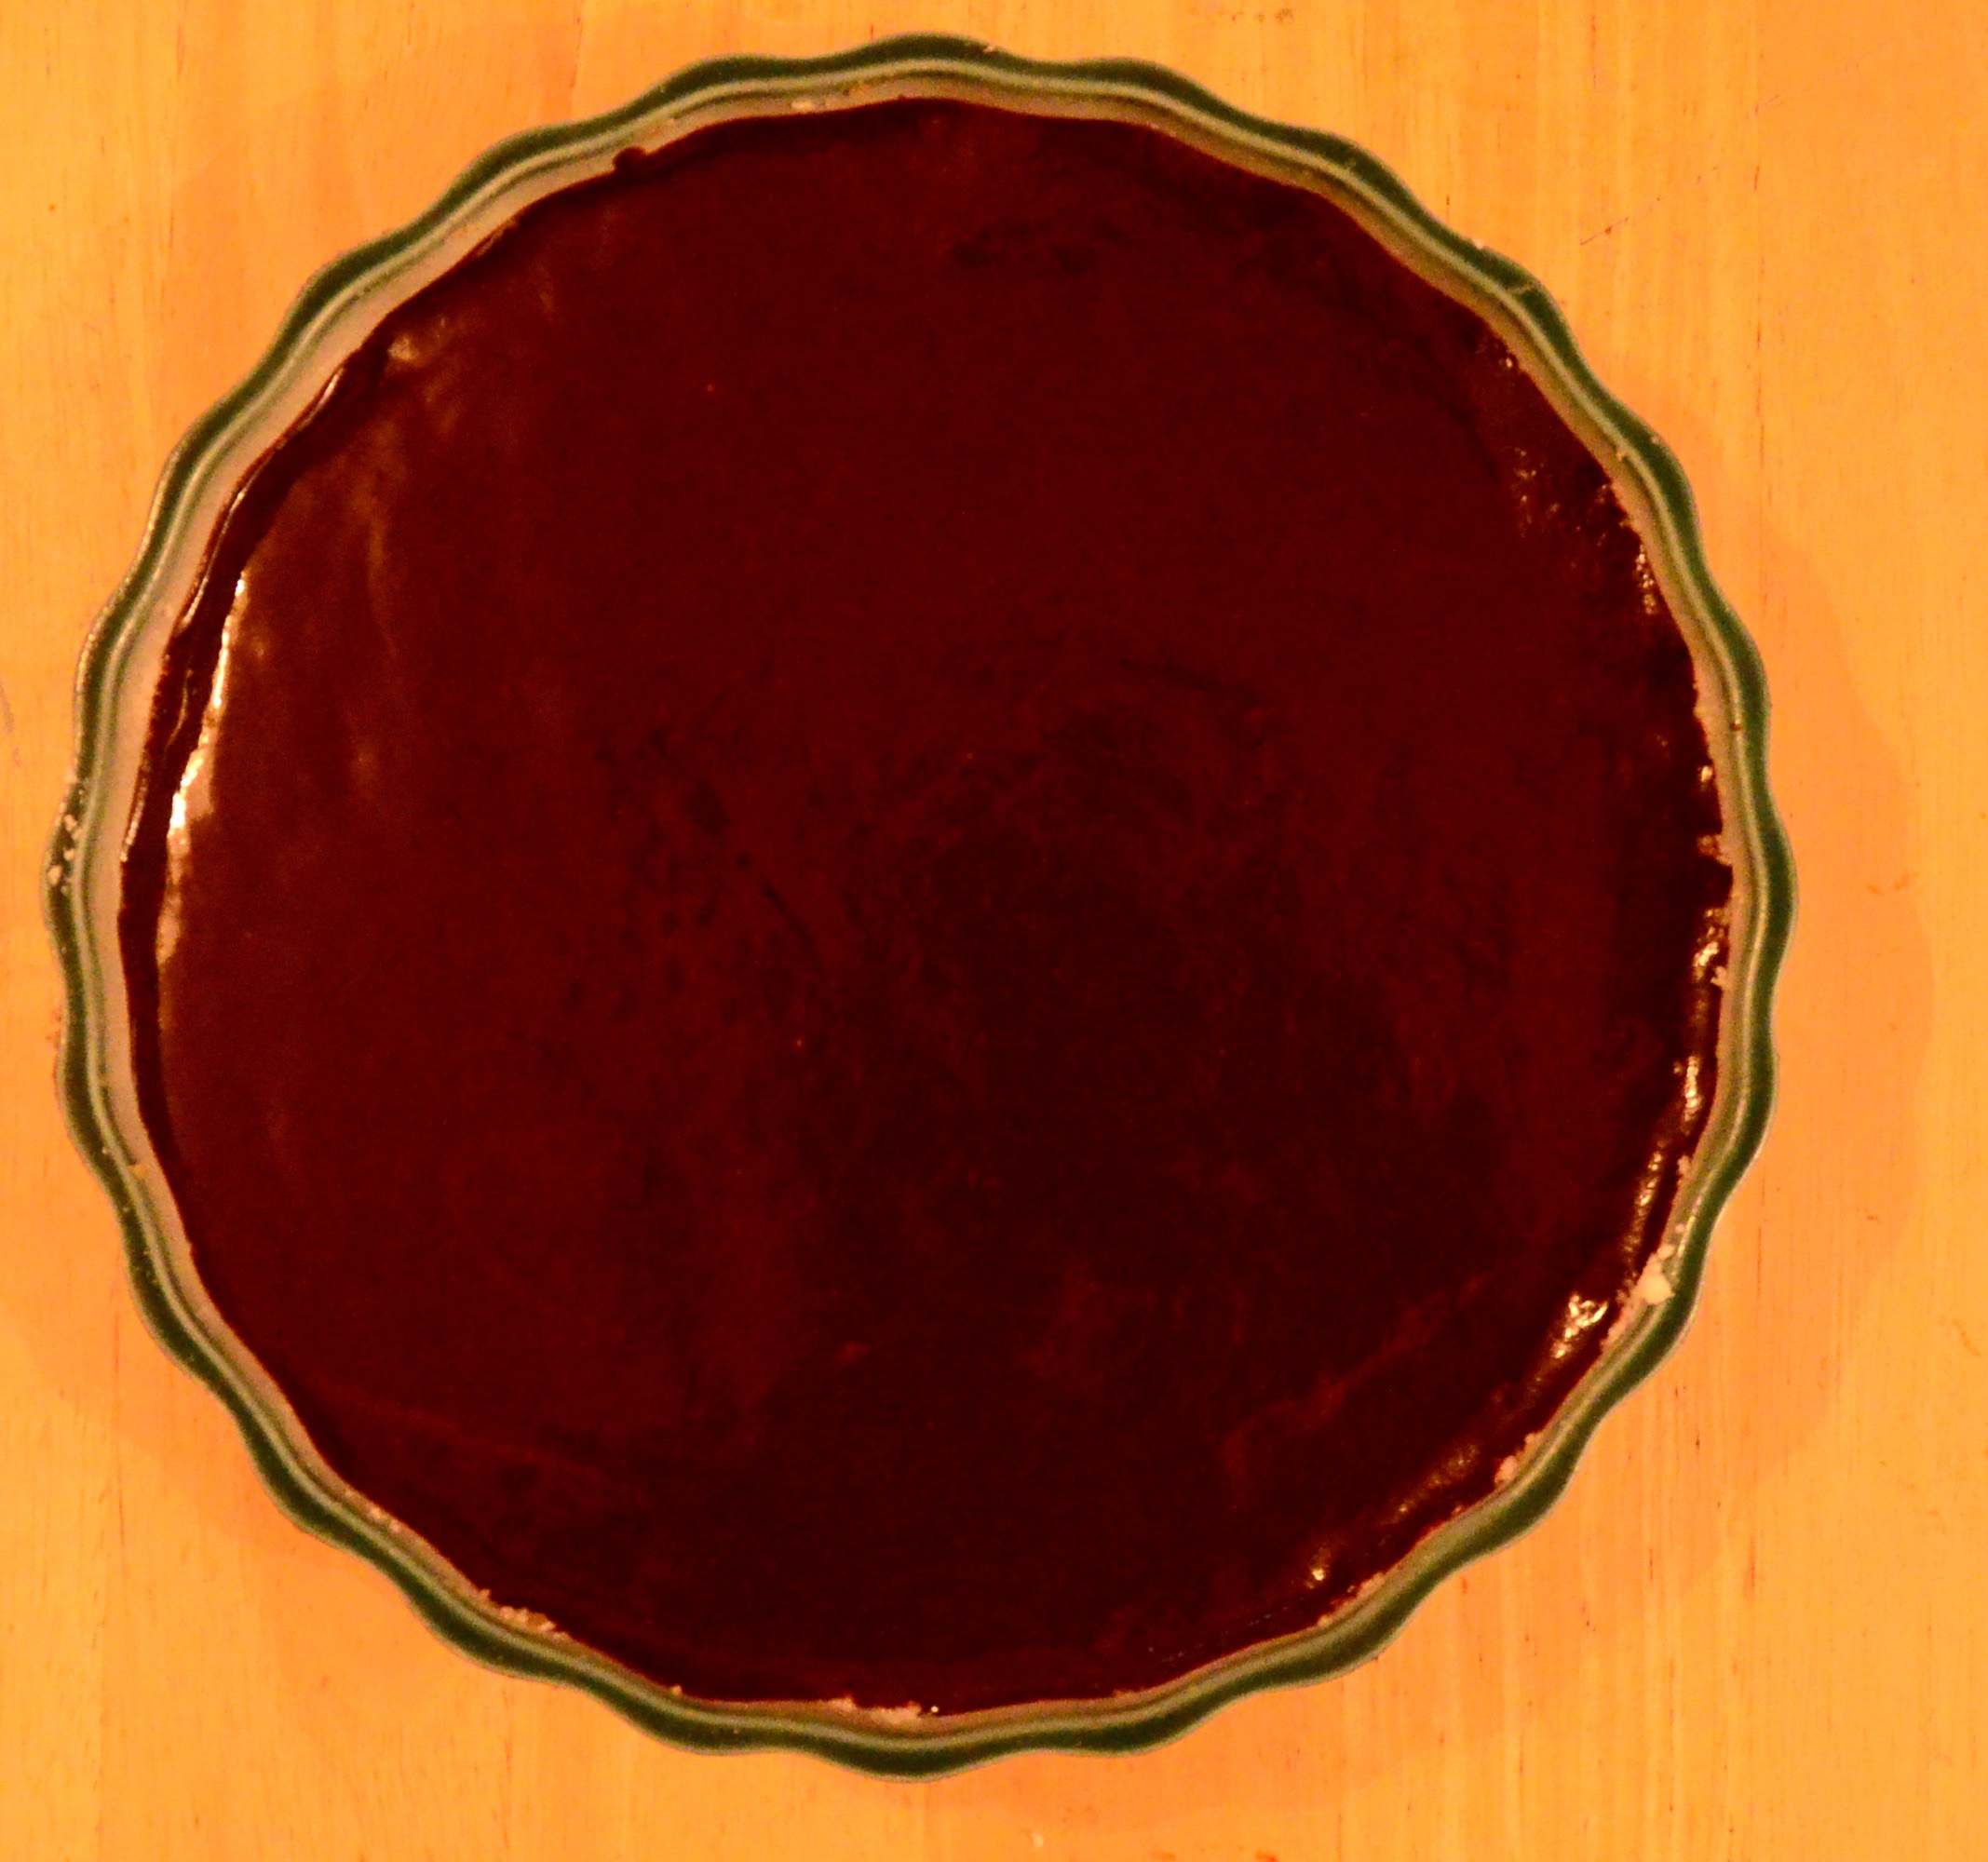
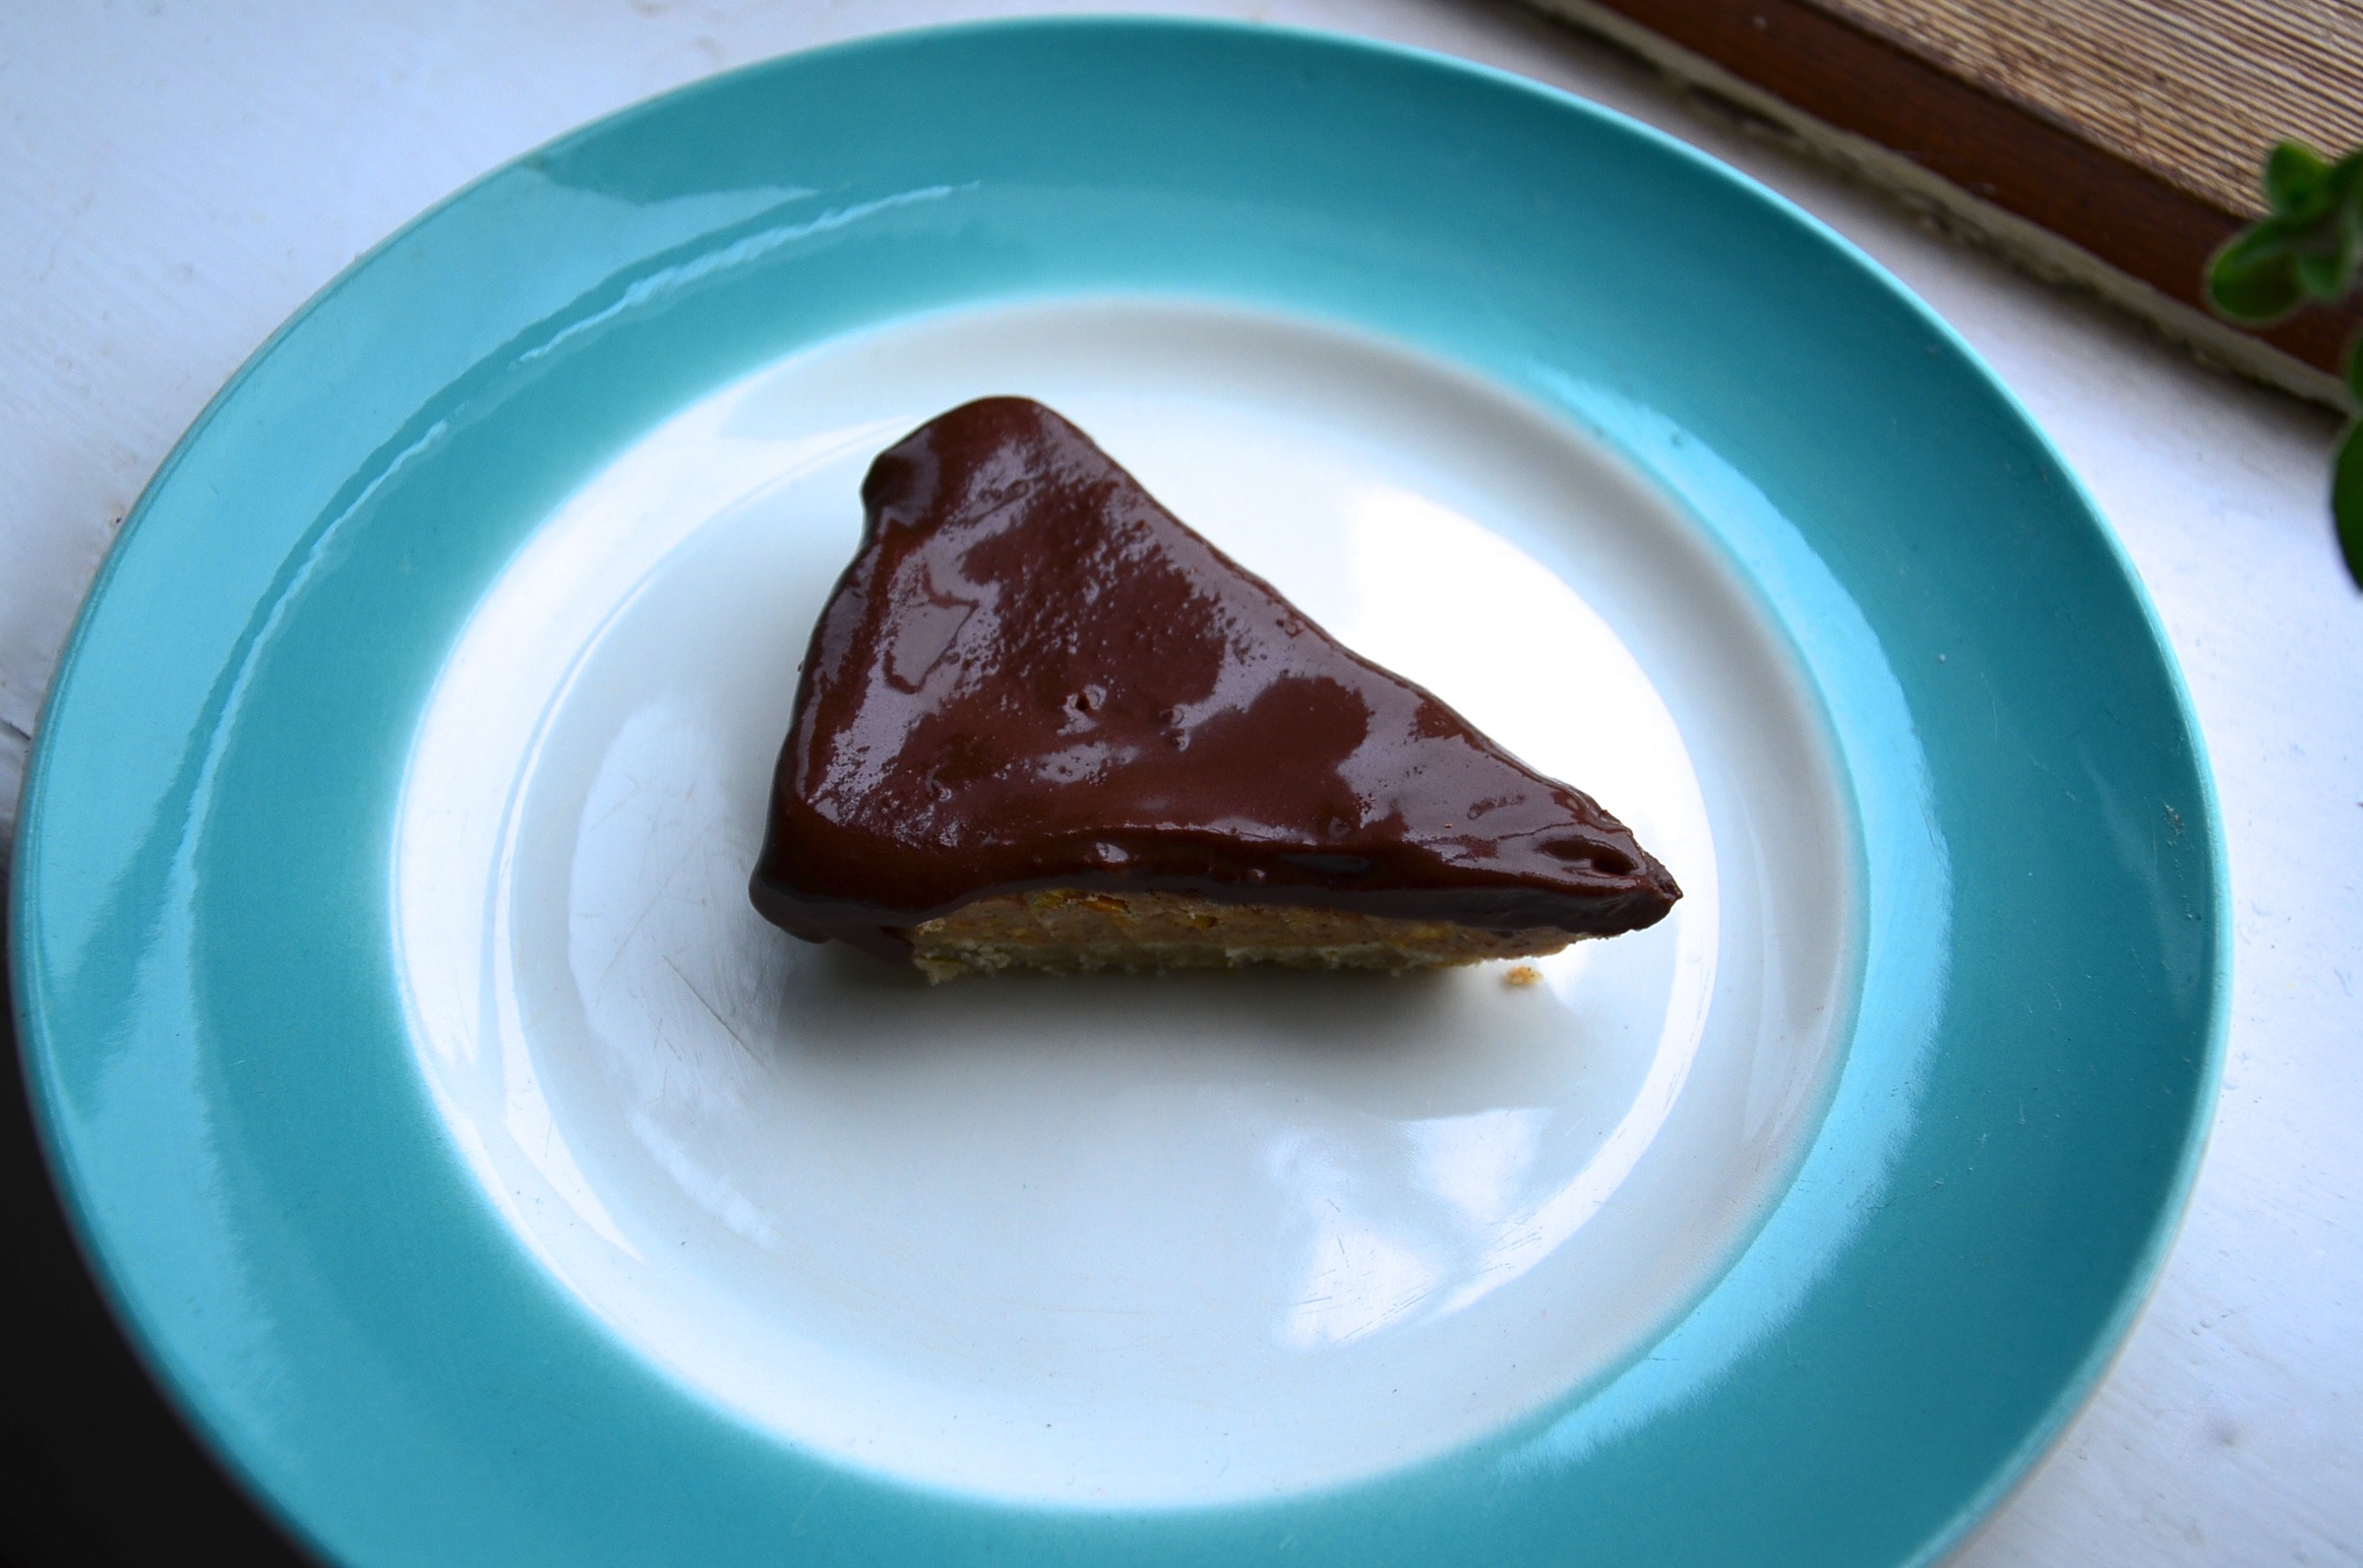
Now so, take the crust out from the fridge. Pour your mix on top and spread evenly. Get your last banana and slice really thinly- like a few mm thick. Decorate your pie with the slices. Next grab your square of dark vegan chocolate and grate it over the top. Cover it up again and leave to set in the fridge. I didn’t decorate it with banana the last time- I think the banana decorating should probably wait until you are serving it it incase they turn black.

Banoffe in (shh) Sunshine! I actually nearly threw it out the window instead of gently placing it… oops, flying banoffe pie.. ? Or maybe it just wants to fly- I ramble.
There you have it – Nutty No bake Banoffe Pie! Hope you try it out! Xs Aissa