• Home
  • About
  • Vegan
  • Gluten Free
  • Chocolate
  • Cookies
  • Cupcakes
  • Cake
  • No bake/ Raw
  • Savoury
  • Natural Health
  • yoga
  • Tradtional
  • juice

VeganEtcetera

~ Eating healthily easily

VeganEtcetera

Category Archives: Gluten Free

No Bake Nutty Banoffe Pie – Vegan & Gluten Free

26 Friday Jun 2015

Posted by Aissa in Gluten Free, No bake/ Raw, Tart, Vegan

≈ Leave a comment

Tags

Banoffe Pie, Gluten free, No bake, Pie, recipe, Tart, Vegan

We have been having a bit of (lowers voice to a whisper) “summer weather” here recently- shh or we might scare it away!  Warm weather = ripe bananas calling out to be dessertified. Hence Banoffe!

This is my second version of this pie. In the first version I did a base with medjool dates and I just found the fudge-y gooey-ness of the dates just a bit too fudge-y and gooey! Also the taste a little too strong. That said it went down well with my work mates so feel free to blend up four medjool dates instead of using the maple and agave syrup in this one. There will be a lot of either ors in this e.g. I blended cashews but I will give the measure in the recipe for substituting cashew butter if you would prefer to use that.

No Bake Nutty Banoffe Pie

  • Half a cup of cashews soaked over night

Drain the cashews and blend with two dessertspoons of the soaking liquid. I did not blend it completely smooth as I wanted the odd chunk.

Press in Crust

  • One and a half generous cups of ground almonds
  • Three dessertspoons of chopped toasted almonds /almond flakes
  • Two dessertspoons of desiccated / shredded coconut
  • An eighth of a teaspoon of pink himalayan salt or sea salt
  • Half a teaspoon of vanilla powder / insides of one pod
  • Three ground apricot kernels
  • OR a quarter teaspoon of natural almond extract
  • One dessertspoon of organic raw coconut oil
  • Two dessertspoons of the blended cashews
  • OR one and a half dessertspoons of cashew nut butter
  • Two dessertspoons of maple syrup
  • Two dessertspoons of raw agave syrup

Banana Bananas Banana-y topping

  • The rest of the blended cashews
  • OR One and a half dessertspoons of cashew nut butter plus two dessertspoons of non dairy milk
  • Three large ripe bananas or four medium ones*
  • One dessertspoon of organic cold pressed coconut oil
  • Half a teaspoon of runny tahini paste
  • Two dessertspoons of the set coconut from the top of a can of coconut milk**
  • OR two dessertspoons of hard creamed coconut mixed to a tick paste with some warm water
  • Two dessertspoons of chia seeds
  • Optional: one dessertspoon of roughly ground cacao nibs
  • Half a teaspoon of vanilla powder/ insides of one pod
  • A square of dark chocolate for grating on top

*when I say ripe I mean mostly brown skinned. If just ripe you could add a teaspoon of maple syrup to the mix.

** the rest to be used in a curry

Crust Method

So you need a 20cm or 7.5 inch pie tin. Rub it with a little raw coconut oil so you can get the pie out afterwards.

First chop and toast your almonds/ almond flakes and set to one side.

toasted almonds

toasted almonds

Mash your coconut oil with the blended cashews. Add in the rest of the wet ingredients.

Mix your dry ingredients- except the toasted almonds. Add the dry to the wet mashing it together really well. It should be sticky but not sloppy- like a slightly wet drop cookie mix. It should be holding together 🙂 Now add in your toasted almonds and stir through evenly.

Crust mixture pre the toasted almonds

Crust mixture pre the toasted almonds

Press the crust into the pie tin as evenly as you can. It will make a thin crust. Cover and pop in the fridge while you make the topping.

Press in crust

Press in crust

Banana Bananas Banana-y Topping Method

Get the rest of the blended cashews (or cashew butter and some non dairy milk) add in the coconut oil, the tahini, the creamy coconut (or the creamed one you’ve made into a paste) and either one large banana or two medium ones and blend together- or really really really really mash LOTS!

Next roughly mash in another banana- the reason for doing them separately is to give different textures. Add in the vanilla, chia seeds and ground cacao nibs.

The topping- pre the pretty

The topping- pre the pretty

Now so, take the crust out from the fridge. Pour your mix on top and spread evenly. Get your last banana and slice really thinly- like a few mm thick. Decorate your pie with the slices. Next grab your square of dark vegan chocolate and grate it over the top. Cover it up again and leave to set in the fridge. I didn’t decorate it with banana the last time- I think the banana decorating should probably wait until you are serving it it incase they turn black.

Banoffe in (shh) Sunshine! I actually nearly threw it out the window...

Banoffe in (shh) Sunshine! I actually nearly threw it out the window instead of gently placing it… oops, flying banoffe pie.. ? Or maybe it just wants to fly- I ramble.

There you have it – Nutty No bake Banoffe Pie! Hope you try it out! Xs Aissa


Homemade Oat & Cashew Milk! Vegan ( gluten free if you use the right oats! )

07 Sunday Jun 2015

Posted by Aissa in Gluten Free, Sweets, Traditional, Vegan

≈ Leave a comment

Tags

energy smoothie, Gluten free, Homemade, medjool date, oats, Sweets, Traditional, Vegan

I was out and about yesterday and bought lots of organic salad leaves and yummy stuff at the farmers’s market. Walked home on a warm but extremely windy June day. All sorted for a my big salad for dinner. All my food shopping sorted, until I realised I forgot to get dairy free milk! Which would be okay but I really wanted it for my forever evolving Not so smooth energy smoothie for breakfast! Necessity is the mother of invention, or prevention of procrastination, as I have intended to make my own for ages.

Vegan milk on my windowsill!

Vegan milk on my windowsill!

You will you need to leave to stuff soak over night if you want it for your break-ie !

Homemade Oat & Cashew Milk – makes over : 600ml / a pint / 2.5cups

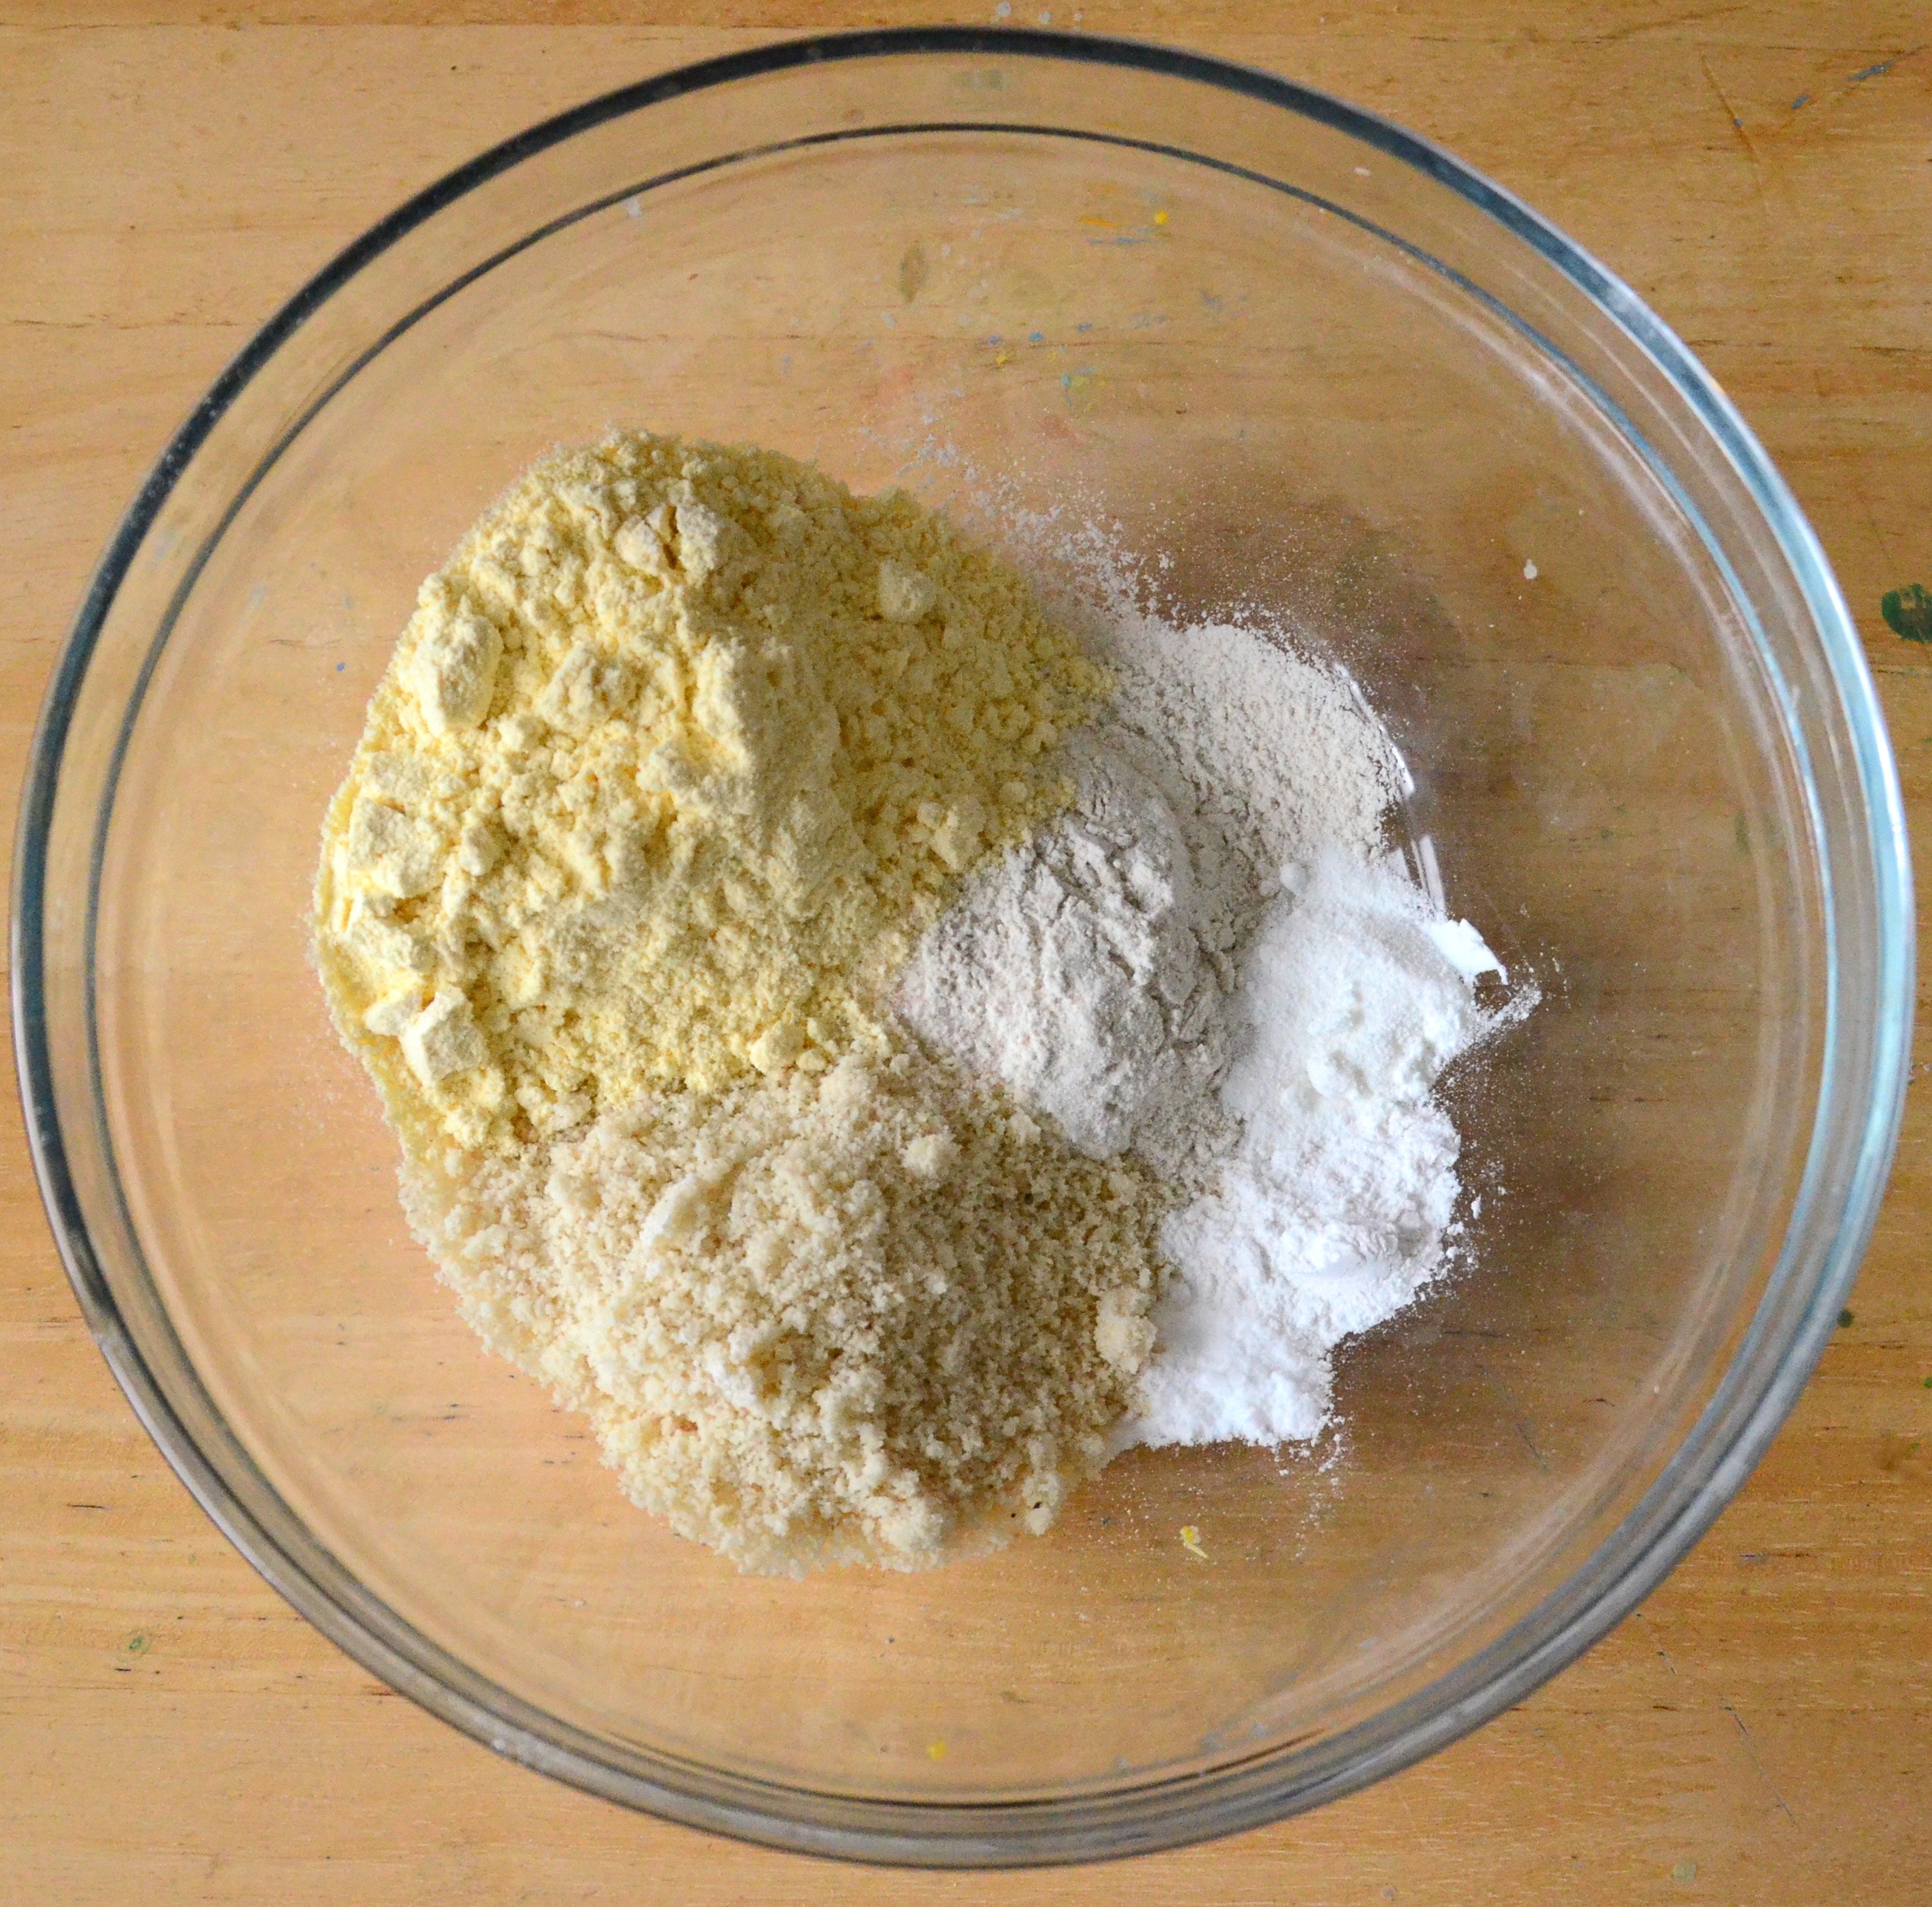
  • Half a cup of organic fine rolled oats (Gluten free if you like!)
  • Three dessertspoons of cashews / cashew pieces
  • Less than an eight of a teaspoon of pink himalayan salt or sea salt
  • Generous Two and a half cups of boiled water- leave to cool for a minute
  • Half a medjool date
  • Half a teaspoon of vanilla powder
  • Some extra water to so you can have it thinner if you like
  • Optional: I think a pinch of cinnamon could be lovely too!

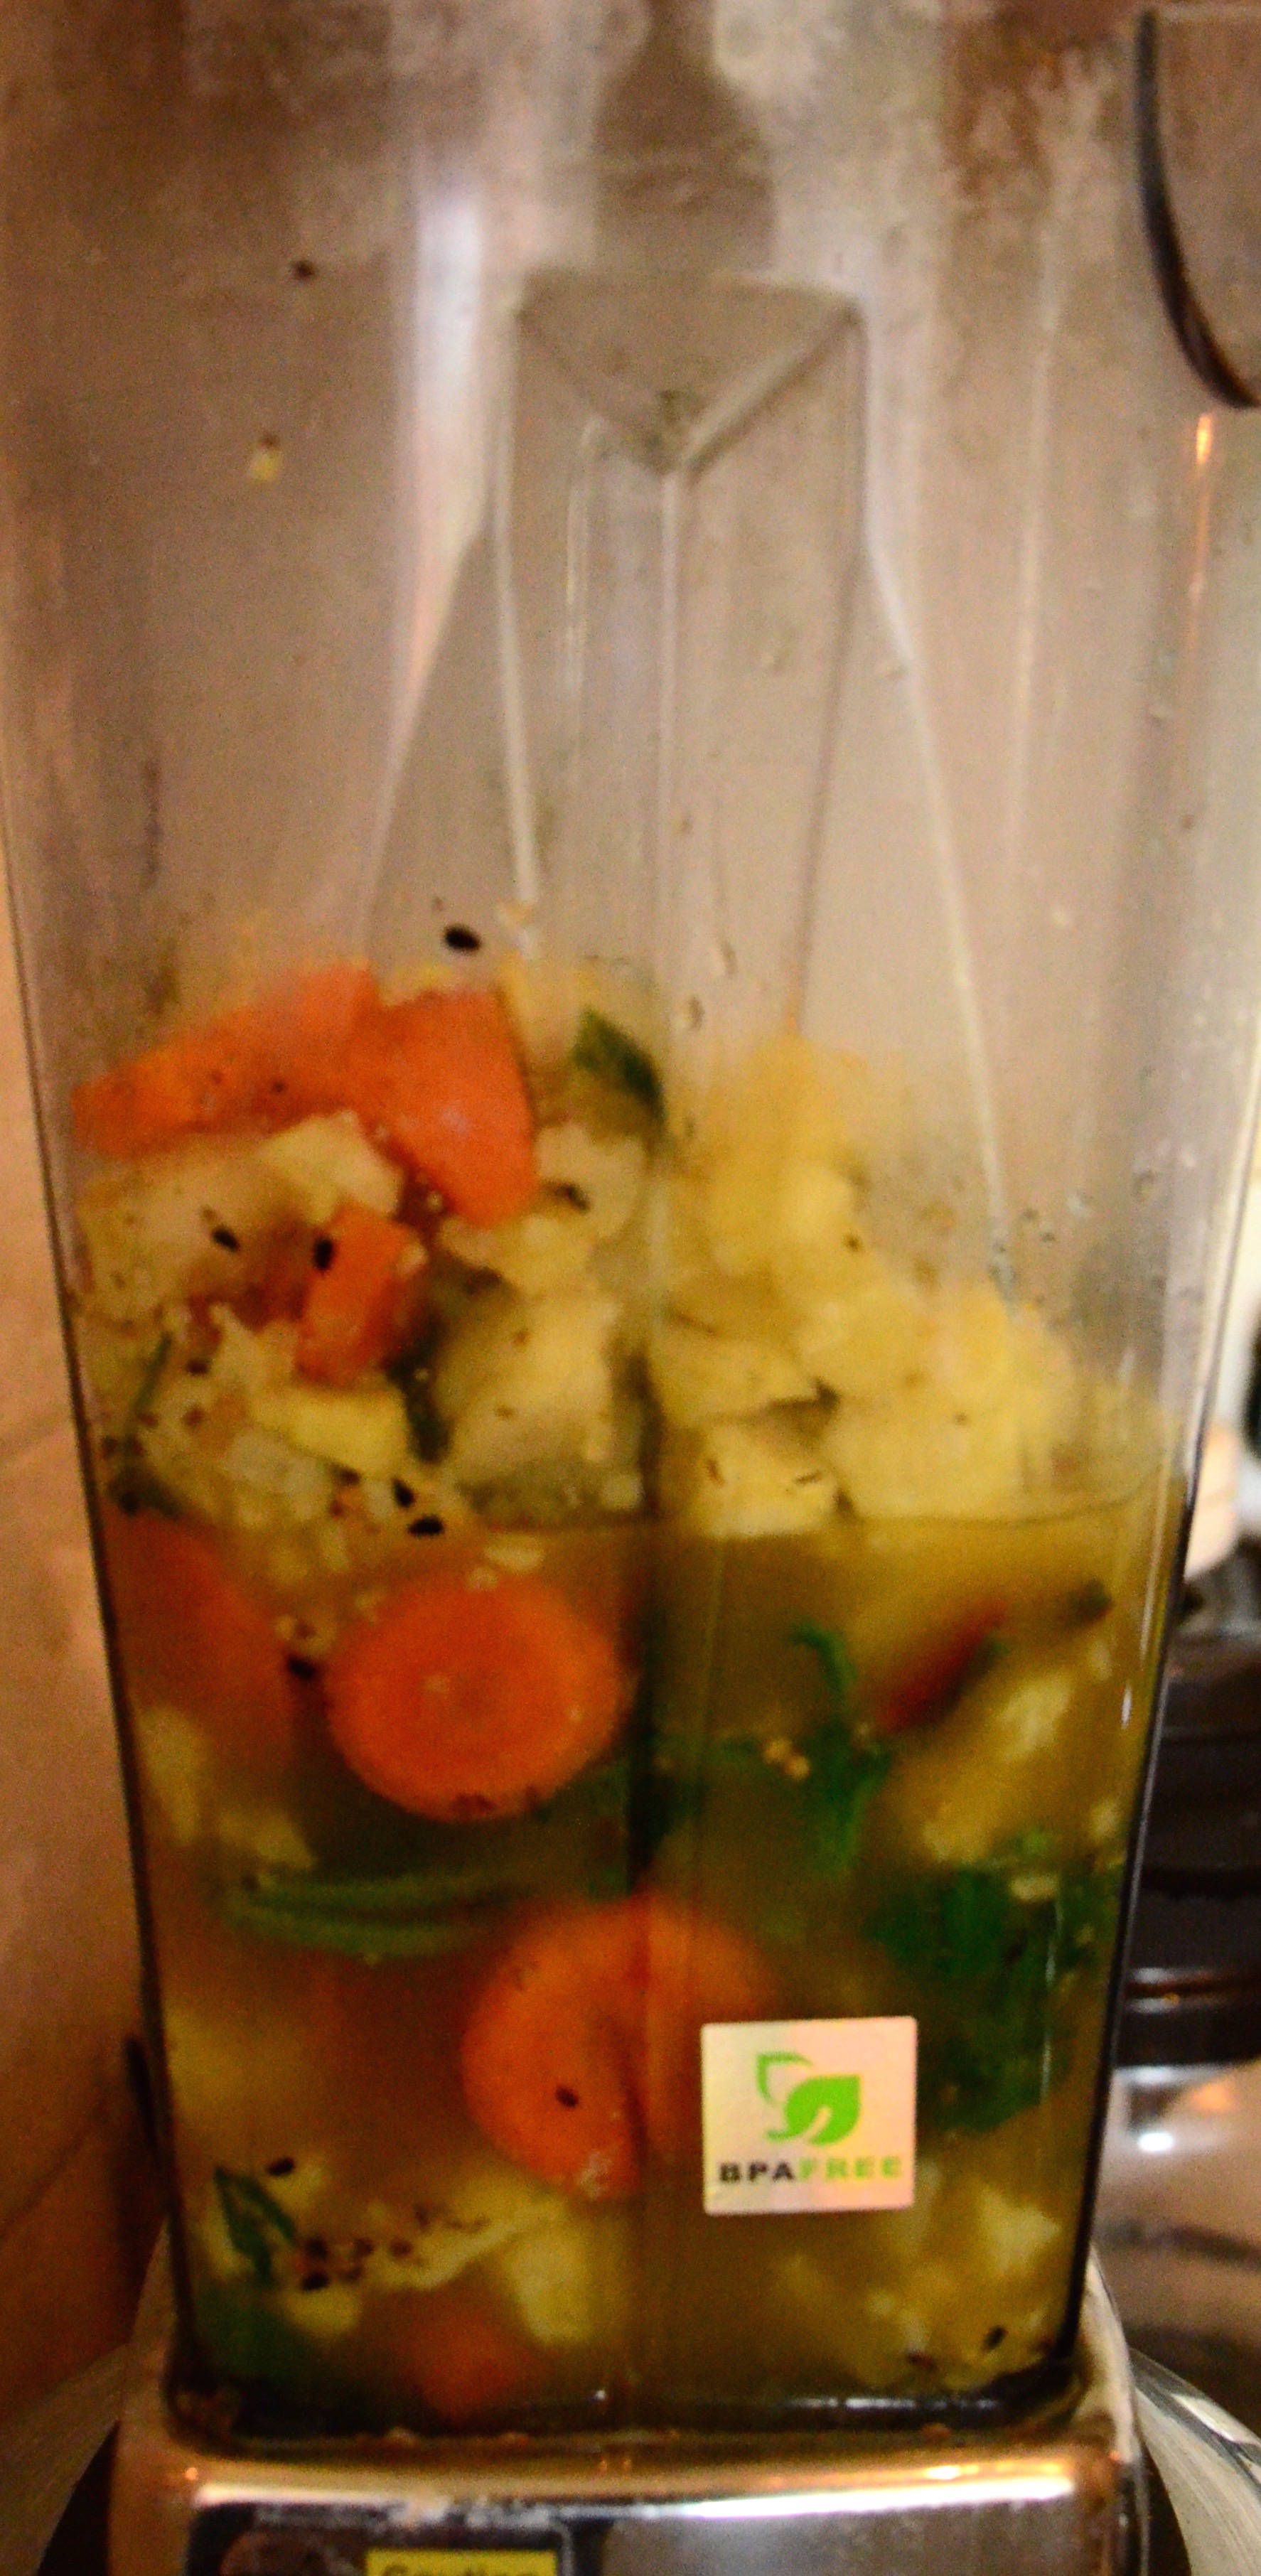
So put your oats in a sieve and give them a rinse. I put them a big jug but you could soak them in a bowl. Add in your cashews and salt and stir them together. Add in the hot water. Leave to sit over night.

Next day.

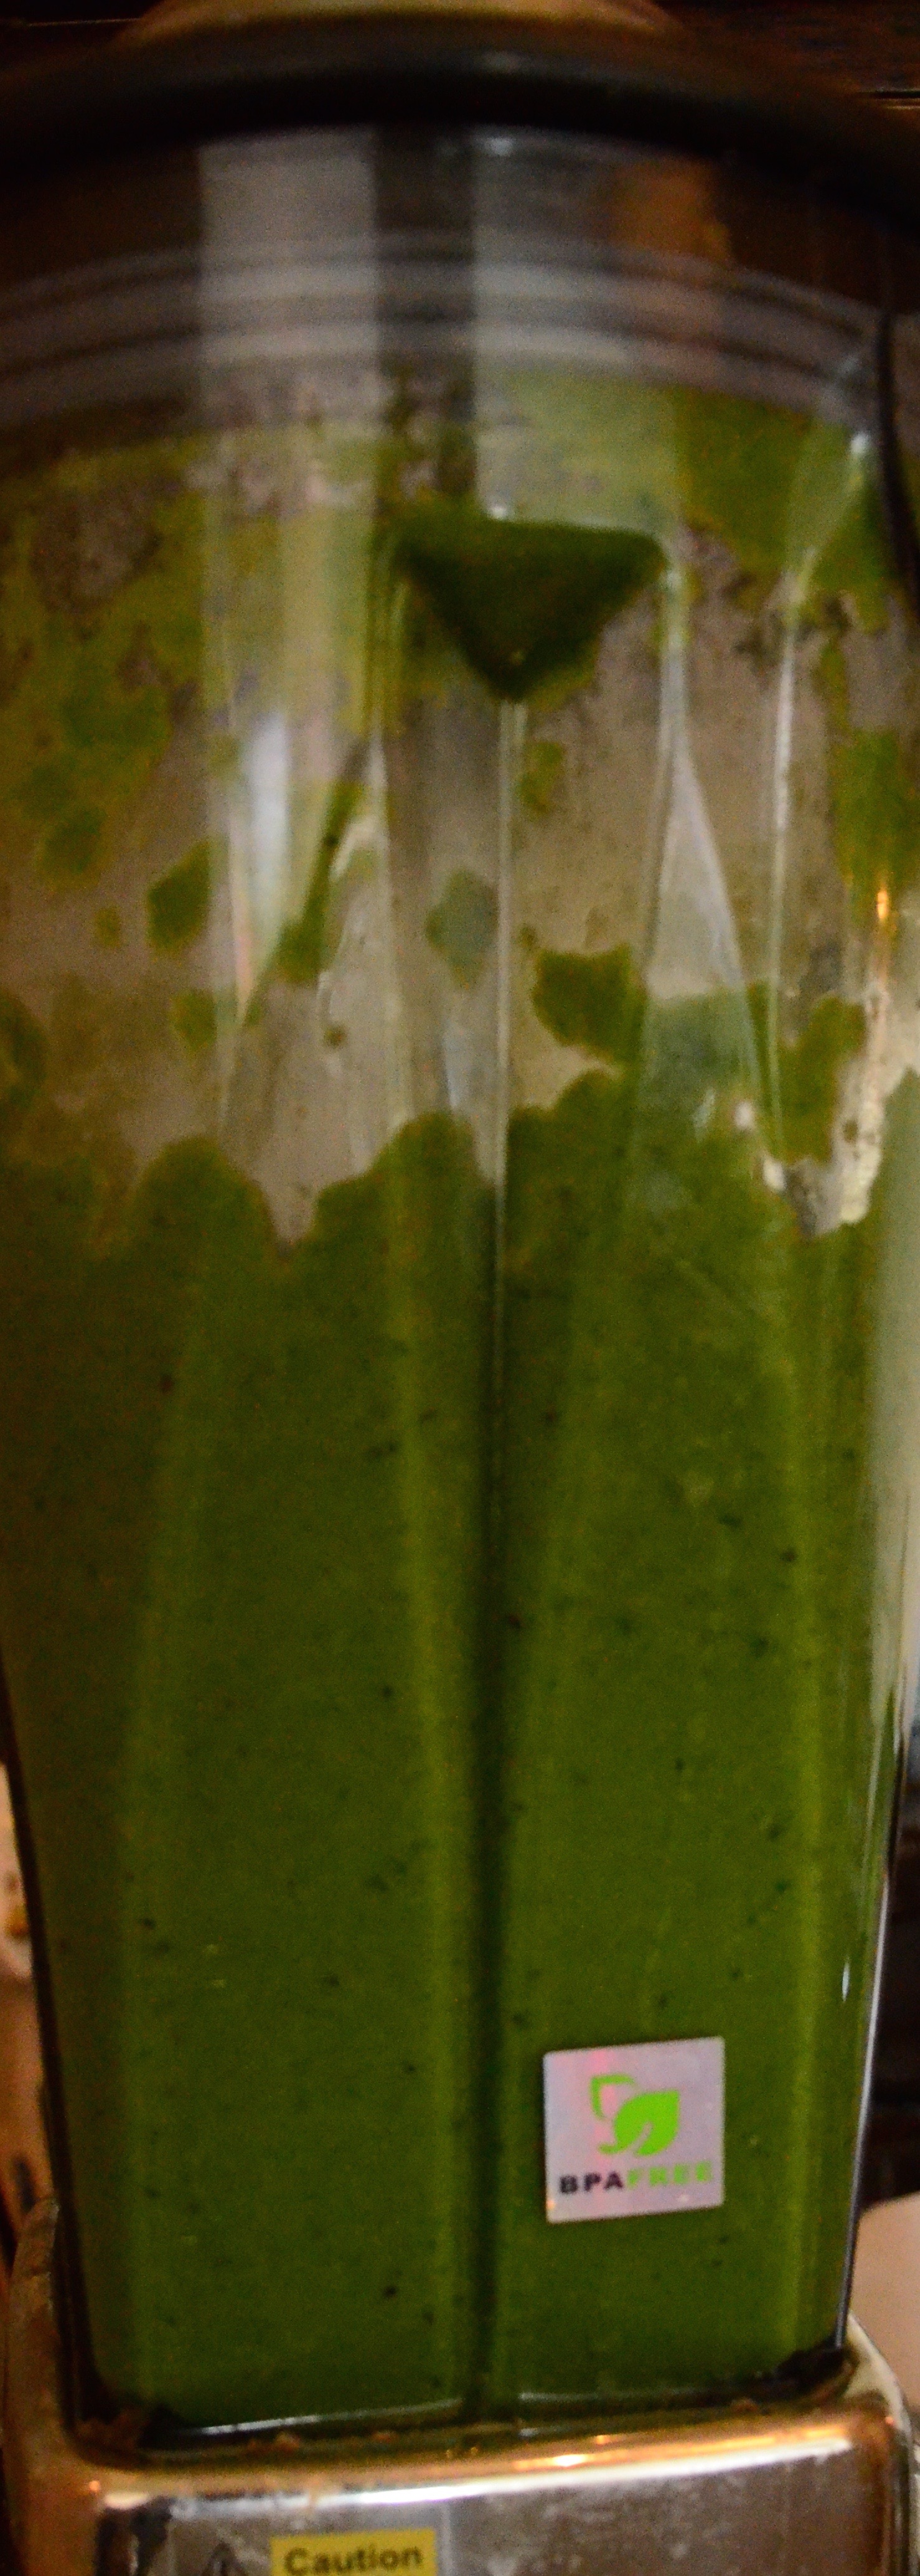
You will notice everything will have swelled up. Now you want to pour it all through a sieve. Over a bowl or straight into your blending contraption. I blended mine in a jug blender, would work in a food processor and as long as you don’t leave lots of cashews in a hand blender would work too.

Use a spatula to press the mixture in the sieve. You will see thick creamy liquid coming through. Keep pressing until you are bored or it looks like you have gotten as much out as you can. I picked out the cashews as I went and threw them into the liquid to make the milk extra fabulous. If you are having porridge for breakfast you can cook the soaked oats up with the rest! Soaking your oats pre cooking is a good idea anyway as it helps break the phytates down and makes the oats more digestable.

Onwards!

Add in your halve medjool date and half a teaspoon of vanilla powder. Blend as if you are making a smoothie. I tasted it and found it lovely and creamy but a little rich for me ,so I added in another third of a cup of water. I gave it another blitz just to mix it up. Et Volia! Ta-Da! Homemade oat and cashew milk! 

Ready to be smoothie-d! :-) Breakfast is saved!!!

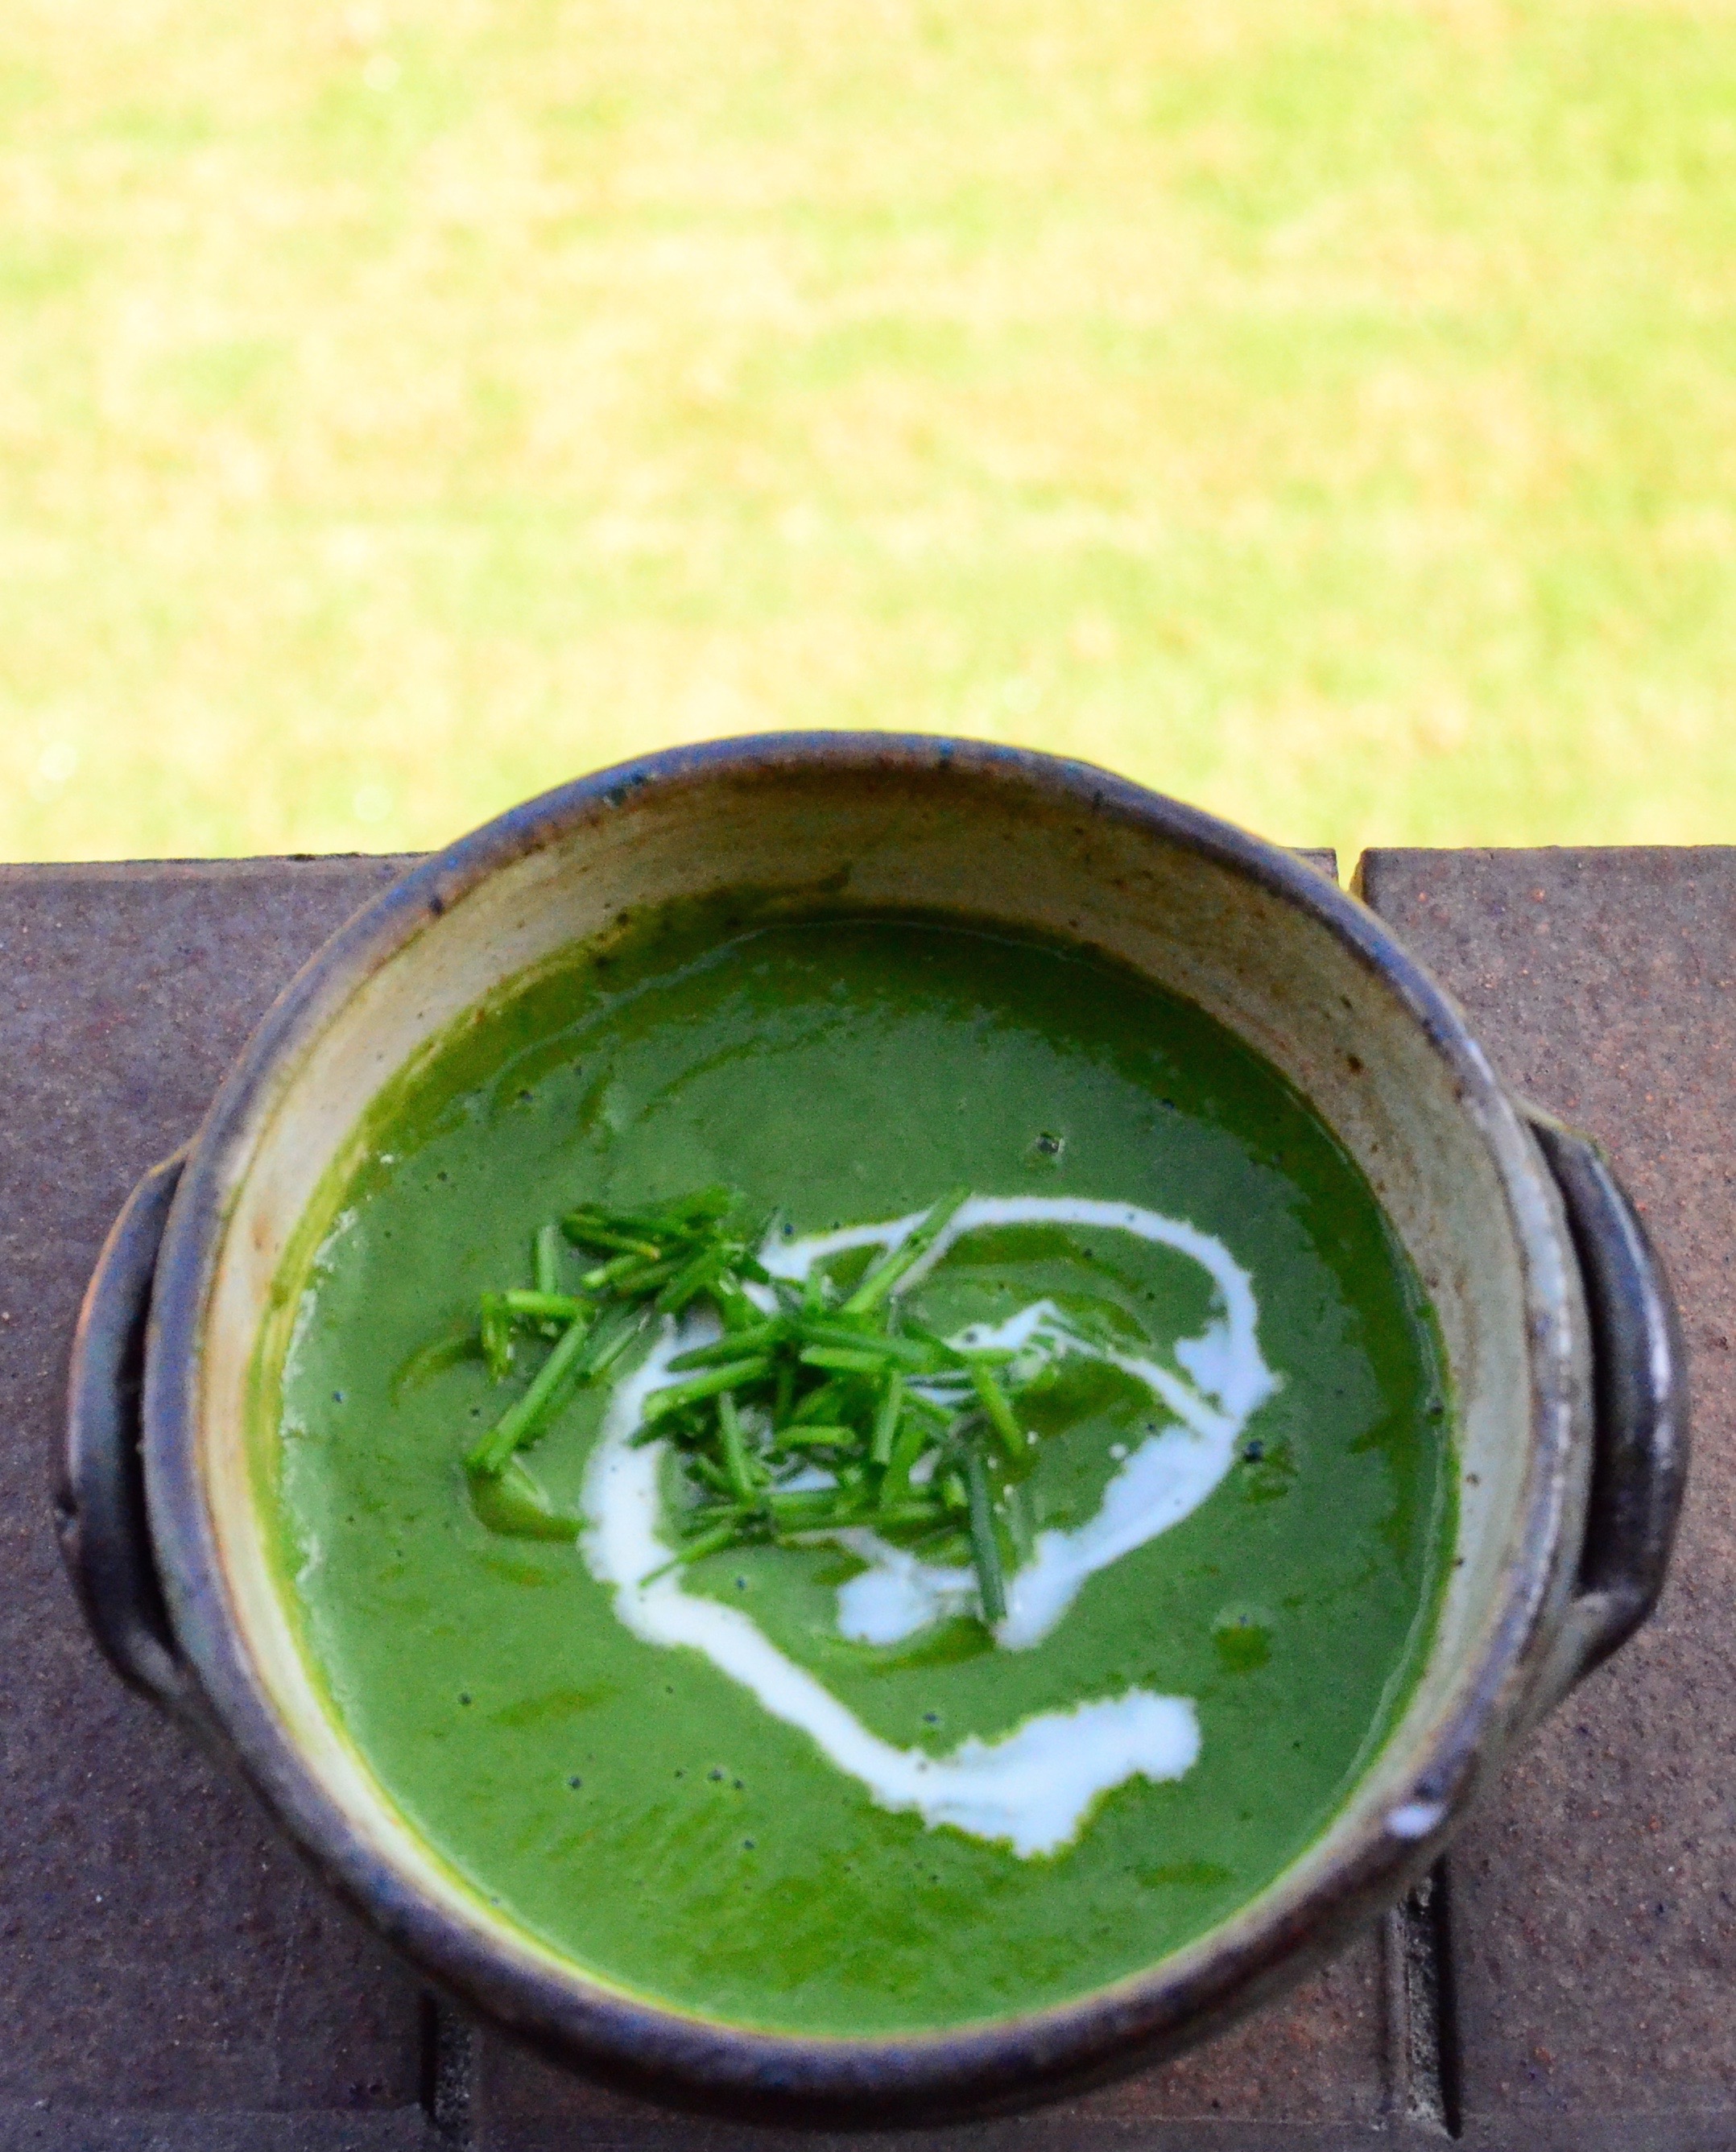
Ready to be smoothie-d! 🙂 Breakfast is saved!!!

Hope you try it! It was super easy! Xs Aissa


Quick and Zesty Pickled Cucumber Salad! Vegan & Gluten Free

01 Monday Jun 2015

Posted by Aissa in Gluten Free, No bake/ Raw, Savoury, Vegan

≈ Leave a comment

Tags

Gluten free, Raw, recipe, Savoury, Vegan

My wonderful partner was, yet again, cooking me dinner and said it would be lovely to have pickled cucumber with it. Just to give a refreshing acidic side to our onion-y, lentil tomato sauce. My task was set. Had I a few days notice as opposed to forty-five minutes, I could have actually pickled, fermentation style, some cucumber, but this is healthy next best. I imagine it would get yummier if you have the time leave it for a couple of hours!

I used a spiralizer but you could use a potato peeler to get thin strips, or if you are the daring type and like to risk your fingertips you could use a mandolin (shivers all over 😉 )

Quick and Zesty Pickled Cucumber Salad

  • One organic cucumber- spiralized
  • One small organic carrot- spiralized
  • A quarter cup of proper fermented brown rice vinegar
  • A tablespoon of real fermented tamari (gluten free )
  • Two tablespoons of extra virgin olive oil/ sesame oil
  • A teaspoon of grated ginger
  • A dash of mirin
  • Juice of half a lemon
  • Five or six twists of black pepper
  • A third cup mix of lightly toasted sunflower & poppy seeds
  • Toast the seeds with an eighth teaspoon or pinch of himalayan pink salt/ sea salt

Grab a salad bowl. Whisk together your vinegar, tamari, oil, mirin, pepper, ginger and lemon. Add in your cucumber and carrot, mix so that it is all covered in the liquid.

Everything in the bowl

Everything in the bowl

Press mixture down so it is covered and leave to macerate for thirty minutes.

The toasted seeds

The toasted seeds


Toast the seeds with the salt, in a dry pan on a high heat for about a minute. The sunflower seeds should be barely changing colour. Add in the seeds when you are about to serve – so they are still crunchy!

Quick and zesty pickled cucumber salad!!

Quick and zesty pickled cucumber salad!!

There you have it Quick and easy zesty pickled cucumber salad! Hope you like it. Xs Aissa


Seasonal Greens & Nettle Soup! Vegan & Gluten Free

24 Sunday May 2015

Posted by Aissa in Gluten Free, Natural Health, Savoury, Superfoods, Traditional, Vegan

≈ 2 Comments

Tags

Dinner, Gluten free, Natural Health, Nettles, Savoury, Traditional, Vegan

This is the brightest greenest soup I have ever made, I just feel healthier in the glow of it! It only took 45 minutes from start to finish including taking photos! Nettles come in to season in spring and that season lasts until the end of May. They become to old tough and stingy after that! That said they still sting a bit- so handle with care! Traditionally they would be picked in the countryside or out of your own garden. It is the shocking reality of city life that I bought mine, but I am grateful that the McNally organic farm stall realised that urban dwellers would also like nettles! My Dad grew up having this iron and silica rich food in his diet, but my first attempt at cooking them went terribly wrong. I simply over cooked them and the soup became incredibly sour. If cooked for only a minute or so they lend the soup a lovely lemon fruity and green flavour.

Spinach, chard, nettles, chives & wet garlic

Spinach, chard, nettles, chives & wet garlic

Mostly nettle soup would be made with a base of potato, I am not a fan of the starchy spud and I already have enough tomatoes in my diet to cover my nightshade consumption quota! I used a base of organic cauliflower and carrots, my extra seasonal goodies I have young spinach, rainbow chard, chives and wet garlic! If you cannot get your hands on nettles try some rocket, Persian cress or mustard greens!

Lovely spinach

Lovely spinach

Seasonal Greens & Nettle Soup

  • Three cloves of Wet garlic
  • A dessertspoon of raw coconut oil
  • A teaspoon of Yellow mustard seeds
  • A teaspoon of Nigella seeds
  • Half a teaspoon of turmeric powder*
  • Two bay leaves
  • Lots of Black pepper
  • A dash of Mirin – for sweetness
  • Two medium carrots chopped
  • Half a large head of Cauliflower- chopped
  • Two cups of vegan stock- homemade or bought**
  • Approx. 400g of young Spinach
  • I used half a bunch of the Rainbow Chard in the picture
  • Approx. 300g of Nettles ( I used two thirds of the nettles in the pic below)
  • A couple of dessertspoons of chopped chives
  • Half a cup or so of hot water for thinning soup a bit after blending
  • Optional: 100ml/ half a cup of vegan cream
  • Optional: A few dessertspoons of cashews or a ripe avocado instead of the vegan cream!
  • As an after thought I think it would be good with one diced onion
  • Extra chopped chives serving

*Not very Irish but very good for you

**I used half an organic onion stock cube to two cups of boiling water, cubes are of course hydrolysed veg protein free!

Fantastically spiky nettles!

Fantastically spiky nettles!

Method

Start by melting your coconut oil in a deep saucepan on a medium heat. Add your mustard and nigella seeds and let sizzle for a minute. Add in your (onion if using) wet garlic and some black pepper. Let cook for another minute or two, don’t leave the garlic burn or it will be bitter.

Add in your chopped carrots and cauliflower. Pour in your stock. Add your bay leaves and turmeric. Let these simmer and cook for about seven minute, just until the cauliflower is cooked. Meanwhile while you wash your spinach – very well. Throw in your chives and washed spinach. Give it a few stirs, leaving the spinach wilt.

Soup base

Steamy Soup base

Next is the hide and seek game with the bay leaves! Try and find them and take them out before you get to blending. Take the mixture off the heat and then get to blending! A hand blender should be fine. I used a jug one, be careful ladling the mixture into your blender, it will be piping hot!

Pre first blend

Pre first blend

Now magically green!

Now magically green!


If using a jug blender pour the soup back into the saucepan and back onto a medium heat. Add your half a cup of hot water to thin out the soup a little. Add your mirin. Taste to check for seasoning. I added more black pepper, but it didn’t need any salt.

Wash your nettles, take your time, wash them well to avoid gritty bits later! Usually people chop off the tough ends of the stalks, if you are using a hand immersion blender you may want to do this. You would probably be best advised to use gloves, or be careful not to tip of the stinging leaf edges. I didn’t bother removing the stalk ends, I just threw them into the colander and rinsed them in the sink.

Pop them into the saucepan, stir them through so that the are covered by the soup. The leaves will begin to wilt quite quickly. Remember you are only cooking them for a minute or so. You are going to blend it all anyway so any tough stalks don’t matter.

Again with the blending! If using a jug blender and you decide to go for cashews or avocado blend them first with a ladle of the soup. If using an immersion blender use the avocado and just chop it and throw into the soup before blending. Alternatively whiz up your soup just until the nettles are blended and then add in your 100ml of vegan puoring cream of choice and blitz again just to mix it through.

Nettle Soup

Nettle Soup

Serve with a sprinkle of chives and a swirl of vegan cream or milk! TADA! Seasonal Nettle Soup! Hope you try this quite traditional green extravisganza! (ignoring the turmeric! 😉 ) Xs Aissa

P.S more stuff on nettles: Nettles Nutrition, Nettles in Herbalism

Seasonal Rhubarb & Orange Crumble Cake, Gluten Free & Vegan (of course!)

17 Sunday May 2015

Posted by Aissa in Cake, Gluten Free, Traditional, Vegan

≈ 3 Comments

Tags

Cake, Gluten free, rhubarb patch, Traditional, Vegan

Finally it is Rhubarb Season! The first of the Irish stuff is out and about at Organic Farmer’s Markets now, get it while it is ruby pink and fabulous! My nana grew rhubarb in her garden, her rhubarb patch with it’s big deep green leaves seemed like the perfect hiding place for faeries. My sister now has a rhubarb patch, turns out it is a perfect hiding place for kittens too! I haven’t quite figured out how to grow rhubarb in my flat so I depend on organic farmers for mine 🙂

I like crumble-ness, rhubarb and orange-ness and who doesn’t like cake? Seems like a great combo. The mix of textures and sweet and tart flavours worked out great- if I don’t say so myself. So I decided to share!

Seasonal Rhubarb & Orange Crumble Cake

Rhubarb & Orange

  • Six stalks of rhubarb, topped and tailed and cut to 1cm/ half inch pieces
  • A third of VERY thinly sliced of a ripe pear
  • Zest of half a large organic unwaxed orange
  • Juice of half a large orange
  • Optional:Zest of half a lime
  • Two scant dessertspoons of xylitol
  • Half a teaspoon of organic vanilla powder/ 1 pod / one tsp of extract

Put it all in a bowl and mix it all together. Leave to macerate while you prepare the rest of the yumminess!

Looks like lots 'cos it is double the recipe here!

Looks like lots ‘cos it is double the recipe here! I made regular crumble at the same time

Crumble layer

  • One generous spoon of raw organic coconut oil- melted
  • A third of a cup of rapadura / sucucant / cocount blossom sugar
  • A third of a cup of ground almonds
  • Three dessertspoons of chopped walnuts
  • One teaspoon of ground cinnamon
  • Less than an eighth of a teaspoon of himalayan pink salt / sea salt

Add your sugar of choice to your melted coconut oil and mix. I use real sugar in the crumble because it caramelises. I mix my salt and cinnamon into the ground almonds and then add these. Finally mix in the walnuts. Leave the bowl to one side while you prepare the cake.

Crumble!

Crumble!

Cake! Hmmm Cake!

  • Three and a half dessertspoons of coconut oil melted
  • A quarter cup of xylitol
  • A cup of room temperature unsweetened apple puree
  • A quarter cup of hot water- this to be added just before combining the wet and dry ingredients
  • A third of a cup of buckwheat flour
  • Two thirds of a cup of fine maize meal
  • A half a cup of ground almonds
  • Half a teaspoon of vanilla powder/ one pod/ one tsp of extract
  • An eighth of a tsp of himalayan pink salt or sea salt
  • One teaspoon of aluminium free baking powder
  • Half a teaspoon of aluminium free baking soda
  • One teaspoon of cornflour

Method:

Pre heat your oven to 170C / 330F fan or 180C / 350F normal. And prepare a 20cm/ 7.5inc cake tin, a springform one might be nice! You will need some foil or baking paper to cover the cake half way through baking.

This is a many bowled affair, you will need four! I used heat proof ones for the crumbly bit and the wet ingredients for the cake as I popped them in the pre-heating oven to melt the coconut oil first.

For the wet ingredients mix your xyitol into the coconut oil. Add in the room temperature apple puree. This is important, as if the apple puree is cold the coconut oil will re-solidfy. I forgot to take mine out of the fridge so I melted the coconut oil and apple puree together. Boil the kettle so you have the quarter cup of hot water ready for later!

Next sieve the buckwheat flour, baking powder, baking soda and cornflour into a bowl. Add in the salt, maize meal, ground almonds and vanilla. Stir everything together, pressing out any lumps of ground almonds.

Dry stuff!

Dry stuff!

The fast bit!

Grab your wet ingredients and add in the quarter cup of hot water. Give it a quick stir and with haste pour the mixture into the dry stuff. Fold the ingredients together to make your cake batter. Once combined- just so there is no streaks of dry. Over mixing is not good for the texture of the cake.

The cake bit!

The cake bit!

With a high pitched “Now” grab your well rested rhubarb and quite speedily spoon the mixture over the top- try not to include too much of the liquid, don’t worry about it being on the spoon but leave what is left over in the bowl.

With a sharply said “Next!” pick up your crumble and spoon this on top of your rhubarb evenly. Make sure the rhubarb is hidden so it doesn’t burn.

Put it into the middle of your oven- or with mine slightly to the right because the left side is hotter. Sigh.

I get to bowl washing at this stage 🙂 After twenty five minutes cover your Rhubarb & Orange Crumble cake with foil or baking paper. This will stop the top from burning.

I was a little nervous about cooking the rhubarb on the cake! I therefor peeked a lot and actually left it in the oven a little long. I baked mine for 1hr 10mins- in a fan oven! Eek I am lucky it wasn’t charcoal – so I am saying 55mins – 60mins, it is a wet batter and the water from the rhubarb cooking makes it wetter so it does take that long. But it makes for a lovely moist cake, I also find using coconut oil gives it a lovely bouncy texture!

Cake on the windowsill!

Summery Cake on the windowsill!

Leave to cake to cool for at least twenty minutes before removing from the tin. This gives the cake a chance to settle down and firm up! Hope you try it out ! Xs Aissa

After Dinner Mint Pie or Torte! Vegan, No bake & Gluten Free

28 Tuesday Apr 2015

Posted by Aissa in Chocolate, Gluten Free, No bake/ Raw, Superfoods, Tart, Vegan

≈ Leave a comment

Tags

Cacao, Cacao Butter, Chocolate, Gluten free, No bake, Pie, Superfoods, Tart, Vegan

Chocolate, Coconut, almonds and mint, they are such a lovely combination! Pre my launch into an imformed healthy veggism* and then veganism I used to be fond of a after dinner mint chocolate. Who says I can’t have one??? and I’ll make it better too, added uber antioxidants from the cacao and minus the nasty processed sugar and artifical stuff! Ta-da! Vegan After Dinner Mint Pie!

Chocolatey goodness

Chocolatey goodness

Though there are three layers to make, really all you are doing is mushing stuff together, blending bits to something and melting a whole lot of things and pouring them ontop of eachother. What I am saying is- it is easy!! 🙂

After Dinner Mint Pie / Torte

Almond Base

  • Two and a half dessertspoons of raw organic coconut oil
  • Four dessertspoons of raw dark agave
  • A quarter teaspoon of natural almond extract or five ground apricot kernals
  • A quarter teaspoon of sea salt or himalayan pink salt
  • One and two third cups of ground almonds
  • Half a teaspoon of vanilla powder or one pod
  • One or two dessertspoons of fresh lemon juice

Coconut Peppermint Filling

  • One cup of dessicated/ shredded coconut
  • One and a half dessertspoons of raw organic coconut oil
  • Nine drops of food grade peppermint oil or a teaspoon of natural extract
  • This is an odd measure- 15 dessertspoons of non dairy milk

Raw Chocolate Layer

  • Three dessertspoons of chopped cacao paste
  • Two dessertspoons of chopped cacao butter
  • One dessertspoon of cacao powder
  • One and a half dessertspoons of raw organic coconut oil
  • A quarter teaspoon of himlayan pink salt or fine sea salt
  • A quarter teaspoon of vanilla powder or half a pod
  • Four dessertspoons of raw dark agave
  • Five dessertspoons of non dairy milk

Base Method:

Grab your 7.5 inc or 20cm tart tin/ pie dish!! Rub it with a little coconut oil or if using a spring form one line with grease proof paper.

Mash your coconut oil together with the dark agave first. Mix your ground almonds, salt and vanilla and add these into the wet. Mix and then get in there with your fingers and start pressing the mix together. It will remain a little crumbly. Sprinkle one spoon of your lemon juice in and press the mix again. You may or may not need another spoon. You just want to wet the ingredients enough that it will hold together when pressed between your fingers.

from another base recipe- but this gives you an ides

from another base recipe- but this gives you an idea- the base for this will be darker

Now press into your tart/pie dish. Attempt to do so evenly- it will look prettier when cutting it later! 🙂 Cover it up and put in the fridge.

Coconut Peppermint Filling Method

You will need your blender or food processor for this bit. I imagine an immersion blender would do fine if you can figure out away to stop the coconut from flying all over the room!

Start with your coconut, coconut oil, peppermint and half the non dairy milk ( I used a light coconut one designed for use in cereals or coffee). Give this a blitz with your preferred pre-mentioned electric contraption. Gradually add more non dairy milk until you get the desired snow like consitancy.

Peppermint coconut snow!

Peppermint coconut snow! With very planned soft focus- really…

Take your base out of the fridge and gently press the peppermint coconut snow ontop. Again try and keep it even. Cover up again and put back into the fridge.

Coocnut moon!

Coconut moon!

Raw Chocolate Topping-hmmm

Chop your raw cacao paste and cacao butter. I use an Irish brand called Nua Naturals- it is where I get my vanilla powder and agave too!

The raw fabulousness

The raw fabulousness

Put some water on to simmer and find the right sized a heat proof bowl (e.g perspex ) to place ontop. The water should not touch the bowl or it will be too hot. Pop in your cacao paste, cacao butter and coconut oil. Once melted add the agave, gently stir in the cacao powder, salt, vanilla and non dairy milk of choice. The milk helps the chocolate layer be a little bit softer so that it possible to cut the torte / pie.

Take your nearly finished pie out of the fridge. Use a towel or oven mitt to pick your perspex bowl and pour the yummy gooey chocolate goodness over the snowy coconut layer. It looks so lovely as it coats it. I find it easiest to pick the pie dish up and gently tilt it this way and that until the chocolate has coated it all in a pretty swirling manner. I like to make a tent or tee-pee for my pie out of paper. This keeps it hidden and also reduces the risk of the top of the pie being marked by a collapsing cover.

Leave to chill for a couple of hours at least. You can keep it in the fridge but it really does need to be out at room temprature for a half an hour before serving. I find the the coconut layer goes so solid when refridgerated it will actually separate from the base upon slicing. At room temprature it softens and it all holds together like pies should!

The after dinner mint pie !

The after dinner mint pie !

Though rich and chocolatey the peppermint adds a freshness that keeps it from being too heavy! Hope you try it out . Xs Aissa

* I was ten when I turned veggie first, so my eduaction re ingredients was a gradual process!

Raw/No bake “Intensely Dark Decadent Cacao Fudge”- Vegan & Gluten Free

03 Friday Apr 2015

Posted by Aissa in Chocolate, Gluten Free, No bake/ Raw, Superfoods, Sweets, Vegan

≈ 2 Comments

Tags

Cacao, Chocolate, chocolate fudge, Gluten free, No bake, Superfoods, Sweets, Vegan

Fair warning- this is a decadently intense chocolate experience. That said a little spoon of this dark fudgey goo hits the the chocolate/cacao craving nail right on the head! You will need a food processor or blender to make it as is. You could use ready prepared ground almonds chop some walnuts to a dust like consistency but you will get a lighter more of cake like version.

Anyone thinking that person spelled cocoa wrong? Cacao is raw cocoa, it has a slightly more complex flavour and a lighter colour. In it’s raw form more of the nutrients survive (esp antioxidants & magnesium) so you get all the fabulousness of cocoa with an extra health kick!

This Fudge is Filled with Filling nuts so is almost like protein chocolate fudge, if the richness doesn’t get you the amino acids will 😉

Intensely Dark Decadent Cacao Fudge

  • One cup of whole almonds
  • Half a cup of walnuts
  • Half a cup of cacao powder
  • Four dessertspoons of dark raisins*
  • Two and a half dessertspoons of raw coconut oil
  • A quarter teaspoon of good quality sea salt
  • Half a teaspoon of vanilla powder/ a pod
  • One dessertspoon of pure maple syrup
  • One dessertspoon of water kefir/ water**
  • Zest of an unwaxed organic orange- hold half a teaspoon back
  • Five walnuts chopped
  • A dessertspoon of desiccated/ shredded coconut

Method:

Ready your machinery and pop in the nuts with half the raisins and the coconut oil. Blend / pulse until they are chopped a bit. Add in the rest of your ingredients bar the last three.

Nearly raw fudge!

Nearly raw fudge!

It may seem like it it is not going to come together, gradually add in the water kefir/water. The texture will begin to change, you will prob just be pulsing it a bit at this stage. Transfer the fudgey-ness to a bowl add in the orange zest and mix it through. Keep half a teaspoon of the orange zest back, as you will be putting it on top later.

OOooOoo look how dark it is!

OOooOoo look how dark it is!

I used a 15cmx15cm (5.9inc x5.9inch!) perspex container. I gave it a little wipe with coconut oil to make it easier to remove the fudge. No-one wants delayed access! Plop half the goo in the middle and spread evenly. Add on your chopped walnuts and gently layer more of the fudge on top. Decorate with your orange zest next. Finally sprinkle on your desiccated coconut, press this into the fudge so it can’t go anywhere. Cover and put in the fridge for ten minutes. Take it out and use a knife to cut your little squares of dark delight! Pop back in the fridge and leave to set for another forty five minutes or so.

Intensely dark fudge :-)

Intensely dark fudge 🙂

It is fast and easy to make and will keep fantastically in the fridge or freezer. So can be made well in advance or be an emergency chocolate store! Xs Aissa

*Footnotes*

* I used these fab organic Black Beauty raisins from Uzbekistan! I was gifted them 🙂 they had no oil and were really juicy. I think a good substitute would be Jumbo Chilean Black raisins or Muscatels

**Water kefir, why not get some live bacteria, good yeasts and enzymes in your fudge? Kombucha might work too…

Seasonal Iron Rich Vegan Dinner- gluten free too!

29 Sunday Mar 2015

Posted by Aissa in Gluten Free, Natural Health, Savoury, Vegan

≈ 2 Comments

Tags

Dinner, Gluten free, Natural Health, purple sprouting broccoli, salad dressing, Savoury, Vegan

So I love my green foods, have them until they come out my ears! Lately though I have found myself having less dark leafy salads because of the cold weather and less seaweed as I have it in my salad! Veggie people are no more likely to suffer from an iron deficiency than meat eaters but is something we should all not be lackadaisical about.

So here is a delicious dinner packed with iron and the vitamin c that will help you absorb it! I picked up the organic leafy greens and herbs at my local organic farmers market and the rest in the health shop I work in. It makes me happy when purple sprouting broccoli comes back into season. 🙂

Yummmm colours

Yummmm colours

Seasonal Iron Rich Vegan Dinner for two!

    • Roughly 4 cups of Purple Sprouting Broccoli it doesn’t fit in a cup!
    • 240g or a cup and a half of cooked Pinto Beans
    • A salad bowl of toren leaves:
    • Organic Watercress
    • Organic Rocket
    • Organic Mustard Leaves
    • A third of a cup of chopped parsley
    • A quarter cup of chopped chives
    • A small red onion- finely chopped
    • Three cloves of purple garlic- finely chopped
    • Half a teaspoon of nigella seeds
    • A quarter teaspoon of chilli flakes
    • A dessertspoon of organic raw coconut oil
    • A dessertspoon of cold pressed extra virgin olive oil
    • Black pepper to taste- I like lots
    • A quarter teaspoon of good quality sea salt
    • A squeeze/ teaspoon of fresh lemon juice.
    • Half a teaspoon of powdered dillisk/dulse seaweed & more for sprinkling
    • Optional:teaspoon of basil paste or some fresh basil
    • An avocado
    • Some alfalfa sprouts
    • A red pepper- diced
    • A carrot chopped as you like
    • A few black olives that refused to be photographed
    • A sheet of nori seaweed- to use like a wrap!

Miso Salad Dressing

  • A clove of purple garlic – finely chopped
  • A teaspoon of raw sweet miso paste
  • A teaspoon of chopped parsley
  • A teaspoon of chopped chives
  • Lots of black pepper
  • Half a teaspoon of apple cyder vinegar
  • A dash of mirin (gives a note of sweetness)
  • A squeeze of fresh lemon juice
  • Half a cup of cold pressed extra virgin olive oil

Method:

Grab your broccoli and cut off a tiny bit of the tough stem. Leave the leaves, they all part of the goodness! Give them a rinse and pop them on to steam for roughly eight to ten minutes. Chop your onion and garlic including the garlic for your salad dressing. Melt your coconut oil in a wok or pan on a medium high heat. Once it is heated a bit throw in your nigella seeds, chilli flakes, and a bit of black pepper.

Now add almost all your onion (you are keeping a bit to put in your salad later).Add your sea salt.  Leave cook for a few minutes- the onion will go transparent pretty fast. Add in the garlic- let this cook. Next throw in your pinto beans (also a good source of iron).

While the pinto beans heat through rinse and chop your herbs. Put about half in with the pinto beans and keep half for the salad and salad dressing. Turn the heat down to medium. Add the dillisk/dulse and basil if using. Your purple sprouting broccoli should be ready at this stage. Add this to the pinto beans. Mix everything together and add in your extra virgin olive oil. Taste and see if it needs more seasoning. Remember you will be having it with the salad dressing so be cautious with the salt. I now turn the heat off but leave it on the ring.

Prepare your salad dressing. I make a little jar full as it will of course keep. It is even better the next day as the garlic infuses into the oil and the miso starts working on everything! Having right now on tonights dinner! Put your garlic, herbs, miso and black pepper in a  jar- that you have a lid for (you want to be able to shake it!). Add your oil. Now add your mirin, apple cyder vinegar and lemon juice. Put the lid on and give it a good shake. The vinegar and lemon juice help emulsify the dressing.

Throw all your washed dark leafy greens in a bowl. I like to tear mine rather than chop. Mix in your herbs. Chop your red pepper and carrot and either serve on the plate or add to the salad. I prefer to put the salad dressing on the table and let people take as much as they like. Chop your avocado in two and put alfalfa on it!

Go back to your purple sprouting broccoli dish and squeeze your lemon juice over it and give it a mix. I find the sharp fruity lemon juice really helps bring all the flavours together.

Ready to serve! Delicious and nutritious !Xs Aissa

P.s In tonight’s dinner I discovered that freshly cooked brown lentils are made even more addictive by the addition of half a teaspoon of ume plum puree!!! And that my water kefir looks like pee in this photo! 😉 Though not photogenic it is full of good bacteria, yeasts and enzymes that will help with my digestion.

Tonight's dinner!

Tonight’s dinner! Xs

Cacao Nut Bites – Vegan & Gluten Free

13 Friday Mar 2015

Posted by Aissa in Chocolate, Gluten Free, No bake/ Raw, Superfoods, Sweets, Vegan

≈ 1 Comment

Tags

Cacao Butter, Chocolate, Gluten free, No bake, organic coconut oil, Superfoods, Sweets, Vegan

These are mainly nuts and seeds, as a result they are high in protein, healthy fats and are super filling. Be great to bring if you were going on a big hike, mine was mainly from the kitchen to the couch while going back and forth for more! People think making your own raw chocolate is some complex mystery. It is actually really easy and it means you can control the flavour, sugar content and get all those lovely antioxidants and minerals in the cacao too! Hmmm chocolate.

You will need a strong food processor or blender to follow the recipe exactly, I will give alternatives in the footnotes if you are with out these contraptions. I used a 15cm x 15cm (almost 6inc x 6inc ) perspex dish, so it made nine good sized Cacao Nut Bites. They are very fast to make and the joy of raw vegan baking is you can taste everything along the way. 🙂

Cacao Nut Bites

The Base*

  • 125g/ three quarters of a cup of whole almonds
  • Twelve whole brazil nuts
  • One flat dessertspoon of organic coconut oil
  • One teaspoon of vanilla powder
  • An eighth of a teaspoon of fine Himalayan pink salt or good sea salt
  • One dessertspoon of good quality maple syrup

The Sprinkle layer

  • Three dessertspoons of sunflower seeds
  • Approx. twenty organic dried mulberries

The Topping

  • One dessertspoon of organic coconut oil
  • Roughly one and a half dessertspoons of organic cacao butter
  • Roughly three dessertspoons of organic cacao paste
  • One teaspoon of organic cacao powder
  • Less than an eighth of a teaspoon of good fine sea salt
  • Two dessertspoons of good quality maple syrup

The very simple Method

Starting with the base, through everything into your food processor and blend until it starts to get a bit sticky. I find you still need to work it a bit with your hands, in order to help it all stick together. Just press it into your container- as evenly as possible.

Base ingredients

Base ingredients

Sprinkle your sunflower seeds and mulberries on top and put it all in the fridge while you make your raw chocolate!

Avec toppings

Put a saucepan half filled with water on to your hob. Bring it to a simmer and pop a perspex bowl (that will fit ) on top. The water should not touch the base, or it will be too hot and burn the precious chocolate. Melt the cacao paste and butter and coconut oil, take off the heat for maybe thirty seconds (something about cacao crystals realigning) . Put back on the heat and add in the cacao powder, salt and maple syrup. Mix and melt together.

melting

Take your base out of the fridge. Using a oven glove or tea-towel grab your bowl of melted goodness and pour it over everything. You may have to move your mulberries a bit after to make sure they are evenly spread. Put back in the fridge to set. It would probably be a good idea to take it out after five minutes and score the top in the way you plan to cut it. The chocolate sets quite hard!

hmm melted chocolate

hmm melted chocolate

Hope you try them, I found the brazil nuts bring something more interesting to the flavour. Who knew sunflower seeds and chocolate would be such a good combination?

Xs Aissa

*Footnotes

No machine? No fear! You can use ground almonds instead of the whole ones. You can use a big dessertspoon of brazil nut butter or cashew nut butter instead of the other nuts. Finally add barely an eighth of a teaspoon of natural almond extract to your coconut oil. Mash the oil, nut butters, maple syrup, almond and vanilla extract together first. Add in the ground almonds and salt, mix and press it altogether.

Beetroot Blush Hummus- Vegan Gluten free friendly!

27 Friday Feb 2015

Posted by Aissa in Gluten Free, Savoury, Traditional, Vegan

≈ 4 Comments

Tags

Gluten free, Savoury, Traditional, Vegan

Whay can’t more food be bright pink? Well it can just add beetroot! Brighten up your crackers with antioxidant rich colourful food.

Beetroot Blush Hummus

  • 240g/ one cup (and a bit) of cooked chickpeas or sprouted ones!
  • If you want it even pinker you could use aduki beans instead of chickpeas!
  • Two dessertspoons of a natural dark tahini
  • One small bright beetroot
  • Two cloves of garlic
  • A teaspoon of whole cumin or half a teaspoon of ground
  • Two dessertspoons of fresh lemon juice
  • Two dessertspoons of organic cold pressed extra virgin olive oil
  • Three dessertspoons of water
  • A lovely optional: A quarter teaspoon of umi plum puree
  • An eighth of a teaspoon of sea salt or pink himalayan salt
  • About six twist of black pepper
  • A spinach leaf for decoration!!

If you have a jug blender you can just pop the lot in and pulse it a bit and then blend. If you are using an immersion hand blender you may need an extra spoon of water, also I would mash the chickpeas with a fork and stir the ingredients first.

Fast and easy tasty pink beetroot hummus!

PINK!!

PINK!!

Xs Aissa

← Older posts
Newer posts →
Follow VeganEtcetera on WordPress.com

Blog at WordPress.com.

Privacy & Cookies: This site uses cookies. By continuing to use this website, you agree to their use.
To find out more, including how to control cookies, see here: Cookie Policy
  • Follow Following
    • VeganEtcetera
    • Join 93 other followers
    • Already have a WordPress.com account? Log in now.
    • VeganEtcetera
    • Customize
    • Follow Following
    • Sign up
    • Log in
    • Report this content
    • View site in Reader
    • Manage subscriptions
    • Collapse this bar
 

Loading Comments...