I seem to be going through a dip, sauce and spread phase. The one in my last post kicked it off I think. The “Sweet Red Pepper Hummus” I just enjoyed with my salad-y dinner. I accidentally lashed an overpowering amount of black pepper powder in it at the end…I ate some of the hummus that I had to fish out because of the pepper and my eyes are still watering! Got my circulation going at least 🙂 So I would just stick to using your sense both taste and common and not looking away as you pour said peppery pepper.
The “Wasabi Poppy Seed Dressing” is made extra yummy by some cooked shiitake. It almost tastes mustard like with the hot wasabi and brown rice vinegar. It was lovely with the aduki chicory salad that night. But first…..
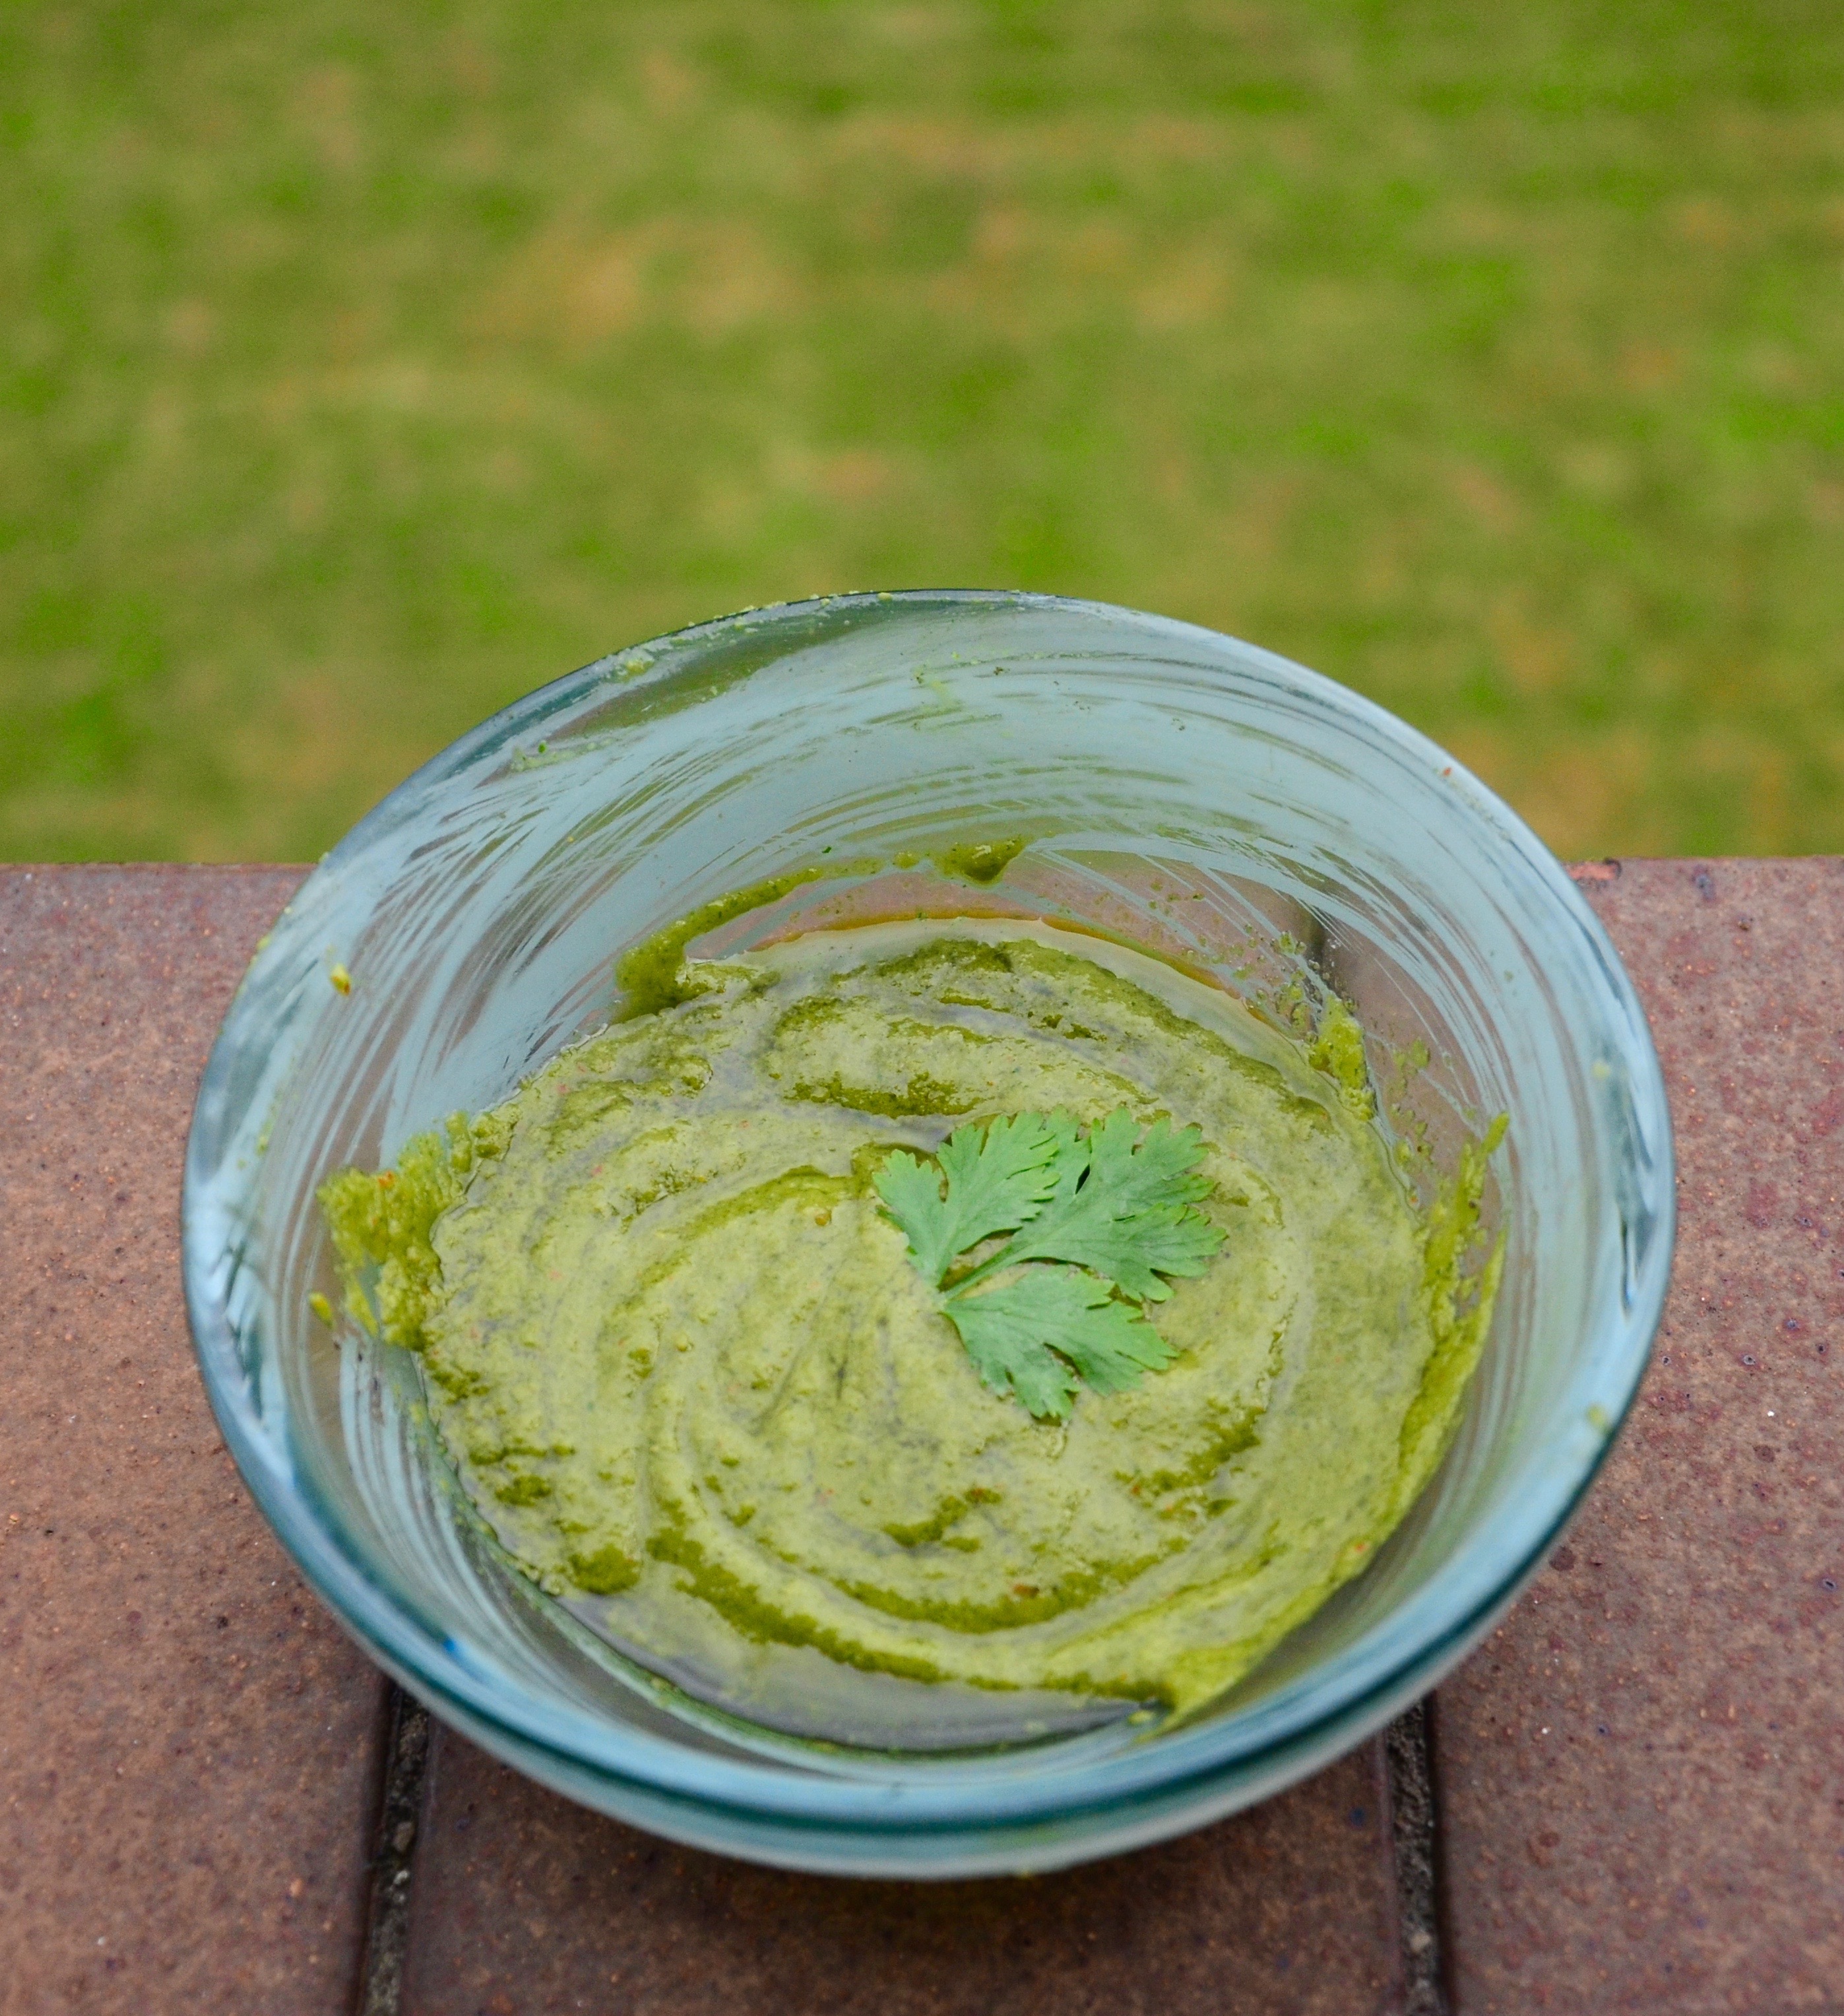
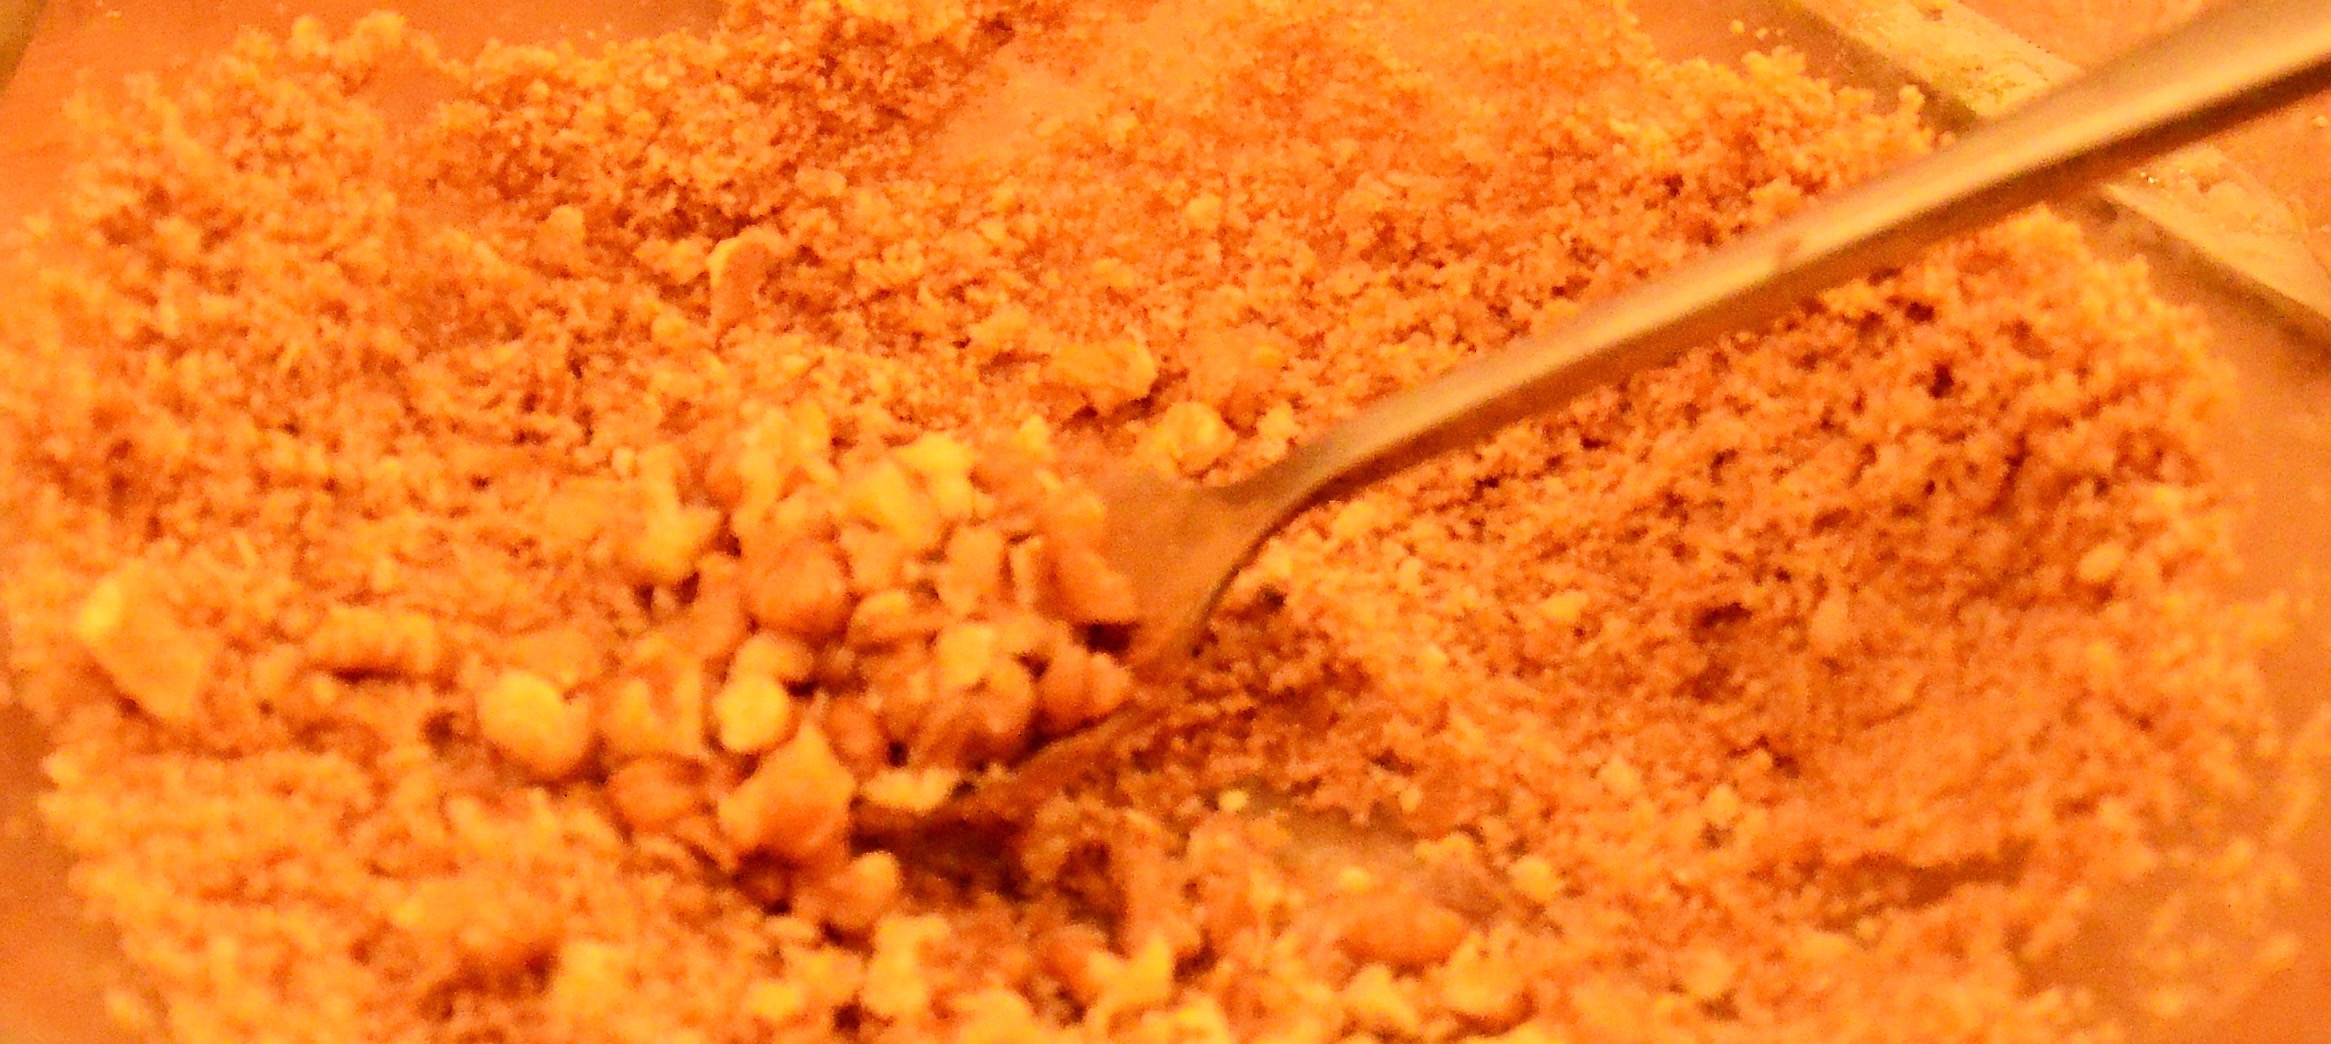
Sweet Red Pepper Hummus
- One large pointed sweet red pepper
- A cup or 240g of cooked or sprouted chickpeas
- Two dessertspoons of whole dark tahini
- One clove of garlic – two if using a less powerful hand blender
- A squeeze of lemon juice
- Three or four dessertspoons of water
- Three dessertspoons of extra virgin olive oil
- A third of a spoon of powdered black pepper
- A third of a teaspoon of smoked paprika
- A bare half of a teaspoon of ground cumin
- A teaspoon of sweet raw miso paste*
- A pinch of sea salt or a tsp of nutritional yeast flakes
*no miso? use a half teaspoon of tamari for an unami flavour
Roughly chop your pepper and garlic. Throw everything into your blender/ food processor and blend. Or use a hand blender in a bowl- you may need a little more water. If using a can of organic chickpeas with no added ingredients in it you can use some of the water from the can- as it has a chickpea flavour.
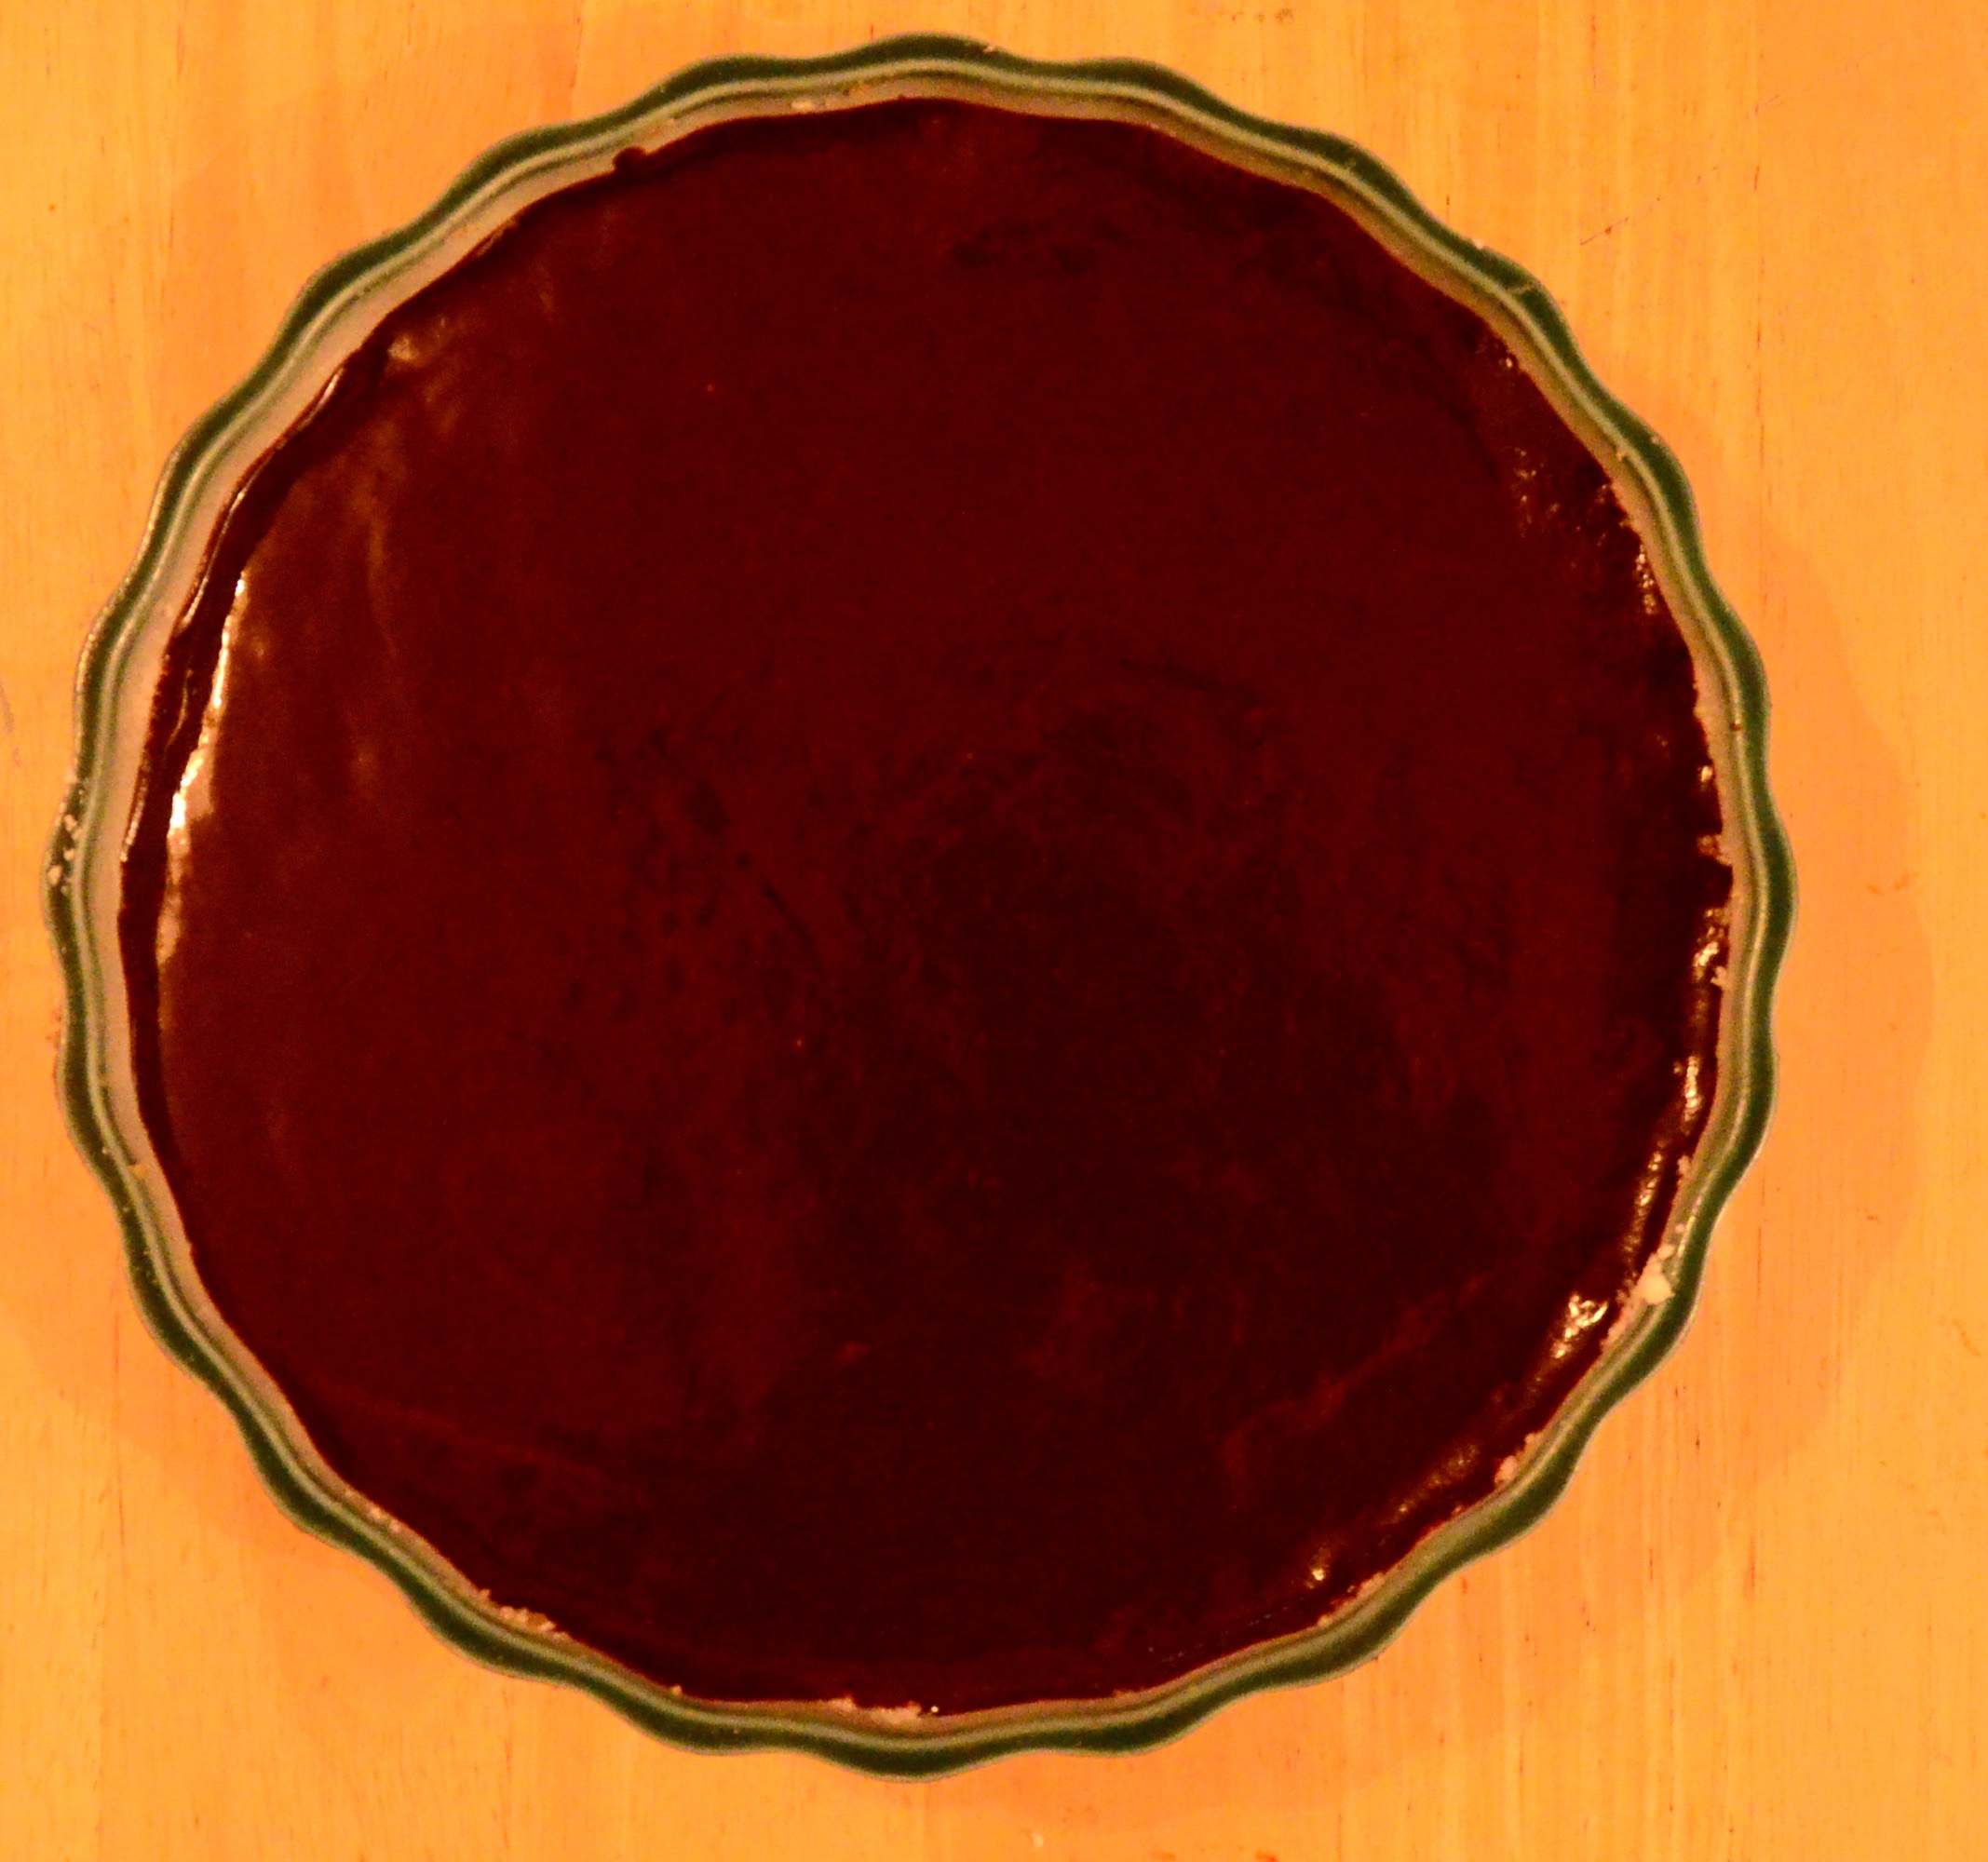
That is it super simple sweet and spicy red pepper hummus. Adding naturally colourful foods where you can = bonus nutrients and antioxidants! Serve in a pretty bowl with a sprig of parsley!

The red pepper hummus seems to have brought the sun out…perhaps just a coincidence!
And now… next!
“Wacky Wasabi Poppy Seed Dressing”
Cooked bit:
- Approx. five or six or so organic shiitake mushroom
- A dessertspoon of coconut oil
- A teaspoon of nigella seeds
- About ten twists of black pepper
- Three cloves of garlic- finely chopped
Throw in the blender bit:
- Quarter cup of a vinegar mix
- I used brown rice and apple cyder vinegar*
- A quarter a small onion chopped – approx. two dessertspoons
- Four dessertspoons of poppy seeds
- Third of a teaspoon of wasabi powder**
- Eighth of a teaspoon of sea salt- but check if it needs more
- A teaspoon of maple syrup
- Three/ Four dessertspoons of extra virgin olive oil
*real vinegars traditionally fermented
**if wasabi is unavailable you could grate a teaspoon of horseradish
Method
So wash your shiitake and slice. Put a pan/ wok on a medium high heat. Melt the coconut oil and leave for a minute. Put in your nigella seeds and let them sizzle. Add in your pepper and chopped garlic. After leaving the garlic cook and soften add in your shiitake. Reduce the heat to medium. Keep an eye, give them the odd stir. The mushies will be done when they have shrunk and are nice and shiny. Take off the heat and let the mix cool.
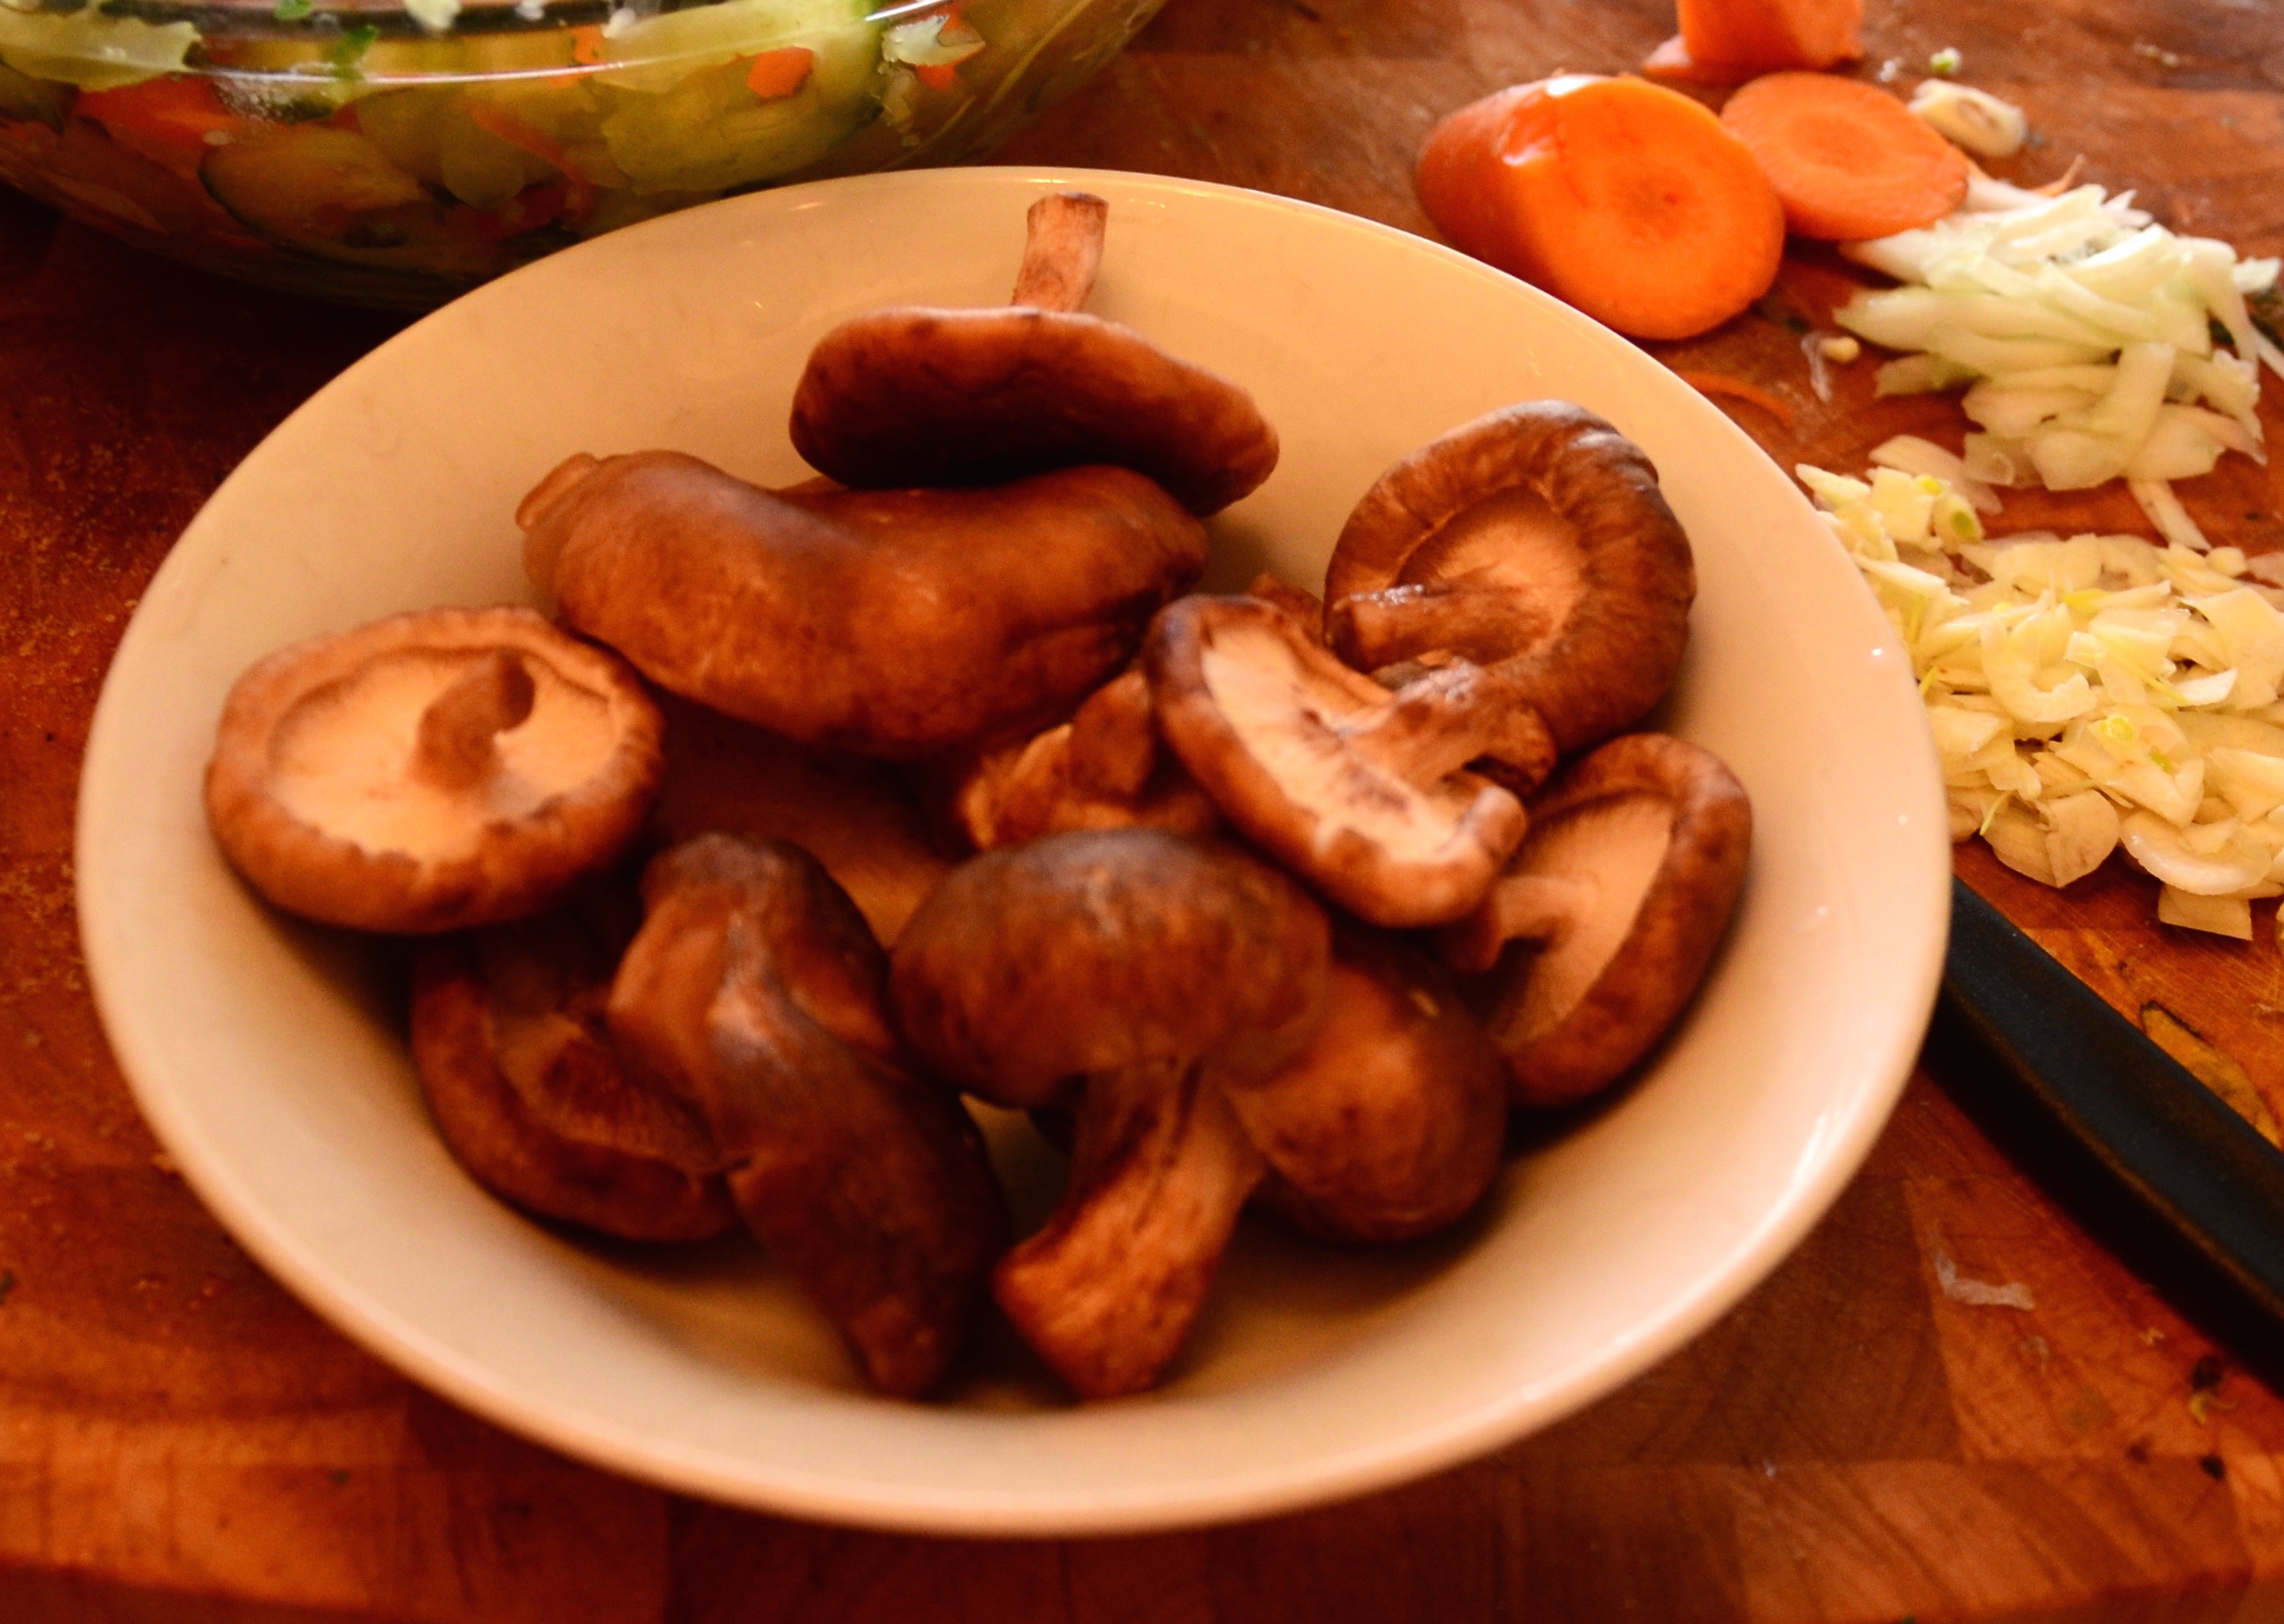
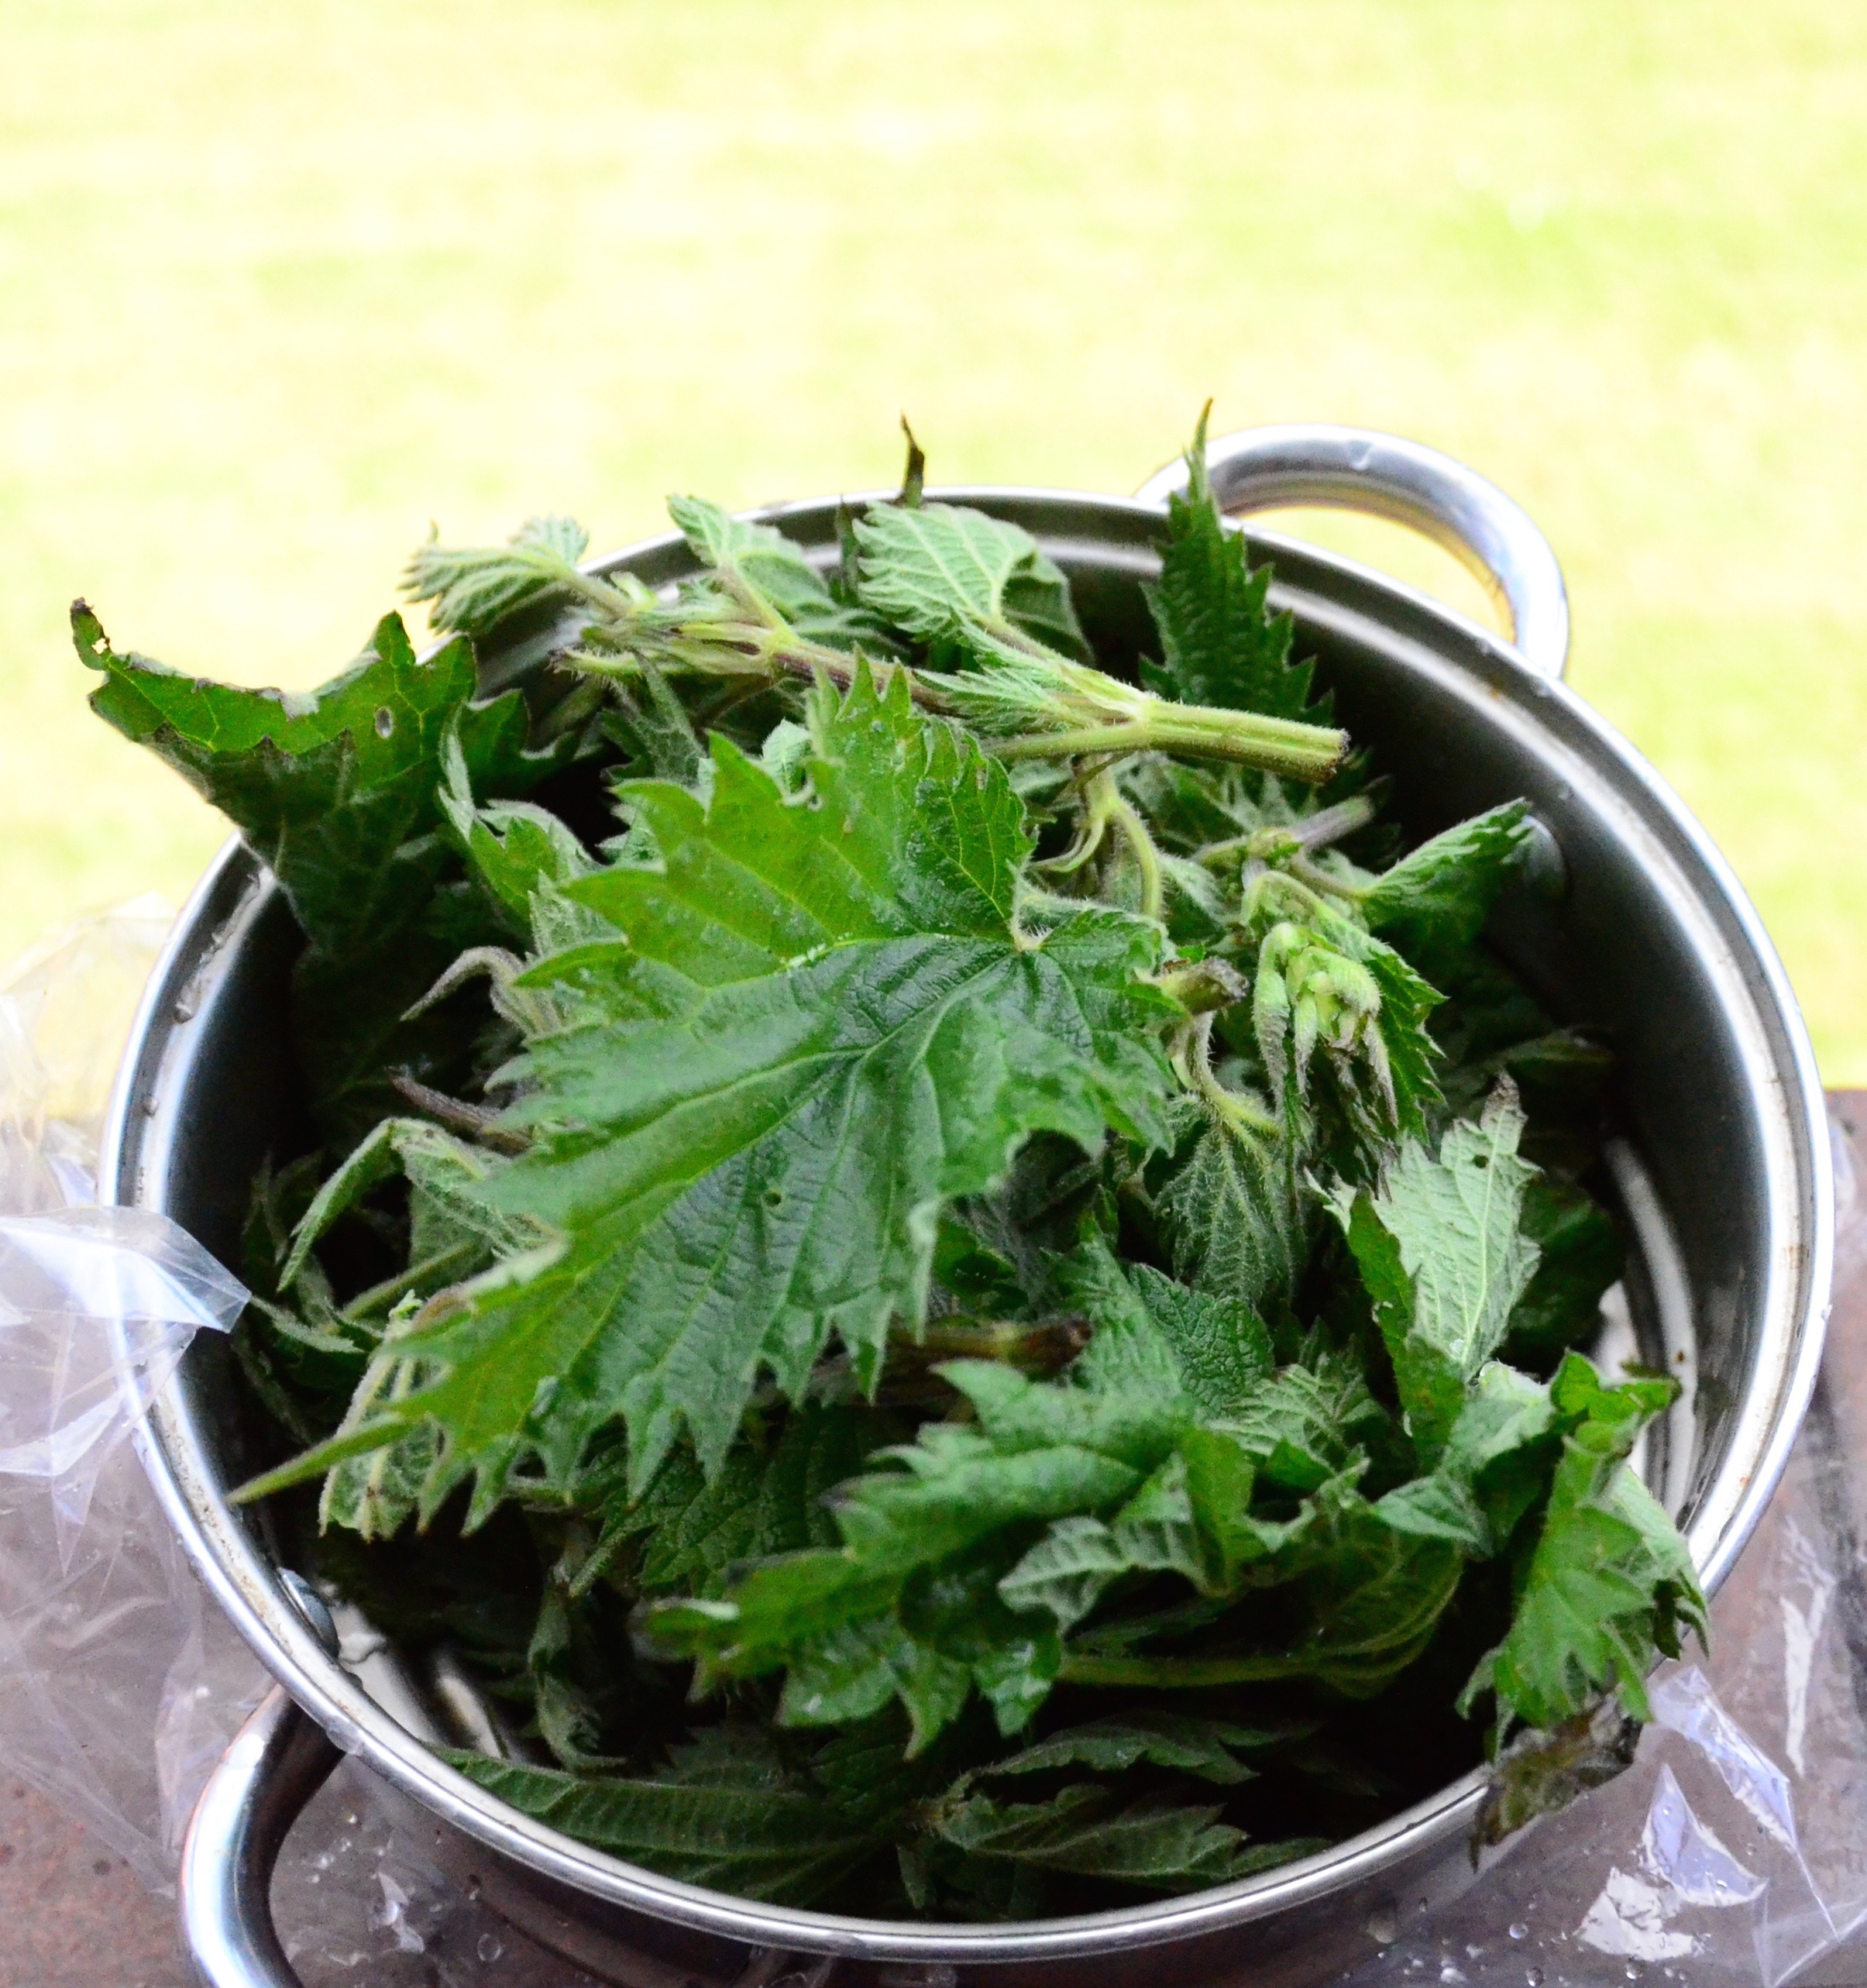
Uncooked Mushrooms. Looking mushroom-y.
Put all the “throw in the blender bits” in the blender and add in the “cooked” bits. Blend! I have a setting on my jug blender for dip type things. It basically blitzes for a few seconds on and off at the start and then blends at a high speed for 30 second. It should start to thicken and emulsify. I gave a couple of five seconds blitz-iseses at the end.

Wacky wasabi poppy seed dressing..on my windowsill
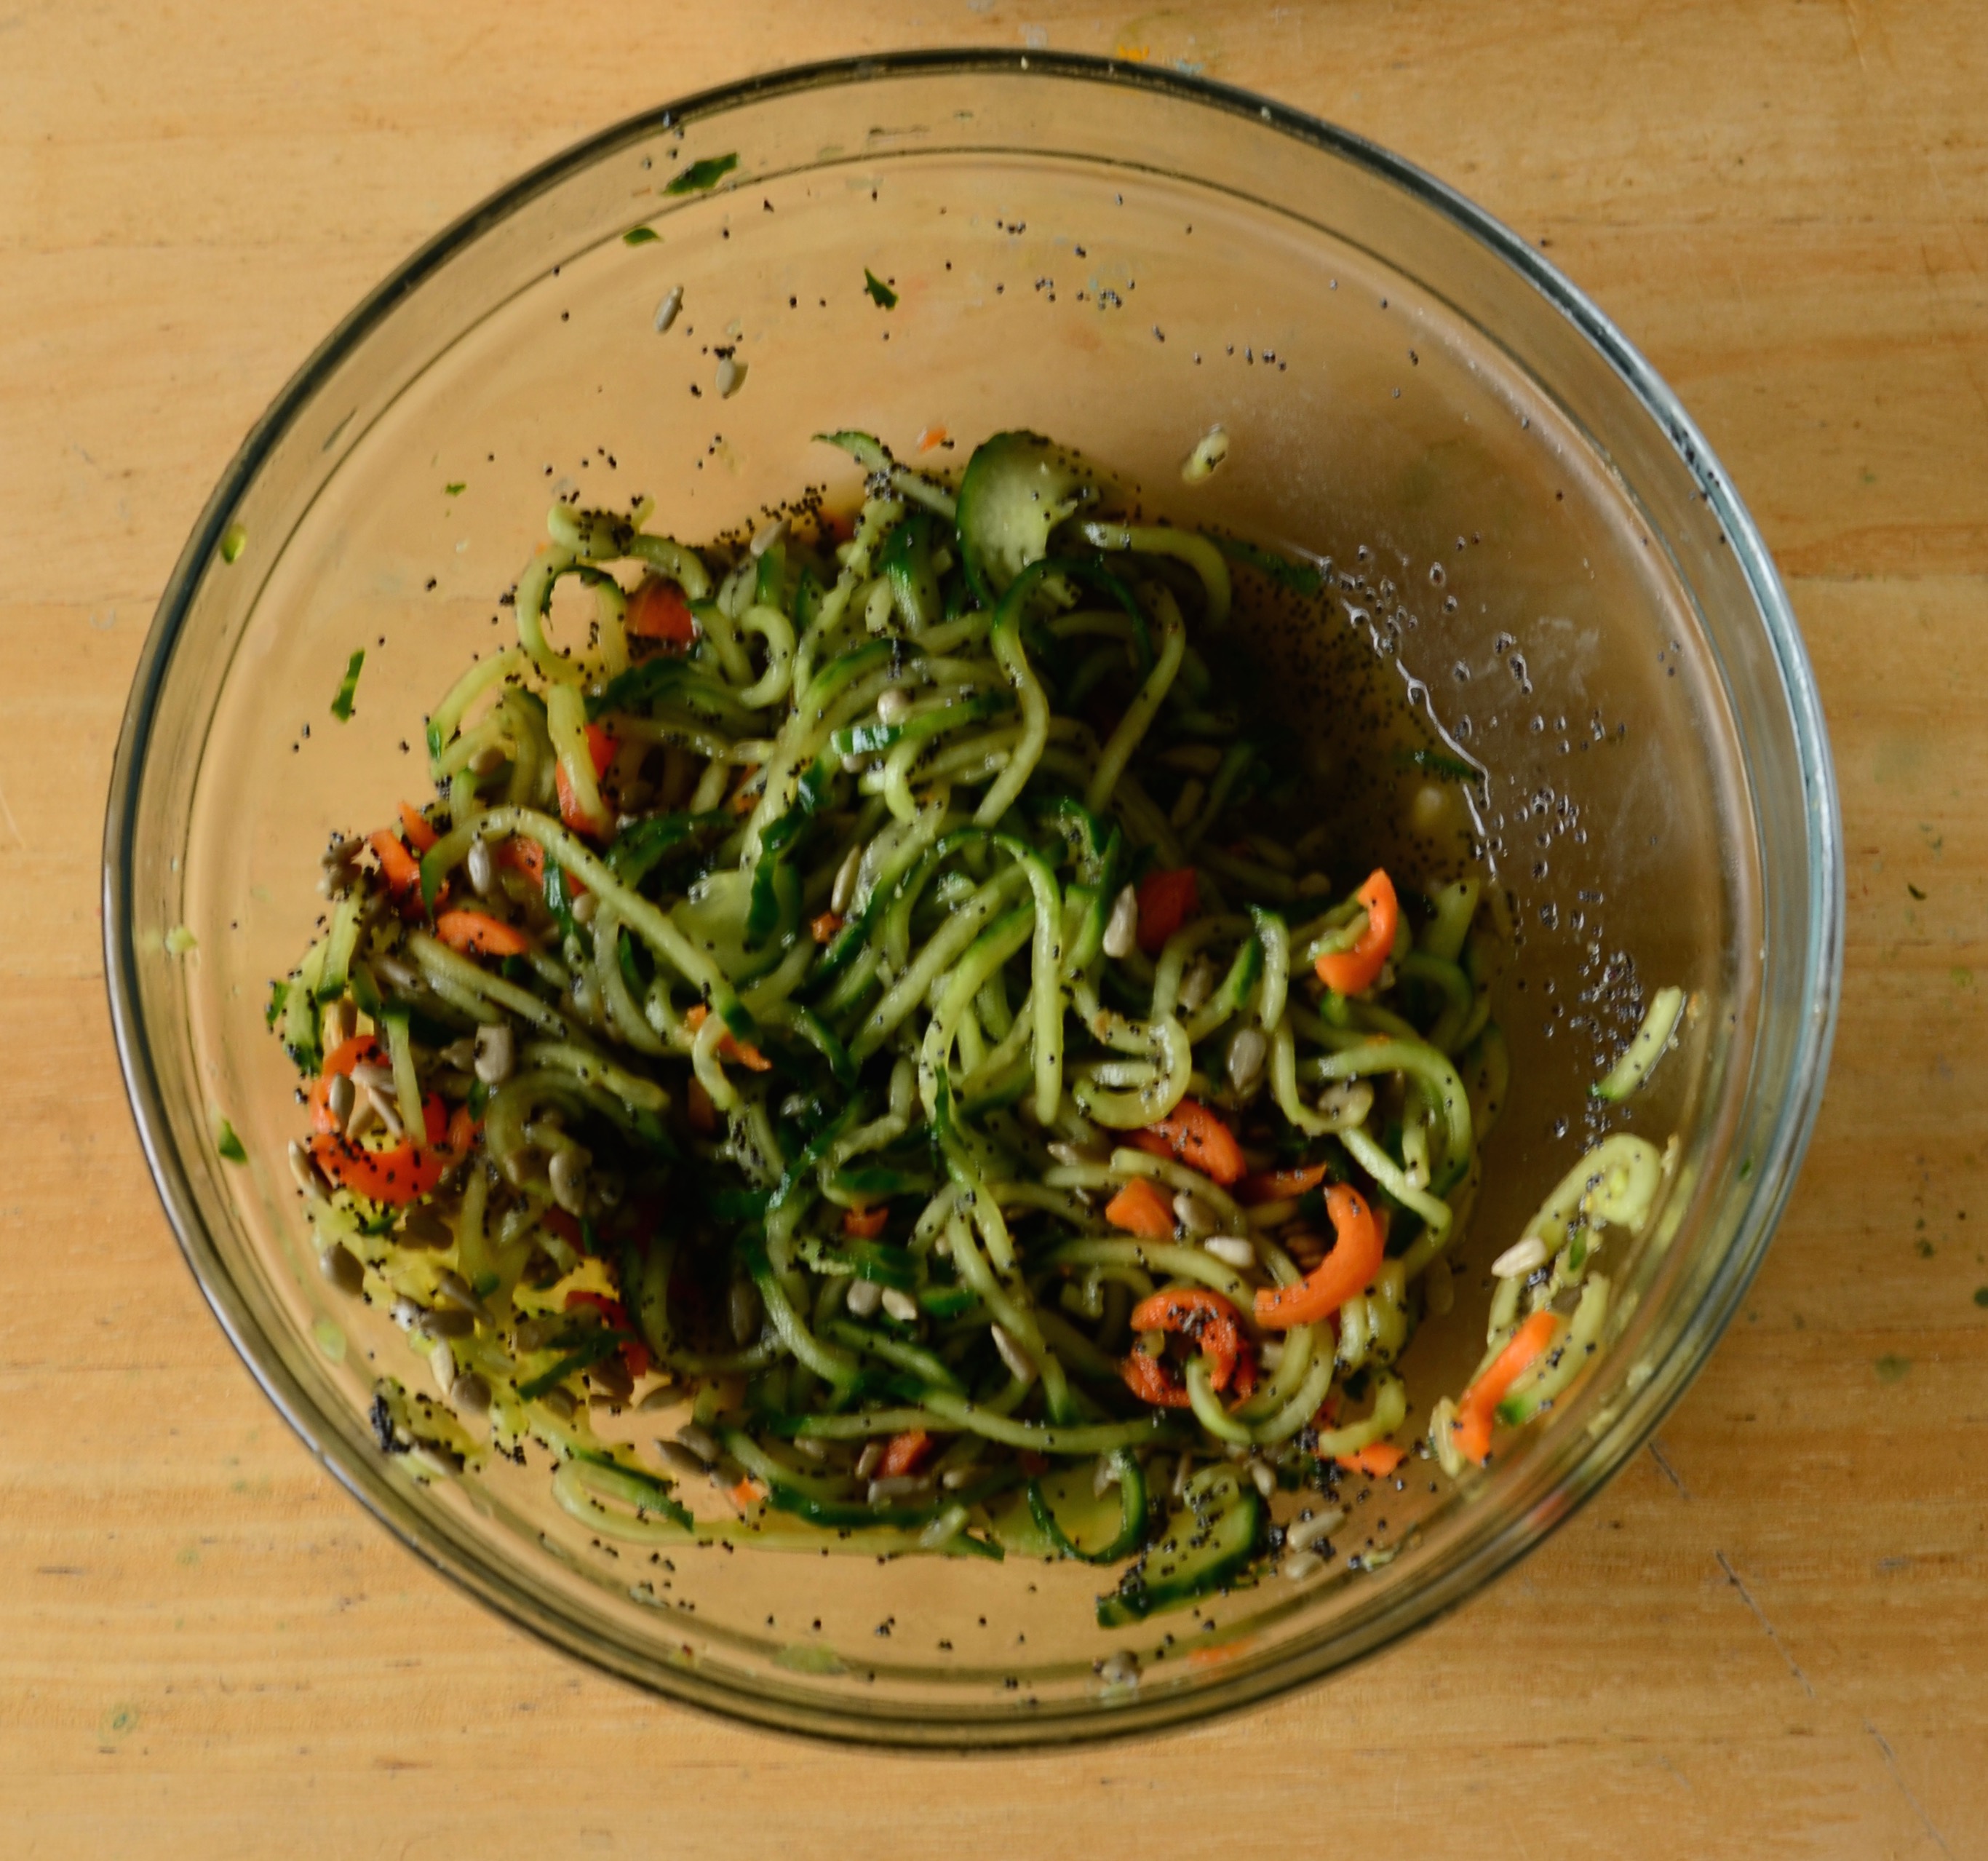
It was lovely with the aduki wilted wild chicory yoke I made. Also great on the spiralized side salad. Really mustard like! Got your dose of fermented food, and antioxidants with fabulous poppy seeds too!
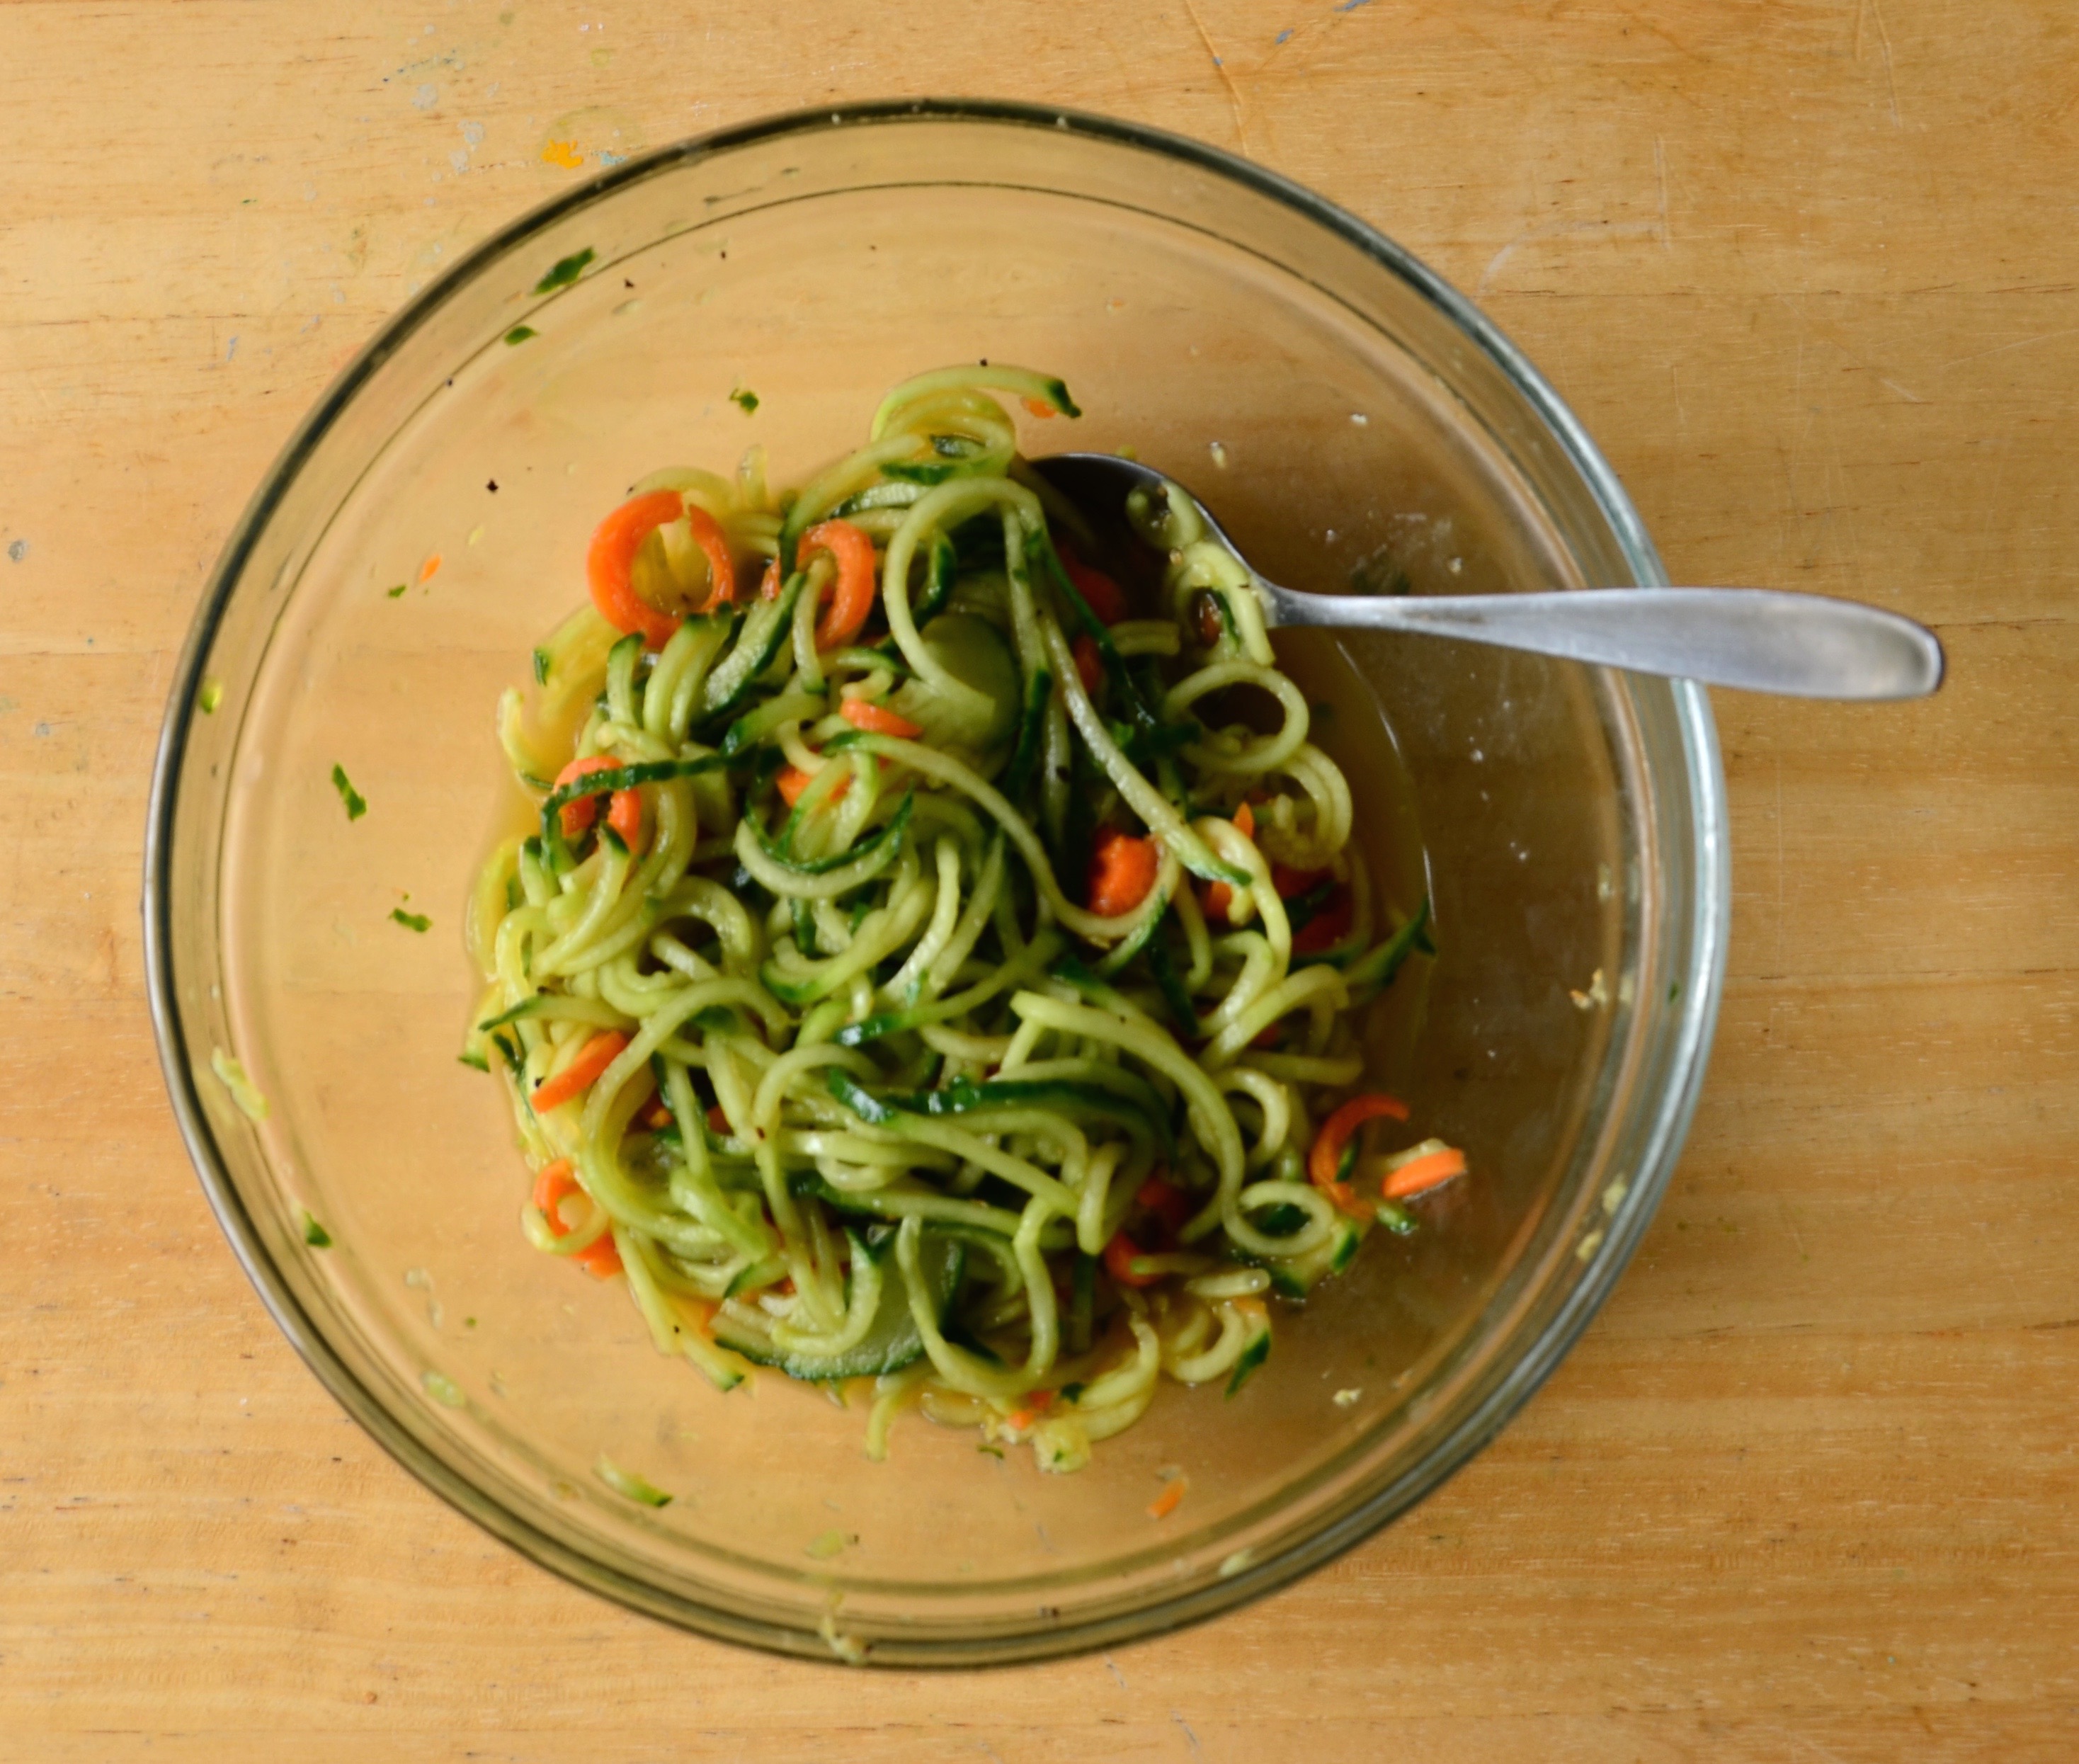
Incase you would like to see..here’s the salad.
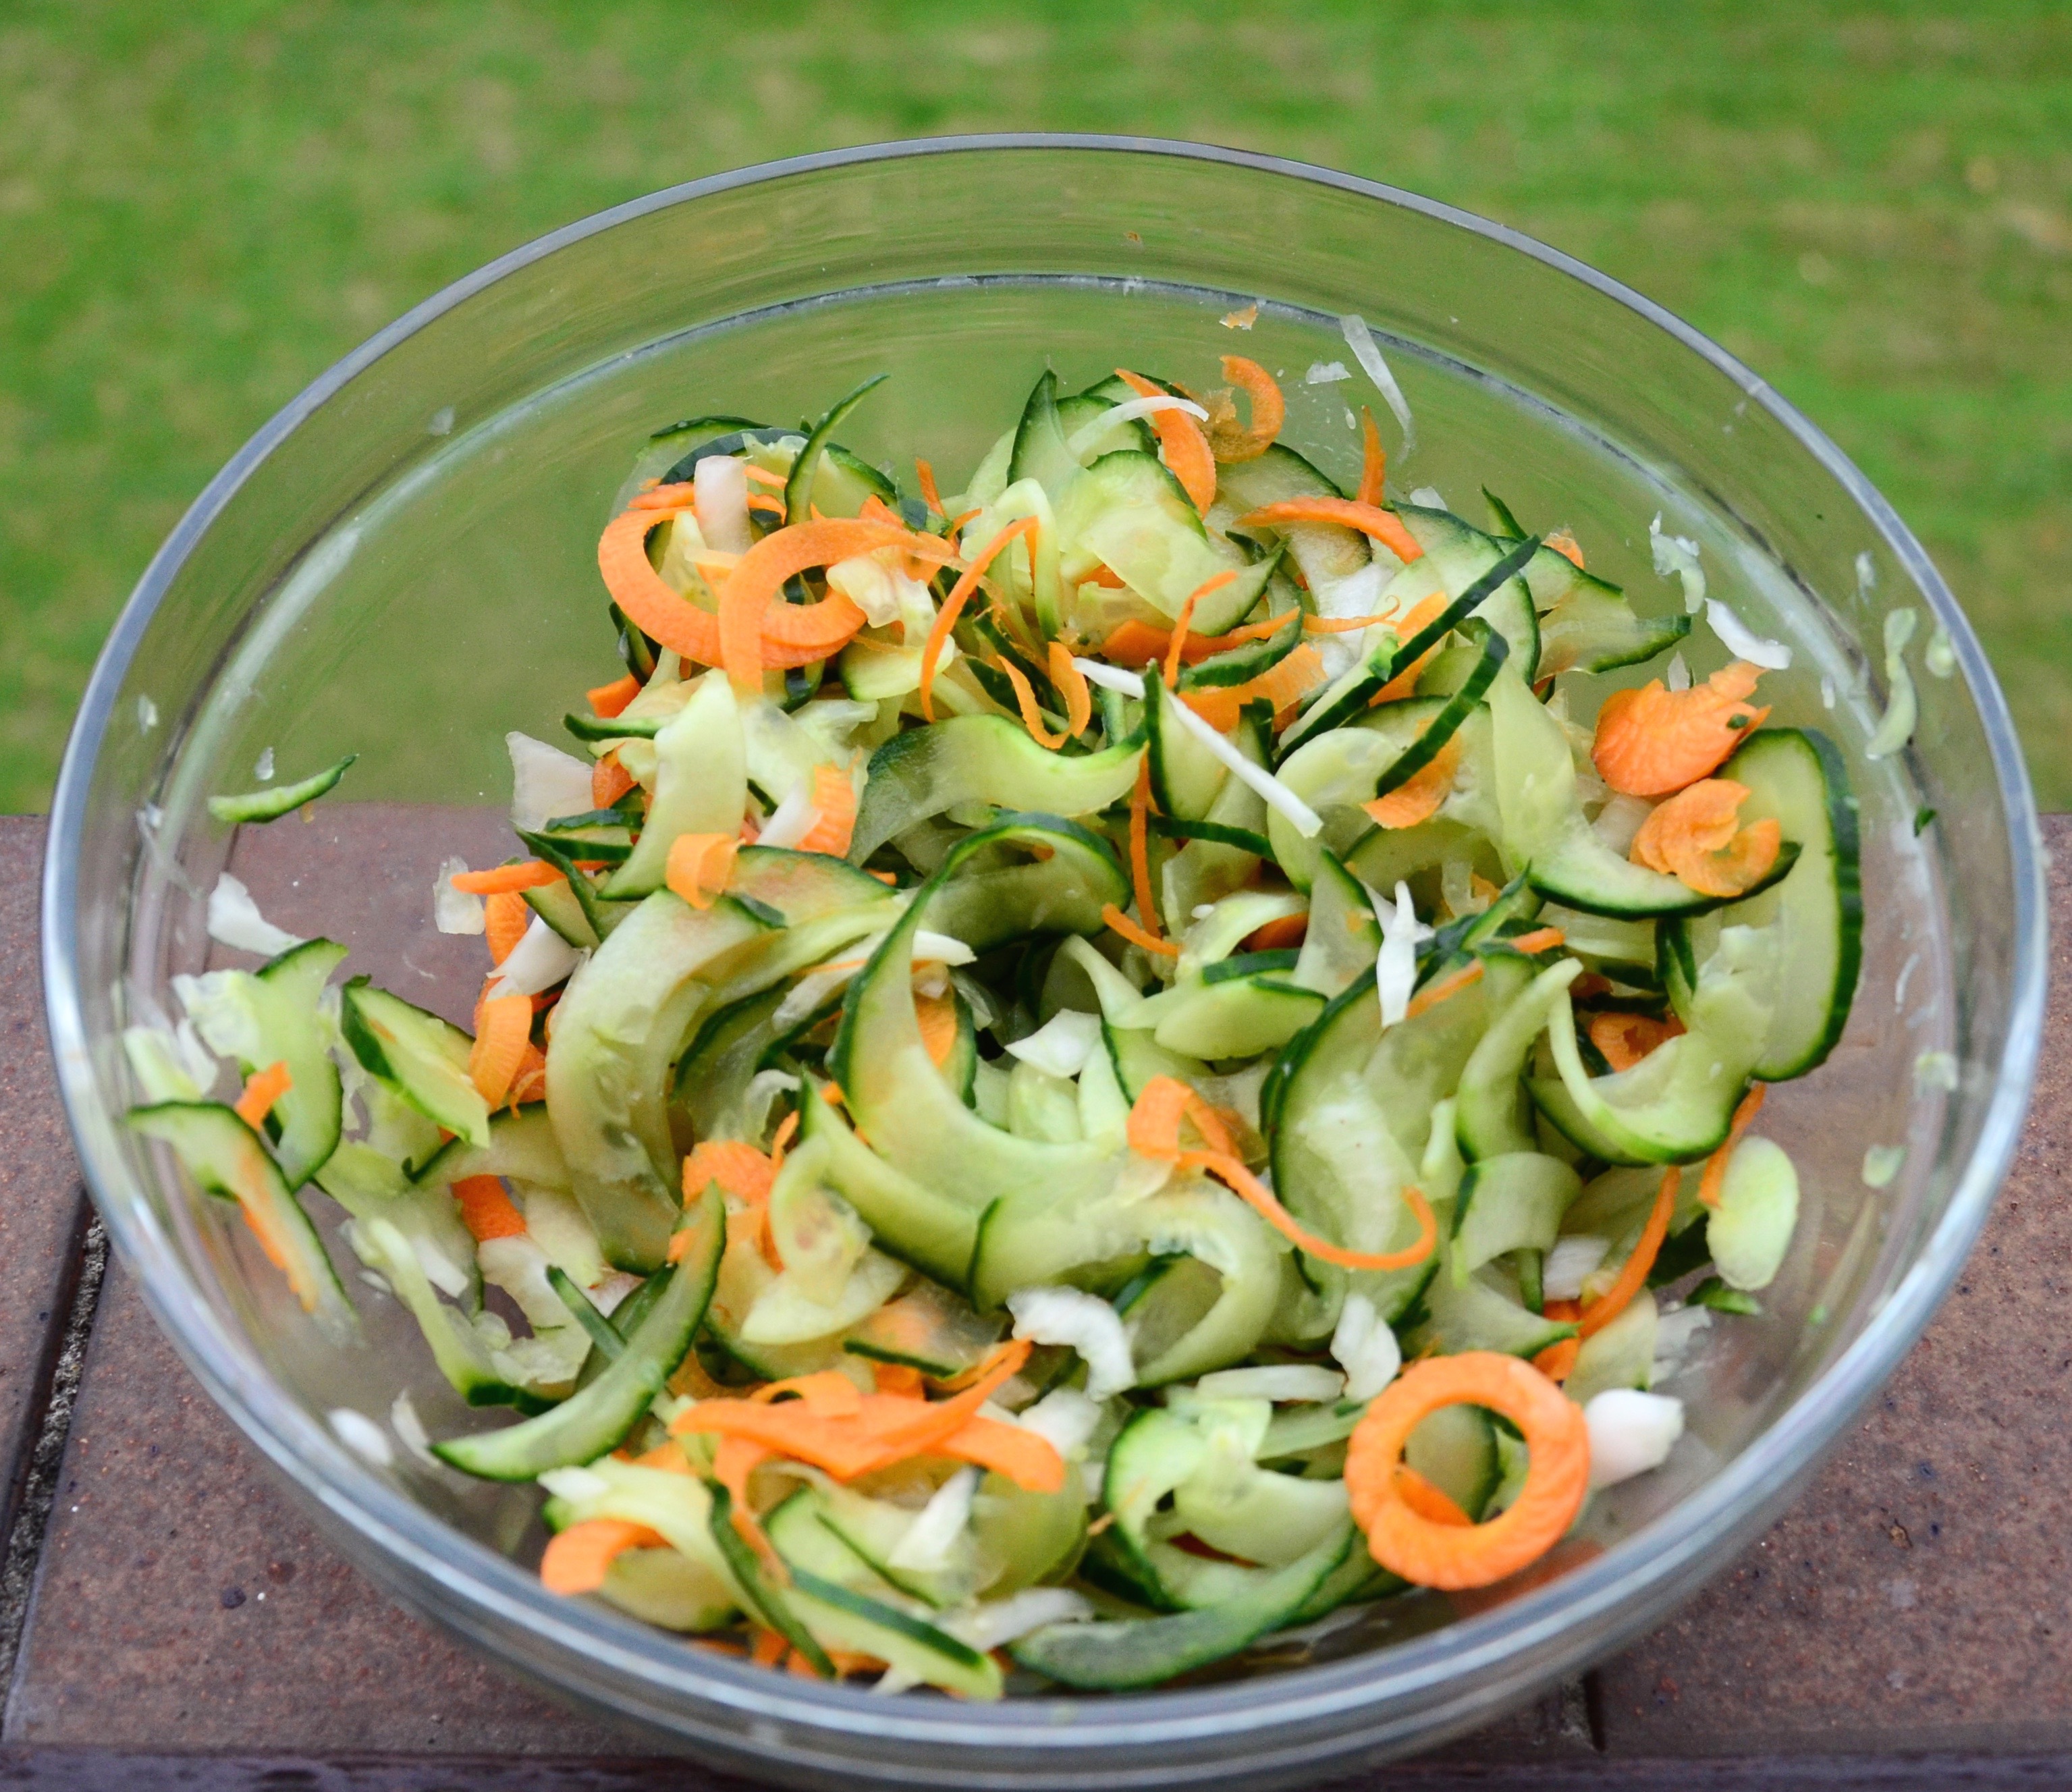
cucumber, carrot and onion and lemon juice…on my windowsill.
i would like to point out that I do not keep all my food on my windowsill. I do actually bring it inside and eat off a plate at the table. Hope you like my foray into dips sauces and spreads. Think I will be back to my usual healthy sweet stuff next time. Xs Aissa