This is the brightest greenest soup I have ever made, I just feel healthier in the glow of it! It only took 45 minutes from start to finish including taking photos! Nettles come in to season in spring and that season lasts until the end of May. They become to old tough and stingy after that! That said they still sting a bit- so handle with care! Traditionally they would be picked in the countryside or out of your own garden. It is the shocking reality of city life that I bought mine, but I am grateful that the McNally organic farm stall realised that urban dwellers would also like nettles! My Dad grew up having this iron and silica rich food in his diet, but my first attempt at cooking them went terribly wrong. I simply over cooked them and the soup became incredibly sour. If cooked for only a minute or so they lend the soup a lovely lemon fruity and green flavour.

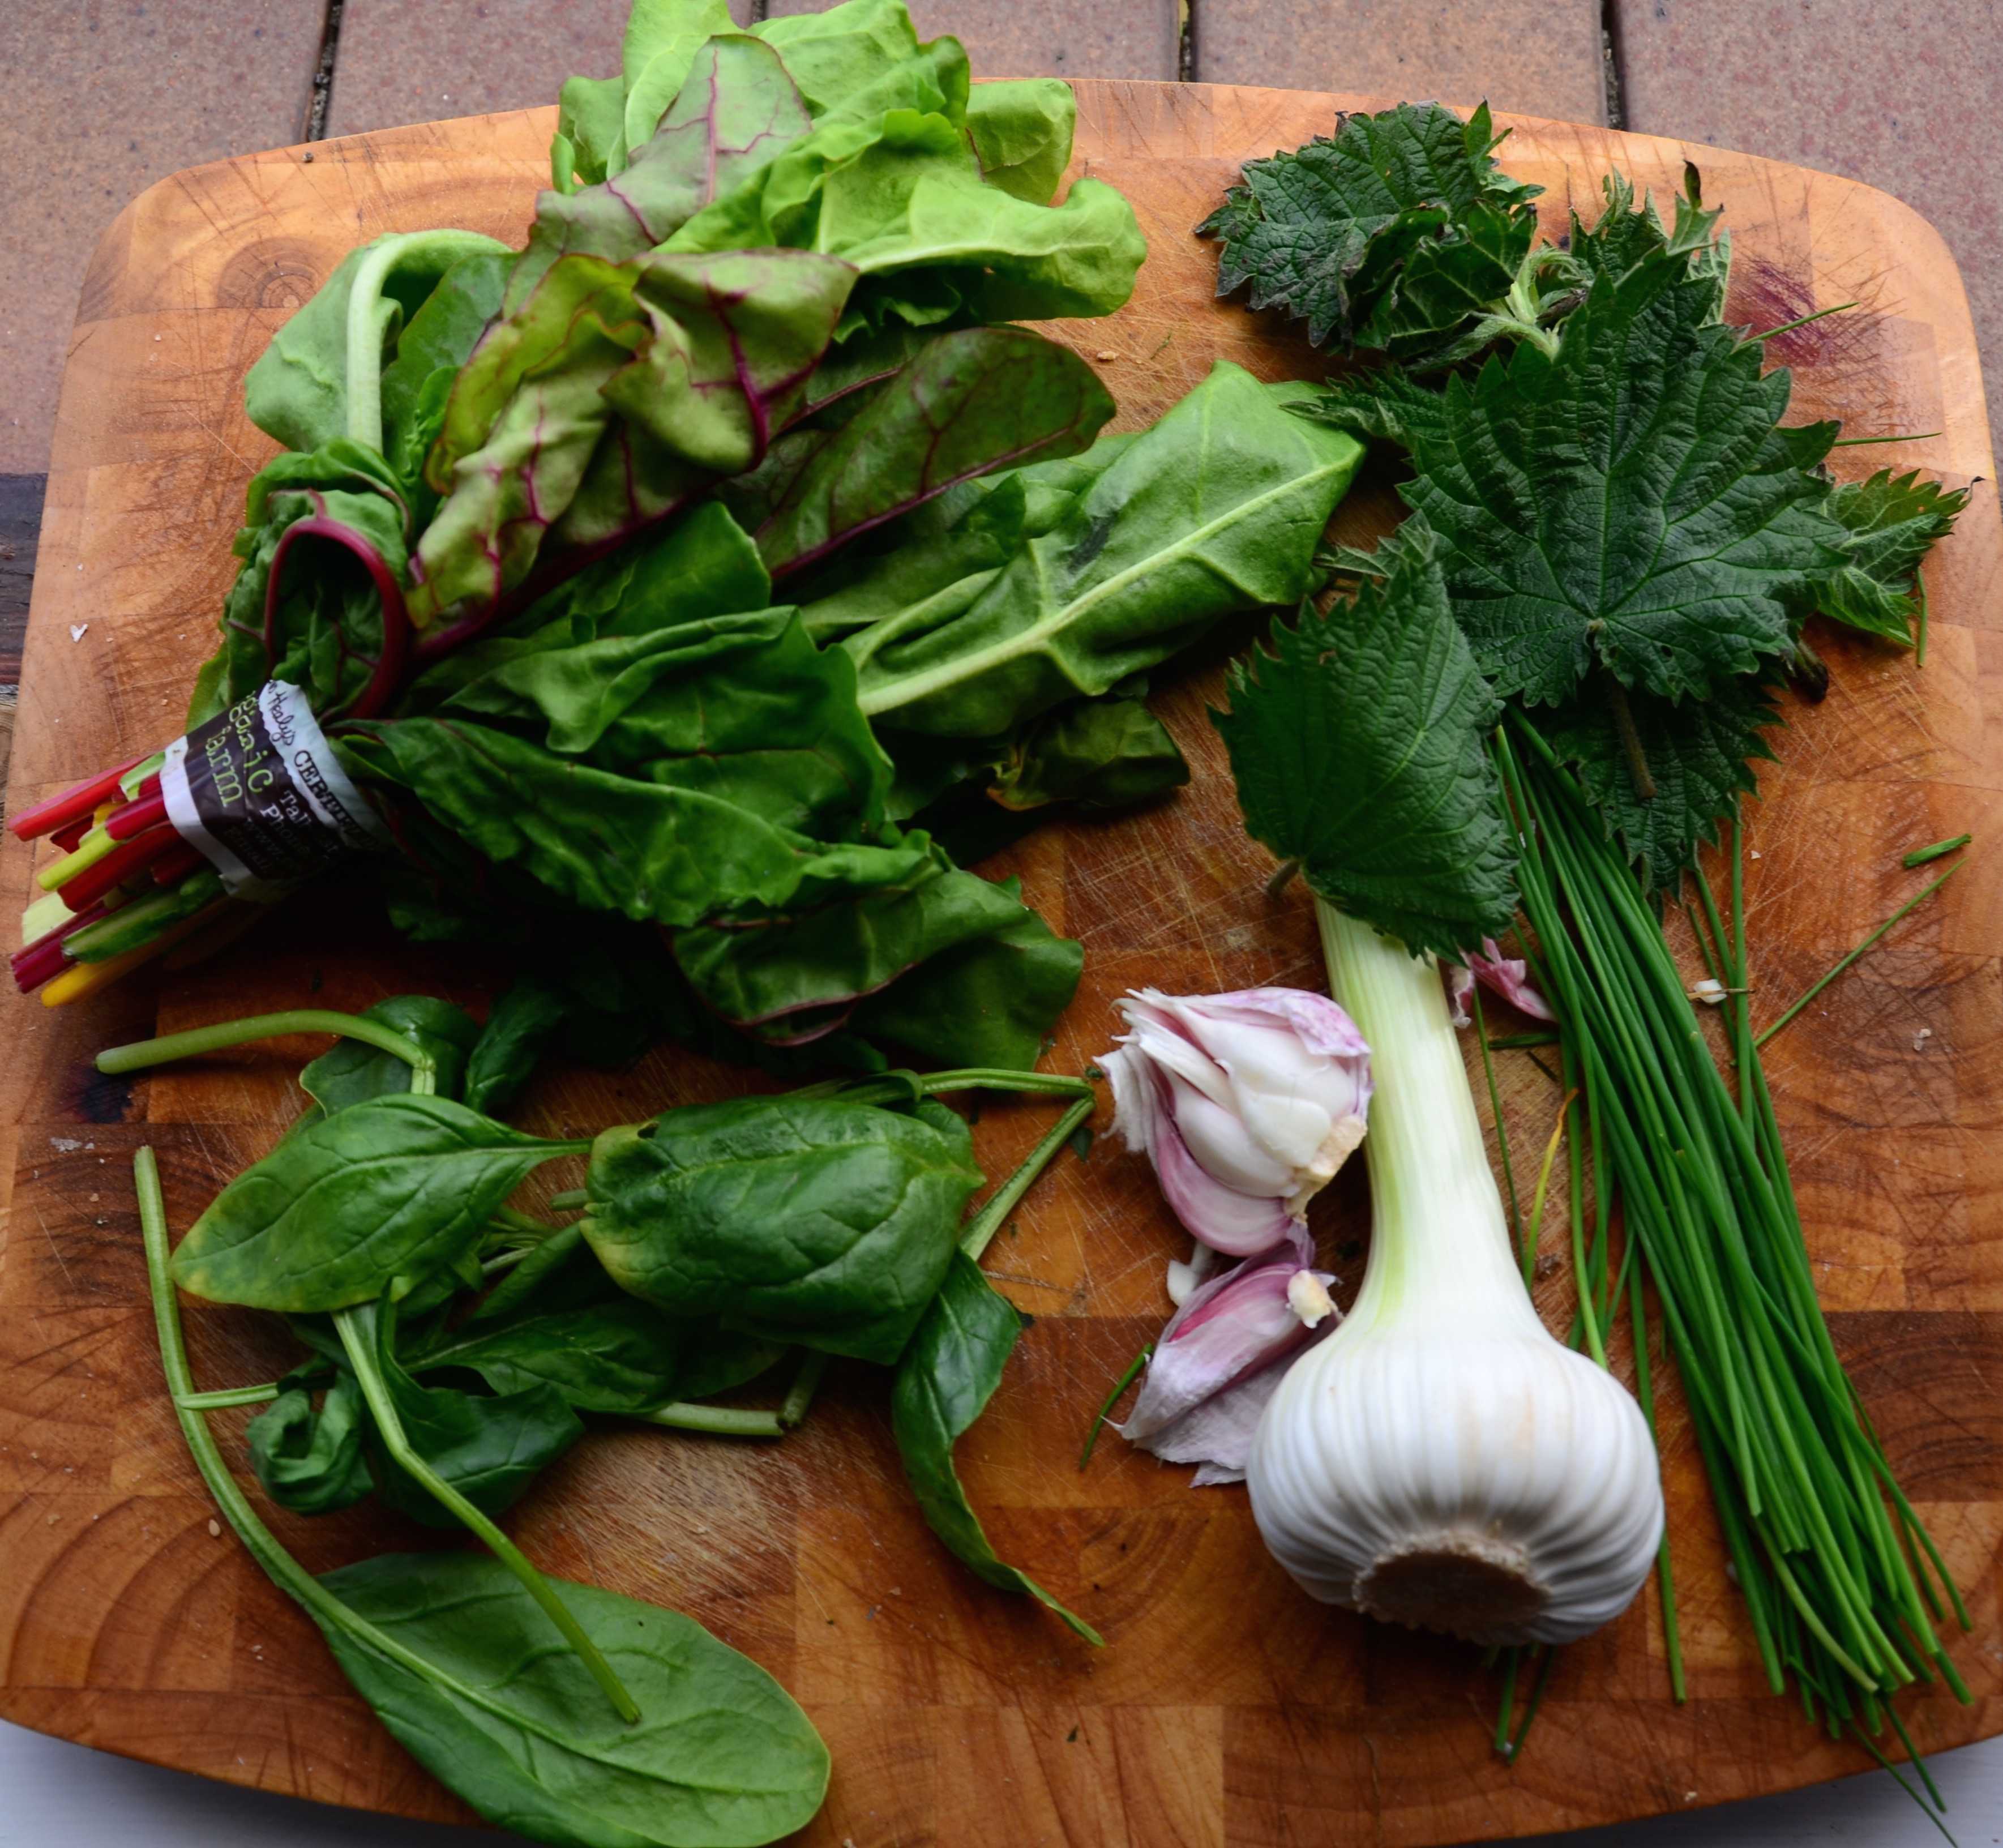
Spinach, chard, nettles, chives & wet garlic
Mostly nettle soup would be made with a base of potato, I am not a fan of the starchy spud and I already have enough tomatoes in my diet to cover my nightshade consumption quota! I used a base of organic cauliflower and carrots, my extra seasonal goodies I have young spinach, rainbow chard, chives and wet garlic! If you cannot get your hands on nettles try some rocket, Persian cress or mustard greens!

Lovely spinach
Seasonal Greens & Nettle Soup
- Three cloves of Wet garlic
- A dessertspoon of raw coconut oil
- A teaspoon of Yellow mustard seeds
- A teaspoon of Nigella seeds
- Half a teaspoon of turmeric powder*
- Two bay leaves
- Lots of Black pepper
- A dash of Mirin – for sweetness
- Two medium carrots chopped
- Half a large head of Cauliflower- chopped
- Two cups of vegan stock- homemade or bought**
- Approx. 400g of young Spinach
- I used half a bunch of the Rainbow Chard in the picture
- Approx. 300g of Nettles ( I used two thirds of the nettles in the pic below)
- A couple of dessertspoons of chopped chives
- Half a cup or so of hot water for thinning soup a bit after blending
- Optional: 100ml/ half a cup of vegan cream
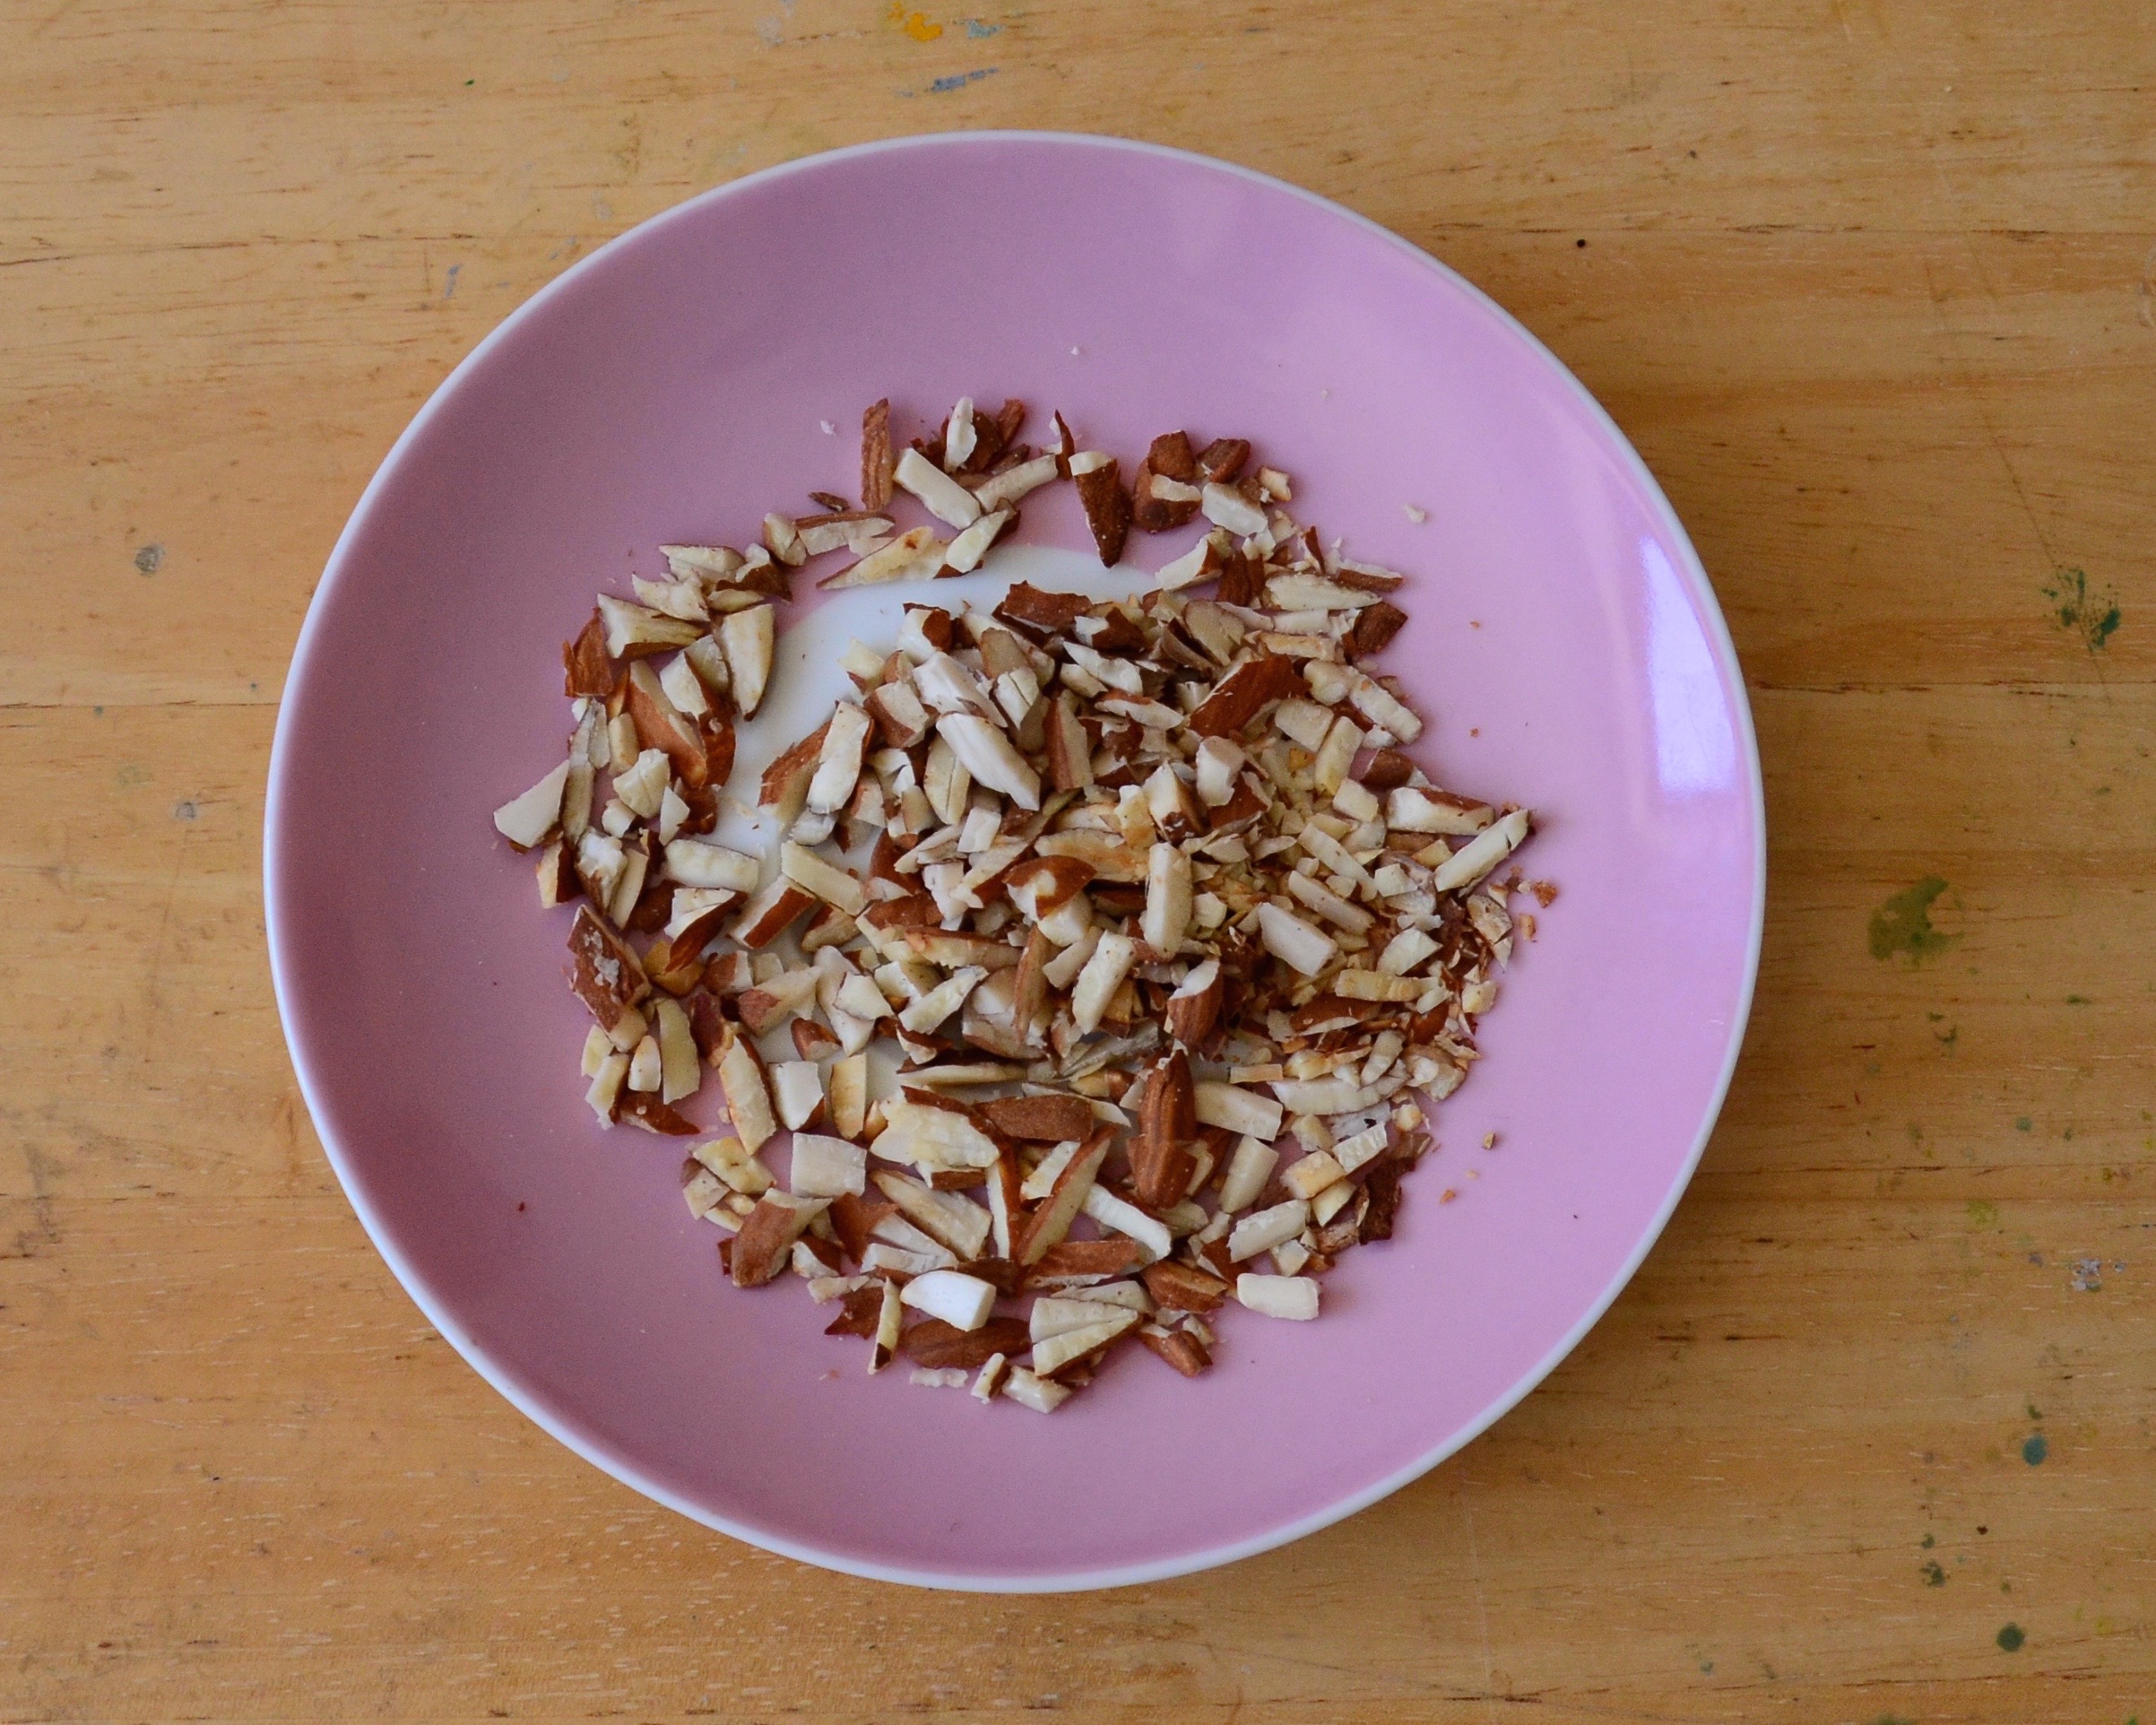
- Optional: A few dessertspoons of cashews or a ripe avocado instead of the vegan cream!
- As an after thought I think it would be good with one diced onion
- Extra chopped chives serving
*Not very Irish but very good for you
**I used half an organic onion stock cube to two cups of boiling water, cubes are of course hydrolysed veg protein free!

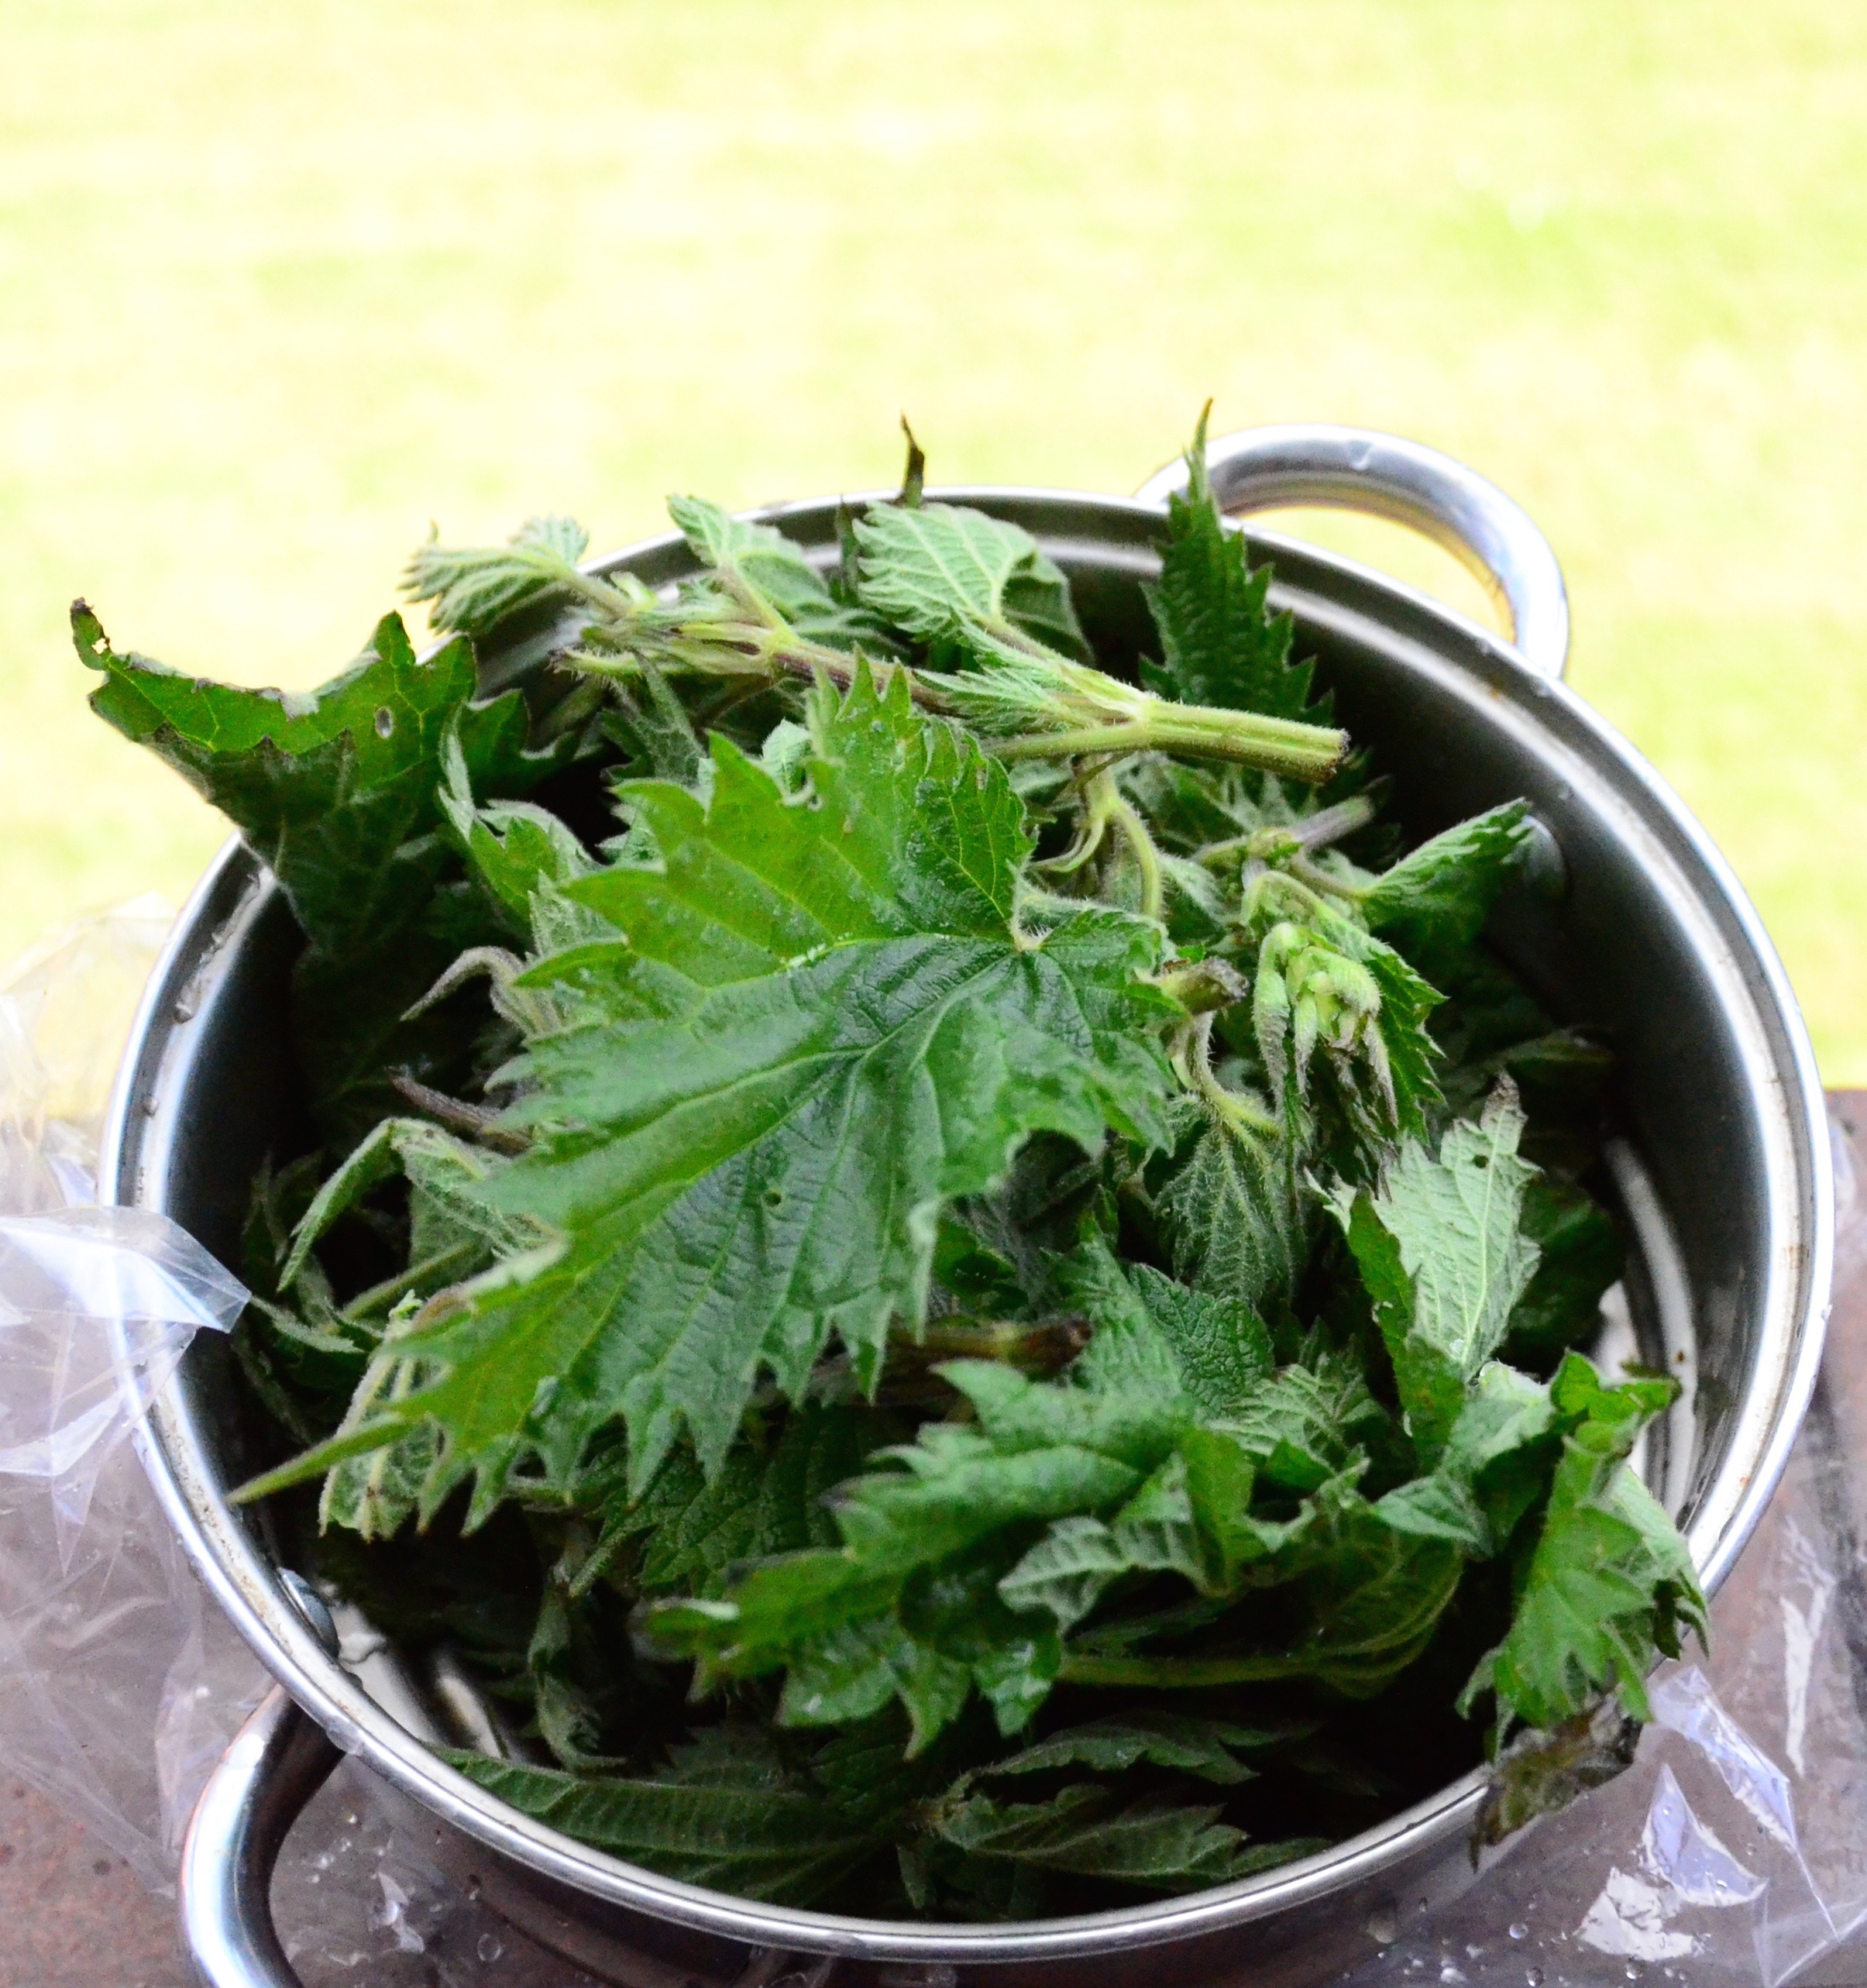
Fantastically spiky nettles!
Method
Start by melting your coconut oil in a deep saucepan on a medium heat. Add your mustard and nigella seeds and let sizzle for a minute. Add in your (onion if using) wet garlic and some black pepper. Let cook for another minute or two, don’t leave the garlic burn or it will be bitter.
Add in your chopped carrots and cauliflower. Pour in your stock. Add your bay leaves and turmeric. Let these simmer and cook for about seven minute, just until the cauliflower is cooked. Meanwhile while you wash your spinach – very well. Throw in your chives and washed spinach. Give it a few stirs, leaving the spinach wilt.

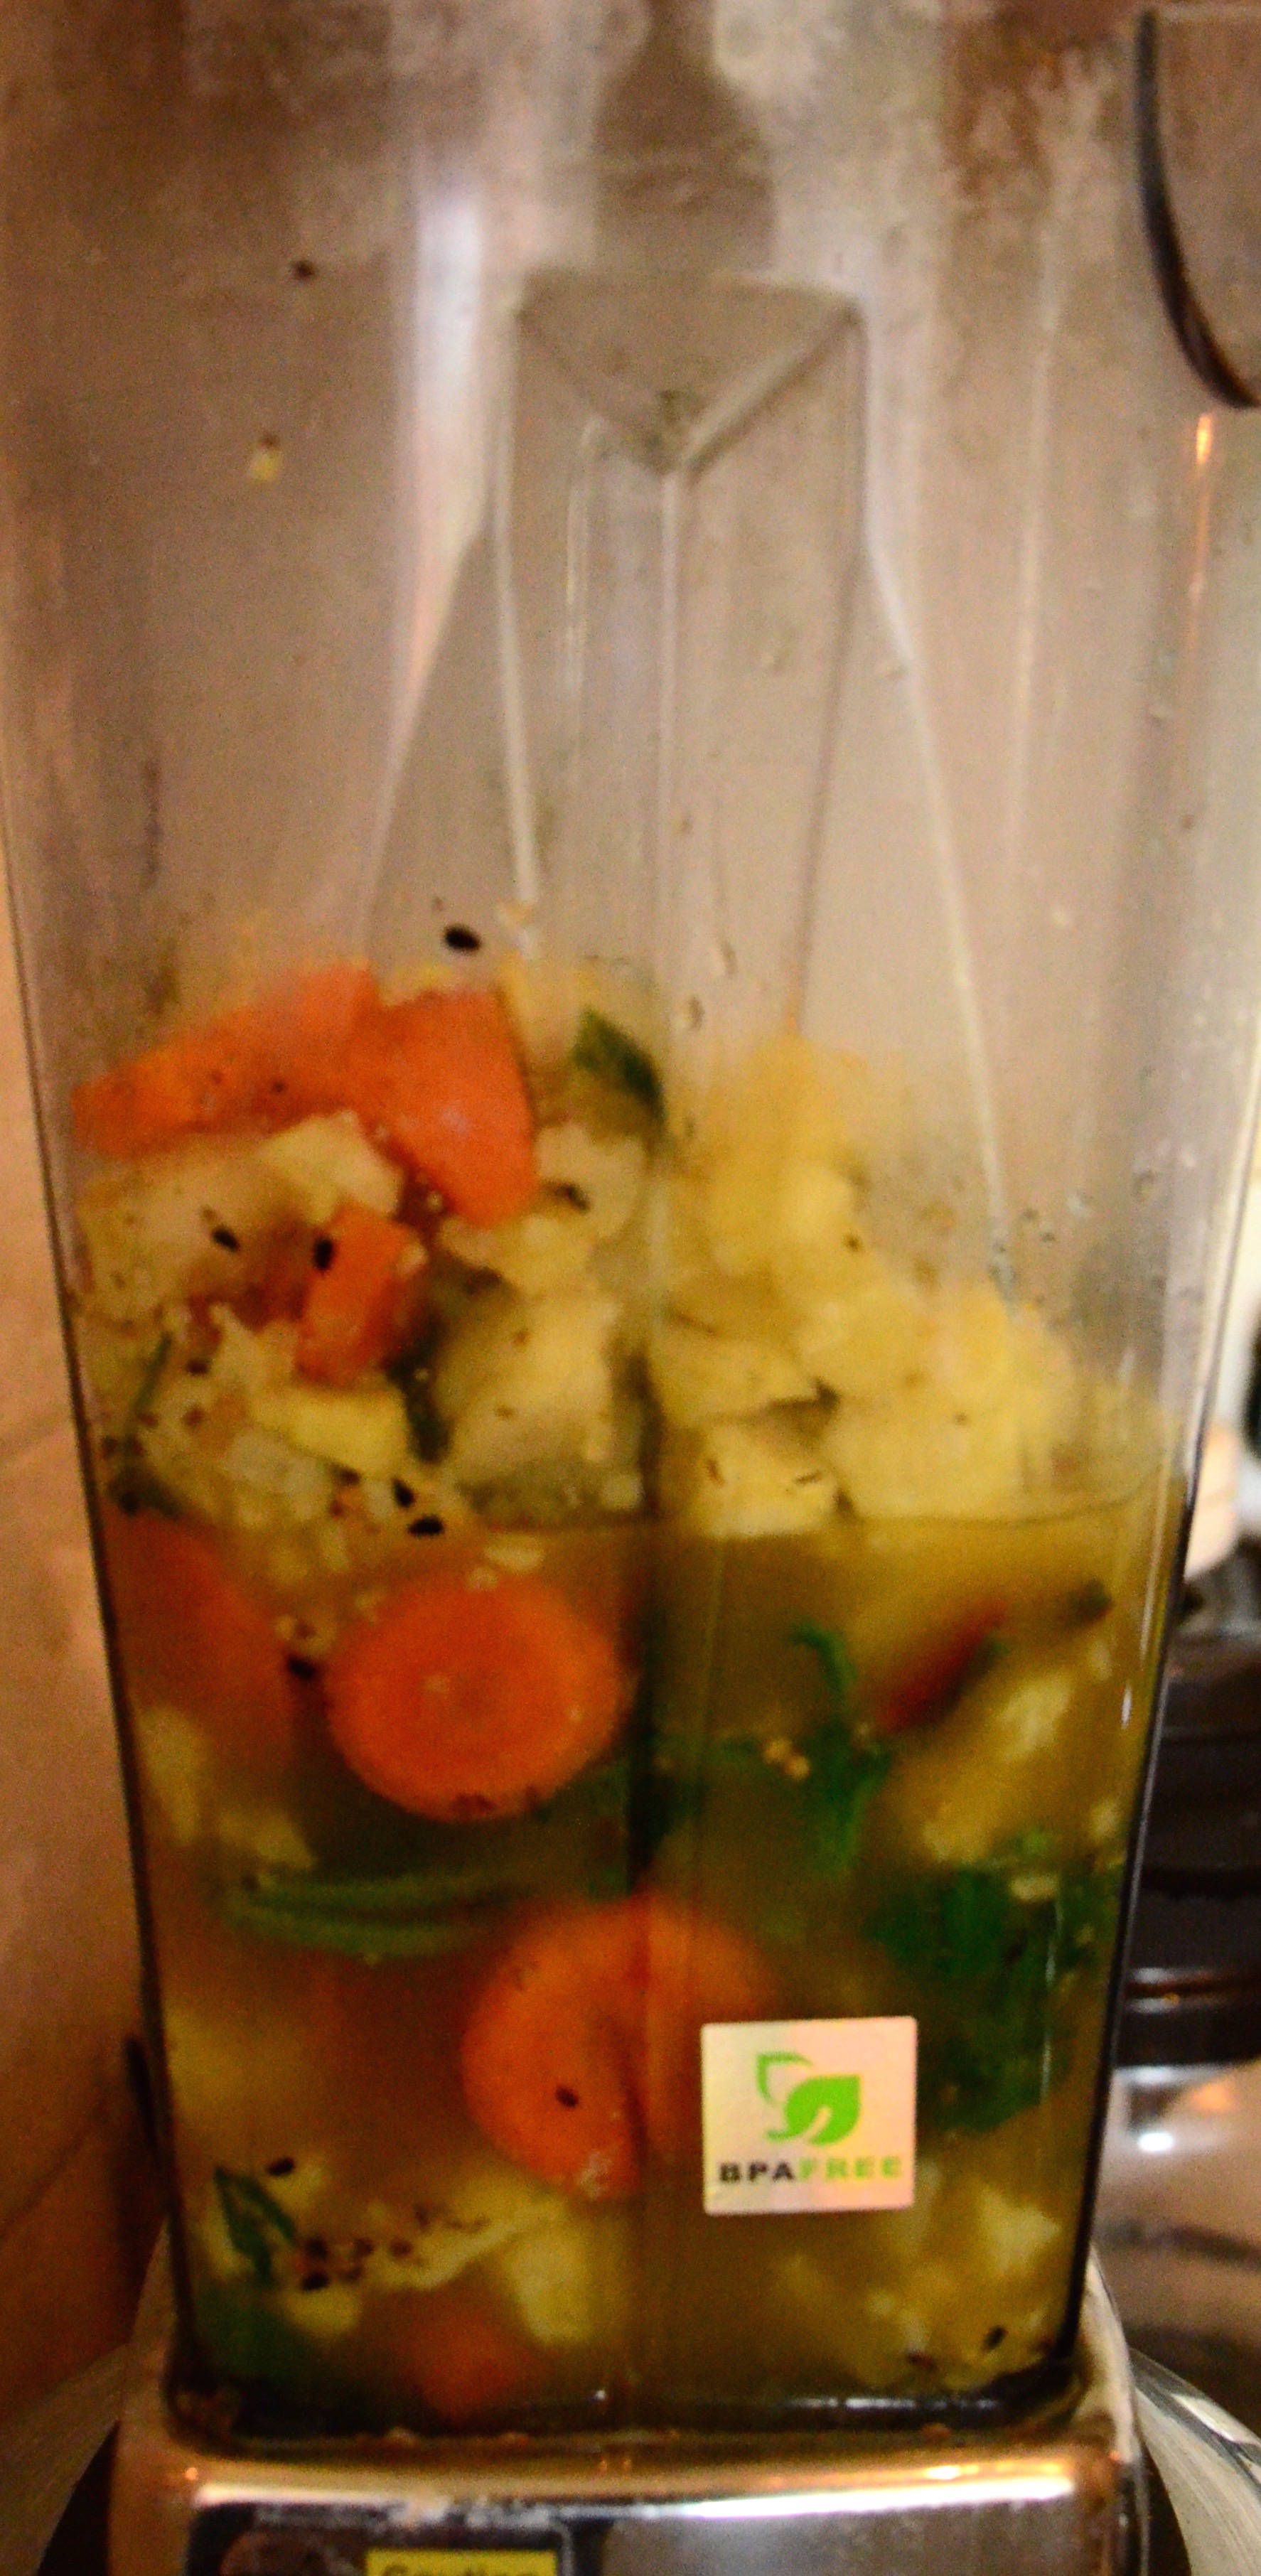
Steamy Soup base
Next is the hide and seek game with the bay leaves! Try and find them and take them out before you get to blending. Take the mixture off the heat and then get to blending! A hand blender should be fine. I used a jug one, be careful ladling the mixture into your blender, it will be piping hot!

Pre first blend

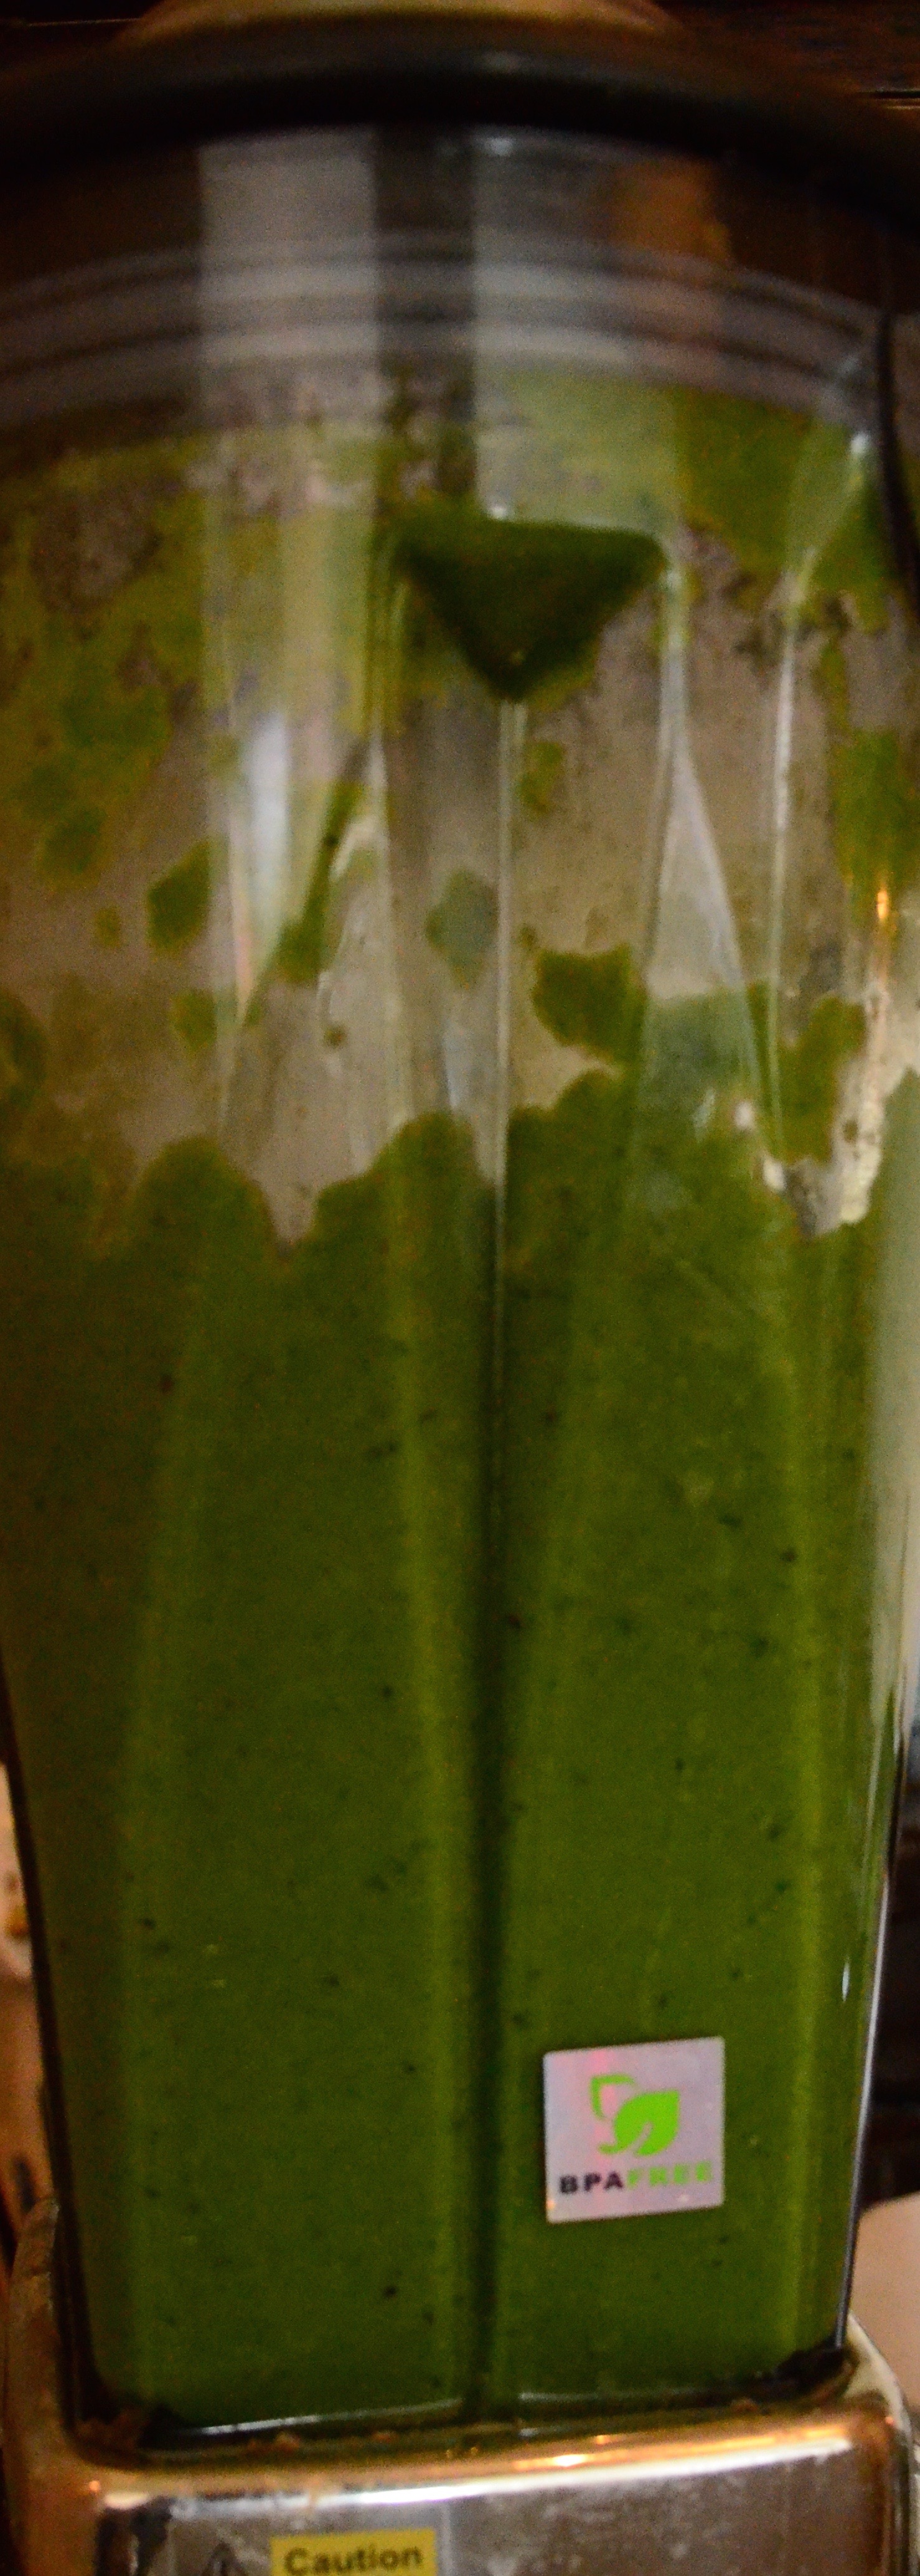
Now magically green!
If using a jug blender pour the soup back into the saucepan and back onto a medium heat. Add your half a cup of hot water to thin out the soup a little. Add your mirin. Taste to check for seasoning. I added more black pepper, but it didn’t need any salt.
Wash your nettles, take your time, wash them well to avoid gritty bits later! Usually people chop off the tough ends of the stalks, if you are using a hand immersion blender you may want to do this. You would probably be best advised to use gloves, or be careful not to tip of the stinging leaf edges. I didn’t bother removing the stalk ends, I just threw them into the colander and rinsed them in the sink.
Pop them into the saucepan, stir them through so that the are covered by the soup. The leaves will begin to wilt quite quickly. Remember you are only cooking them for a minute or so. You are going to blend it all anyway so any tough stalks don’t matter.
Again with the blending! If using a jug blender and you decide to go for cashews or avocado blend them first with a ladle of the soup. If using an immersion blender use the avocado and just chop it and throw into the soup before blending. Alternatively whiz up your soup just until the nettles are blended and then add in your 100ml of vegan puoring cream of choice and blitz again just to mix it through.

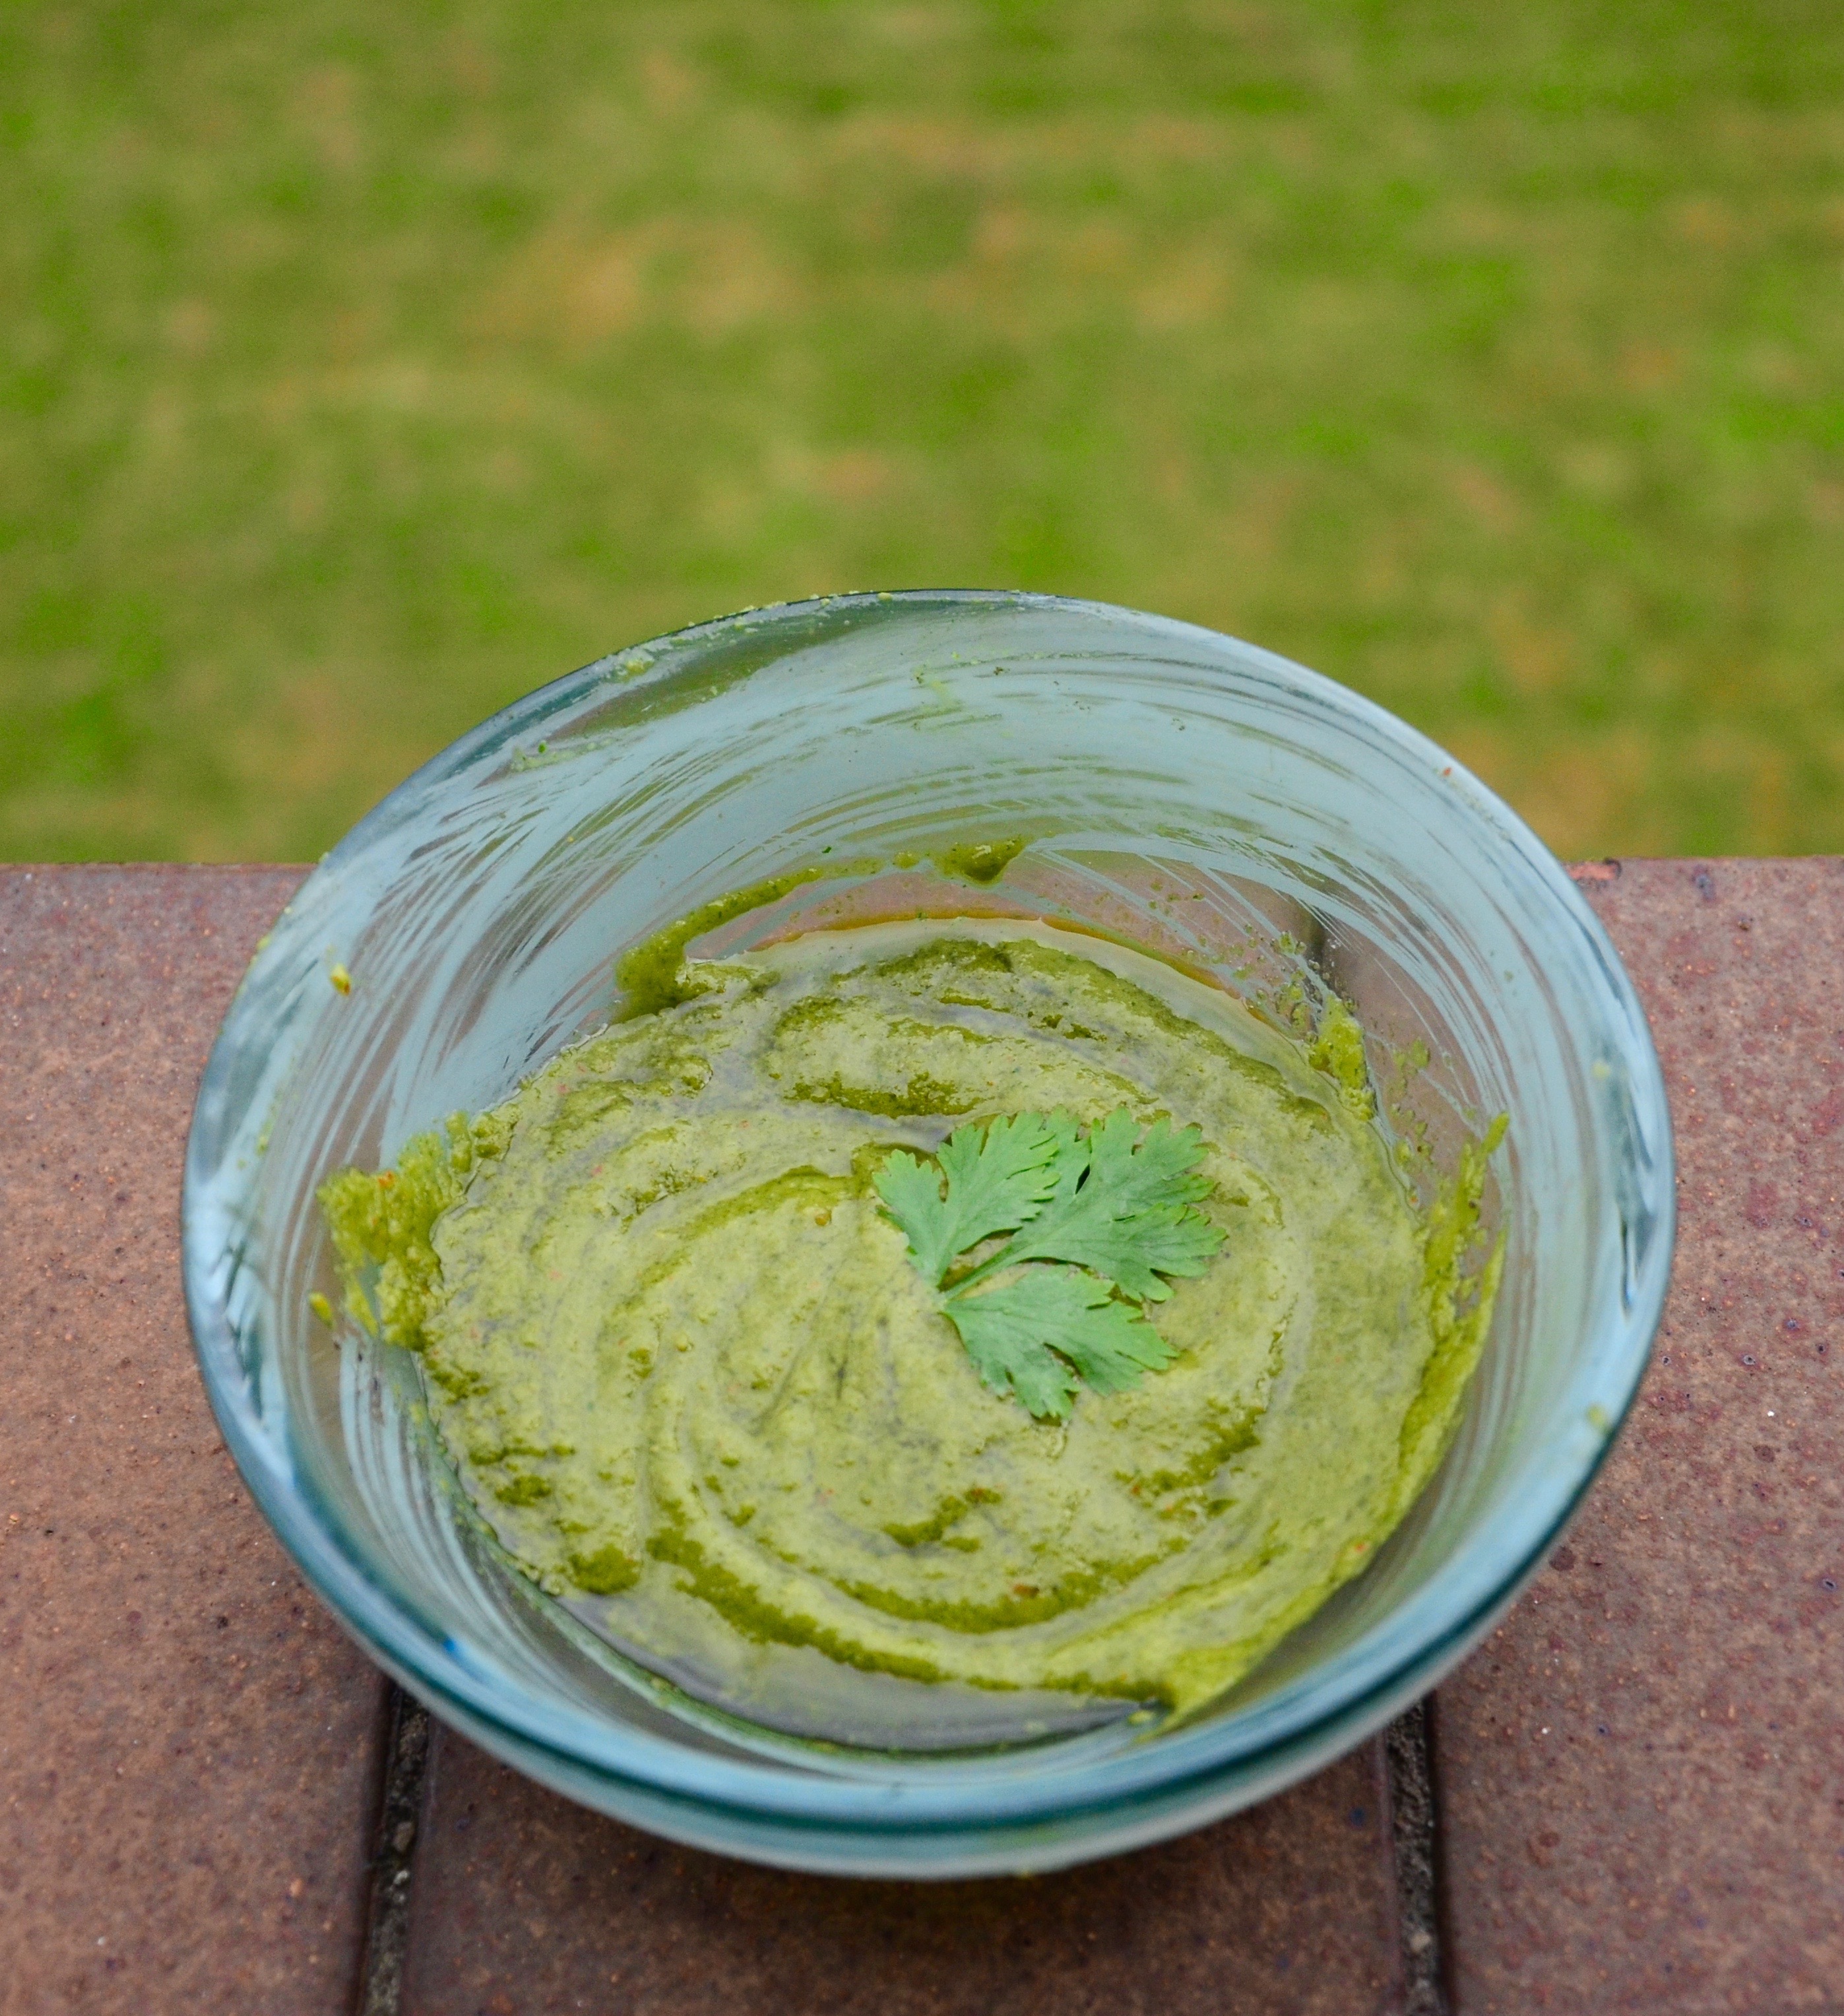
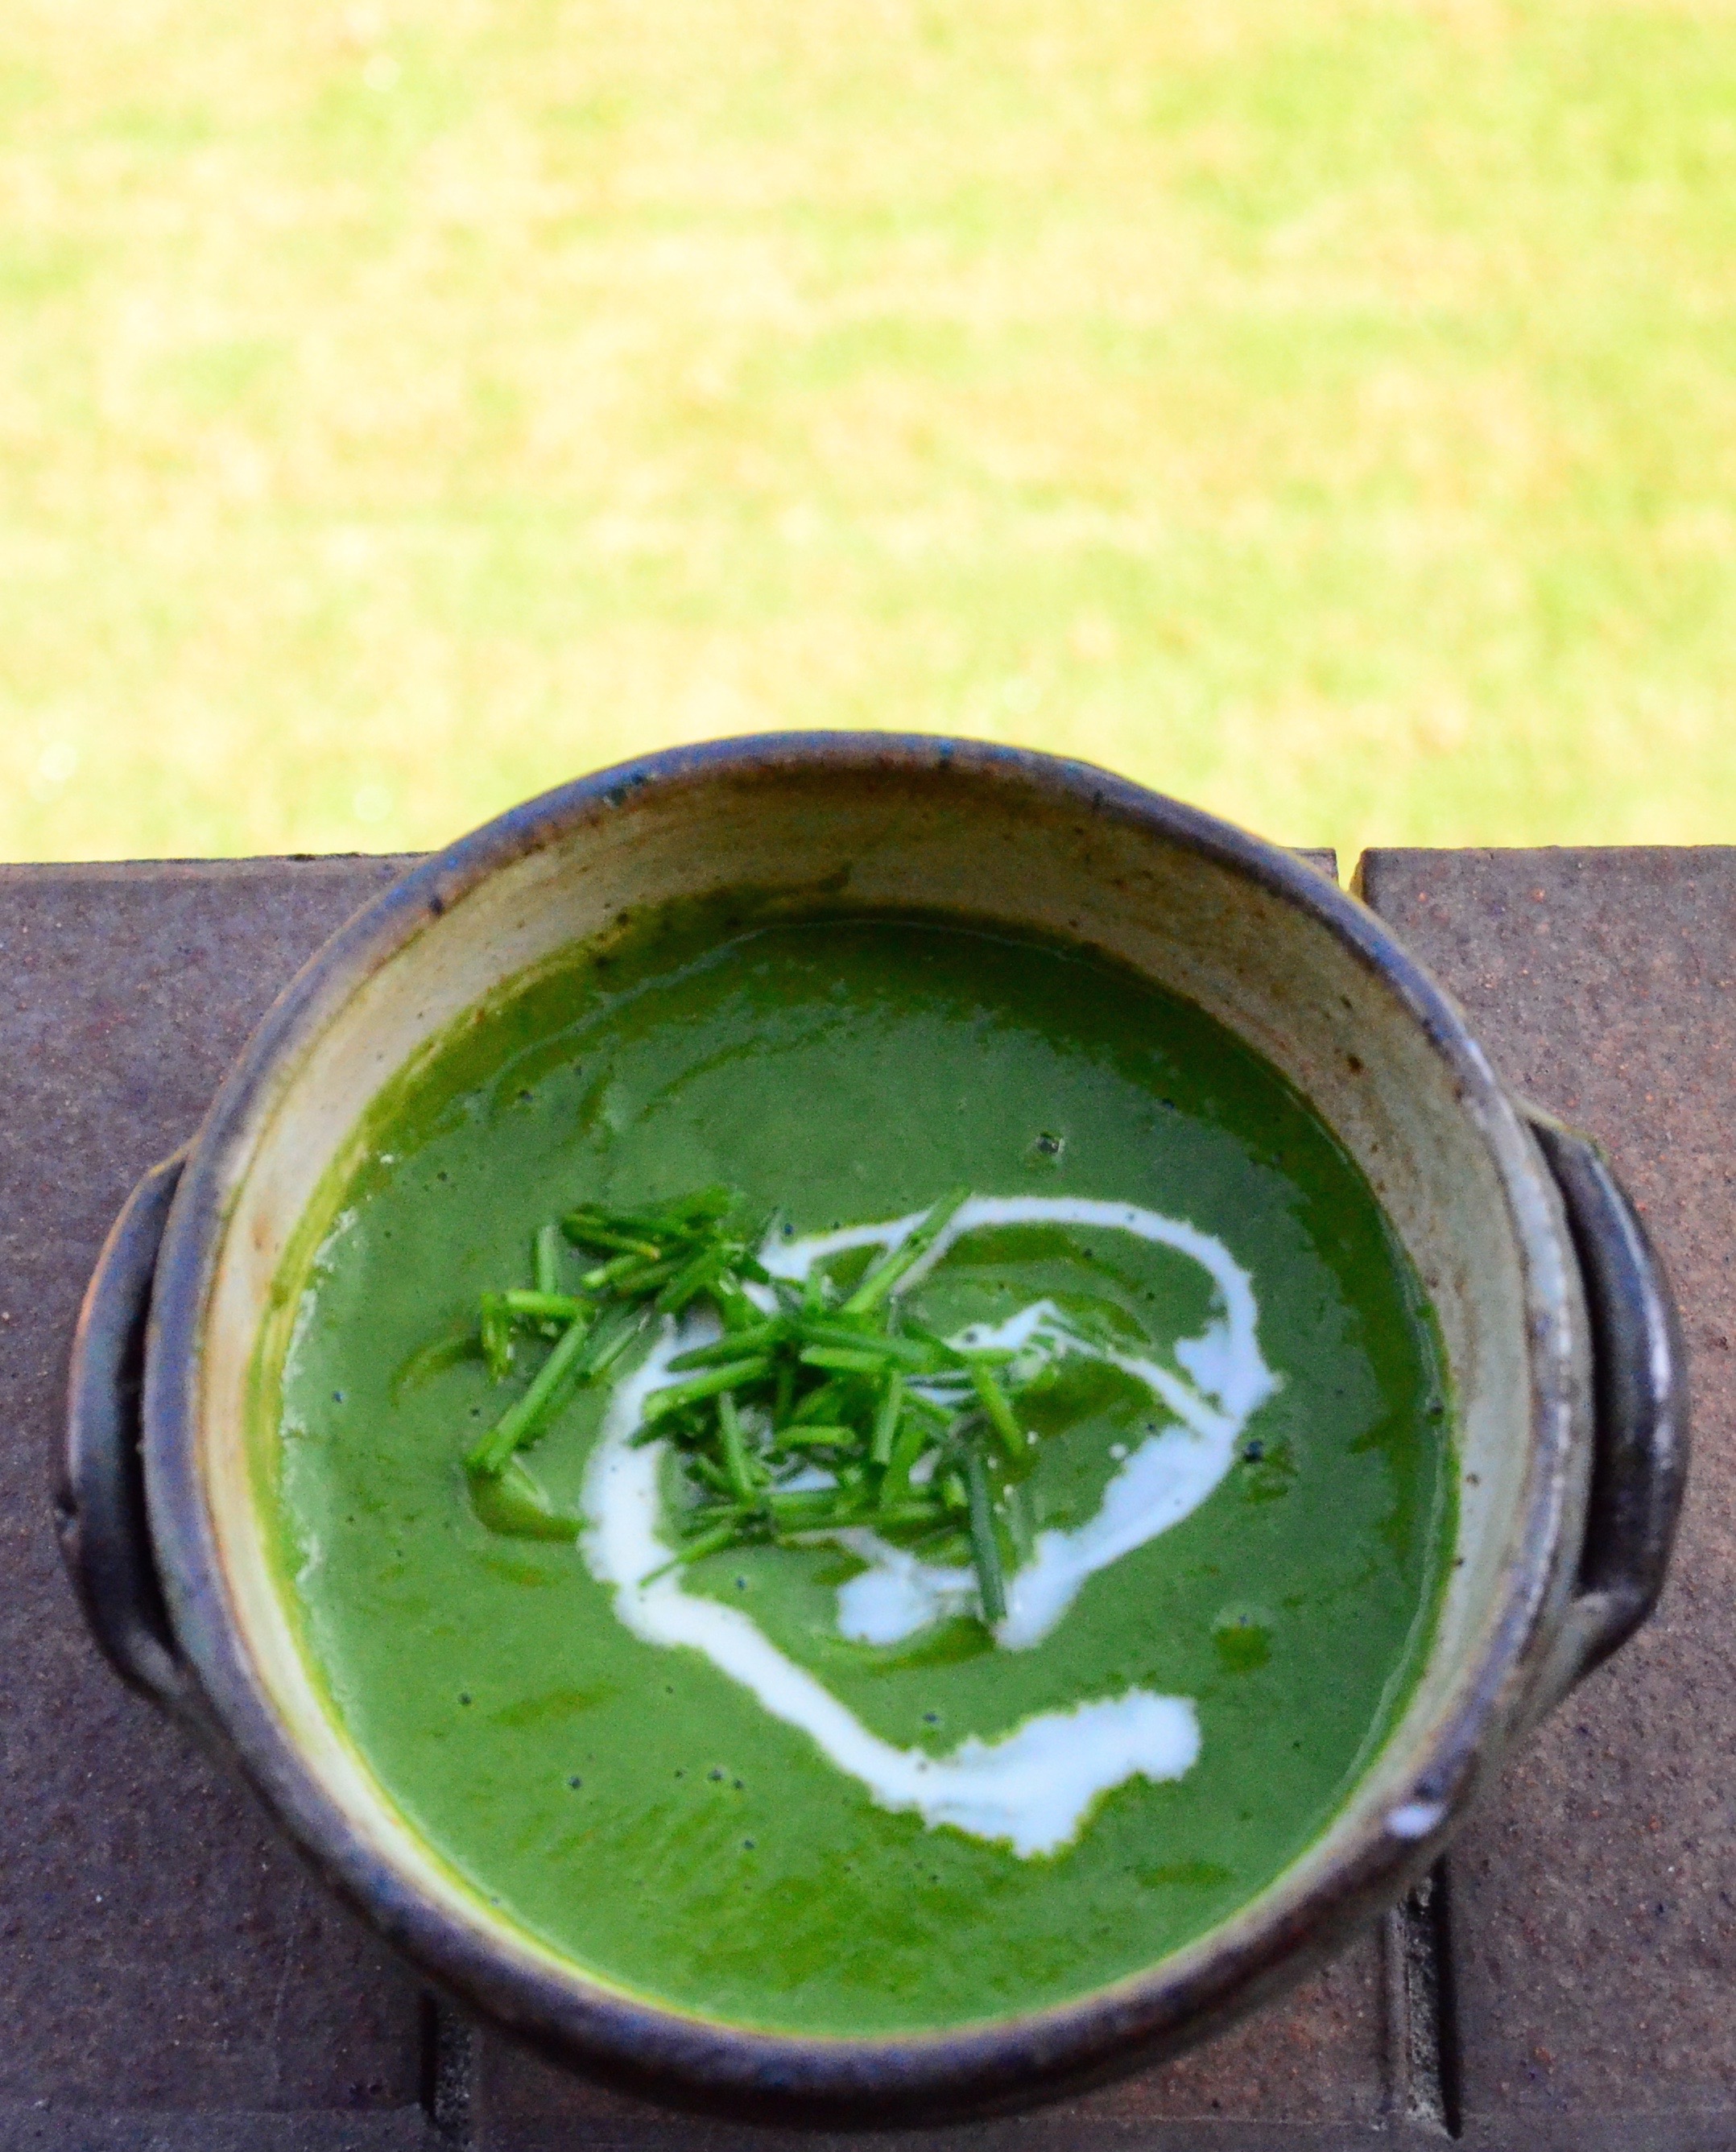
Nettle Soup
Serve with a sprinkle of chives and a swirl of vegan cream or milk! TADA! Seasonal Nettle Soup! Hope you try this quite traditional green extravisganza! (ignoring the turmeric! 😉 ) Xs Aissa
P.S more stuff on nettles: Nettles Nutrition, Nettles in Herbalism