Tags
Gluten free, Natural Health, Quinoa, Savoury, Traditional, Vegan
I love my sushi- especially avocado. At heart I am an impatient soul. I want healthy sushi fast, so fast I don’t want to wait forty five minutes for my brown rice to cook. I like to eat nutritious food so I am not a big fan of “white” starches so white rice is right out. Quinoa – “the queen of grains” still has your B vitamins also magnesium and all nine essential amino acids in the right porportions. The red quinoa contains zeaxanthin a wonderful antioxidant. The important thing for fast sushi is it takes 20- 25 minutes to cook! (Usually only 15mins but you want it squishy for sushi)
For variety I did a little miso tahini dressing and had some Quinoa Cauliflower sushi too. So here it is.
Quinoa Avocado & Cauliflower Sushi
- A third of a cup of red quinoa- 28g/1oz
- Two thirds of a cup of regular quinoa- 84g/ 30z
- Approx. three cups of water
- Two ripe avocados
- Half a head of cauliflower
- Third of a teaspoon of himalayan pink salt / sea salt
- Good quality nori strips / nori sheets. I use Clearspring an English brand
Miso Tahini Dressing
- A big teaspoon of sweet miso paste
- A dessertspoonful of runny dark tahni
- Two cloves of crushed/finely chopped garlic
- A paper thin inch slice of organic ginger finely chopped
- A few twist of black pepper
- A third of a cup of cold pressed sesame or olive oil
- A dash of mirin
- A dash of apple cyder vinegar
- Optional: half a teaspoon of raw agave.
I like to dip the cauliflower in this before adding it to the sushi. This is a lovely intensely flavoured dressing, I use more oil for a lighter flavour when using it in salads. All you do is stick everything in a jar and give it a shake and voila – dressing!
Extra bits
- Sushi ginger- naturally pickled ginger slices
- Wasabi powder to make into a paste- instructions will be on the pot.
- Gluten free tamari or shoyu sauce- naturally fermented
A note on these, try and find a good quality ginger. Sometimes the pink is from an artificial colouring. Check your tamari/shoyu for added sugar and for horrid caramel colouring.You can get wasabi paste too, again watch out for unwanted nasties!
I was quite intimidated by the idea of making sushi. I can honestly say there is no need to be. I am lucky in that a Japanese friend of mine did a demonstration at the health shop I work in and de-mystfied it for me. Hopefully I can do that for you too!
Sushi method
I like to use a wide based saucepan for cooking the quinoa. The water seems to be taken up faster. Put the pot on dry at a medium high heat. Throw the quinoa into the dry pan to toast. Boil a kettle of water while keeping an eye on the quinoa. Give the odd stir or shake. Toasting the quinoa burns off the natural saponins, these make the seeds a little bitter and unappealing to insects. Burning it off improves the tastes and makes it easier to digest. When it starts to pop or smell like it is cooking you can add the water. Normally you would add two cups, you will need two and a half because some will steam off initially. Add a your salt. You will need to keep an eye on it. When the water starts reducing you can add another half a cup. In the end it will probably take 25mins until it is nice and fluffy.
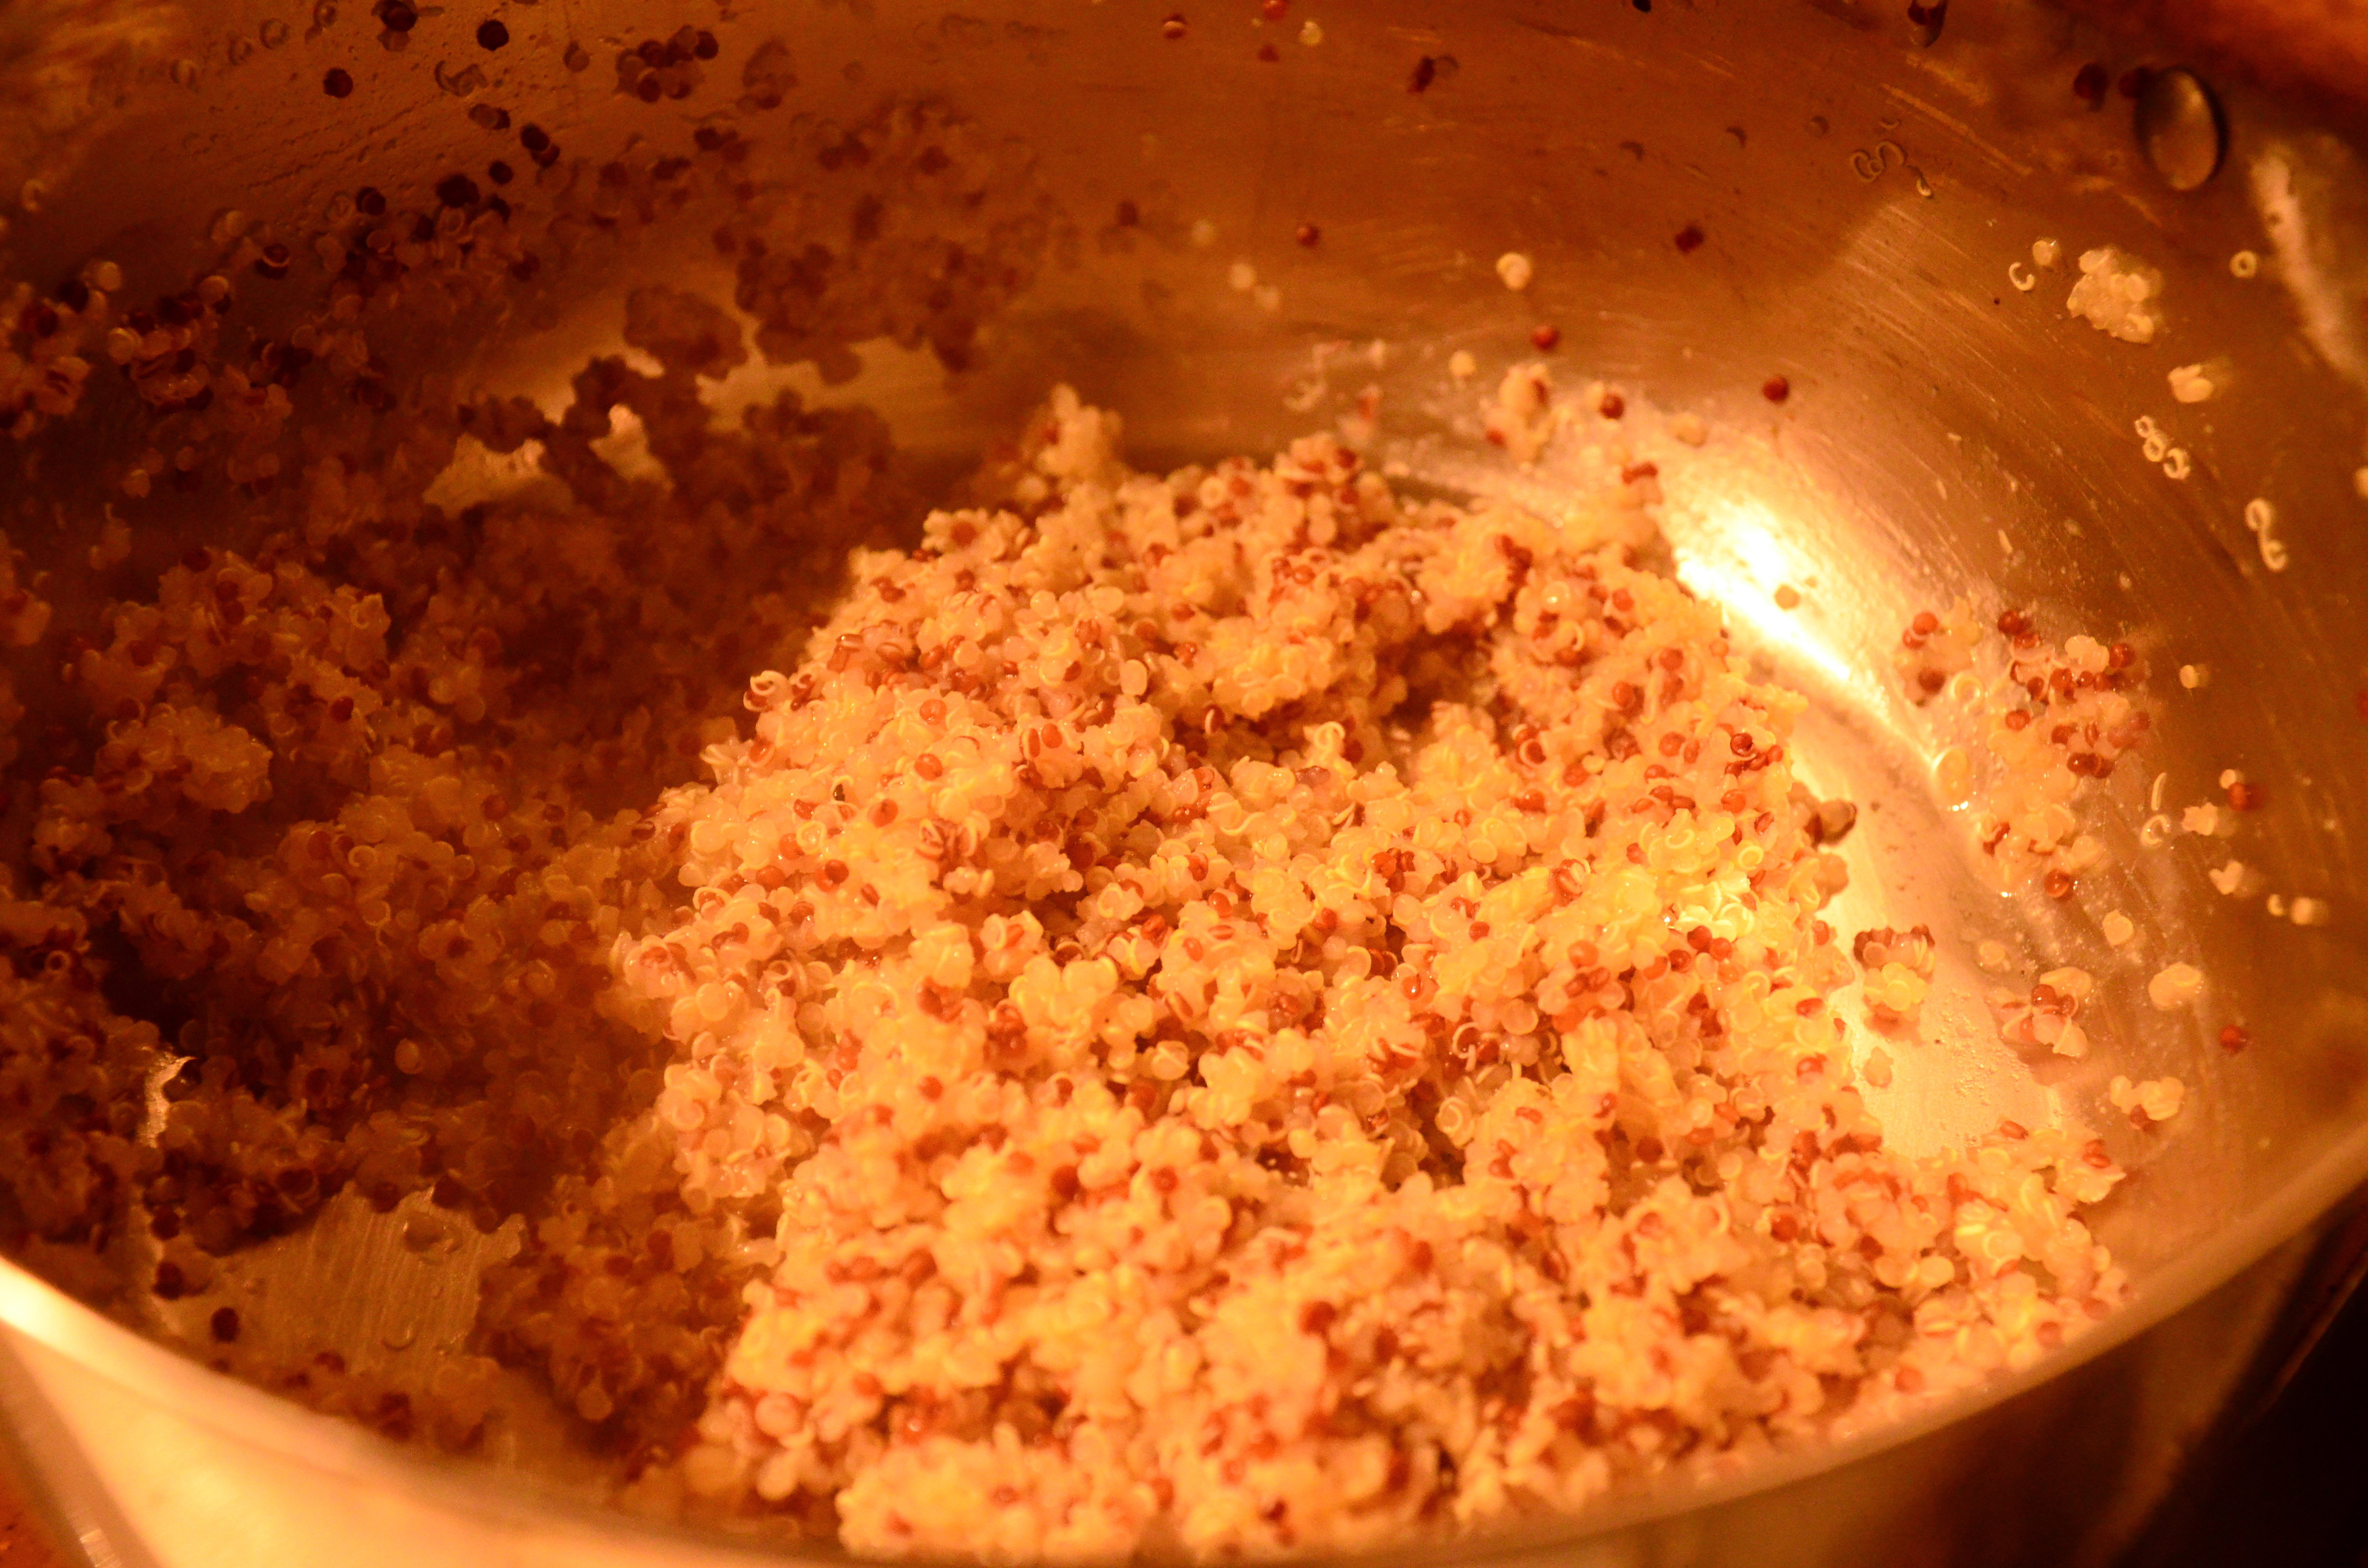
fluffy fluffy quinoa
While the quinoa is cooking you can get on with prepping other stuff. Clean and chop your cauliflower. It will take about ten minutes to steam, you want it to cool a little before putting in the sushi so I just put it straight on.
Prepare your avocado, cutting into slices so it will easily fit in your sushi rolls.

messy board with avocado
Assemblage
I used the prepared sushi strips- that are toasted and cut. You need two for a piece so you stick them together with a dab of water. I used a dessertspoon of quinoa and two little pieces of avocado or cauliflower. Roll top down tightly. Roll bottom up and stick with a dab of water.
I serve my sushi with a little bowl of cauliflower that be dipped in the dressing, so I only used a little bit to make sushi. You need small little broken off florets. Dip in the dressing and add to the quinoa.
construction. Roll top down and bottom up and stick with water
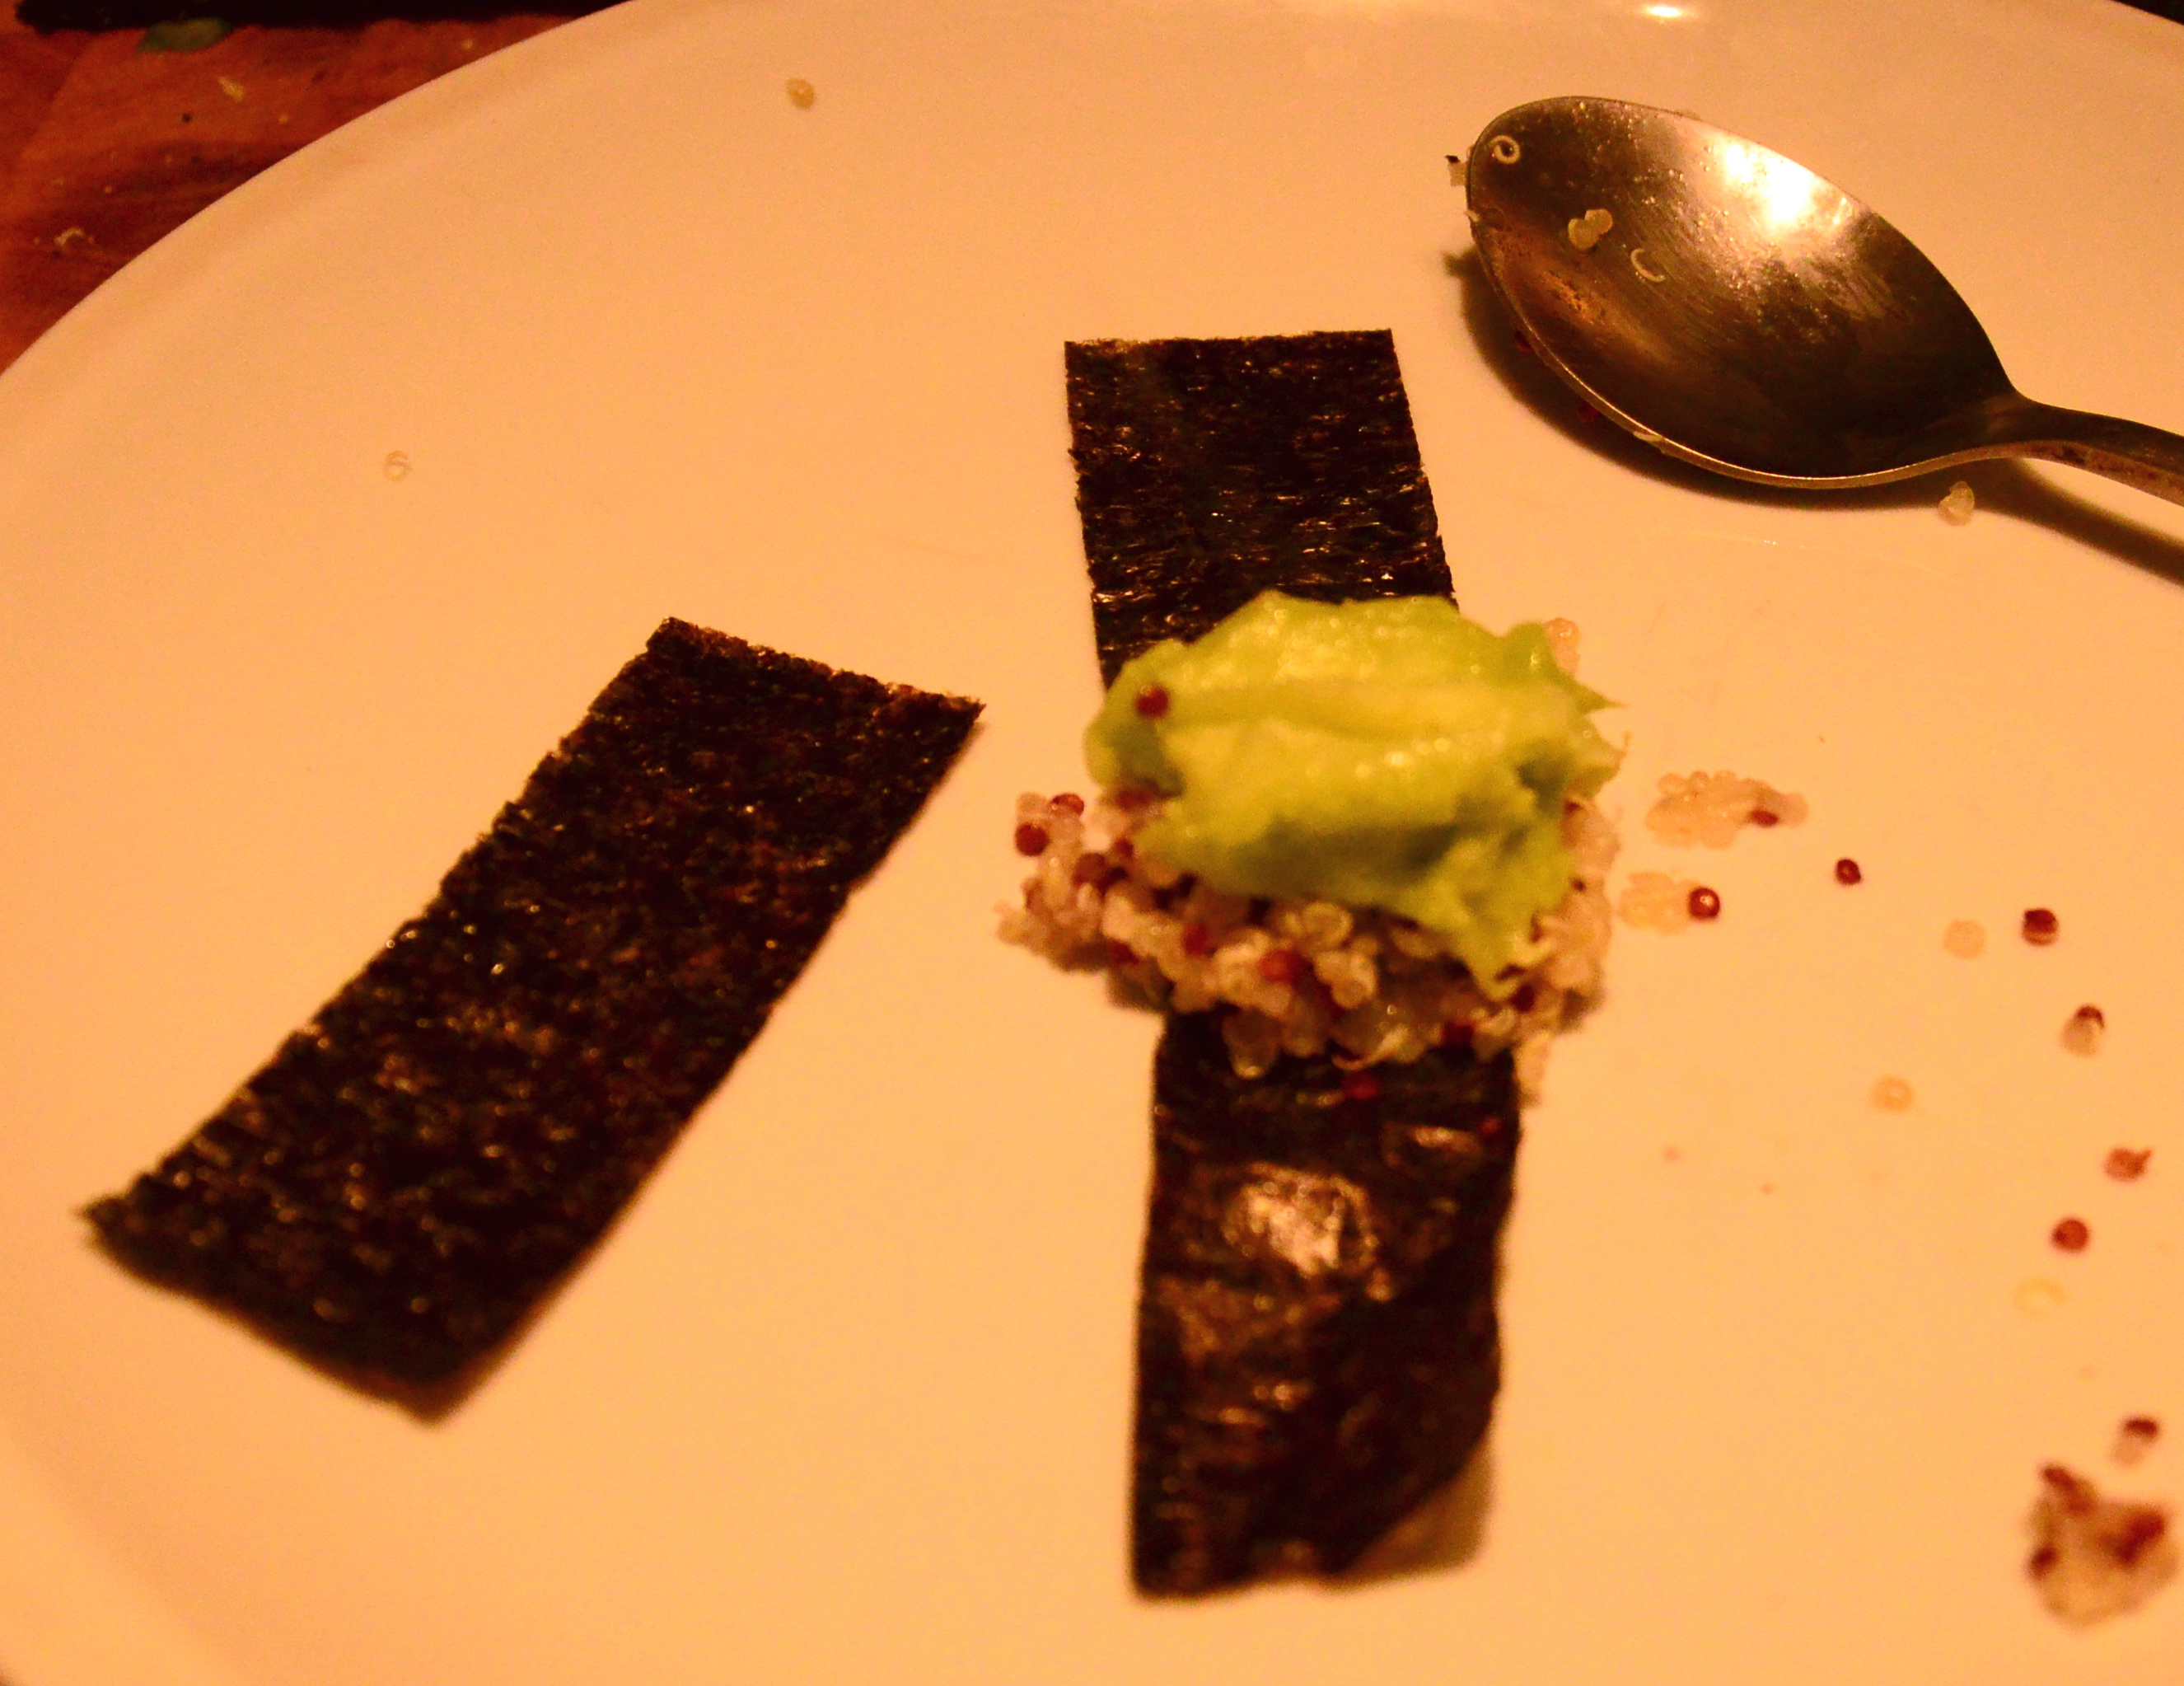
I also used the long nori sheet which you need to hold a bit above a warm oven ring to toast lightly (it will wrinkle a little and slightly change colour). Put your quinoa along the middle. Add your avocado.

sushi roll
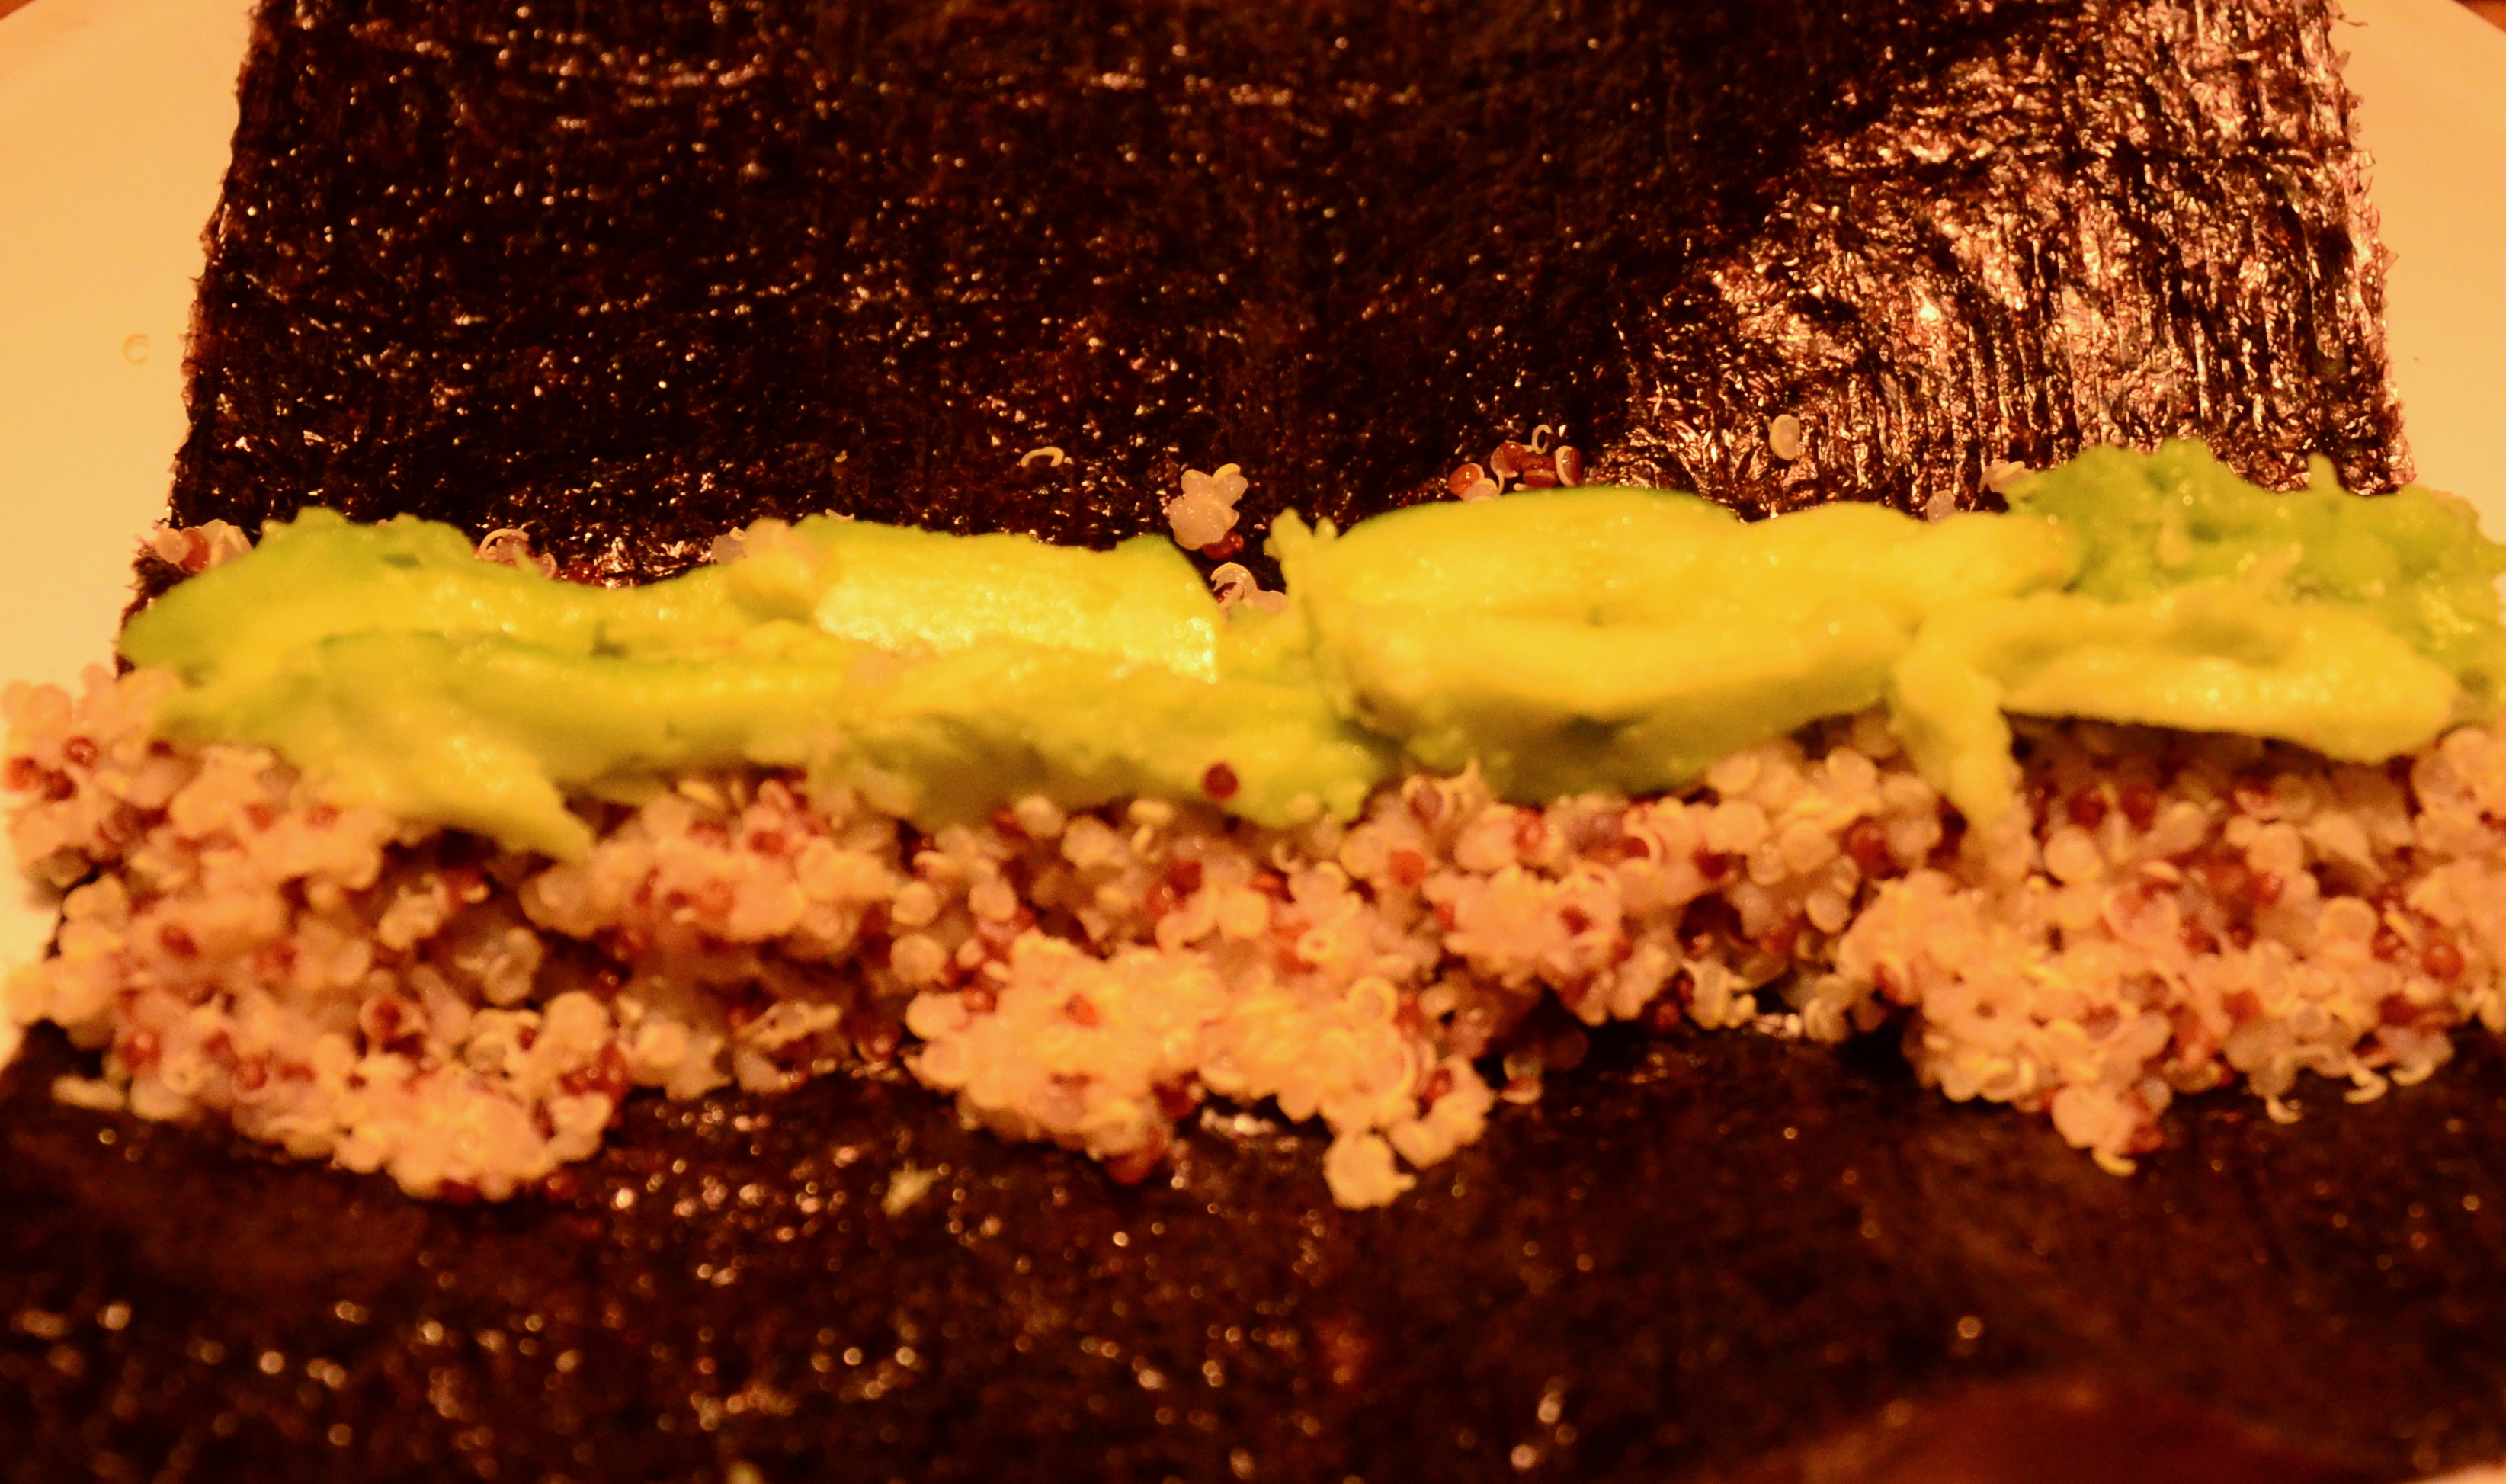
avec la avocado
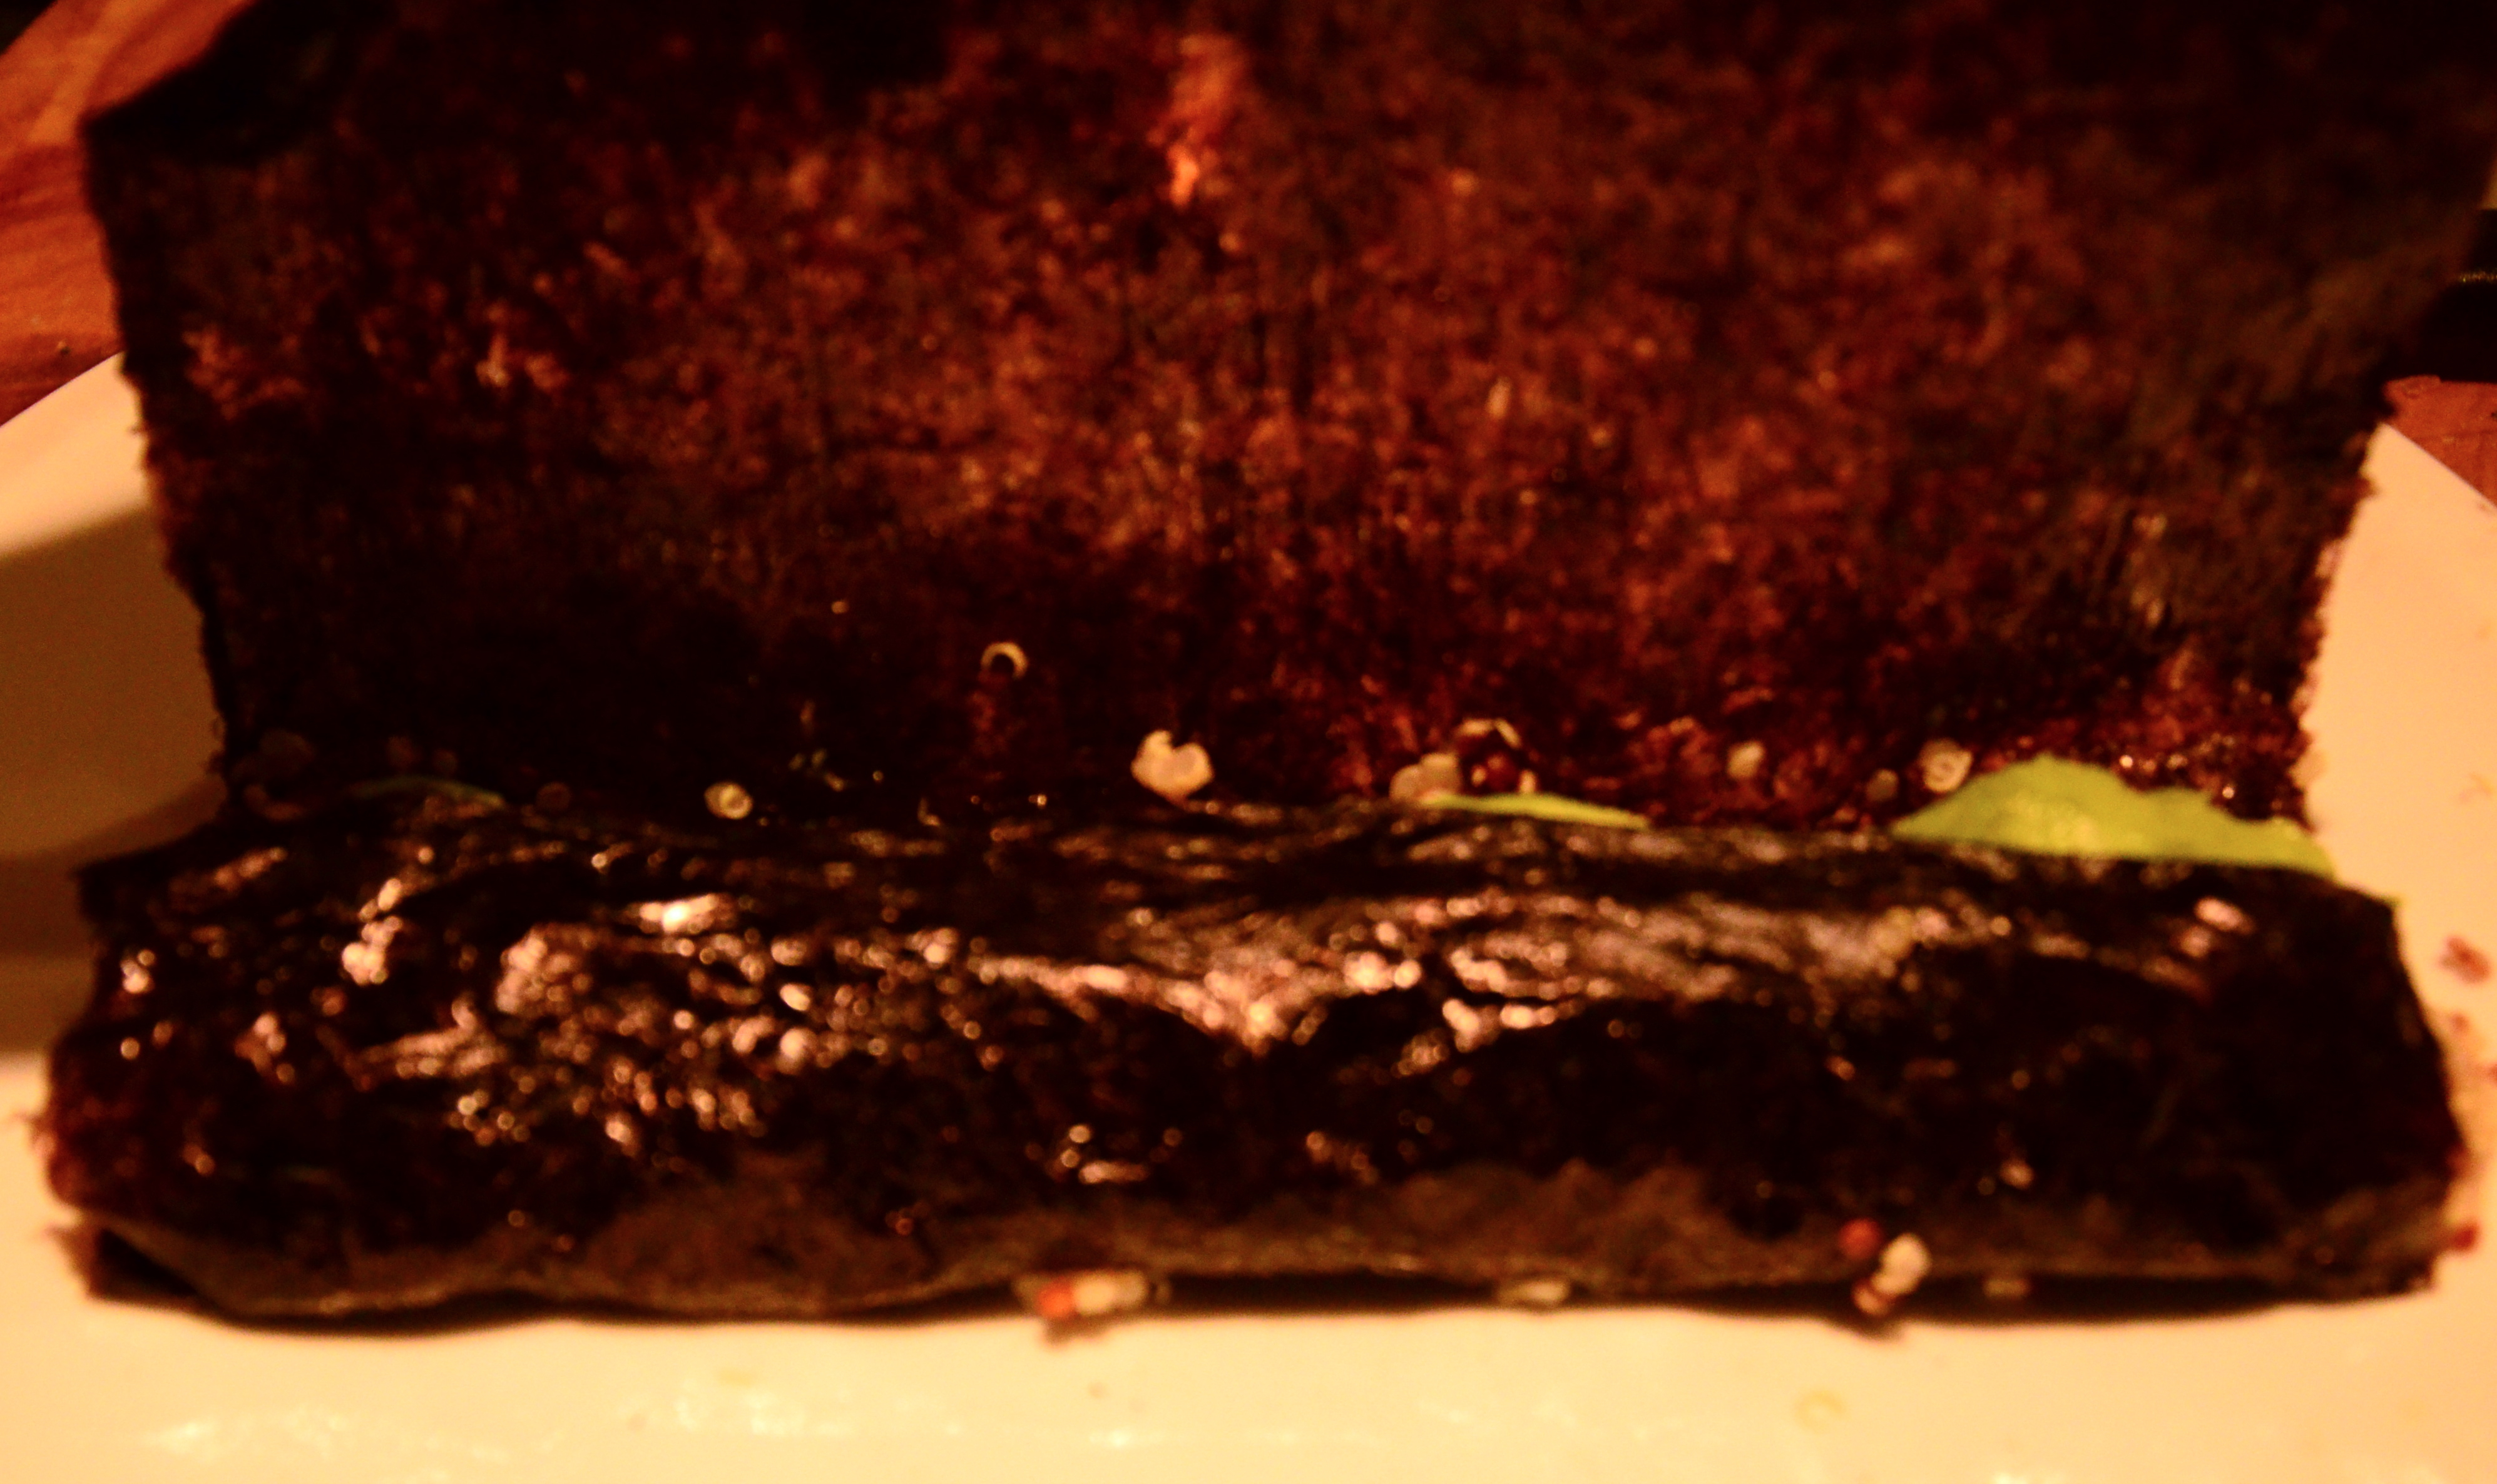
rollin’
It is all about rolling it tightly with the big roll. Don’t be afraid to fill to the edge. Better to have some fall out than not have enough. Roll up first. Roll the top down, brush the edge with the lightest touch of water so it will stick. I used a sharp serrated knife as I was not brave enough to dramatically chop with a cleaver. I managed to cut them unevenly but still yummy.
Pepare your plates. Put the rest of your cauliflower florets in a little bowl. Put some tamari or shoyu in a dipping bowl. Put out your Miso Tahini dressing, your wasabi and pickled ginger. Find the chopsticks at the back of your cutlery drawer. Hey ho you are ready to go!

Quinoa sushi dinner!
Xs Aissa