• Home
  • About
  • Vegan
  • Gluten Free
  • Chocolate
  • Cookies
  • Cupcakes
  • Cake
  • No bake/ Raw
  • Savoury
  • Natural Health
  • yoga
  • Tradtional
  • juice

VeganEtcetera

~ Eating healthily easily

VeganEtcetera

Category Archives: No bake/ Raw

No Bake Salted Chocolate Banana Loaf. Vegan & Gluten Free

30 Friday Jan 2015

Posted by Aissa in Chocolate, Gluten Free, No bake/ Raw, Sweets, Tart, Vegan

≈ 2 Comments

Tags

Cacao, Cacao Butter, Chocolate, Gluten free, No bake, Sweets, Tart, Vegan

Raw Chocolate, banana, walnut and coconut make such a sweet melody of flavours. Do not be afraid of the amount of salt, it really is key to the recipe. As with a lot of raw recipes it takes a little planning but then it is quite simple to bring it all together. You need to soak the cashews and apricots over night so that they will blend easily. I was lazy almost every evening so I actually did this over three days!

I really want to start mastering the art of stevia use. When I first got into vegan baking stevia was not available in Ireland, due to a very weird ban! I actually bought it Berlin on a college trip! It was a disaster, I used far too much. I learnt my lesson so feel safe to trust the amounts I have used here.

You will need a blender- hand-held will do. A loaf tin, I used silicon, if using an actual tin one make sure to line it with paper so it is easy to take out.

No Bake Salted Chocolate Banana Loaf

Fudgey Apricot Almond Layer

  • Seven Un-sulphered Apricots soaked over night (use to less for a dryer texture)
  • Zest of a unwaxed orange
  • Two dessert spoons of tahini raw if preferred
  • Half a dessertspoonful of organic coconut oil
  • Four or five drops of a liquid stevia
  • One and a third cups of organic ground almonds, grind yourself for a raw version
  • One and a half dessert spoons of raw cacao powder
  • An eight of a teaspoon of Himalayan pink salt or sea salt

Method:  You will need to get the blender out at this point. I have an immersion hand-held blender and it does okay but if you have a jug better it will come together even better.

soaked apricots

soaked apricots

Smush your tahini, coconut oil, stevia and orange zest together. Chop your soaked apricots and add to the tahini mix. Now blend them a bit. In another bowl put your dry ingredients together i.e. ground almonds, salt and cacao. Add half to your wet mix and blend again. Add the other half. It is a bit dry for my blender at this point so I mix the second half through. Now press into your lined or silicon loaf tin and pop into the fridge.

Banana Cashew Coconut Layer

  • Half a cup of chopped cashews soaked over night. (make sure they are covered by the water as they will swell )
  • Two ripe bananas very well mashed
  • Two drops of stevia
  • One dessertspoonful of pure maple syrup
  • A teaspoon of vanilla powder/ two pods/ tsp of vanilla bean paste*
  • A third of a cup of desiccated coconut, roughly ground raw flakes for a raw version
  • Keep a rounded dessertspoonful of the coconut back for sprinkling

Method: Mash mash mash your bananas, add the vanilla, stevia, maple syrup  and mash again! Now add the cashews. Using your blender and blend! Spread this on top of the fudgey layer. Cover and pop back into the fridge.

Pre the chocolate layer

Pre the walnut layer

Toasted Walnuts and Raw Chocolate Salted Layer

  • Eighteen walnuts chopped (allowing two for tasting to see if toasted)
  • A quarter teaspoon of Himalayan pink salt or good sea salt
  • ————————————————————–
  • A third of a cup of cacao paste chopped
  • Just under a third of a cup of cacao butter chopped
  • One and a half spoons of organic coconut oil
  • Five dessert spoons of rice syrup
  • Two dessert spoons of maple syrup
  • Half a teaspoon of vanilla powder/ one pod/ paste
  • An eight of a teaspoon of Himalayan pink salt of good sea salt

Method: You will need two saucepans. Pick one to put hot water so you can melt your chocolate over it in a perspex bowl. Put it on a medium heat so the water simmer. Insure the water is not touching the bottom of the bowl or it will be too hot. Put your cacao paste, butter and coconut oil into melt.

Avec toasted walnuts

Avec toasted walnuts

When your cacao-y mix is melted add the syrups and mix through. Add in the vanilla and salt next. Take off the heat. Leaving it off the heat for a bit before warming it up again helps the cacao butter crystals align and makes for a better chocolate. They say ten minutes but it was more like six or seven when I did it this time.

melty cacao-ness

Meanwhile put another saucepan on a medium high heat and start toasting your walnuts with the salt. They are done when they change colour a little, they inside become a little more yellow. Be careful not to overdo them, hence the tasting!

I picked my salty walnuts out and sprinkled them over the banana layer. I wanted some of the salt but not all, which is why I didn’t just pour them over it.

Put your chocolate back on the hit and give it a stir. It will become lovely and shiny after a minute or two. Using an oven glove or towel grab your bowl and pour the chocolate over the walnut layer.

hmmm yum

hmmm yum


Leave for a few seconds. Bang it flat on the table/ counter once or twice to leave air bubbles out. Now put in the fridge to set. I left mine for an hour and a half, but I imagine it would be ready after an hour. I think that after twenty minutes it would be worth taking it out and scoring the top where you plan to cut slices. I will do this next time to make it easier to cut.

close up

close up

It is fudgey, gooey, crunchy ,sweet and salty taste experience. I had mine with Irish salt caramel vegan ice- cream. Sooo good. It is super filling with all the almonds and walnuts so a little goes a long way!

Salted Chocolate banana Loaf

Salted Chocolate banana Loaf

I recommend storing it in the fridge so the banana gooey layer does not melt, though it is cold enough here enough that it would be fine! e.g. see below…

Yesterday's snow

Yesterday’s snow

O and this…

It's an Organic Lime Fish!

It’s an Organic Lime Fish!

Anyhooooow let me know if you try it out! Xs Aissa


Seasonal Chestnut Chocolate Tart / Pie- Vegan, Gluten Free & No Bake!!

01 Thursday Jan 2015

Posted by Aissa in Chocolate, Gluten Free, No bake/ Raw, Tart, Vegan

≈ Leave a comment

Tags

Cacao, Cacao Butter, chestnut puree, Chocolate, Gluten free, recipe, Tart, Vegan

Autumn and Winter are the times for chestnuts. You may even have a can of chestnut puree left over from the Christmas stock pile, or the cooked vacuum packed kind you can puree yourself. Organic Bergamot lemons have just appeared back on our shelves and I could not resist adding some zest to the chocolate mousse-y goodness of the filling. I have decided chocolate to be permanently in season, no arguments!

The recipe can be made lickety split! The longest part is waiting the three or four hours for it to set in the fridge or freezer, whilst you lick bowls,spoons and spatulas 🙂

mousse filling

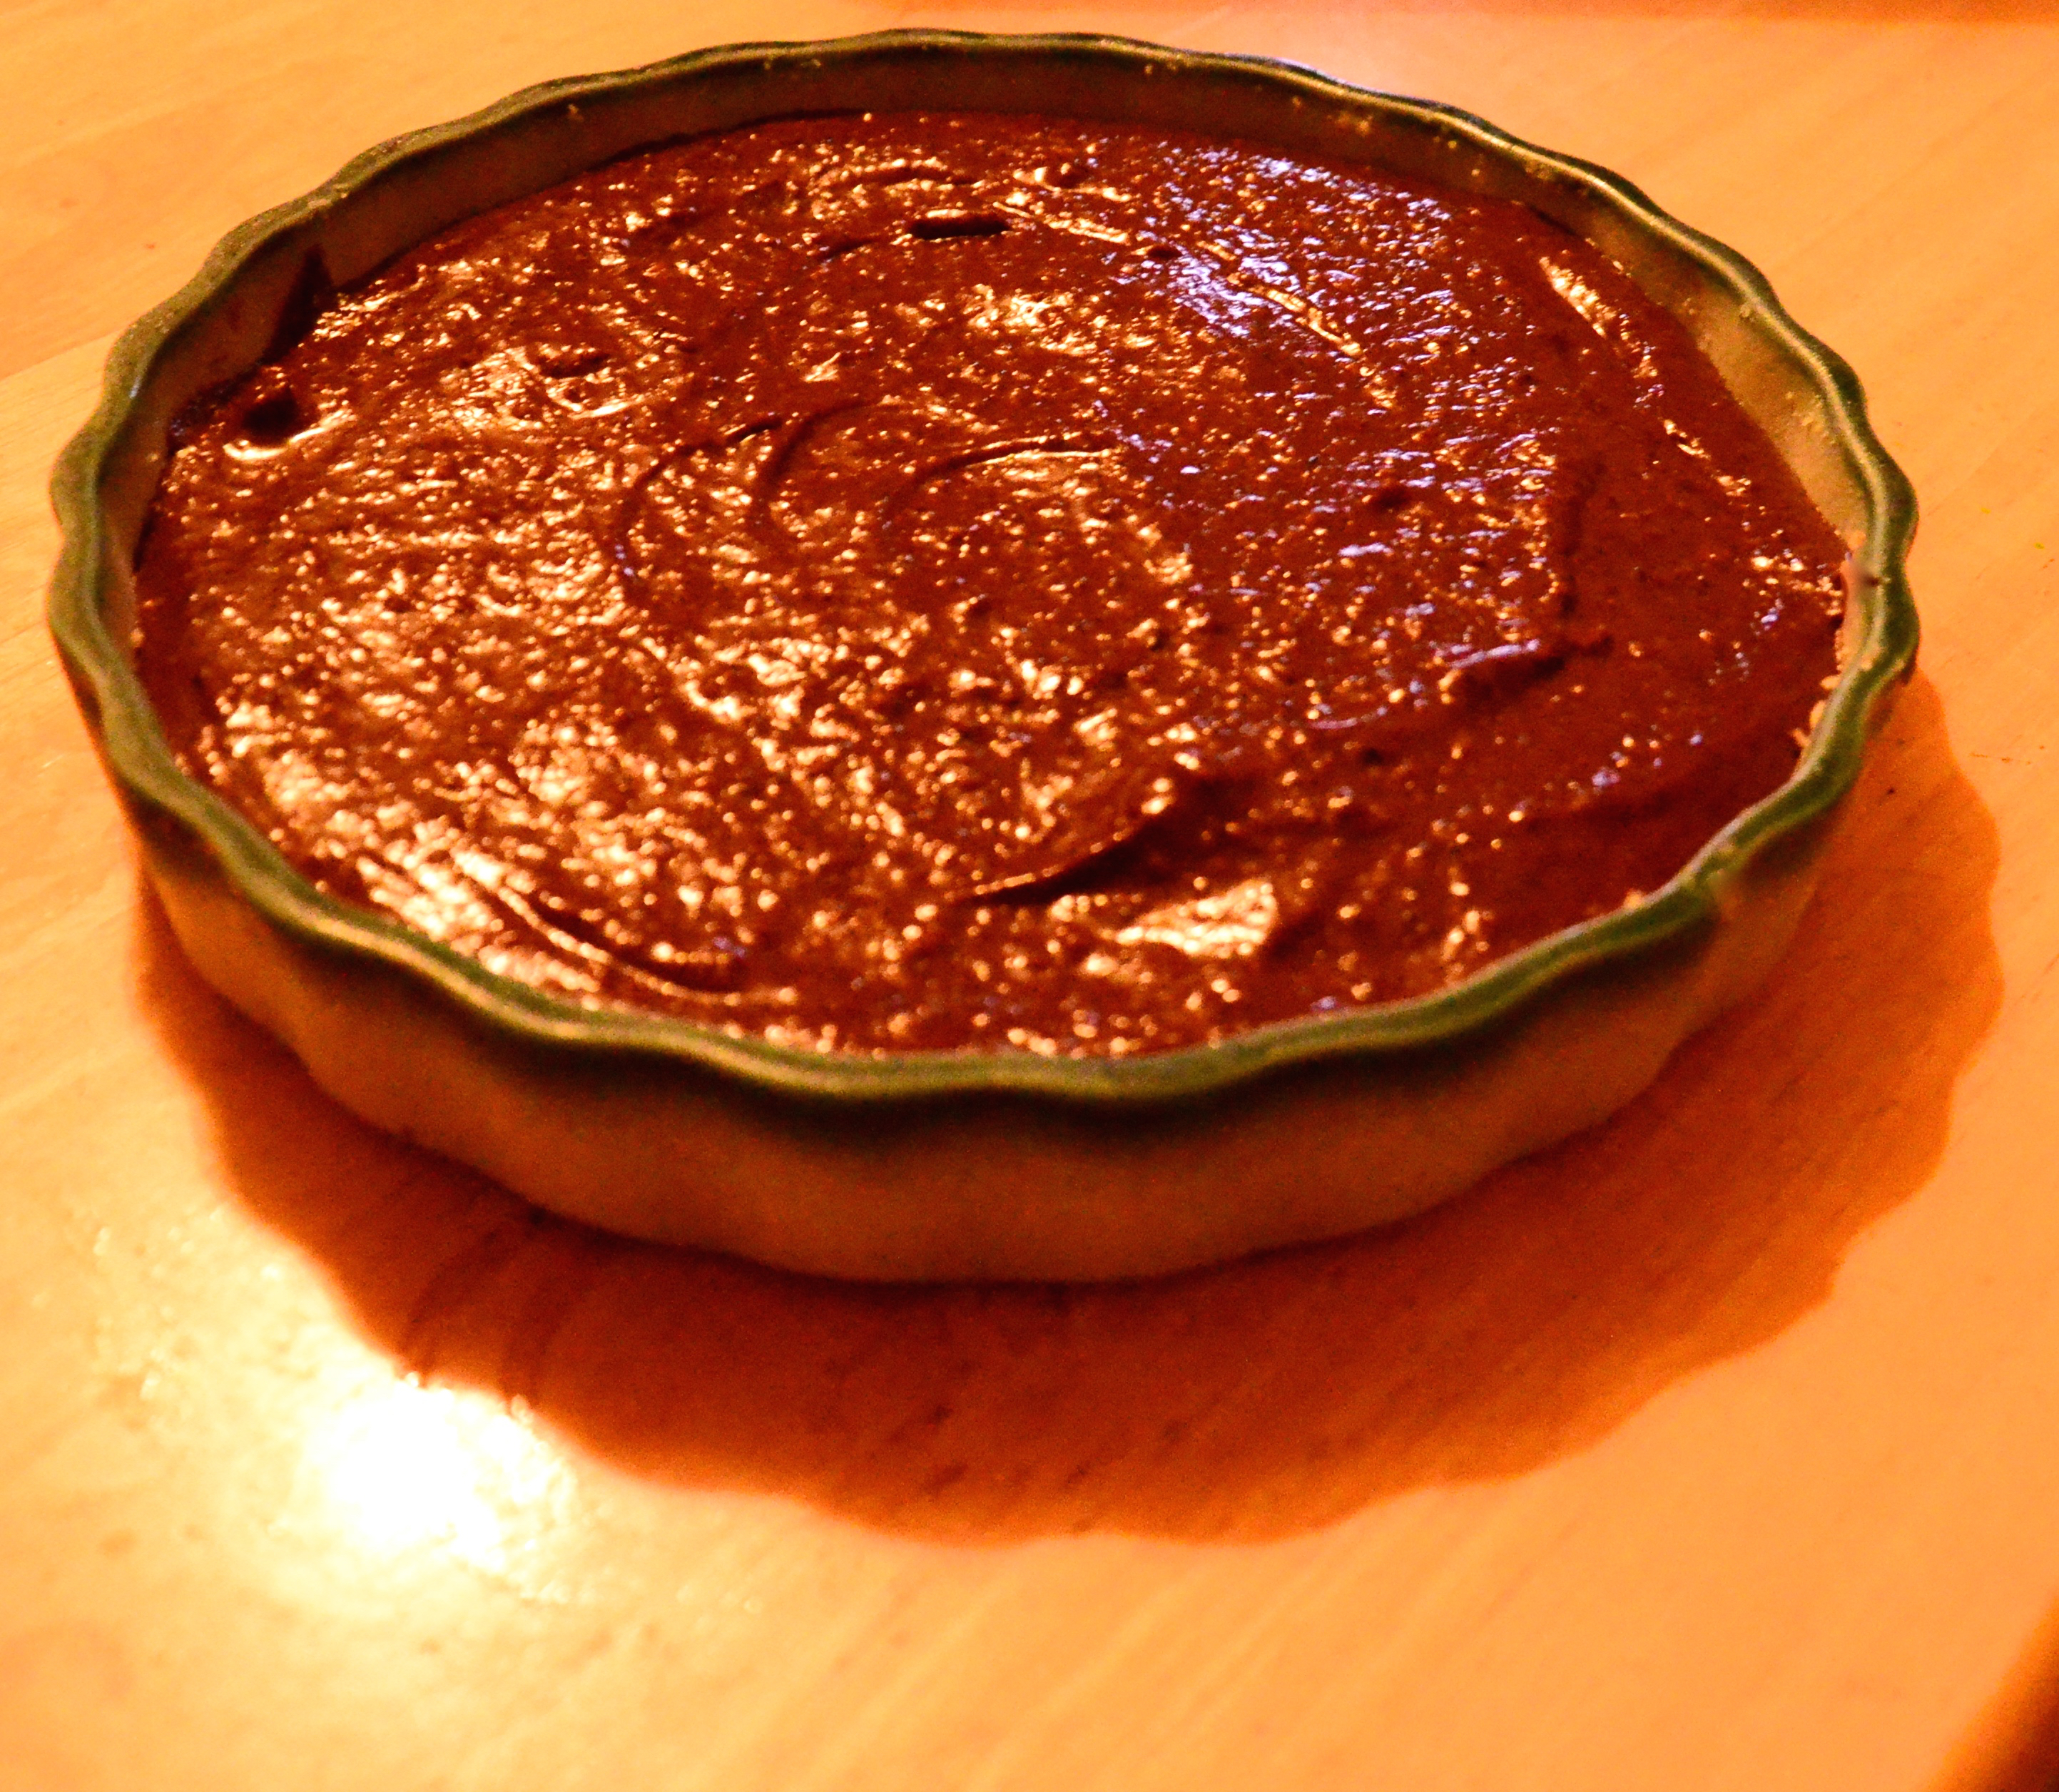
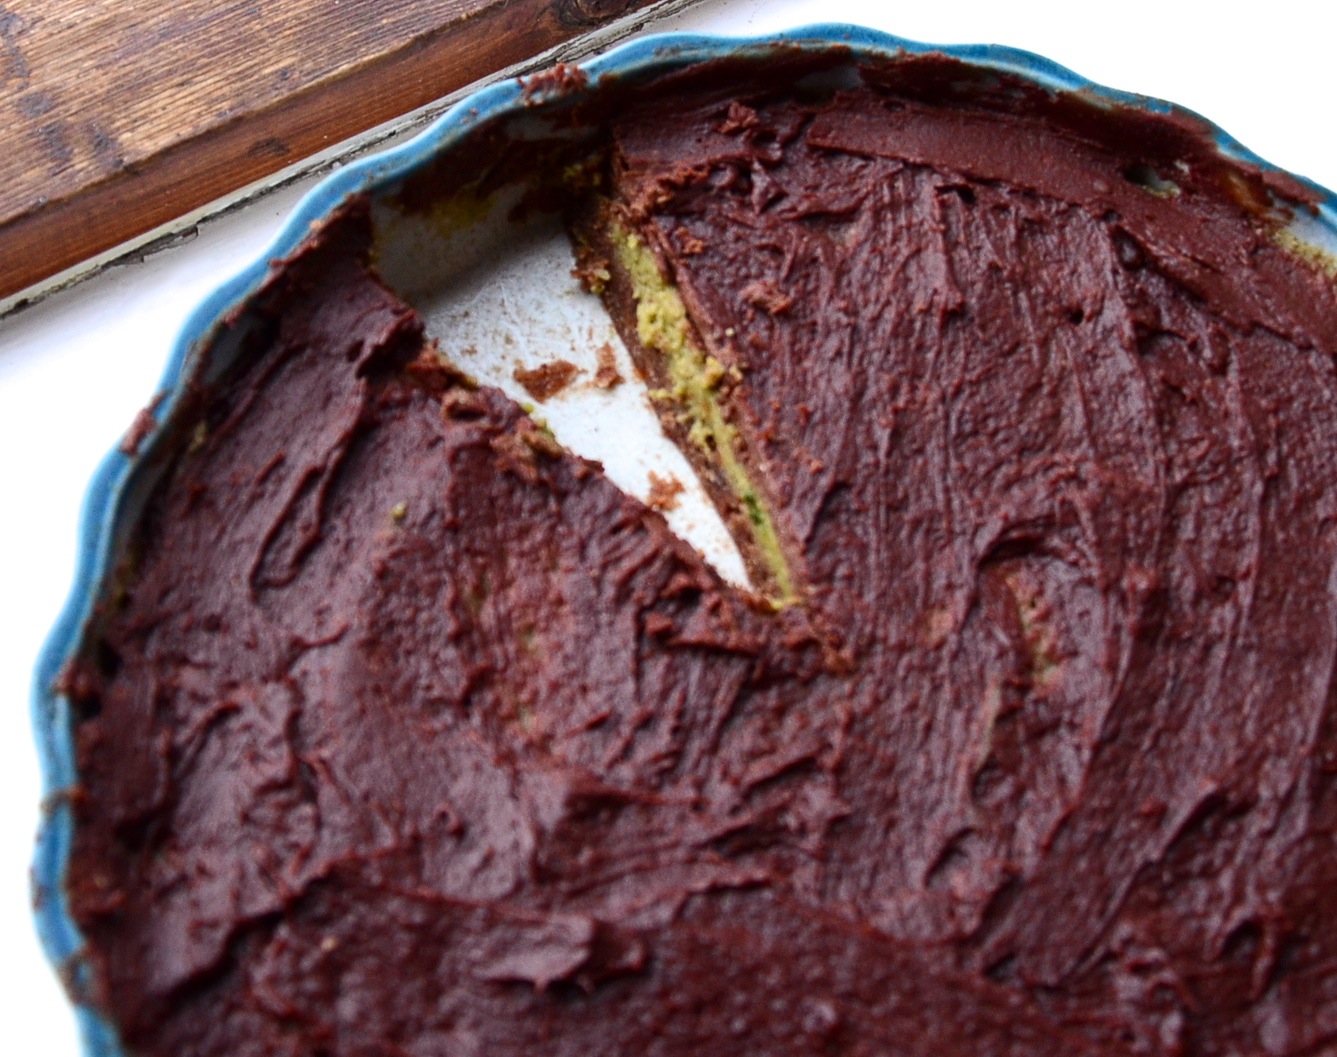
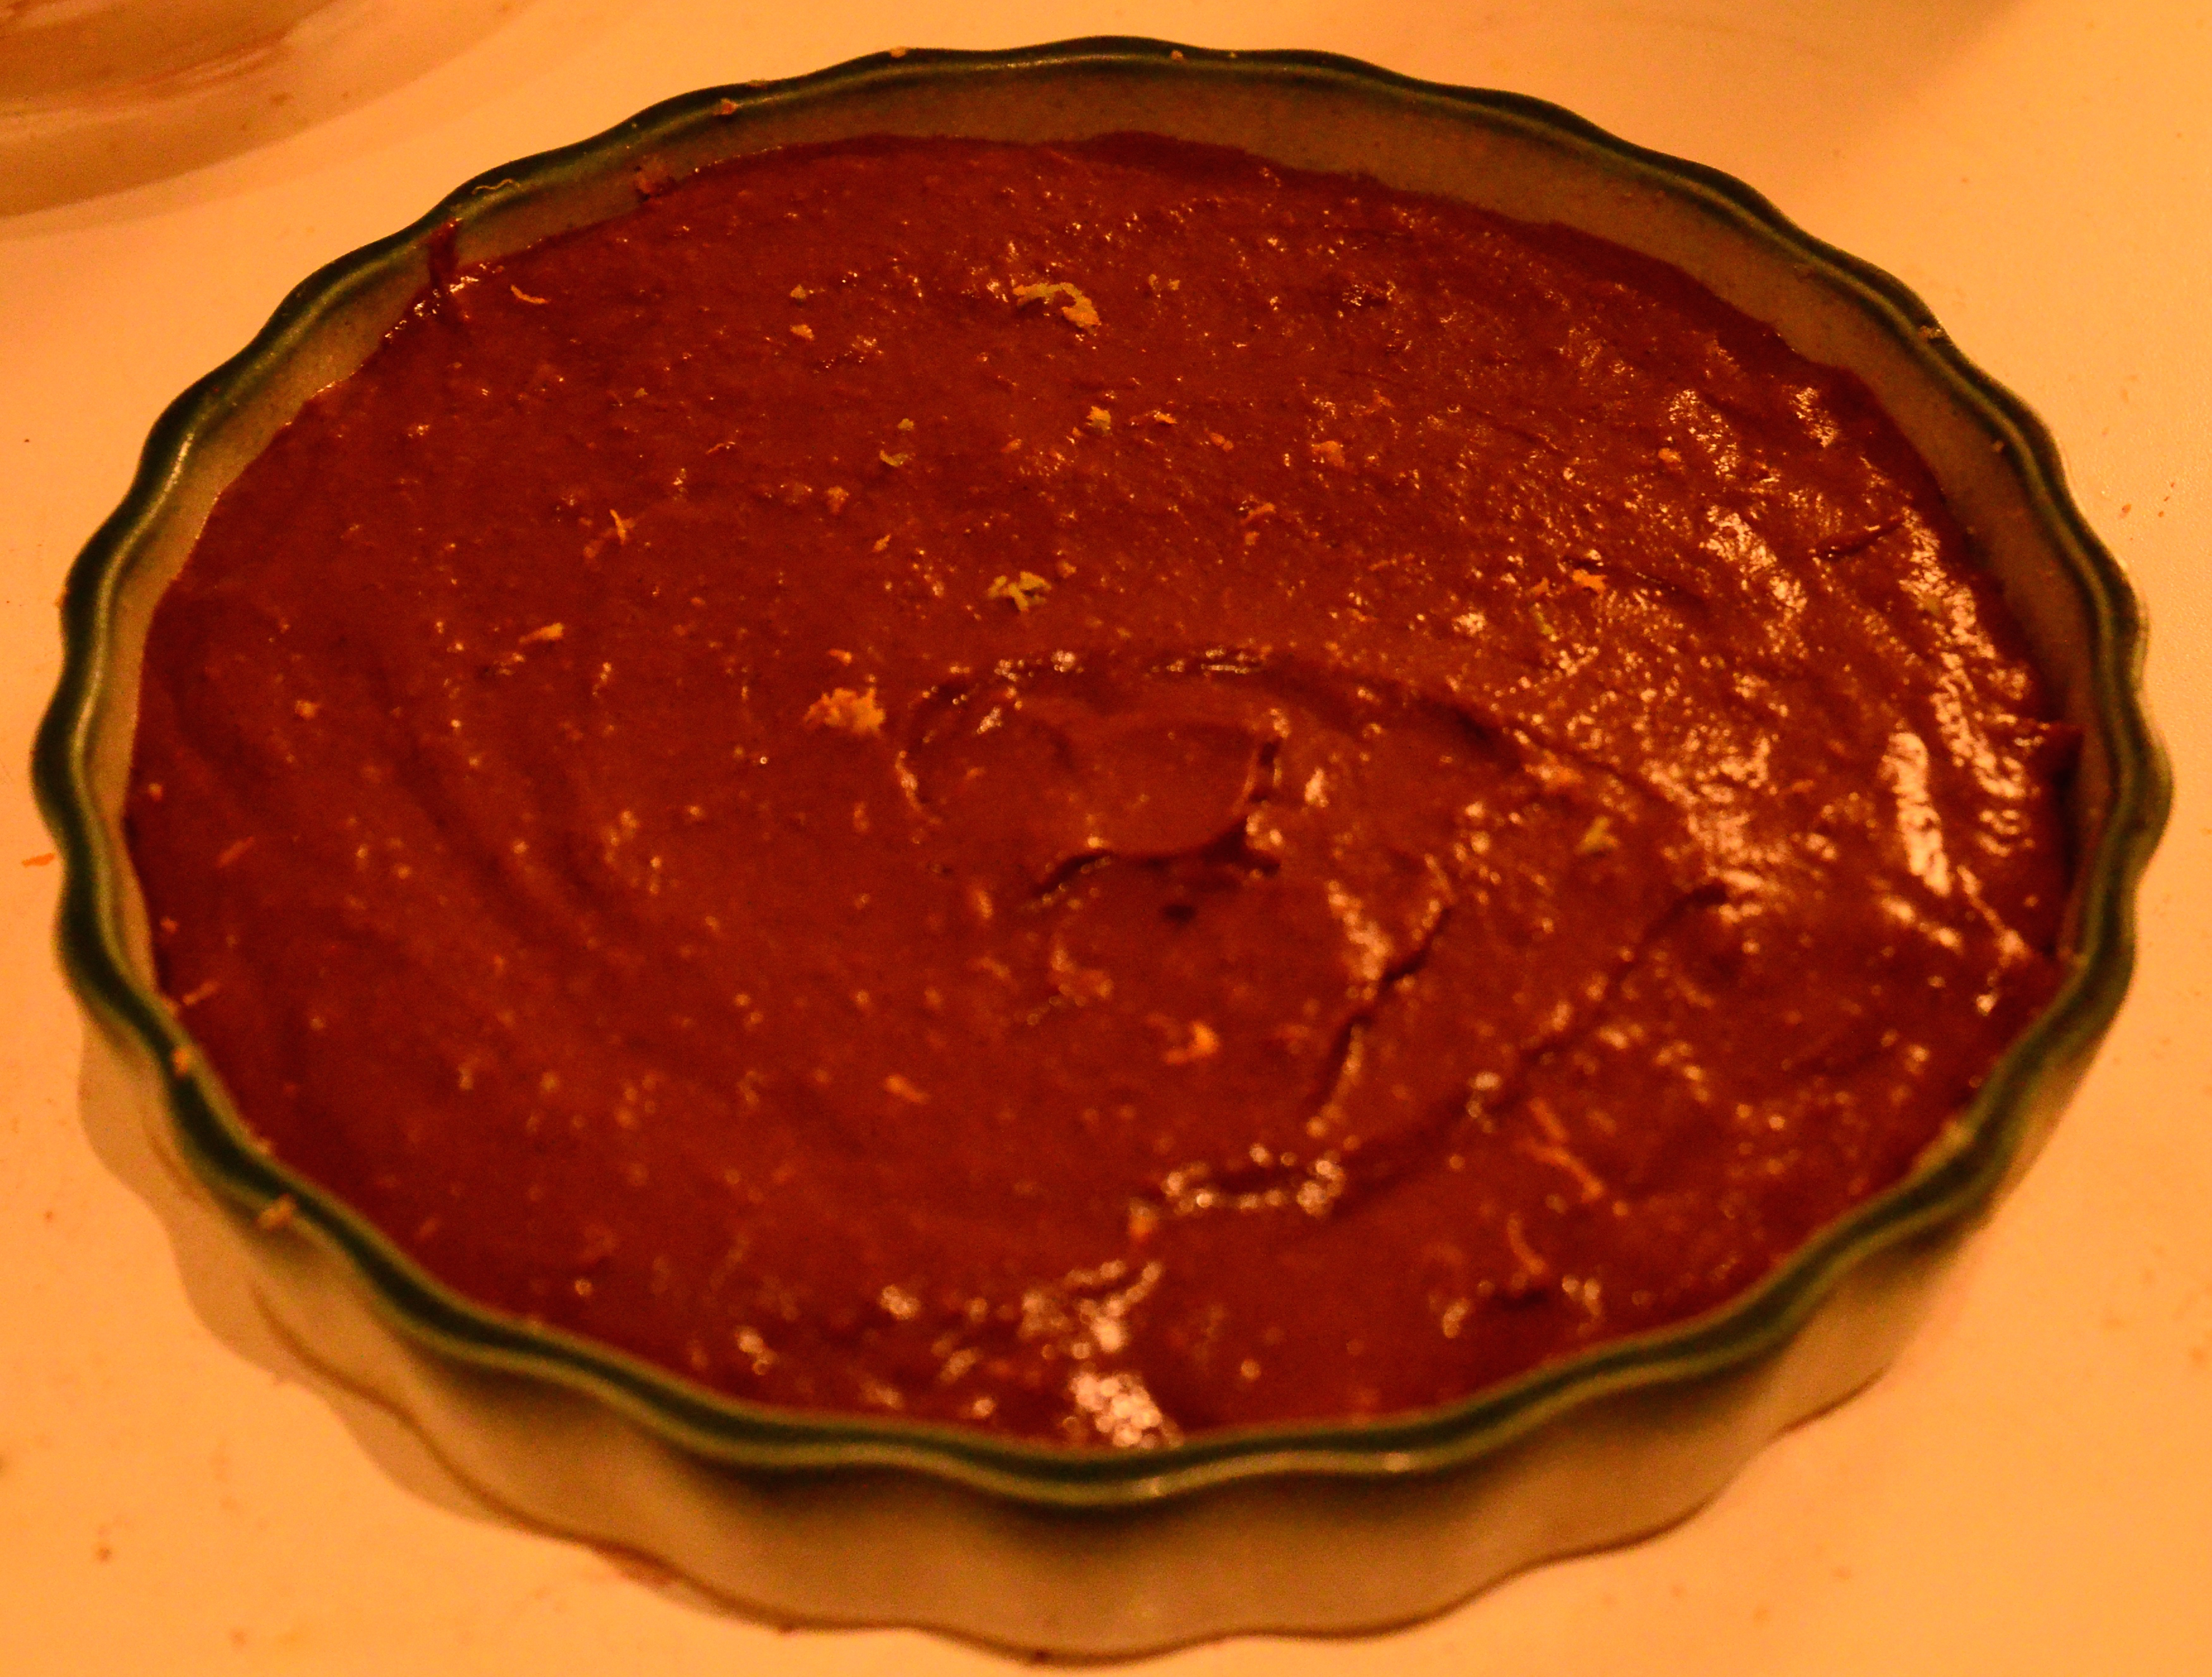
Chestnut Chocolate Filling!


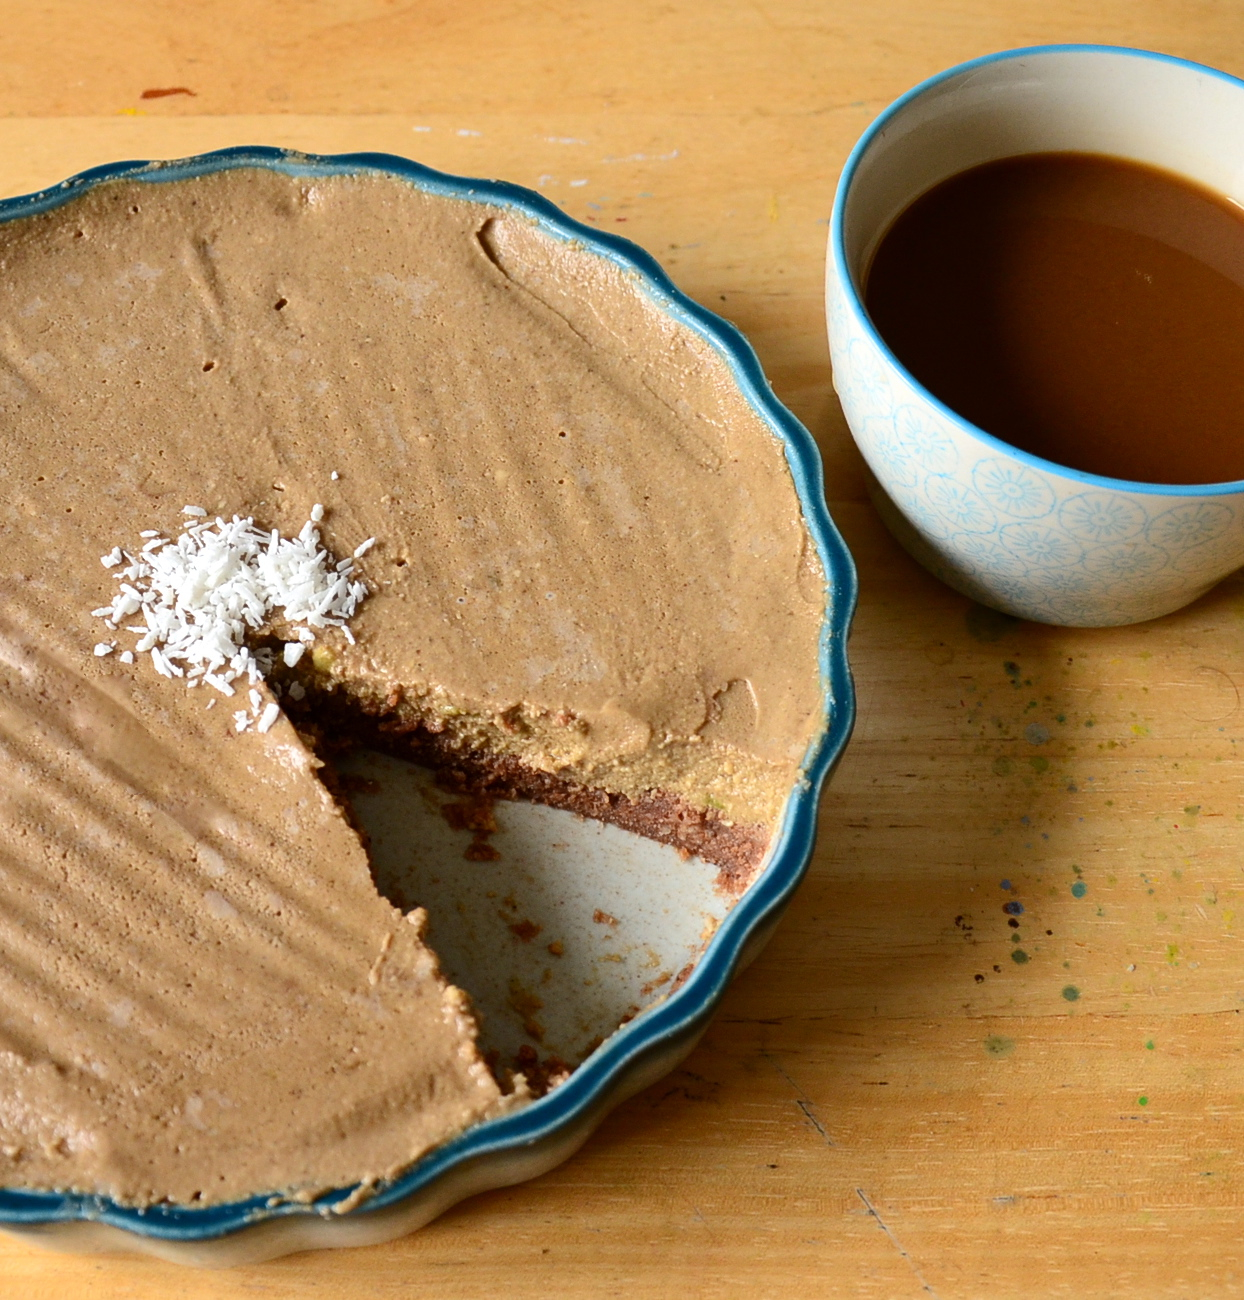
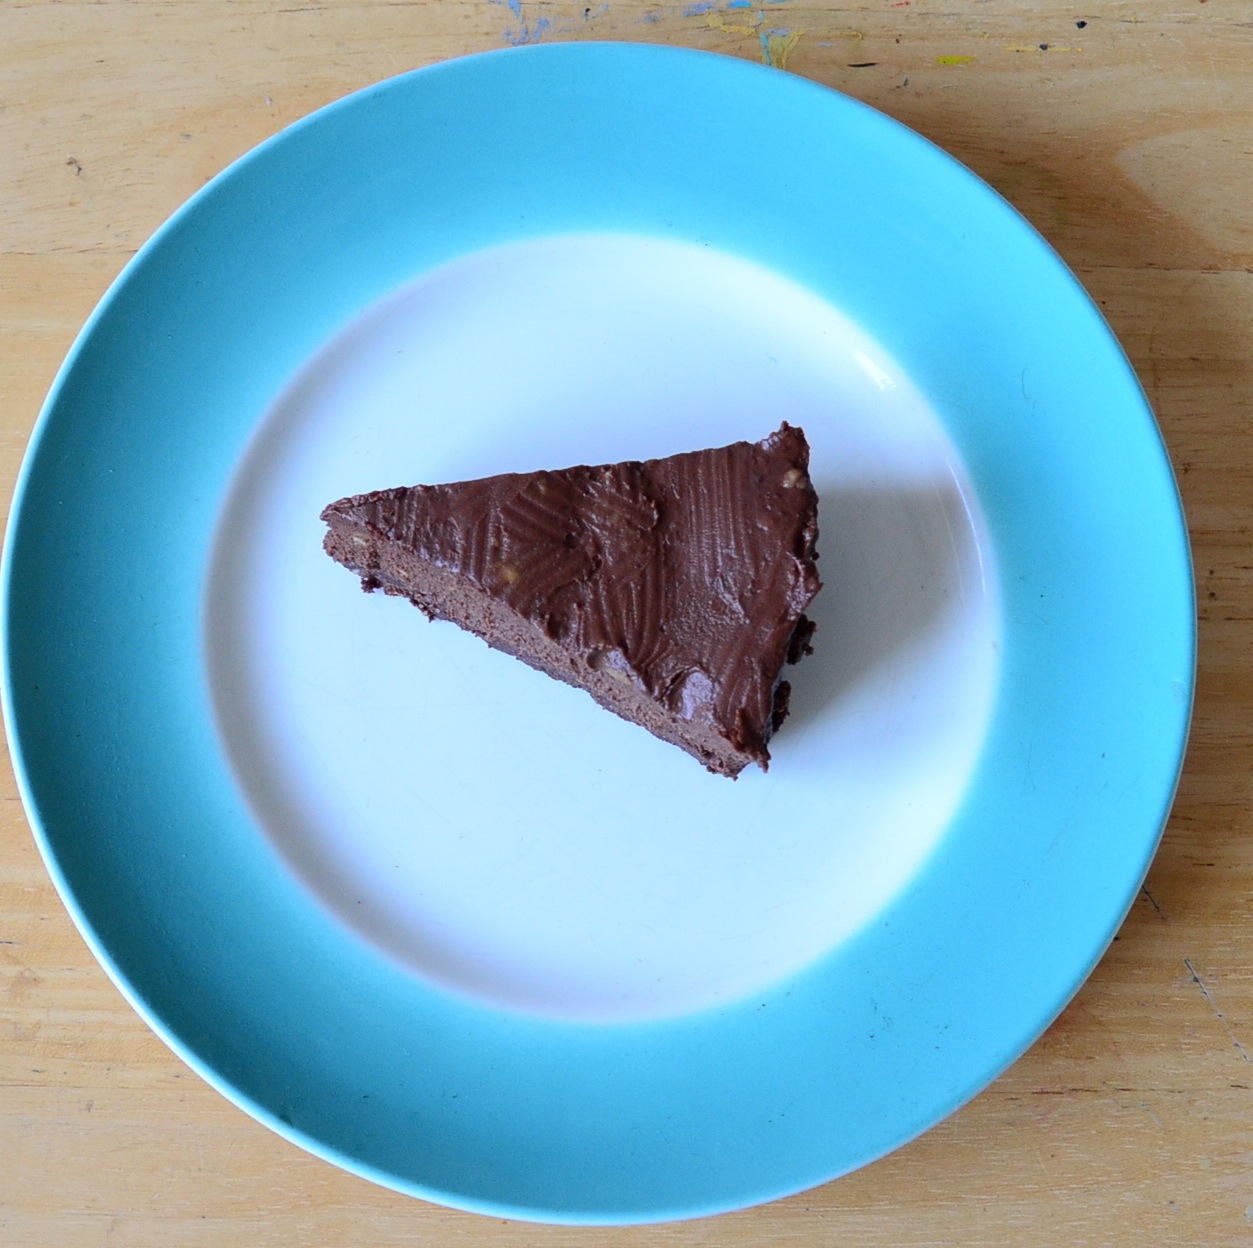
 Seasonal Chestnut Chocolate Pie / Tart

Prepare a 20cm/ 7.8inc tart dish by greasing lightly with a little coconut oil. If using a spring form tin line it with some baking paper to prevent sticking. You will need a saucepan and perspex bowl to melt your chocolate in. I use a handheld immersion blender and a coffee grinder for the nuts, if you have a jug blender that will do even better.
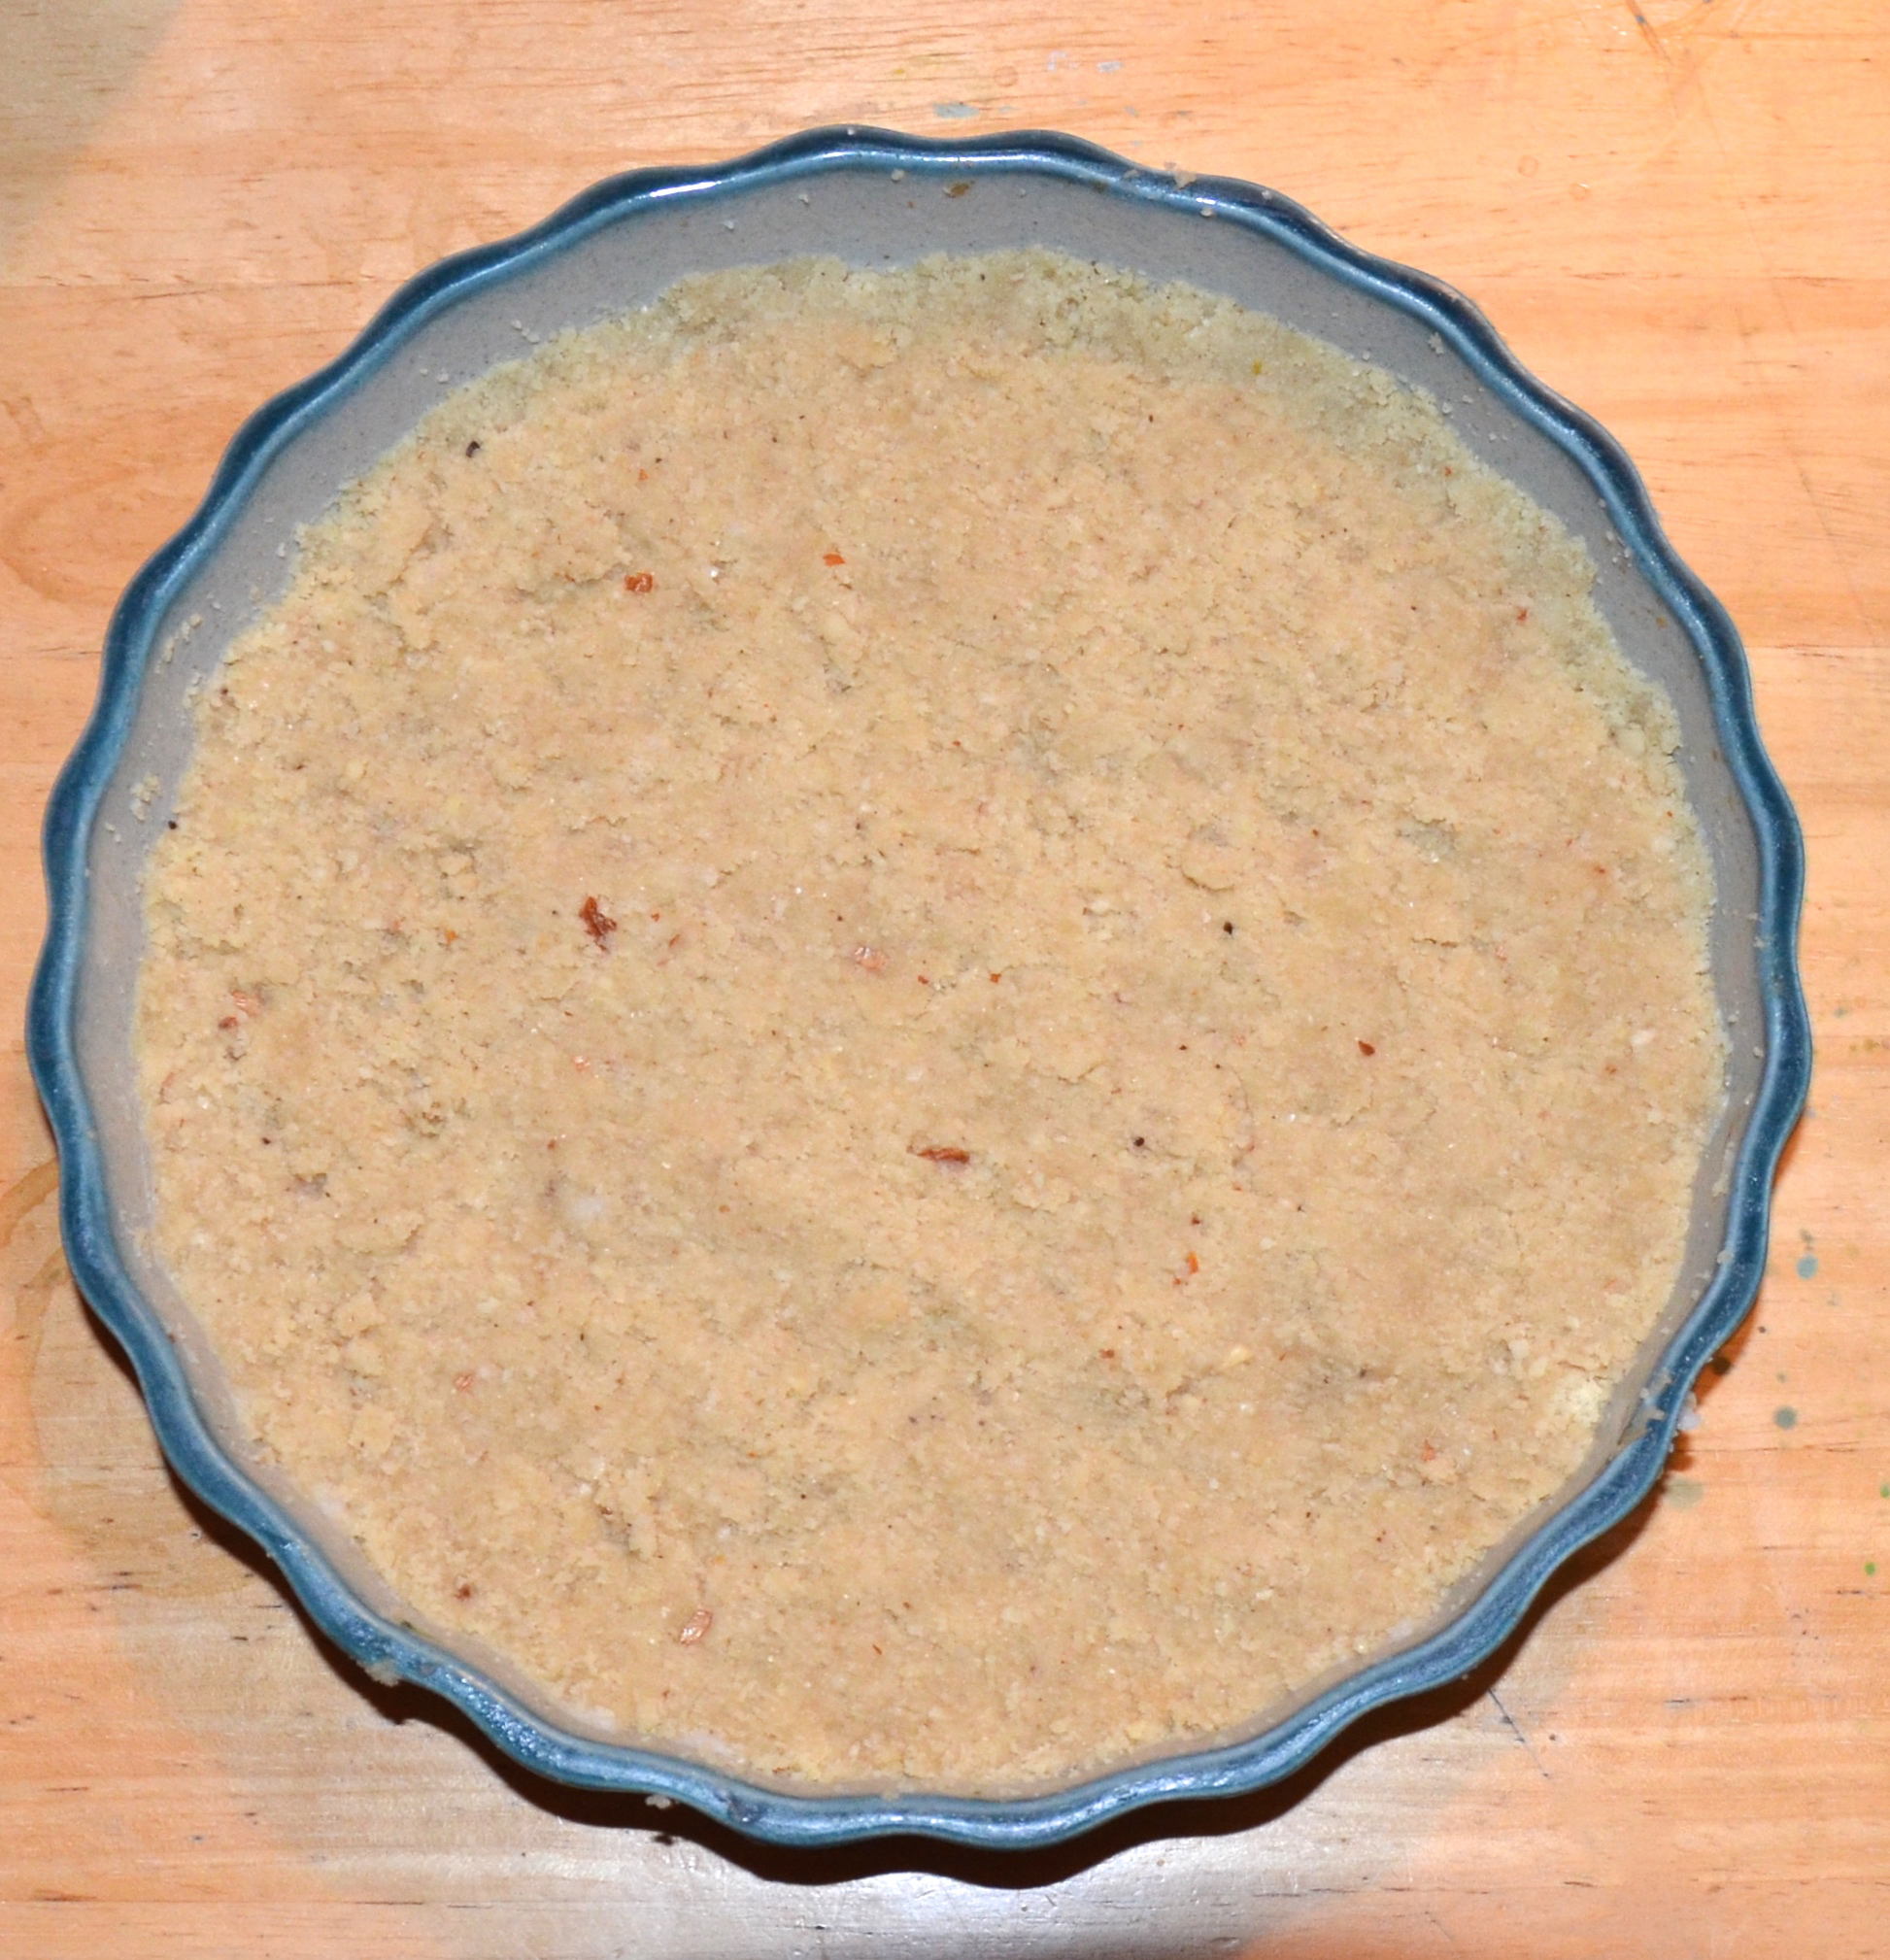
The Press In Base

  • One and a half cups of ground almonds
  • A third of a cup of walnuts
  • One tablespoon of cashews
  • Eight apricot kernels*
  • An eight teaspoon of Himalayan pink salt or fine sea salt
  • An eight of a teaspoon of cardamon powder
  • Half a teaspoon of vanilla powder/ one pod/ one tsp of vanilla bean paste
  • Three drops of lemon oil/ a quarter tsp of extract
  • One and a half tablespoons of organic cold pressed coconut oil
  • One tablespoon of cashew nut butter
  • One and a half tablespoons of raw dark agave**
  • Two and a half tablespoons of maple syrup**

* You can use a quarter teaspoon of almond extract instead

** You could also soak six or seven medjool dates or un-sulphered apricots over night. Puree them and use them instead of the syrups.

Chestnut Chocolate Mousse-y Filling

  • One small avocado- mashed
  • Optional: Zest of one unwaxed organic bergamot lemon*
  • Zest of one unwaxed organic orange*
  • Five drops of orange oil/ one tsp of natural extract/ zest of another orange
  • One cup/ 225g of unsweetened chestnut puree
  • Juice of half an orange
  • Make up a quarter cup of raw dark agave and maple syrup
  • One scant teaspoon of vanilla powder/ two pods/ two scant tsp vanilla bean paste
  • 70g/ 2.5oz bar of at least 70% good quality dark chocolate
  • Three tablespoons of roughly chopped cacao butter
  • Optional: One tablespoon of cacao paste
  • One tablespoon of cocoa or cacao
  • A generous eight of a teaspoon of Himalayan pink salt or sea salt
  • Half a cup of non-dairy milk

*Organic as I do not want to zest chemicals

Base Method

Ready your ingredients and grab a bowl. I like to prepare the dry things first. Grind your walnuts, cashews and apricot kernels to a soft meal. Put in your bowl. Add in the ground almonds, salt, cardamon and vanilla powder. If using vanilla bean paste add it to the wet.

dry ingredients

dry ingredients

In another bowl mash your coconut oil, cashew nut butter, lemon oil/ extract, agave and maple syrup.

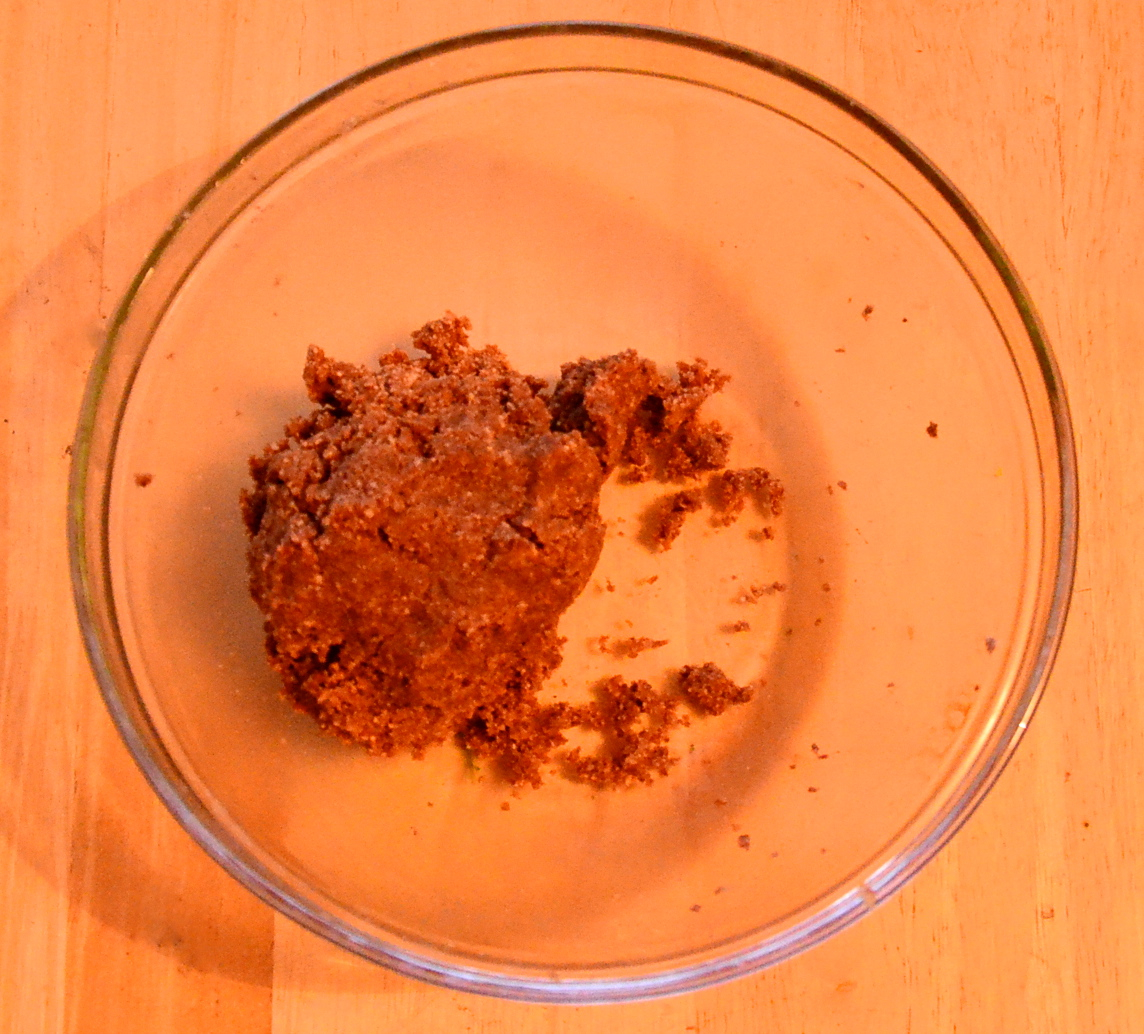
Add your dry ingredients to the wet ones. Give it a stir, you will need to get in there with your hands in order to get it to turn into a crumbly meal. It should stick together when pinched between your fingers.

crumbly base

You can now press it into the tart dish. Try and get it nice and even. Cover it with baking paper or foil. You can now pop it in the fridge or freezer while you make the delectable chocolate top!

The press in base

The press in base

Chestnut Chocolate Mousse-y Filling- Method

Put some hot water in a saucepan and keep it on a medium heat on your hob. Make sure you use a saucepan that your perspex bowl will fit over later when melting the chocolate.

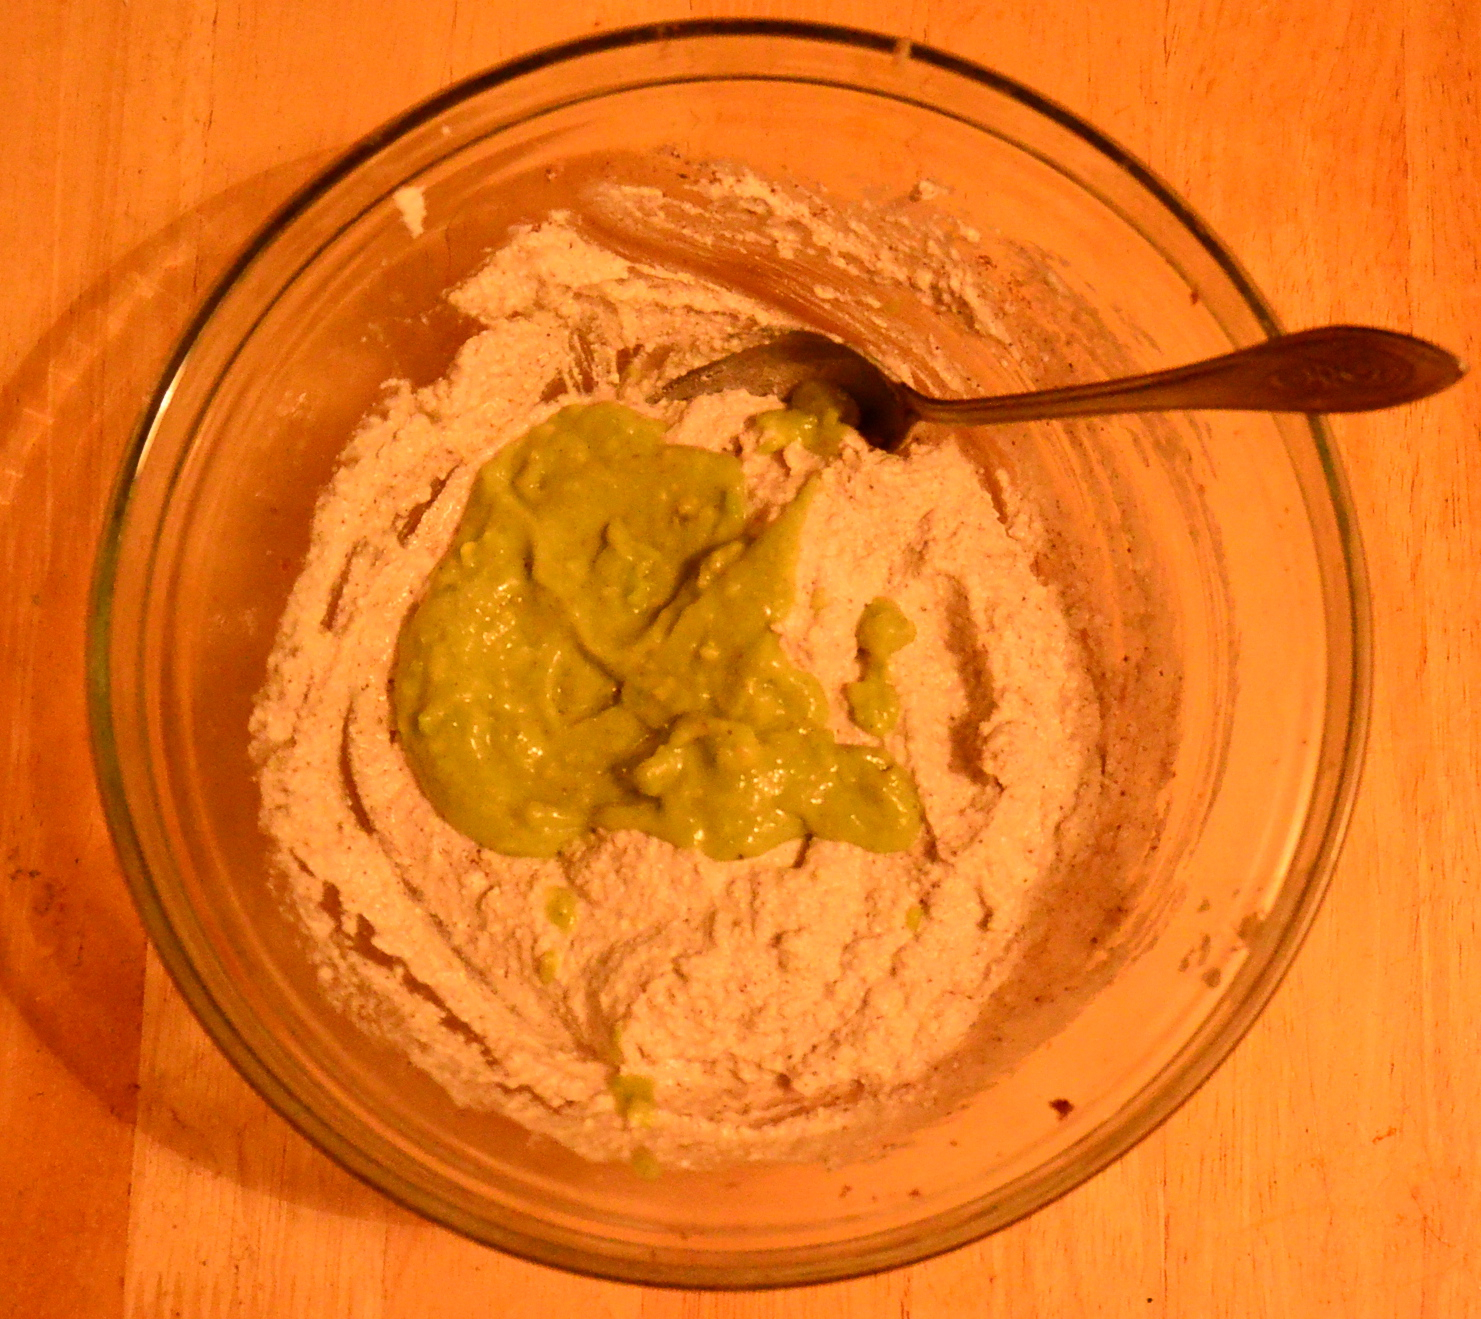
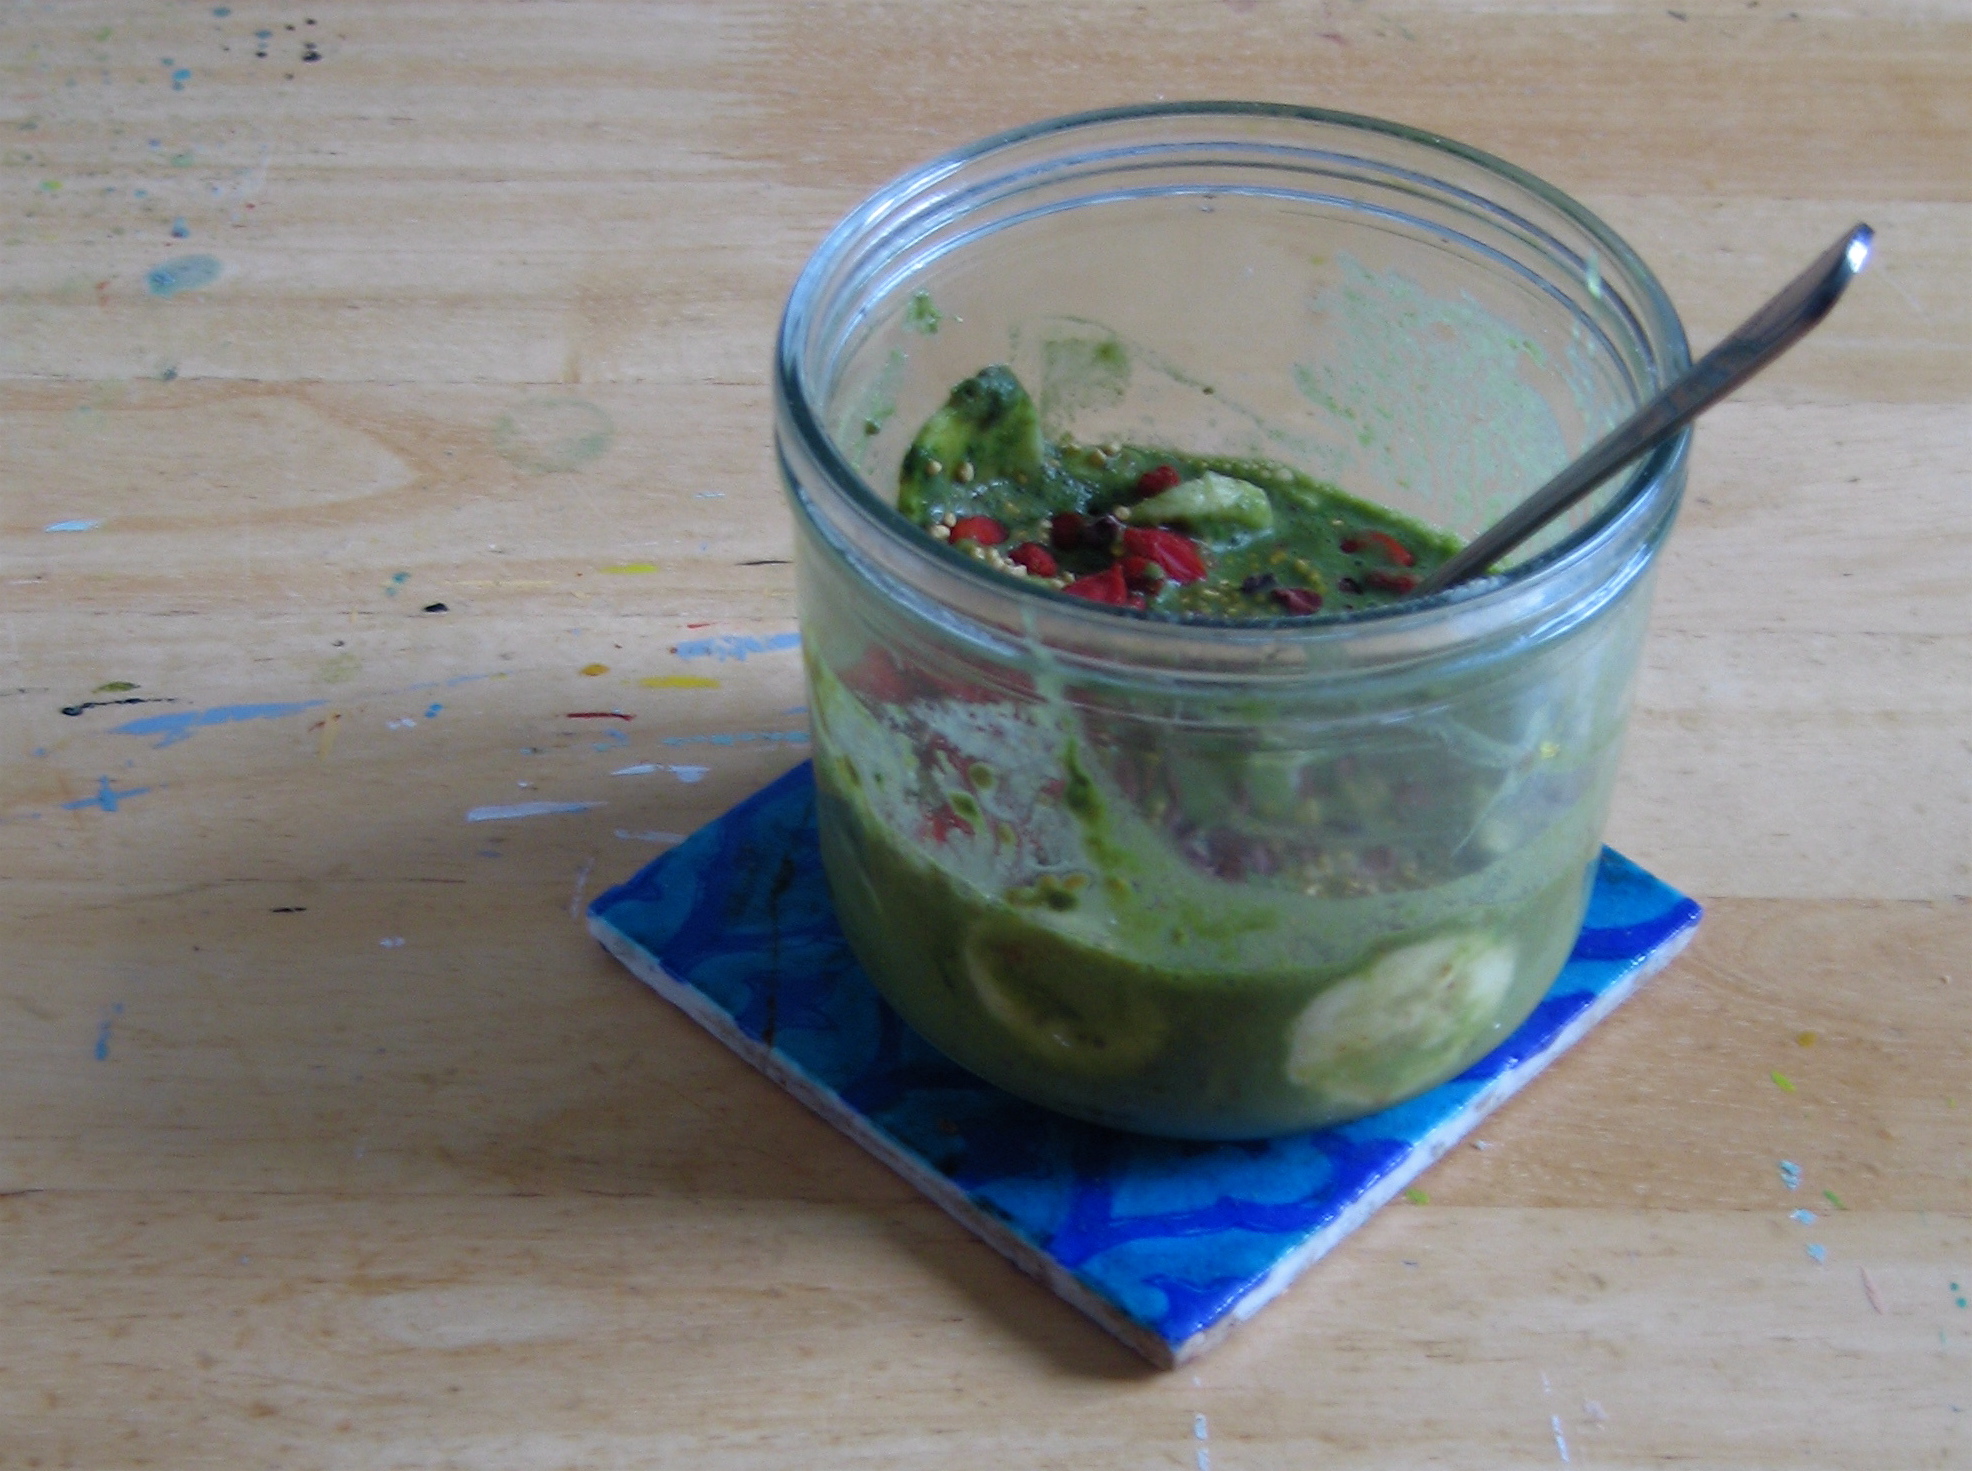
In another bowl start combining your ingredients. If you have a jug blender you can add them all to this. Firstly mash together your small avocado, zests, orange oil /extract.

avocado & zest

Avocado and zest looking like alien goo

Next grab your can of chestnut puree. So pretty and smooth and shinny! Doing a good impersonation of chocolate. Mash this into the other ingredients, add the juice of half an orange and the agave and maple syrup. Using your blender, blend them all together to a soft fluffy puree. Leave to one side while you get ready to melt your chocolate.

chestnut puree

Giant can of puree! I will have to think of another recipe for the left overs! 

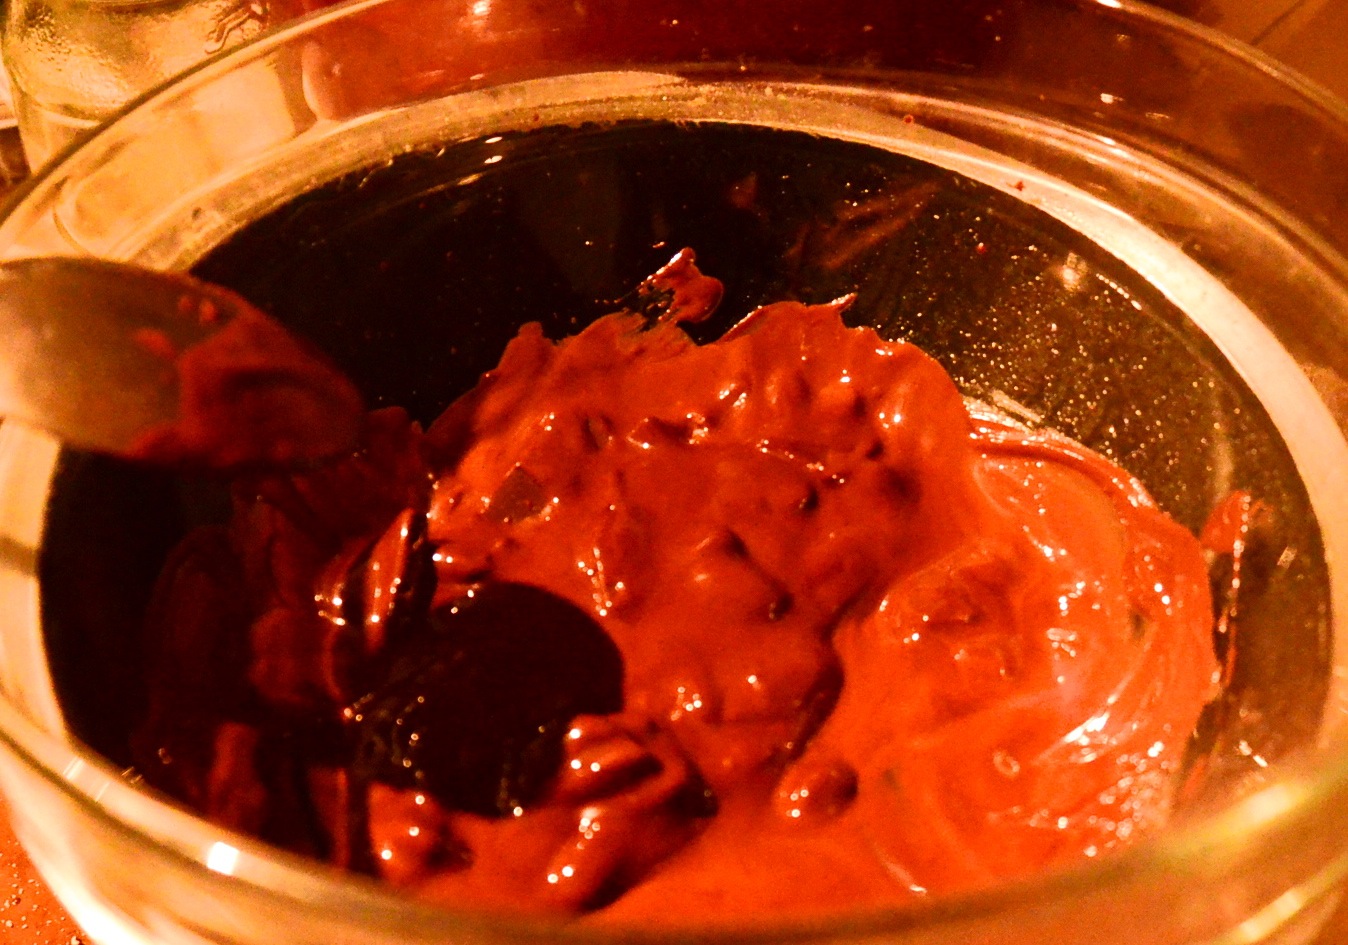
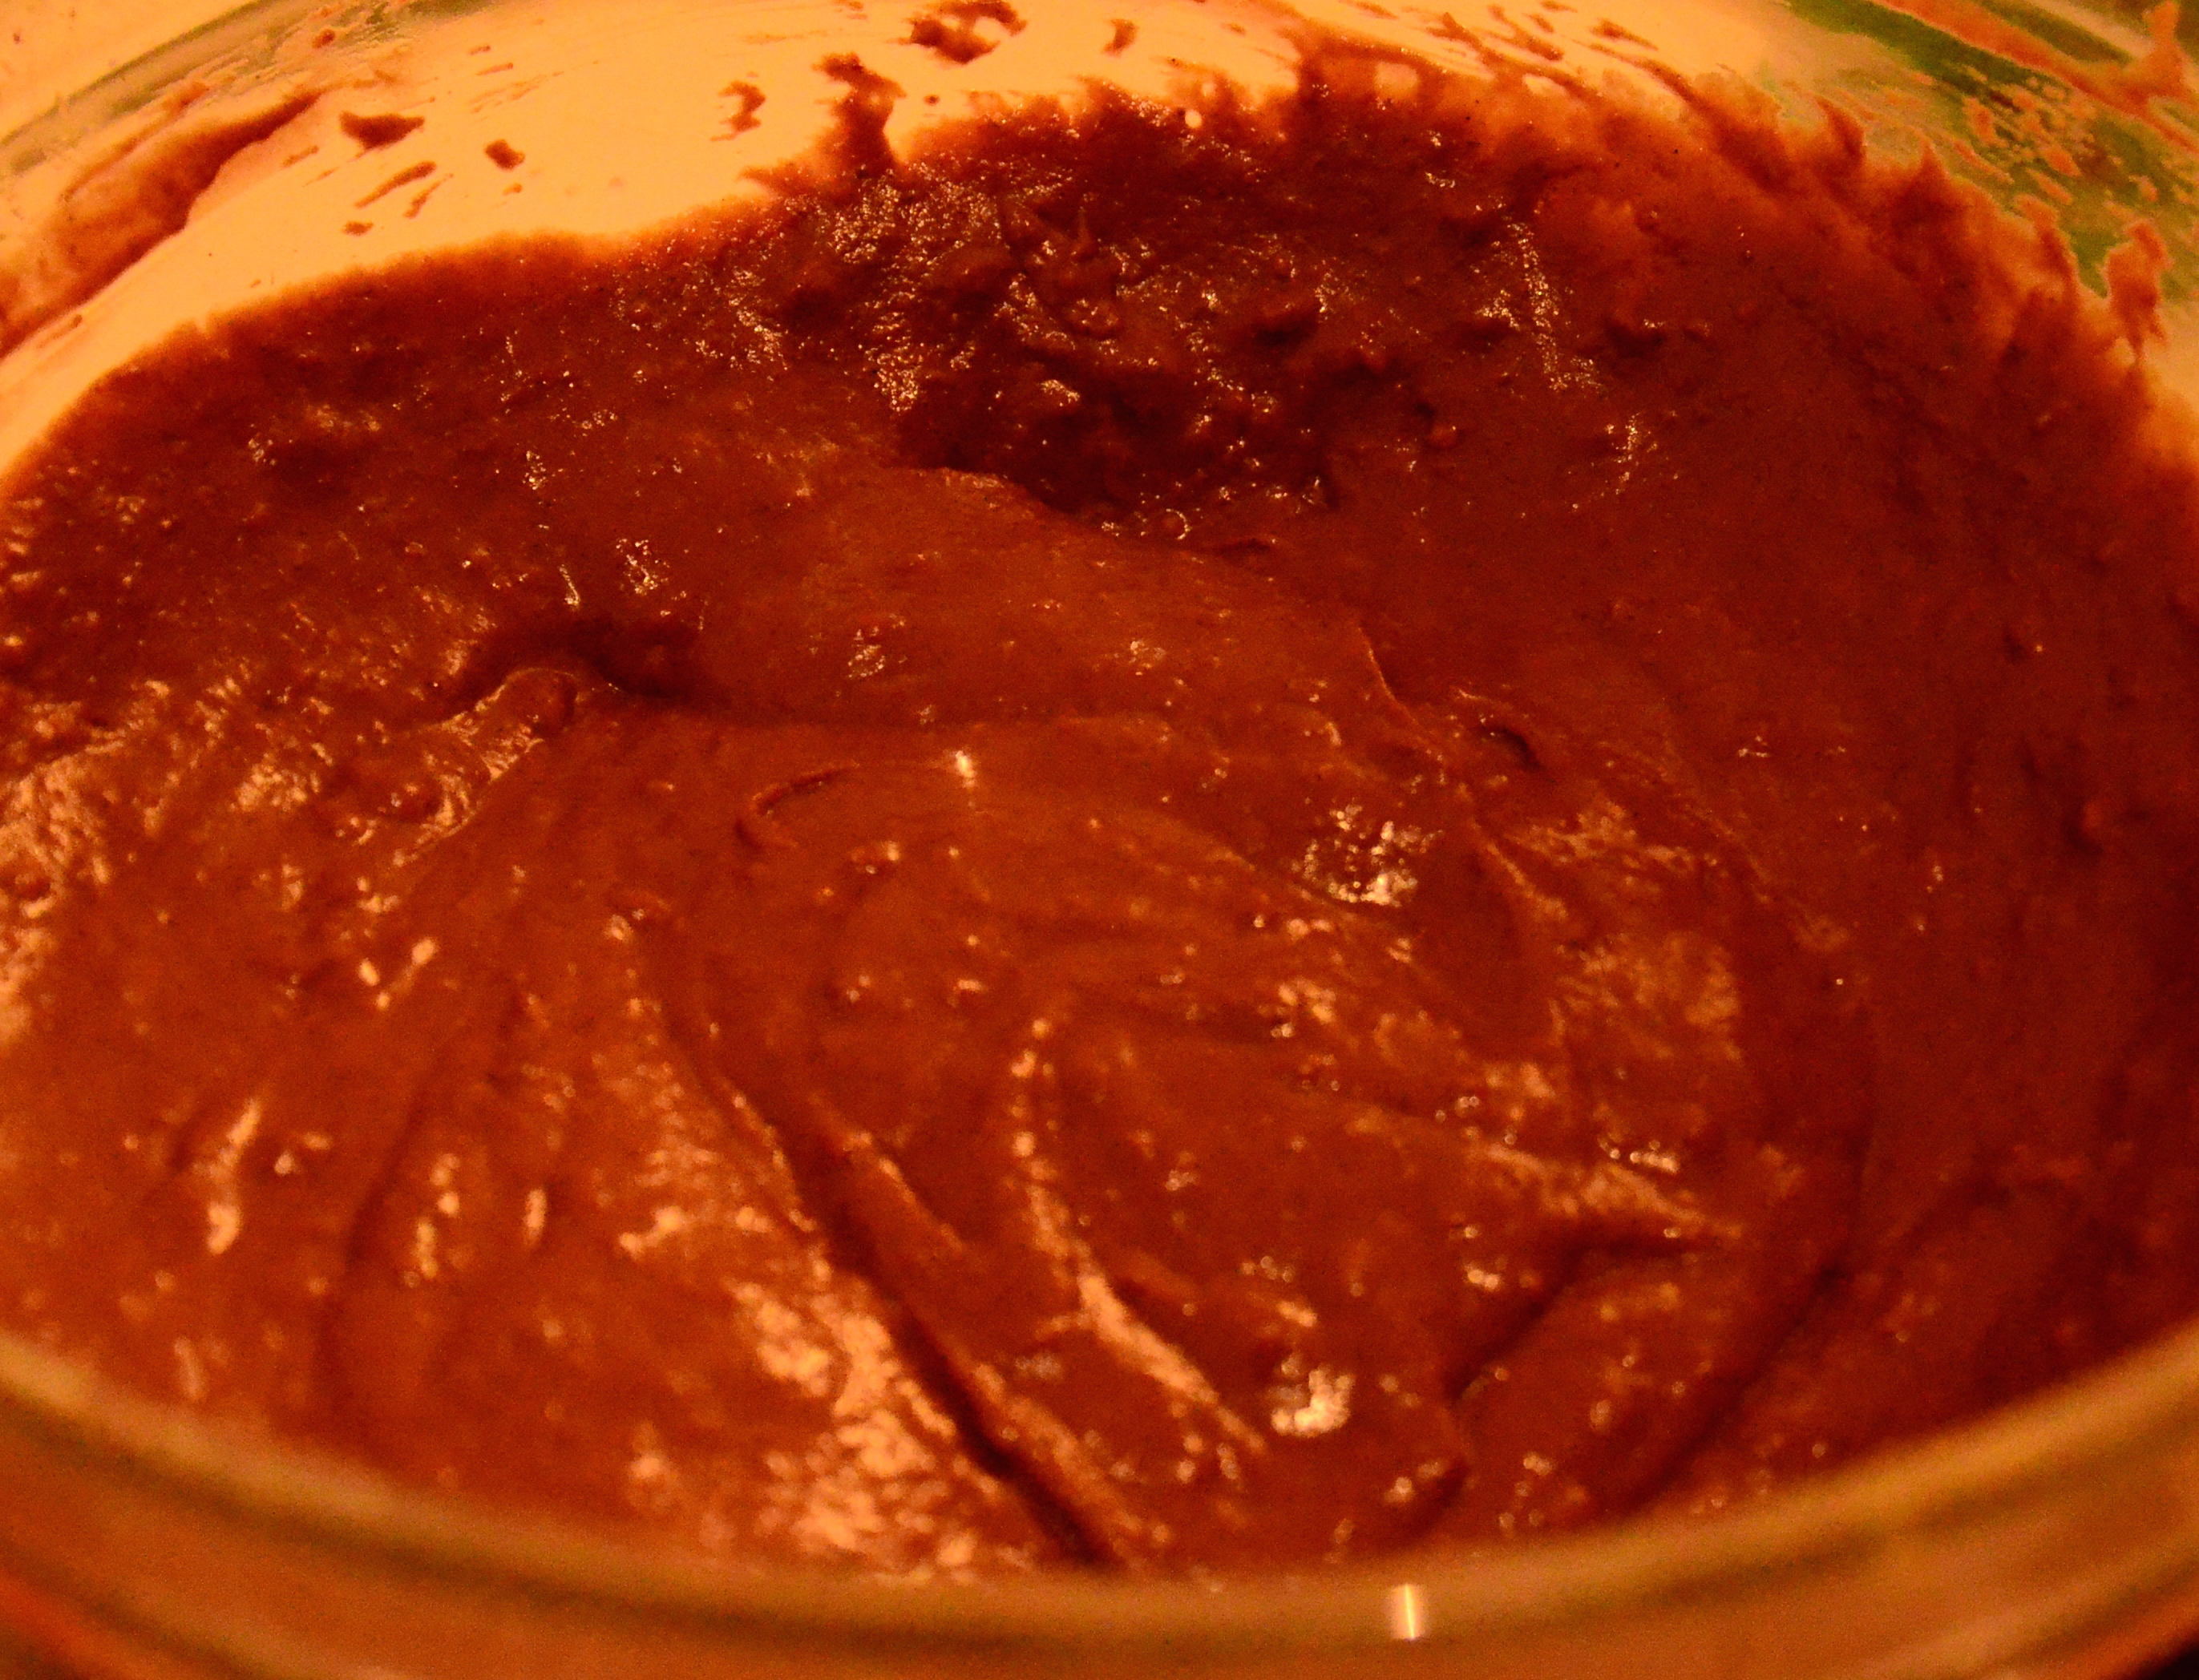
Roughly chop your bar of chocolate and add it to the perspex bowl on the saucepan. Add in the cacao butter and cacao paste if using, keep stirring until it melts. Turn off the heat. Add your vanilla powder/pod/ paste, the salt and the cocoa or cacao. Mix throughly. Gradually start trickling in the half cup of non-dairy milk. Stir it all together.

melty chocolate

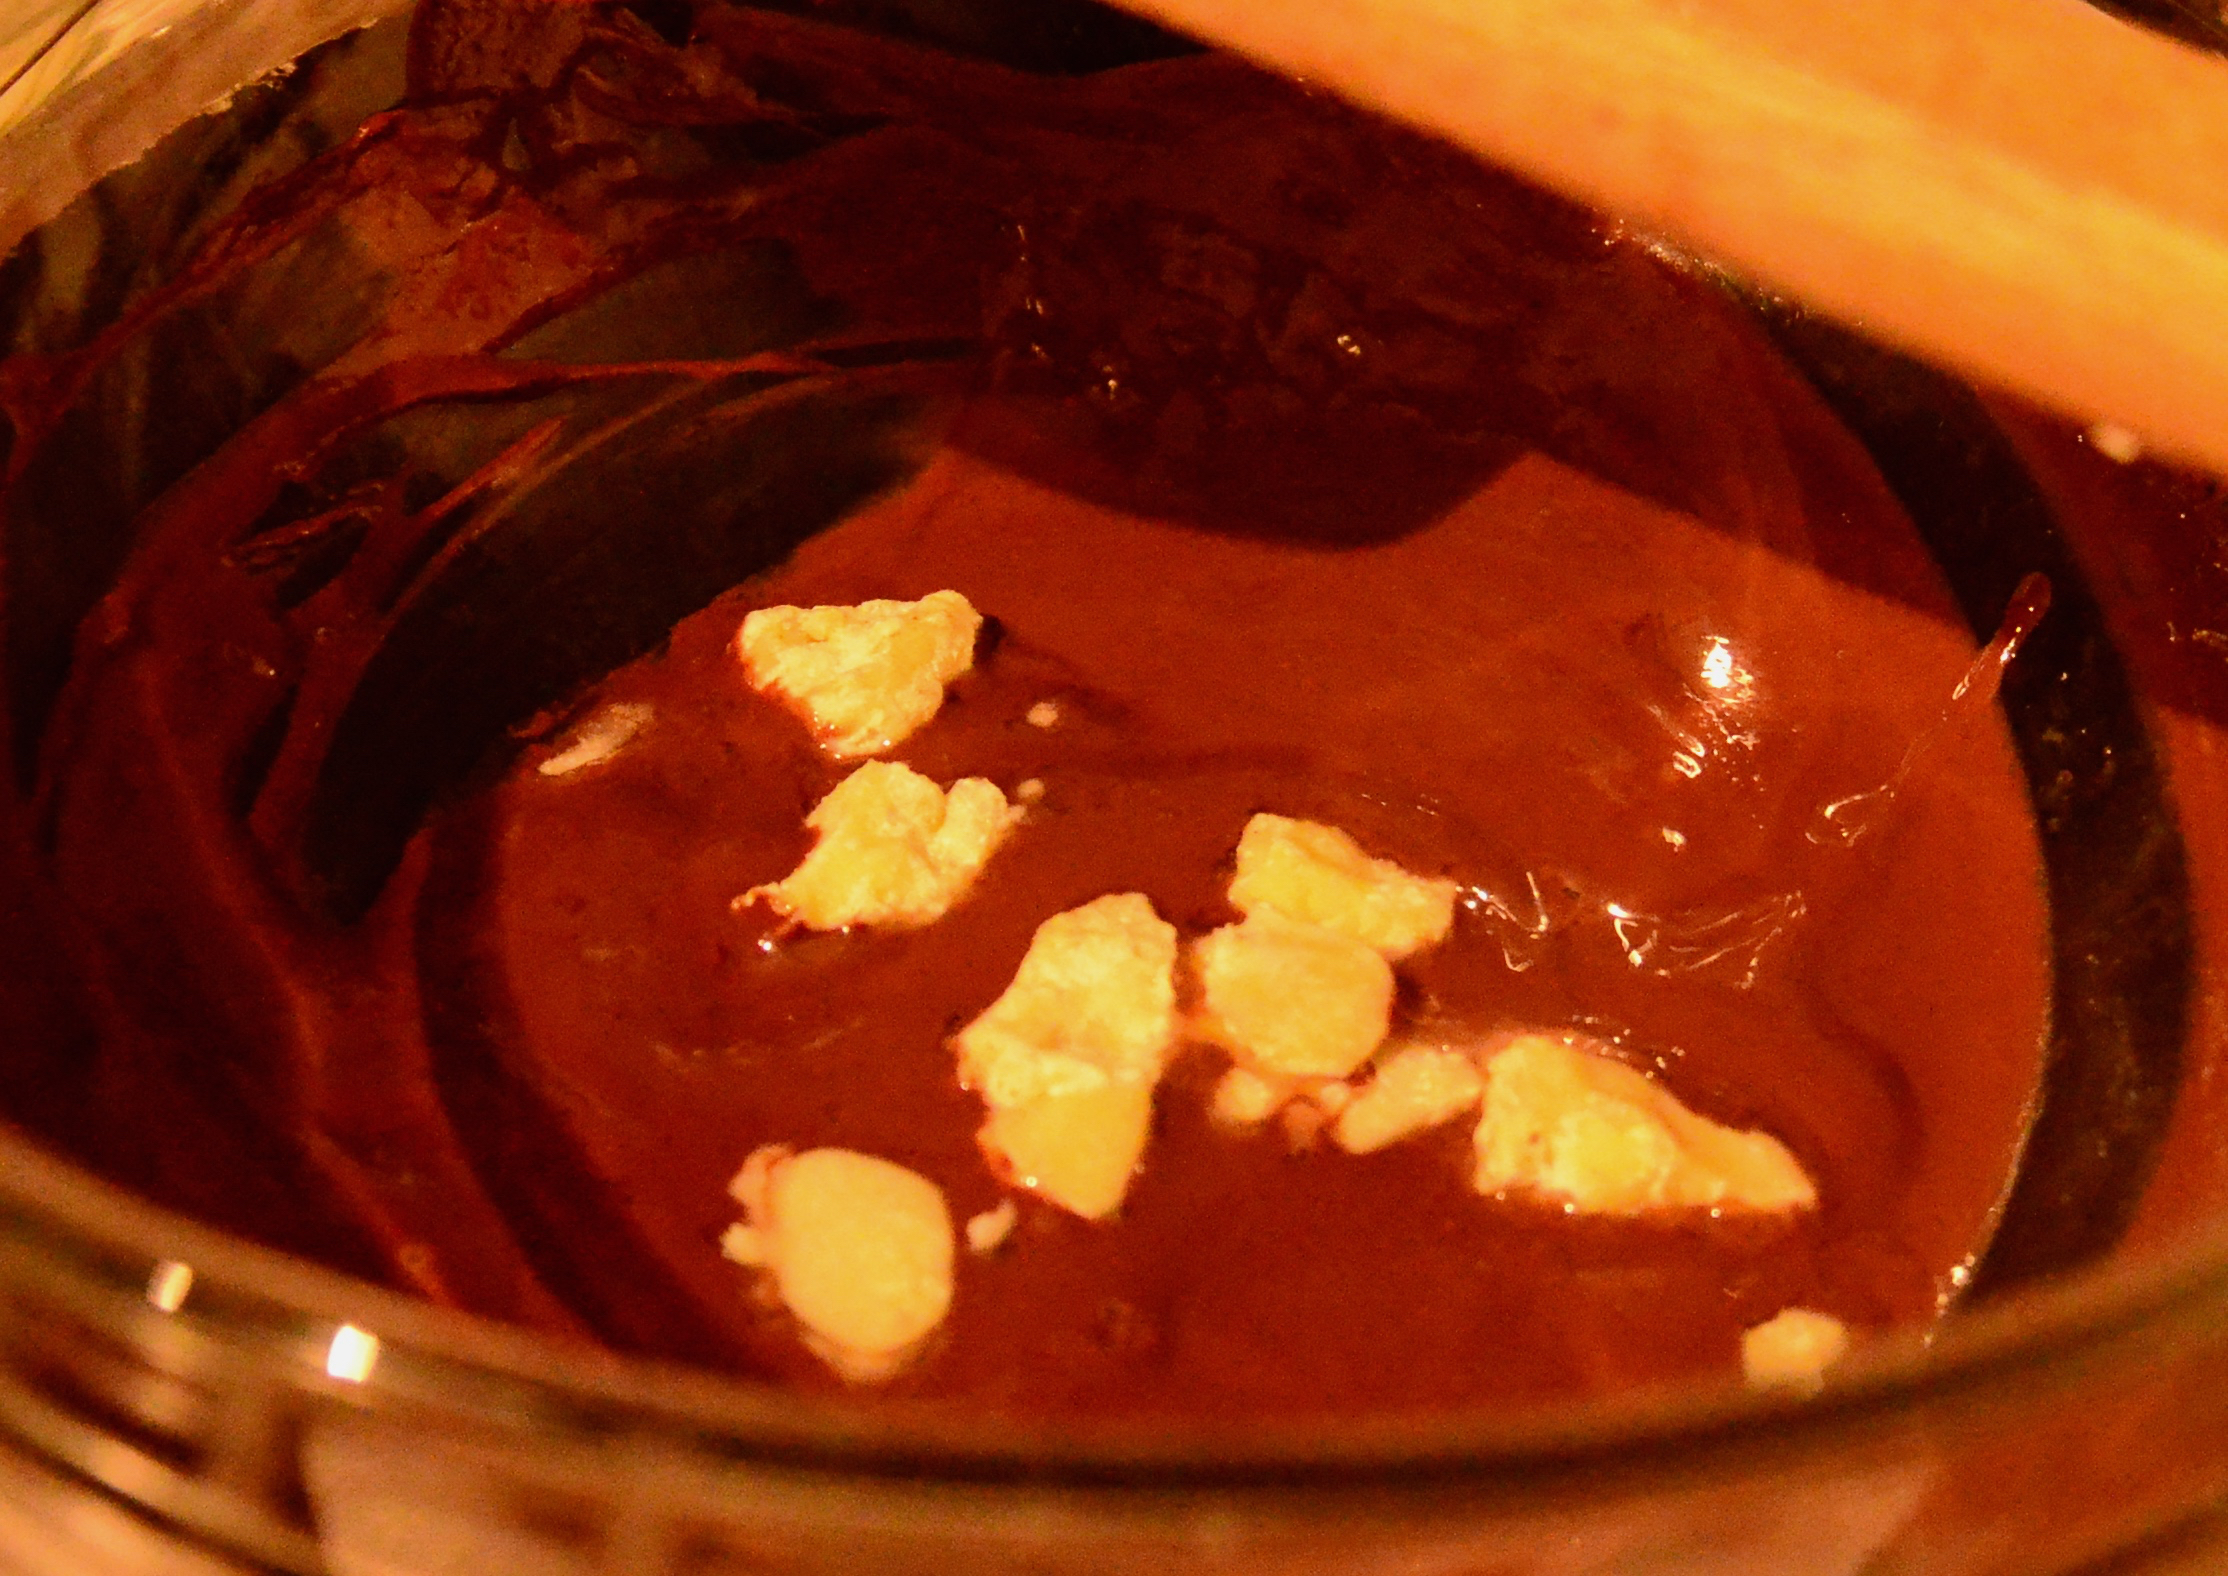
Must not stick my finger in, must not stick my finger in

Take your base out of the fridge/ freezer and uncover it. Now using an oven mitt or towel pick up the bowl with the chocolate and carefully add to the chestnut-y puree, gently folding it through at the same time. Use a spatula to get the very last bit of the chocolate goodness.

Chestnut Chocolate Pie

Oooo!

Quickly, before it begins to thicken, pour the mousse on top of the base. Using a spatula spread it evenly. Do not be heavy handed, you want to keep the air in it. Grate a little extract orange zest on top. Cover it up again, try not to have it touch the pie filling or it will mark it, you could make a foil tent if you like. Leave it to set in the fridge or freezer. A minimum of three or four hours. It is even better if you can leave it overnight.

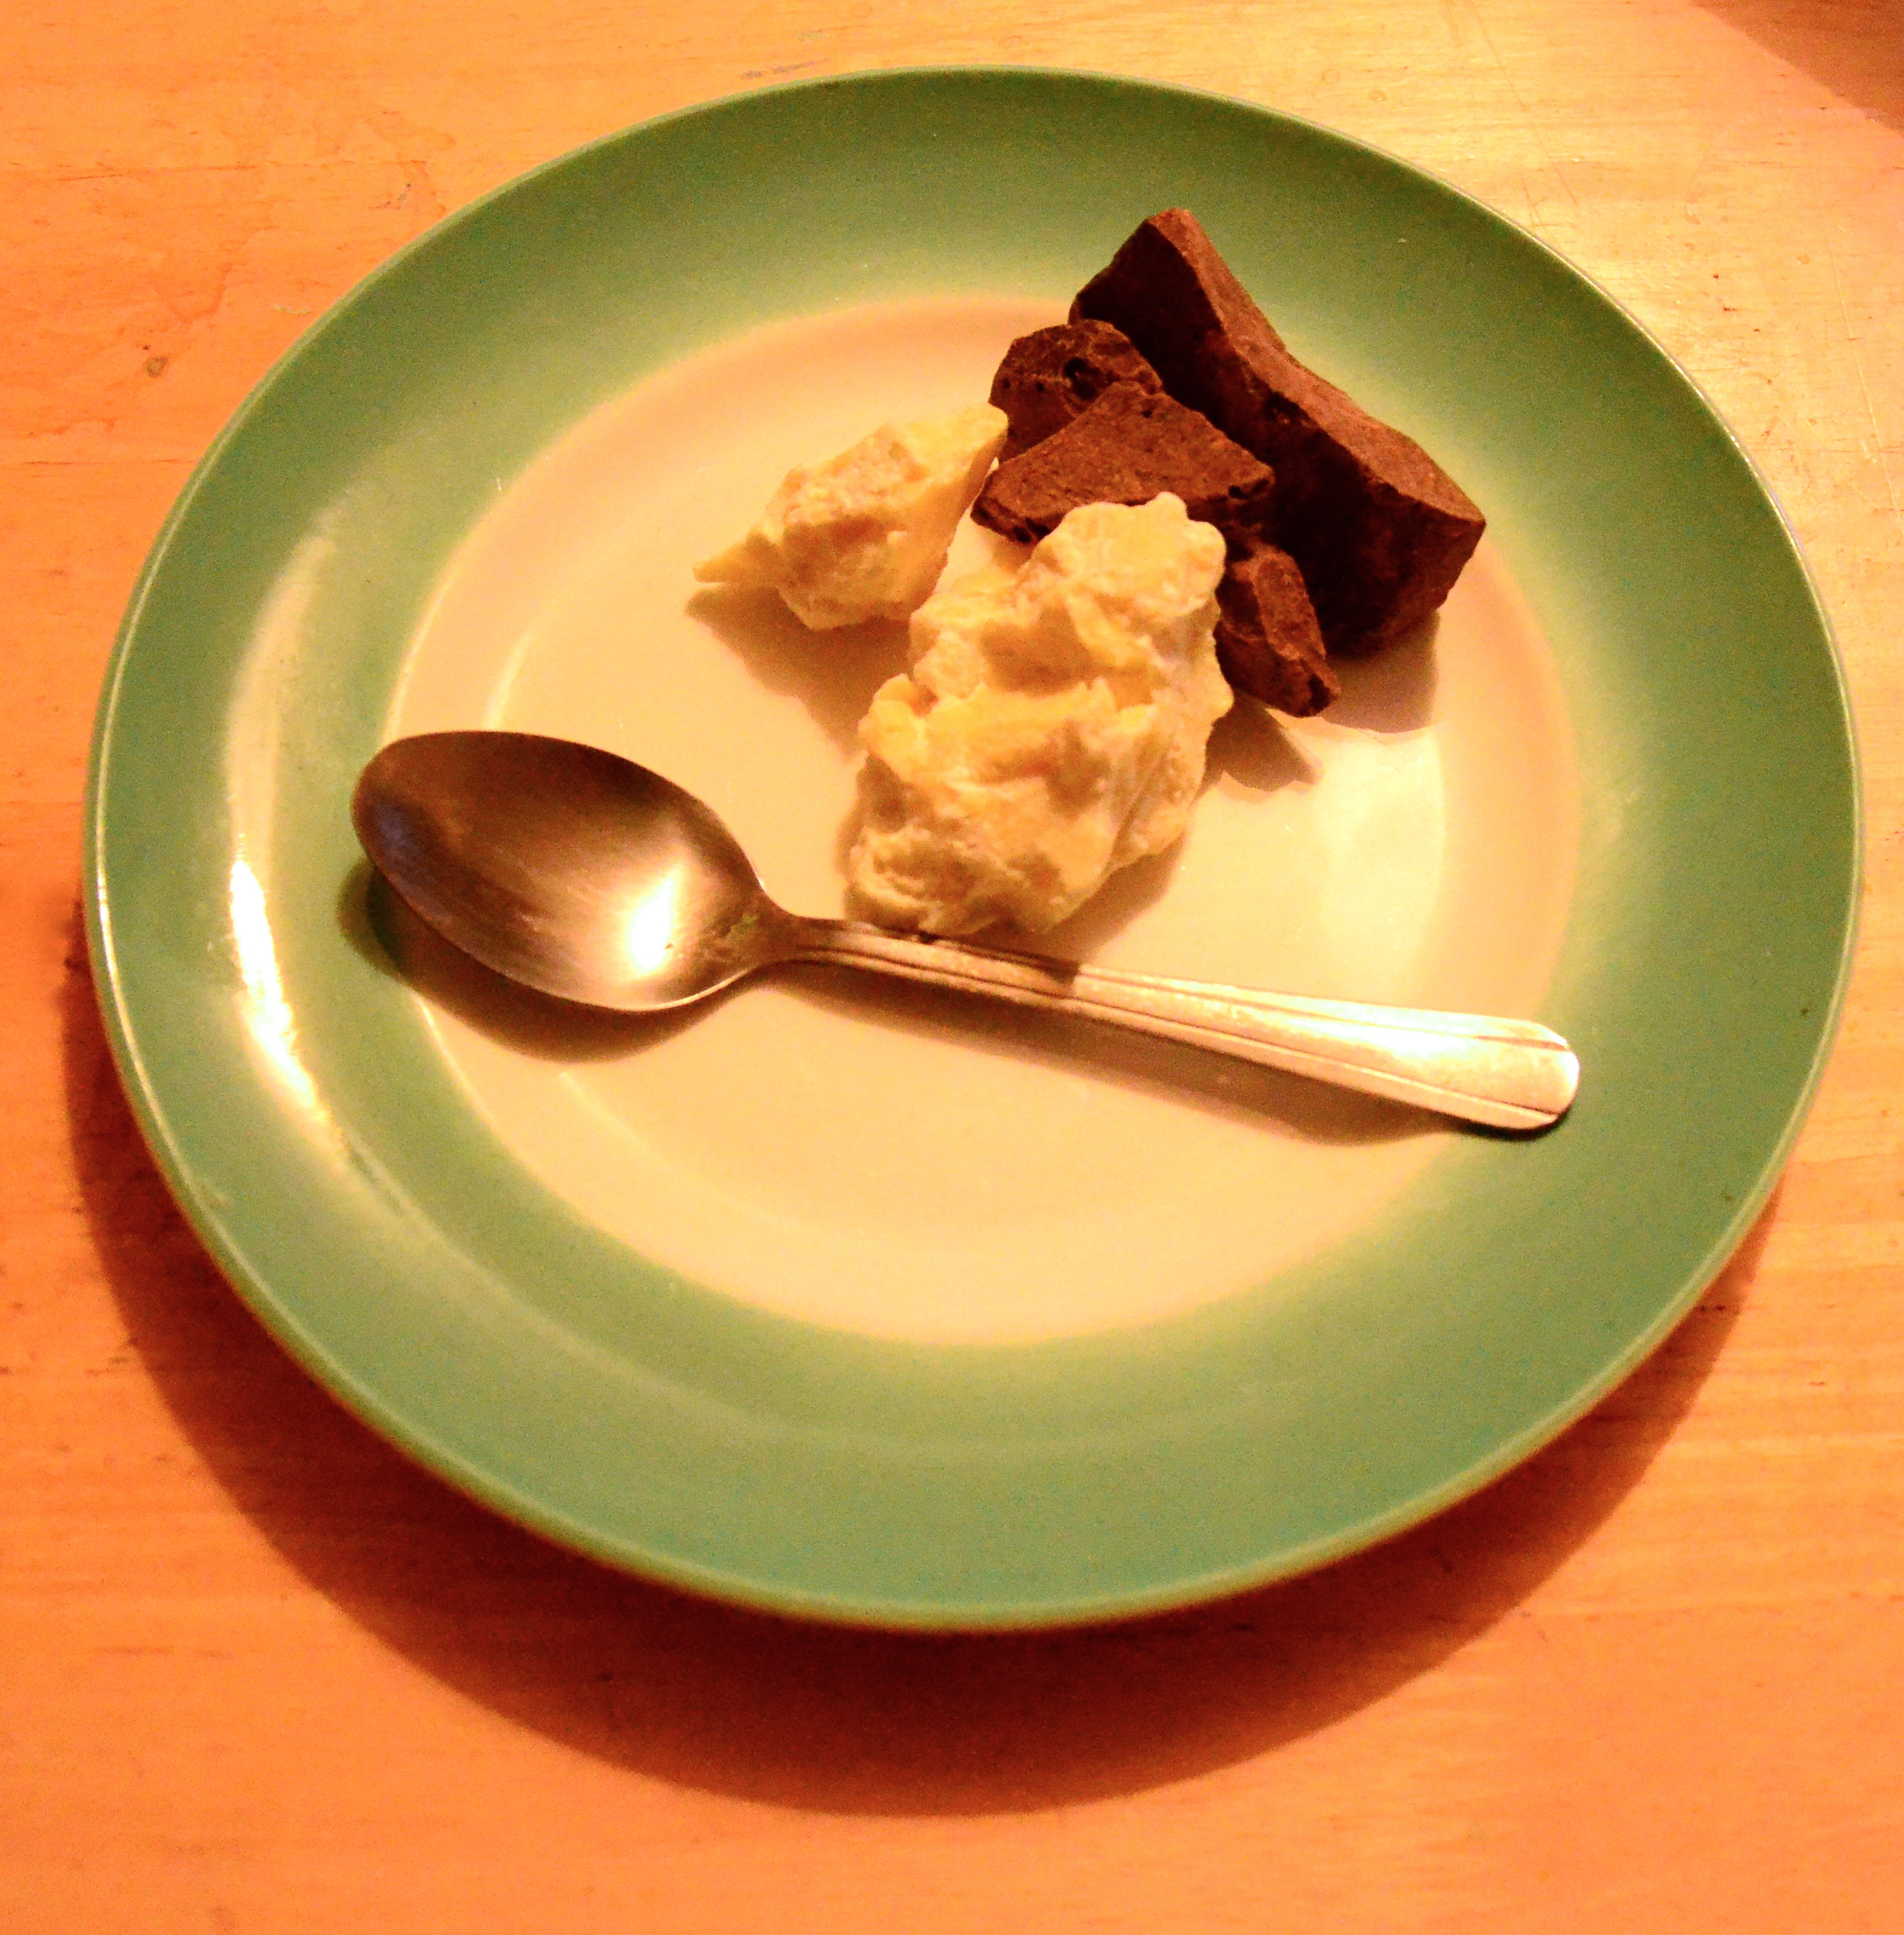
I store mine in the fridge. When you are serving it leave the slices warm up a little. You can taste it better when it is not too cold. I served mine with some shaved chocolate and a little coconut yoghurt. You could also use your favourite vegan ice-cream.

Perfect start to the new year! Yum yum.

Perfect start to the new year! Yum yum.

Happy new year to you all. I think it would be lovely to add tablespoon of Grand Marnier, let me know if you try that! Xs Aissa


No Bake! Fruity Mousse-y Chocolate Tart with a Bergamot Biscuit Base! Vegan &Gluten Free

27 Thursday Nov 2014

Posted by Aissa in Chocolate, Gluten Free, Natural Health, No bake/ Raw, Superfoods, Tart, Traditional, Vegan

≈ Leave a comment

Tags

Cacao, Cacao Butter, Chocolate, Gluten free, Natural Health, No bake, Superfoods, Tart, Vegan

I spent a bit of time trying to think of a catchy title for this torte! Antioxidant blast Cacao Tart? With a bergamot cookie crust? Clearly I did not come up with one. Suggestions welcomed! I love Bergamot as an aromatherapy oil and in season bergamot lemons are great in juices. Though not a big black tea drinker if there is a pot of earl grey brewing I’d partake in a cup! Chocolate… do I have to explain? Endorphins helloooo! I don’t object to the touch of caffeine either. When you go for the raw stuff you add higher levels of magnesium, all those fantastic antioxidants and the ability to make your chocolate, the way you like it! Want it intensely dark? Have more cacao paste. Lighter and creamier? Up the cacao butter! You can be in control of this magnificent food!! Exciting!

Pre the freeze!

Hmmm Choc-o-late 🙂

Ace blogger Susan Jane White was in the shop recently and she brought up using apricot kernels as a natural almond flavour. I realised I have not mentioned them here yet! Apricot Kernels are super fantastic little nutty wonders! Intensely flavoured and therefor not to be overdone. They are nutrient packed and contain laertrile (found in apple pips & almonds too) in fact strictly speaking the advise is approx. 10 a day is more than enough. I use them in raw energy balls too, as alcohol based almond extracts can come off a little bitter in uncooked goodies.

I give a few options for complete raw-ness or alternatively more easily available ingredients at the end of the recipe in the footnotes.

Fruity Mousse-y Chocolate Tart with Bergamot Biscuit Base

The Base:

  • One dessertspoon of org raw coconut oil
  • Two dessertspoons of a runny tahini
  • Five drops of food grade bergamot oil/ lemon zest & a tsp lemon extract
  • Six or seven apricot kernels ground or half a cap of almond extract
  • One and a third cups of ground almonds
  • A quarter tsp of himalayan pink salt or sea salt
  • Two or Three dessertspoons of fresh lemon juice

Base method:

All you have to do is mash together the oil, tahini and bergamot and or extracts first. In another bowl mix your ground apricot kernels, ground almonds and salt. Now add the dry to the wet. You need to reaaallly mash them together. Press press press so the oils are taken up by the dry. It should have a little bit of a crumbly texture. To bring it all together and add flavour you start by adding one spoon of lemon juice. Use your hands to form the dough. When you squeeze a little of the mix between your fingers it should hold together. Add some more lemon juice if needed.

Now press it into your prepared tart tin/ pie pan. Try to do it evenly. This makes for a lovely thin crust. Cover it and pop it in the freezer while you prepare the topping.

Almondy bergomoty base

Almondy bergomoty base

Mousse-y Chocolate Topping

Mushy stuff that needs blending…..

  • A third of a cup of cashews-soaked in a cup of water overnight
  • A quarter cup of non dairy milk
  • One mashed avocado (ripe when dark sap green and there a little give when squeezed gently. Love nature! Hug an avocado!)
  • Two dessertspoons blueberries fresh or frozen
  • A quarter tsp of himalayan pink salt or sea salt

Your cacao chocolate mix that needs melting…

  • Three dessertspoons of chopped cacao paste liquor
  • Three dessertspoons of chopped cacao butter
  • One teaspoon of org raw coconut oil
  • Two teaspoons cacao powder
  • One teaspoon vanilla powder/ extract /two pods
  • A third of a cup of a mixture of raw dark agave & maple syrup
  • Two dessertspoons of date syrup

Mousse-y Topping Method:

Sooo first part. Drain your cashews. If you have a good blender all you have to do is pop all the “mushy” ingredients into it and blend! I have a hand held blender so I need to be a bit more gentle. Add your milk to your cashews and partial blend. Use a deep bowl- I did not and spattered myself and the kitchen with flying cashew bits! Mash the avocado and blueberries with a fork first. Add these to the cashews and blend to a creamy consistency. I attempted to cut the soaking time of the cashews to a few hours and they definately did not blend as well.

Mushy Galaxy of yummy goodness

Mushy Galaxy of yummy goodness

Second bit. Put a small saucepan of water on to a gentle simmer and pop a perspex bowl on top. The bowl should not touch the water, or it will get too hot. Start by melting your cacao paste, cacao butter and coconut oil. Once melted you can stir in the agave/maple/date syrup, cacao powder and vanilla. Take off the heat.

Cacao Cliff ready for chopping

Cacao Cliff ready for chopping

The yummy “no you can not stick your finger in it!” part. Take your base out of the freezer and uncover it. Stick a spatula in your blended ingredients. Using a towel/oven glove take your bowl of melted chocolate off the saucepan. Very slowly dribble your chocolate into the blended mixture. Fold it through with your spatula as you are pouring. It sets fast, you will notice this even as you spread it evenly over the crust. The cacao butter wants to be solid at room temperature. Cover it up again. Make sure it is not sitting on  tart top or it will mark, a little tent or tepee or paper/ foil should do the trick. Leave to set and chill for at least a couple of hours.

Now take the bowl and stick your finger in it. Licking the bowl the joy of vegan baking!

Pre the freeze!

Pre the freeze!

I keep it the freezer, cyrogenicly perserving the tart so it can be made in advance and has lasting power. It just needs fifteen to twenty minutes at room temperature to soften before serving.

I hope you guys like it. I think the bergamot’s bright sharpness really complements the rich chocolatey topping. Xs Aissa

Footnotes!!!

Depending on your cupboard stores you can swankify it by using all raw ingredients e.g. grinding your own almonds for the crust and using raw tahini or raw cashew butter in it. Stick to the raw agave/date syrup or you could soak about 8 medjool dates and blend them into the crust for sweetness.

If it is a bus, a bike and a swim to the nearest health food store there are options too. It really becomes a different tart but why should you miss out on tart just because its a triathlon to a gourmet shop??

You can dig the ground almonds from the back of the press. Use half a cap of almond essence instead of the apricot kernels. The zest of a unwaxed lemon and half a tsp of lemon extract can be used instead of bergamot. Maple syrup is in most supermarkets and this is an obvious alternative to the raw agave/ date syrup. The date does add to the fruity flavour of the mousse so maybe up the blueberries by the dessertspoon. Lastly you can use dark cocoa instead of cacao and a 100g/ 40z bar of good quality dark (72% or 85%) chocolate instead of the raw cacao. O and reduce the syrup by half in the liquid ingredients as the chocolate bar will already be sweet.!!! Phew…. maybe it is easier to don the wetsuit than to read through those instructions. 🙂

No bake Coconut Coffee Pie- gluten free vegan yumminess

31 Sunday Aug 2014

Posted by Aissa in Gluten Free, No bake/ Raw, Superfoods, Tart, Vegan

≈ Leave a comment

Tags

Gluten free, No bake, Tart, Vegan

This is a creamy coffee wonder of a pie. A little bit of effort is required but you can’t really go wrong as you are just putting everything together! You also need to either soak your cashews overnight or for about 8 hours. I only have a hand held blender so I soaked mine overnight to make ’em extra soft!

I was a bit nervous making it as you need to get your proportions right when getting something to set like a cheesecake. Also when a pie requires a lot of agar agar(seaweed) to set it it can go a bit jelly/jello like. I wanted rich and creamy not watery and wobbly! 🙂 My solution was extra coconut and half an avocado. It worked!!!

I love me my fair trade coffee so I had coffee with my Coconut Coffee Pie. I also made it quite coffee-ey so if you want a milder hit then use one spoon of coffee extract not two.

my tent collapsed and marked my pie top! :-(

my freezer tent collapsed and marked my pie top! 😦

You will need a 20cm or 7.5inch tart/pie tin. A hand blender or a fancier blender if you have one. Measures. A few bowls and a small saucepan!

No Bake Coconut Coffee Pie

The Base

  • One and a half cups of ground almonds
  • Half a cup of ground walnuts (approx. 80g whole nuts)
  • Quarter teaspoon of himalayan pink salt or good sea salt
  • One and a half dessertspoons of cacao powder
  • A teaspoon of vanilla powder/ bean paste that is low alcohol / one pod
  • Two dessertspoons organic coconut oil
  • A third of a teaspoon of almond extract
  • Four dessertspoons/ a quarter cup of maple syrup

The Topping

  • Half a cup of cashew pieces soaked overnight in a little water and non diary milk. Just enough to cover the nuts.
  • 300g/ approx. 330ml of Coyo Coconut yoghurt*
  • One teaspoons of organic coconut oil
  • Optional: Two dessertspoons of the cream from the top of a can of coconut milk
  • A full teaspoon of vanilla powder/ bean paste/ pod
  • Half an avocado blended with a spoon of the milk that the cashews were soaked in.
  • Two teaspoons of lemon juice also blended with the avocado
  • Four dessertspoons of raw dark agave
  • Four dessertspoons of maple syrup
  • Three quarters of a cup coffee- I made drip coffee
  • Two teaspoons of coconut oil
  • Two teaspoons of coffee extract
  • One teaspoon of agar agar powder
  • Optional: A teaspoon of desiccated/ shredded coconut for decoration

*This coconut yogurt is really set- almost as set as a soft cream cheese. You could use a vegan cream cheese- make sure it is unsweetened or if you have a good blender fresh coconut meat instead!

The making of the pie!

The base is really easy. The only bit that requires work is blending the walnuts! My coffee grinder did okay once I chopped them a bit first!

Mash your coconut oil and almond extract together, if using vanilla bean paste add it now. Mash in your maple syrup.

In another bowl dump in your ground almonds and walnuts. Press out any major lumps. Add the cacao powder, salt and vanilla powder. Stir it all together so it is all one colour.

Put the dry ingredients into the oil mix. Start by mixing it with your spoon, pressing so the oil is taken up by the dry. You will need to get in there with your hands, as you go past stirring and into pressing everything together! It should form a ball of dough, like  biscuit/ cookie dough. See the pic.

Press in pie base

Press in pie base

Grab your pie/tart tin/pan!! So many options!! Rub it with some coconut oil to prevent sticking. If using a spring form pan line it with some greaseproof paper.

Now press in your pie base. Make sure to do it evenly. Wow betide the uneven base!! Now cover it up with paper or cling-film and stick it in the freezer.

The pie topping is where extra bowls and the saucepan come in to use.

Put on a pot of drip coffee. So that you can have a cup too! Or brew a moka pot that makes a proper cupful.

First: Grab your bowl of soaked cashews and strain most of the milky water off them. Keep the milky water for helping to blend the avocado later.

blended cashews

blended cashews

Add in the teaspoon of coconut oil. Add the vanilla powder/paste/pod and the two dessertspoons of cream from the top of a can of coconut milk. (I was making a curry for dinner so used the rest of it in that)

Now blend it all together. My little hand held blender did a pretty good job of these. I am sure a more powerful one would blend them to a cream which would be lovely. Set aside while you get on with the rest.

In another bowl get your half an avocado and blend it with a dessertspoon of your milky water from the cashews and two teaspoons of lemon juice. Add this to the cashew mix and mix or blend everything together.

Plus green goody avocado

Plus green goody avocado

Now gently fold in your coconut yoghurt. I did not blend again as I did not want to knock the air out of the yogurt. If you are using vegan cream cheese it would be fine to blend. You will have to blend it if your using fresh coconut meat.

Nearly there!! Put a small saucepan on to a medium high heat. Pour your three quarters of a cup of coffee into this and add in the coffee extract, agave and maple syrup. Sprinkle in your teaspoon of agar agar powder. Bring it all to a rolling boil while making sure to stir pretty consistently. Reduce the heat so it stops boiling and let it cook for another four or five minutes, making sure to stir so all the agar does not end up on the base. Stir in two teaspoons of coconut oil.

Take your base out of the freezer so it is ready to go. Lay it on top of a big square of greaseproof, cling-film or foil. This is so afterwards you can make a tent of it, that will cover the pie but not touch and mark the pie while it sets.

Take your saucepan off the heat. From a height (so the air cools it a little on the way down) pour the coffee mixture into your coconut etc mix. Make sure to gently stir at the same time. Pour the mixture on top of your pie base. Make your tent roof like structure. Hopefully a better job than mine, ‘cos mine collapsed overnight and made the top look like a coffee lake! Though I left mine to set overnight, partially so I was not tempted to stick a finger in it, it would probably be set in a few hours. I also store the pie in the freezer as it is lovely served cold and helps it last. This would also be lovely done as little ramekins or jars so you could serve individual desserts. I sprinkled mine with a little desiccated/ shredded coconut for decoration. Ta Da! Pie!

So TaDa! Here is the picture again. Xs Aissa

my tent collapsed and marked my pie top! :-(

Orange that is Green juice + raw experiments +yoga

04 Monday Aug 2014

Posted by Aissa in Chocolate, Gluten Free, juice, Natural Health, No bake/ Raw, Superfoods, Tart, Vegan, yoga

≈ Leave a comment

Tags

Chocolate, Gluten free, Juice, Natural Health, No bake, Superfoods, Tart, Vegan, Yoga

Experiments in other people’s raw recipes!

So I was given the generous gift of “Rawsome vegan Baking” by a friend of mine. It is a beautiful book, everything is explained well and concisely. I am not kited out with dehydrators and vita-mixes but there is still a lot I can make or improvise around. One of the great guys I work with was leaving and I wanted to make something. This is always a risky thing to do. To make something for some one using a recipe from a new cookbook (or not cook as the case maybe)!!! It turned out lovely. I made “Avocado Mint Cream Bars with chocolate, two ways” on p.106. My only quibbles were I had to increase the ingredients to fit my tart pan. It says a 9inch square pan or 23cm is fine. I used a 7.5/8inch 20cm round pan and the measurements were definitely short. I had enough ingredients to increase the amounts but it made it a bit stressful. The avocado layer could have been thicker too. It was a little too sweet for me. I often find this though, I should have known to reduce the sweet stuff a little for my palette. Here is a picture

My Rawsome Vegan Life Avocado Mint cream bars

My Rawsome Vegan Life Avocado Mint cream bars

Here is a pic from Emily’s blog of what they should look like! Maybe it was the lack of a proper blender. Either way it tasted nice…even if it was less pretty 😦

The real deal!

The real deal!

http://www.eatgood4life.com/avocado-mint-cream-bars/ Has written up the recipe if you want to check it out. In the original you can use fresh coconut meat instead of a banana. I being blenderless went for the banana option.

Yoga

I went for a more challenging routine today. I had the time, I’m off work today ‘cos it is a bank holiday here. It was good. I was very surprised at what I found hard. About 25mins in there is a pose where you squat and grab hands through one knee and attempt to stand up. The first time doing it you keep your legs in a half bend. I had to come out of the pose! Horror! Horror! My thighs could no take it! (Scotty from Star Trek voice!) But I kept going and attempted the full pose where you straighten your legs. SOOOO much easier. Therefor revealing my need to do more chair poses!

There is precise instruction on options to get into a head stand, also great description of getting into crow. Wish I’d seen the crow one back when I had been attempting it first! I did my head stand against the wall. Though I am getting more confidant and I didn’t lean against it. Glad I did as I wavered and wobbled a bit and needed something behind me! 🙂

And finally juice. Orange that is green Juice 

  • Wheatgrass- a 1inch diameter bundle
  • Three or four chard leaves
  • One unwaxed red apple
  • One unwaxed big orange
  • Three inch piece of cucumber
  • Six mint leaves
  • A half inch piece of turmeric
  • A quarter inch piece of organic ginger (i.e not irradiated!)
  • Optional: shot of water kefir
Colours!

Colours!

This juice was like a trick. It tasted sweet and citrusy orange but was totally green. Enjoyable for that reason alone, but it tasted lovely too!

orange is green juice

orange is green juice

Hope that you try some of these things out! Xs Aissa

No bake Avocado Chocolate Torte

29 Sunday Jun 2014

Posted by Aissa in Chocolate, Gluten Free, No bake/ Raw, Tart, Vegan

≈ 2 Comments

Tags

Cacao, Chocolate, Gluten free, No bake, Tart, Vegan

This is my special occasion dessert. Rich fabulous and extremely more-ish.

torte

NO BAKE AVOCADO CHOCOLATE TORTE*

* note: this takes time but the results are worth it!

Crust

1½ cups of roasted hazelnuts – ground (I use a coffee grinder)
½ cup of organic ground almonds
2 dessertspoons of organic coconut oil
¼ cup of organic maple syrup
1 teaspoon vanilla powder/ bean paste/ insides of two pods 
1/2 a cup of cocoa powder
2 heaped dessertspoons of cacao powder
Good pinch of Himalayan pink salt or sea salt
dry stuff!

dry stuff!

Chocolate Avocado Mousse

3 extremely mashed organic ripe avocados/ two and a half really big ones
Scant third of a cup of non diary milk
¼ cup of organic date syrup
¼ cup organic dark agave === blend both together
1 dessertspoon natural peanut butter
( I use the fresh ground one from The Hopsack health shop)
1 dessertspoon blanched almond butter or cashew nut butter
1 dsp natural vanilla powder or bean paste or insides of two pods
1 round teaspoon arrowroot powder
¼ cup of Cocoa powder plus a dessertspoon of cacao powder
Pinch of himalayian pink salt or sea salt
70g bar of dark vegan chocolate- chopped up pick a good one. I used a wild harvest one! Fancy.
Optional: 1dsp of chopped Cacao paste liquor, piece I used was size of ping pong ball


hmm yummy

hmm yummy

Crust How To

Oil your cake pan or tart pan. If a spring form one- line with paper.
Grind your hazelnuts to a crumbly meal and mix with ground almonds and salt
In a small bowl mix your maple syrup, coconut oil (and vanilla if not using powder)
Mix mash and mix until it becomes one thing.
This is your warm up exercise the real work out is later that involves avocados!
Add syrup oil mix to the dry. With COLD hands rub the ingredients together.
Switch back to a spoon and keep mixing. It should form a ball of dough.
Press this into your pan EVENLY- wow betide the uneven crust!
Cover and put in the freezer to chill.

Chocolate Avocado Mousse How to

If you happen to have a food processor or blender living in your kitchen take it out now!You can do the fancy blendy bit for this part. If you are me, which I am, you get a Perspex bowl and a fork and go to work.
Mash your avocado (and vanilla if not using powder) together for approx 10mins/ until smooth.
Add and mash in the peanut butter, almond butter, date syrup and agave syrup. Possibly with your other arm, flatmate, child, partner or neighbour.
Get your big bowl of green yummy omega rich avocados and mix in the SCANT third of a cup of non diary milk.
Into this SIEVE the ¼ cup of cocoa,cacao,vanilla salt and round tsp of arrowroot
Mix very well- until there is no green!Fold and talk in upbeat tones to it- as you do not want to knock the air out of it.
greeeen!

greeeen!

Next or if a multi tasker while you are finishing the mousse

Put a Perspex bowl over a pot of simmering water.
Put your bar of chopped up chocolate in and with a spatula mix it while it melts. Add the cacao paste and let it melt too. Take off the heat.
Get your bowl of sweet cocoa avocado goodness and gently fold in the melted chocolate until is all one colour!


melty goodness
melty goodness

Finally

Remove the crust from the freezer and scoop the mousse on top. Gently smooth out- it should reach the top of an inch deep pan. Cover and put back in the freezer. It needs two hours to set I find licking the bowl in the mean time helps.
It needs to be stored chilled so the mousse stays moussey but as a result it also has lasting power!
slice torte two
I decided to to go over the top with a fork. If you don’t it stays shiny. Let me know if you try it. Xs Aissa


Functional Sweet Treats with reishi!

08 Sunday Jun 2014

Posted by Aissa in Chocolate, Gluten Free, Natural Health, No bake/ Raw, Superfoods, Sweets, Vegan

≈ Leave a comment

Tags

Gluten free, medicinal mushrooms, Natural Health, No bake, Superfoods, Sweets, Vegan

Functional Sweet Treats

Functional Sweet Treats

These are packed with good stuff! They taste pretty amazing too, if I don’t say so myself. Tomorrow I am helping to give a demonstration to nutrition students, it is on how to use medicinal mushrooms ( I did this morning, it went well 🙂 ). I am bringing along sweet goodies made with reishi mushroom powder. Reishi has been used for thousands of years. It is one of if not the first medicinal food to be written about, in China roughly 2,000 years ago!Paul Stamets is a good name to look up if you want know more about these natural powerhouses, his Ted talks are a good intro.

Savoury is generally they way we go when it comes to mushrooms but why not with cacao? Or blueberries? Think of the antioxidant levels! Picture the immune boosting! Discover their adaptogenic properties!! Imagine the tastiness!

Here we go Functional Sweet Treats

    • Two dessertspoons of goji berries. Soaked over night in just enough water to cover them. I used water kefir.*
    • Half a ripe avocado- should a bit of give to it when pressed and be going a dark sap green colour.
    • Two big dessertspoons of blueberries
    • A flat dessertspoon of organic coconut oil
    • Two generous dessertspoons of raw dark agave/ date syrup / maple syrup. Whichever you prefer.
    • A generous cup plus two dessertspoons of ground almonds
    • Two generous teaspoons of raw cacao powder
    • A sachet of reishi powder which includes mint, licorice, star anise and stevia. Great for those adrenals. *
    • Optional: Half a teaspoon of pre-gelatised maca powder
    • A half teaspoon of vanilla powder or the scraped inside of one vanilla bean.
    • A quarter of a teaspoon of good quality sea salt or himalayian pink salt.
    • A third of a cup of organic desiccated/shredded coconut. For sprinkling on top or rolling in.

*This is about double the goji needed. I do more incase some stay a bit hard and eat the left overs. Yum.

*If you are using reishi capsules make sure there are not tons bulking agents, these could change the flavour. One capsules may do, go by taste.

Grab your soaked goji berries. It really is up to you what you would prefer. I don’t want goji lumps on my cacao reishi fantasticalness so I cut or shred my softened gogis. If you like big hits of the gogi then just chop them in two. Put them to one side for use as a topping later.

Mash your avocado and coconut oil together. Add your one dessertspoon of the blueberries and mash again. Should be a creamy paste.

Add the liquid sweetener and Mash MASH mash… again. Add the other spoon of blueberries and mix through. I press this less, as I like having more whole pieces of blueberries too.

Colourful even in the orange light of my kitchen diner.

Colourful even in the orange light of my kitchen-diner.

In another bowl combine all the dry ingredients (except for the coconut, that is for on top). Make sure there are no lumps of ground almonds or cacao. Sprinkle the salt in so it is evenly dispersed.

Dry goodies

Dry goodies

Add the dry things to the omega rich, mct containing, antioxidant abundant….stuff. Mix, stir, combine and merge the ingredients. Pressing the mixture to make sure the fats are taken up well.

Here is the one I used

Here is the one I used

My preferred Option A: You can roll them into teaspoon size balls. Prepare a plate with your gojis and one with coconut. Roll the balls in goji and then roll them in the coconut. Pop them on a dish and stick them in the fridge to set. They need to live in the fridge (and die in your tummy) as they will go squidgy when left unchilled.

Option B: Get a 7.5 inch cake tin/ tart dish and spread the mix a one centimetre deep. Ah the mixed measurements! That is 20cm cake tin and a quarter inch thick! 😉 You can the sprinkle and press the goji and coconut on top. Pop in the fridge for fifteen minutes. Take out and cut into one inch (2.5cm) squares. Put in the freezer to set. It is happier in there all the time really. It gets shy and melty at room temperature.

Hope you like these!Xs Aissa

P.S. There is a wealth of info on line but here are a few of links about reishi!

http://www.huffingtonpost.com/paul-stamets/reishi-mushrooms_b_2200808.html

http://www.alive.com/articles/view/17705/reishi_mushroom

And for a bit more of the nitty gritty science bit http://www.ncbi.nlm.nih.gov/books/NBK92757/

Fluffy Red Velvet Aduki Truffles

02 Monday Jun 2014

Posted by Aissa in Chocolate, Gluten Free, No bake/ Raw, Superfoods, Sweets, Vegan

≈ 4 Comments

Tags

Gluten free, No bake, Superfoods, Sweets, Vegan

These are fluffy with a gentle sweetness; as a result they are easy to eat. Don’t be deceived by their soft melty-ness they are super filling. The aduki beans and almonds mean one are two are more than enough at a time. I store them in the fridge or freezer to keep them firm.

You will need a cup for measuring, a plate, a bowl and some sort of blender. I use a hand held one which works fine.

Fluffly Aduki Cocoa truffles or Red velvet Aduki Truffles?

Fluffly Aduki Cocoa truffles or Red velvet Aduki Truffles?

Fluffy Red Velvet Aduki Truffles 

    • Nine unsulphered dried apricots
    • Optional: A spoon of dried mulberries

Soak these in a some water for at least an hour and then chop them.

    • A generous mug of cooked aduki beans roughly 240g. If you used canned ones make sure they are well drained.
    • Two dessertspoons of date syrup. If you are more used to normal sweets you may want to add a spoon of agave/maple syrup too!
Adukis and syrup

Adukis and syrup

Mash these together with a fork, you will be blending it so don’t worry about squashing every bean.

Dry Stuff

    • Half a cup of ground almonds
    • A quarter cup of cocoa or raw cacao
    • A dessertspoon of raw carob
    • A teaspoon of vanilla powder/ scraped insides of two vanilla pods*
    • A pinch of salt about a quarter of a teaspoon
    • Optional: Half a teaspoon of maca powder
    • Optional lovely extra: Orange zest

*If you want to use vanilla essence don’t! Vanilla bean paste in sugar would be fine but alcohol based extracts aren’t so good in raw sweets.
Mix the dry ingredients together, pressing out any lumps.

    • Two thirds of a cup of desiccated (shredded) coconut
    • Twenty four organic almonds, finely chopped

Put these on a dinner plate. You will be rolling the mixture in them.

almonds etc

Put your chopped fruit into the adukis. Give things a mix. Stir in your dry ingredients.

Grab your hand blender and start blending! Use a low setting at first, it is better for your blender. The ingredients will get quite fluffy and a pinky chocolate colour. Should have called them Red Velvet Aduki Truffles 🙂 You know I will, they were called fluffy aduki cocoa truffles.

Rinse your hands in cold water. If your hands are too warm handling the concoction you may find it all melting to goo. By the dessertspoonful gently roll the aduki truffles into the nuts and or the coconut. It was a warm day here and I found everything going a bit squashy. So work quick if you are having good weather!

Put them in the fridge or freezer to set for half an hour. I store mine in the fridge as they are lovely cold and it keeps them firm. I am a messy chef so while they are setting I try and get the mix off my hands, the cupboards and every surface. Works up the appetite anyway!

Xs Aissa


Barleygrass Balls!!!

26 Saturday Apr 2014

Posted by Aissa in Natural Health, No bake/ Raw, Superfoods, Sweets, Vegan

≈ Leave a comment

Tags

Natural Health, No bake, Superfoods, Sweets, Vegan

These are one of my favourite things to make. They are super easy, fast, tasty and filling! I’ve played around with the ingredients a bit and I will give you alternative options at the end.

Sooo green - should have posted these on Paddy's Day!!

Sooo green – should have posted these on Paddy’s Day!!

You will need two small bowls, measuring cups or just a regular mug , a dessertspoon and a teaspoon.

  • One dessertspoonful of Barleygrass powder or juice powder
  • A bravely large pinch of sea salt prob a quarter teaspoon
  • Three quarters of a cup of organic ground almonds
  • Two dessertspoons of organic virgin coconut oil or one and one of cashew nut butter
  • Two dessertspoons of raw dark agave or do one spoon and one of maple or yacon syrup
  • There are a couple of options in regards to flavouring you can..
  • A: Use a at least a third of a teaspoon of a good quality peppermint extract
  • B: If you have access to a food grade organic peppermint oil use five drops

Get one of the bowls, put in your coconut oil and mash it a bit so it softens.

Add your extract- mash again.

Add your agave syrup and mix until it is all combined well.

Now put your ground almonds in the other bowl and poke it a bit so there are no lumps.

Add the salt and barleygrass to this and give it a stir

Add your dry to the wet and mix it well. Really get in there press the mix together so the fats are taken up well into the dry. It should all hold together to form a ball like a biscuit/ cookie dough would.

Ready your teaspoon, run your hands under cold water (so when making the balls they don’t go all melty). By the teaspoonful roll the mix between your two palms to form little balls and drop them into the bowl you had used for the dry stuff. When done stick them in  the fridge for 15 minutes to firm up. Taa- daah! Fabulously a source of antioxidants, chlorophyll, protein (all 9 amino acids in barleygrass), MCTs and magnesium amongst other things, also really yummy!

Troubleshooting!
If you have been over generous with your ground almonds and it is a bit dry you could add a splash more extract, add a bit of warm water or non diary milk that has not been in the fridge (if it is cold the coconut oil will re solidify and form bits). If too wet just add more ground almonds.

Recipe options
A thing I change up a lot is the coconut oil. I often do one spoon coconut oil and add in one big dessertspoon of a nut butter. The ones that work best are cashew or blanched almond.
In regards to the peppermint flavour it really is up to you how strong you like it, I prefer them really minty! I have also used spearmint – a smidge bit toothpastey but nice for a change, also did just plain vanilla using a half teaspoon of vanilla powder or teaspoon of vanilla bean paste.
The reason for using agave is it is relatively neutral in flavour

Really hope you like these! X Aissa

Not so smooth Energy Smoothie

29 Saturday Mar 2014

Posted by Aissa in Gluten Free, Natural Health, No bake/ Raw, Superfoods, Vegan

≈ 2 Comments

Tags

Gluten free, Natural Health, Superfoods, Vegan

It’s the weekend I thought I would break out and have a banana in my breakfast smoothie- I know I know wild behaviour!! I normally have a dessertspoon or two of berries in this which I soak overnight in Kombucha- but is good to vary one’s diet and though I feel bananas are a it too sweet to be having all the time, it really rocks in this! Peanut butter and banana the perfect combination!

  • 1 banana thinly sliced (or some berries)
  • A dash of real Kombucha (i have my own, but you just want a live one with no added ingredients)
  • Half a cup of non-diary milk- I use coconut
  • 1 teaspoon of Barleygrass powder/ juice powder
  • Half a teaspoon of Maca powder
  • 1 teaspoon of Hemp protein powder
  • 1 teaspoon of Rice protein- or just have a little more Hemp protein ( I am the lucky recipient of a pack of Sunwarrior Warrior Blend so I am trying it in everything at the moment)
  • A third of a teaspoon of Ashwagandha powder ( it tastes very strong )
  • A teaspoon of Chia seeds
  • A teaspoon of ground Linseed i.e. Flaxseeds
  • A scattering of Goji berries approx. a teaspoon
  • A teaspoon of Cacao nibs
  • A teaspoon of Lecithin granules
  • A HUGE teaspoon of Peanut Butter (one only made from peanuts!)

I put everything in- in the order of the recipe. They all live in the same cupboard so I just get one down at a time rather than covering my tiny kitchen in superfoods. When I have got as far as the Ashwagandha I give it a good stir and then add as far as your Lecithin and stir again! Then add your peanut butter- tasting some first – just to make sure it is good of course!!

This is packed full of antioxidants, vitamins, minerals, protein, healthy carbs, healthy fats and a good dash of chlorophyll ( i.e. the green stuff!) for energy. It really sustains me due to the slow release of energy. And it is a yummy start to the day.

Tasty goodness

Tasty goodness

Newer posts →
Follow VeganEtcetera on WordPress.com

Create a free website or blog at WordPress.com.

Privacy & Cookies: This site uses cookies. By continuing to use this website, you agree to their use.
To find out more, including how to control cookies, see here: Cookie Policy
  • Follow Following
    • VeganEtcetera
    • Join 93 other followers
    • Already have a WordPress.com account? Log in now.
    • VeganEtcetera
    • Customize
    • Follow Following
    • Sign up
    • Log in
    • Report this content
    • View site in Reader
    • Manage subscriptions
    • Collapse this bar
 

Loading Comments...