Tags
Cacao, Cacao Butter, Chocolate, Gluten free, Natural Health, No bake, Superfoods, Tart, Vegan
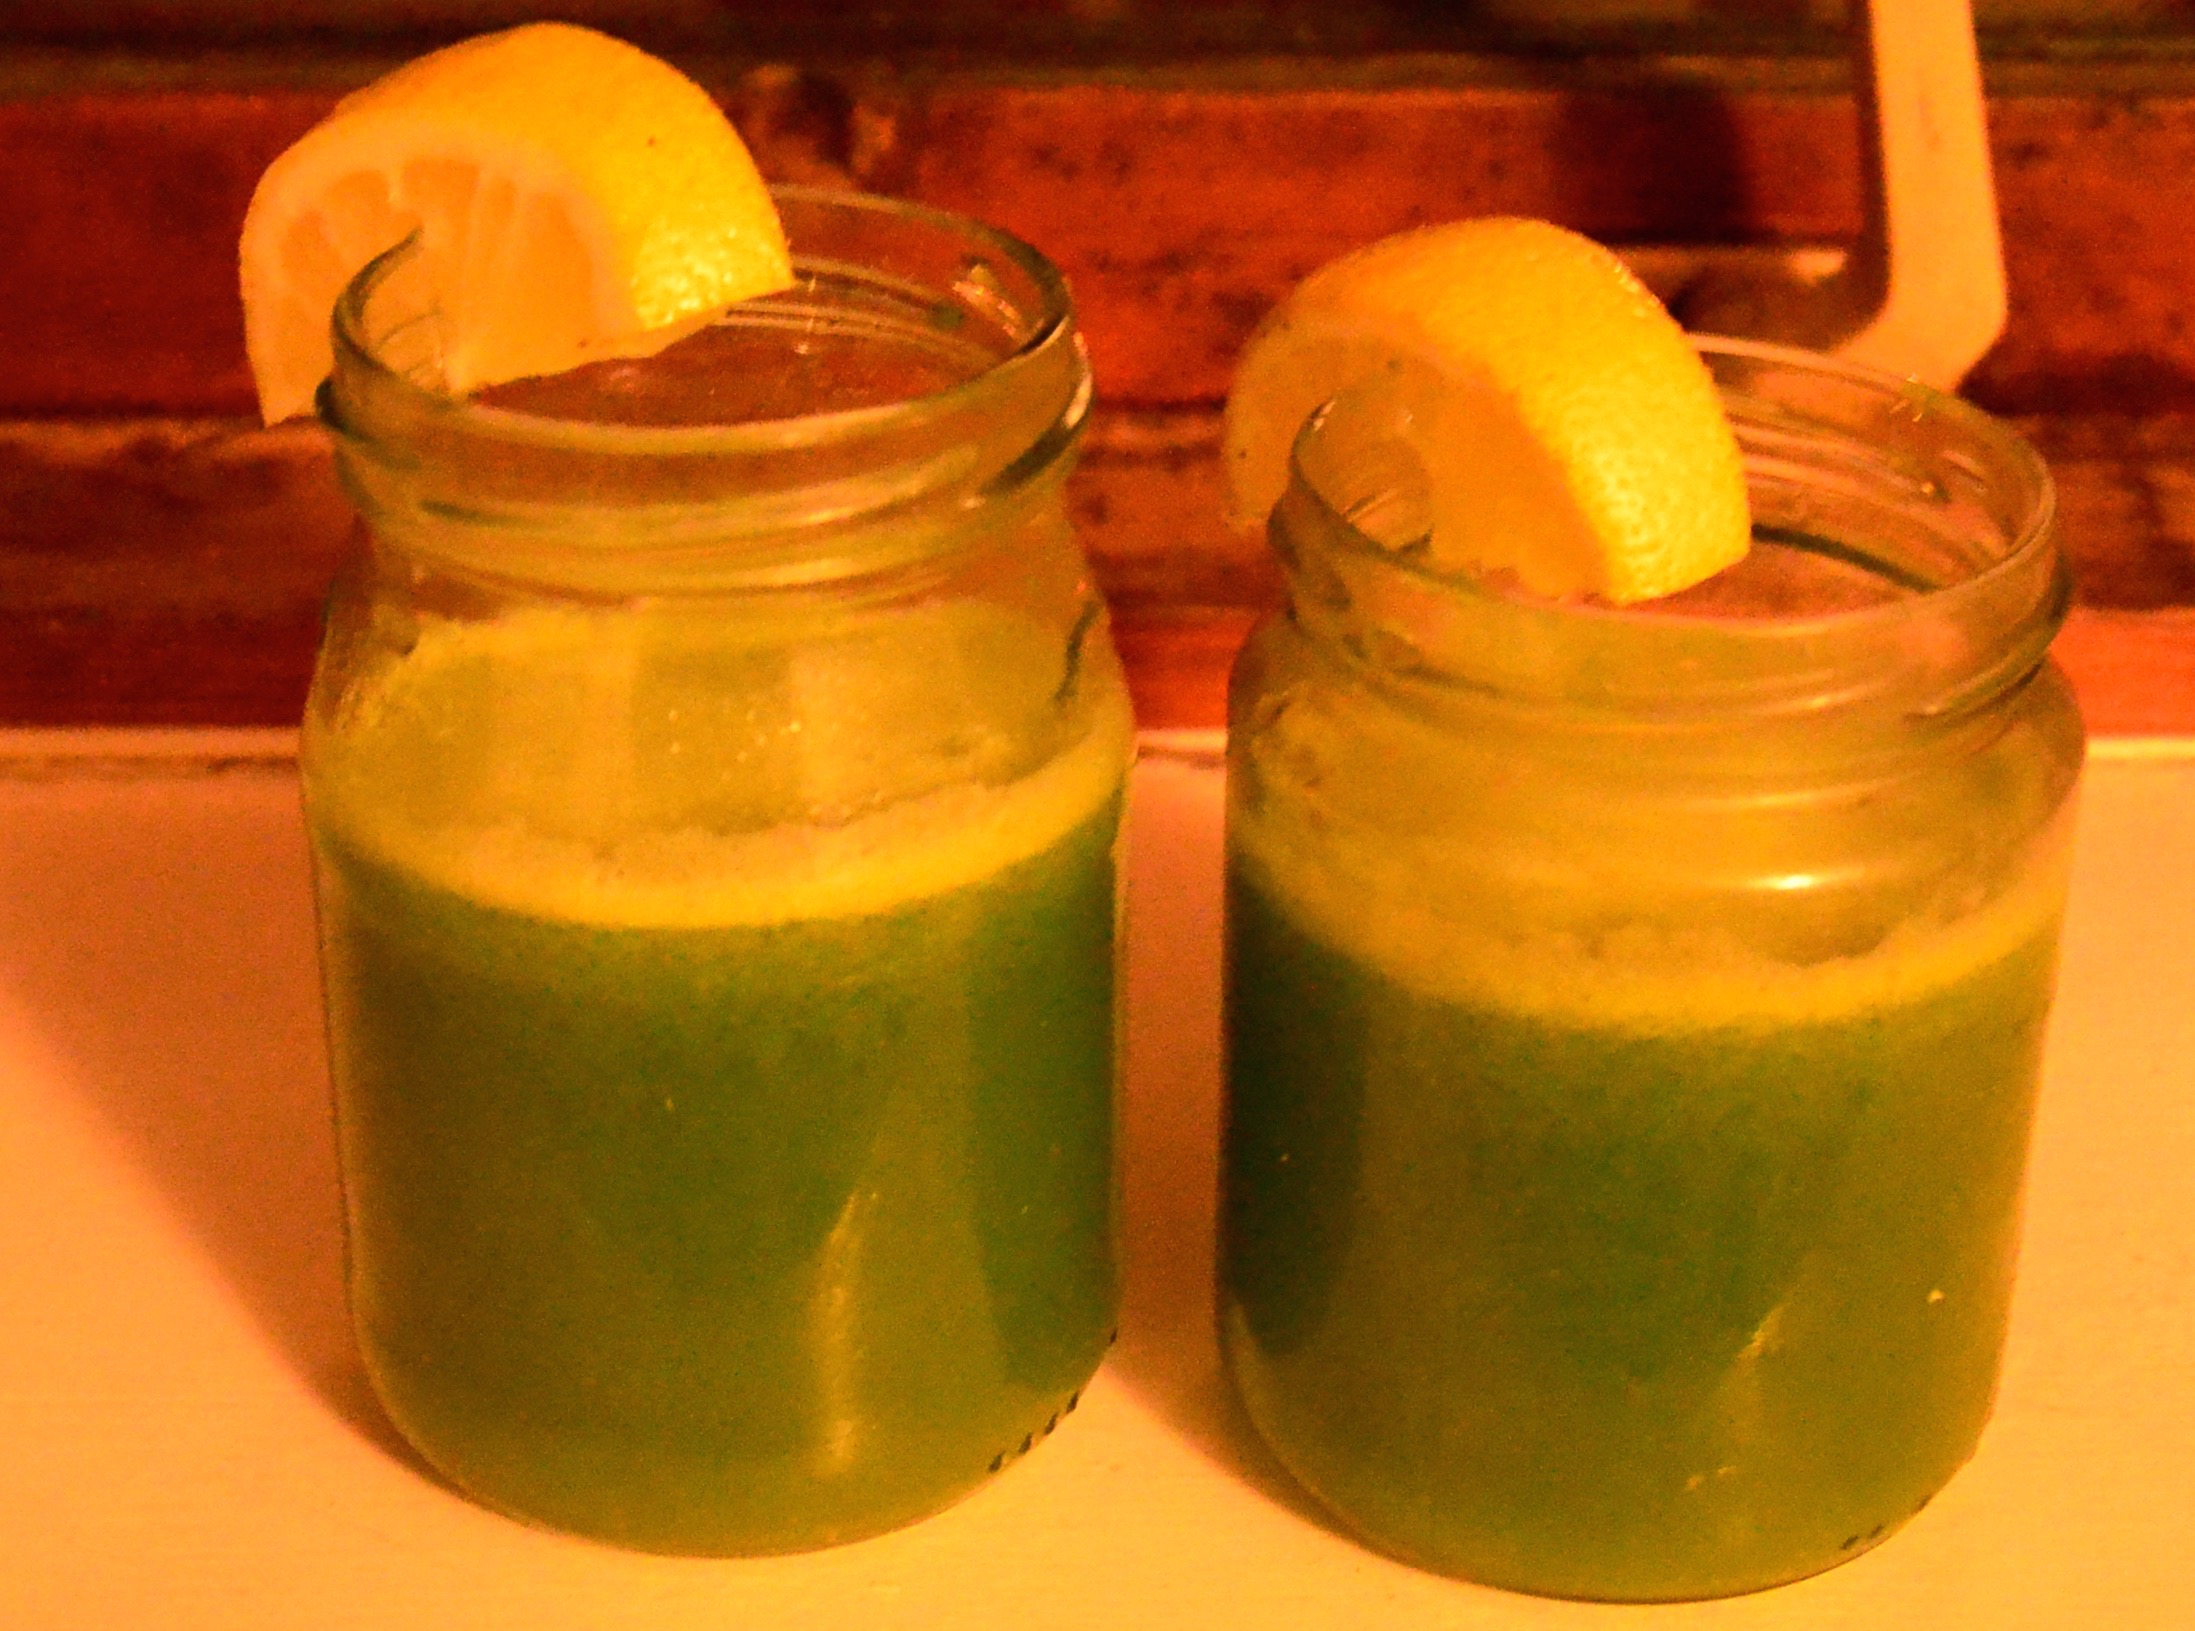
I spent a bit of time trying to think of a catchy title for this torte! Antioxidant blast Cacao Tart? With a bergamot cookie crust? Clearly I did not come up with one. Suggestions welcomed! I love Bergamot as an aromatherapy oil and in season bergamot lemons are great in juices. Though not a big black tea drinker if there is a pot of earl grey brewing I’d partake in a cup! Chocolate… do I have to explain? Endorphins helloooo! I don’t object to the touch of caffeine either. When you go for the raw stuff you add higher levels of magnesium, all those fantastic antioxidants and the ability to make your chocolate, the way you like it! Want it intensely dark? Have more cacao paste. Lighter and creamier? Up the cacao butter! You can be in control of this magnificent food!! Exciting!
Hmmm Choc-o-late 🙂
Ace blogger Susan Jane White was in the shop recently and she brought up using apricot kernels as a natural almond flavour. I realised I have not mentioned them here yet! Apricot Kernels are super fantastic little nutty wonders! Intensely flavoured and therefor not to be overdone. They are nutrient packed and contain laertrile (found in apple pips & almonds too) in fact strictly speaking the advise is approx. 10 a day is more than enough. I use them in raw energy balls too, as alcohol based almond extracts can come off a little bitter in uncooked goodies.
I give a few options for complete raw-ness or alternatively more easily available ingredients at the end of the recipe in the footnotes.
Fruity Mousse-y Chocolate Tart with Bergamot Biscuit Base
The Base:
- One dessertspoon of org raw coconut oil
- Two dessertspoons of a runny tahini
- Five drops of food grade bergamot oil/ lemon zest & a tsp lemon extract
- Six or seven apricot kernels ground or half a cap of almond extract
- One and a third cups of ground almonds
- A quarter tsp of himalayan pink salt or sea salt
- Two or Three dessertspoons of fresh lemon juice
Base method:
All you have to do is mash together the oil, tahini and bergamot and or extracts first. In another bowl mix your ground apricot kernels, ground almonds and salt. Now add the dry to the wet. You need to reaaallly mash them together. Press press press so the oils are taken up by the dry. It should have a little bit of a crumbly texture. To bring it all together and add flavour you start by adding one spoon of lemon juice. Use your hands to form the dough. When you squeeze a little of the mix between your fingers it should hold together. Add some more lemon juice if needed.
Now press it into your prepared tart tin/ pie pan. Try to do it evenly. This makes for a lovely thin crust. Cover it and pop it in the freezer while you prepare the topping.
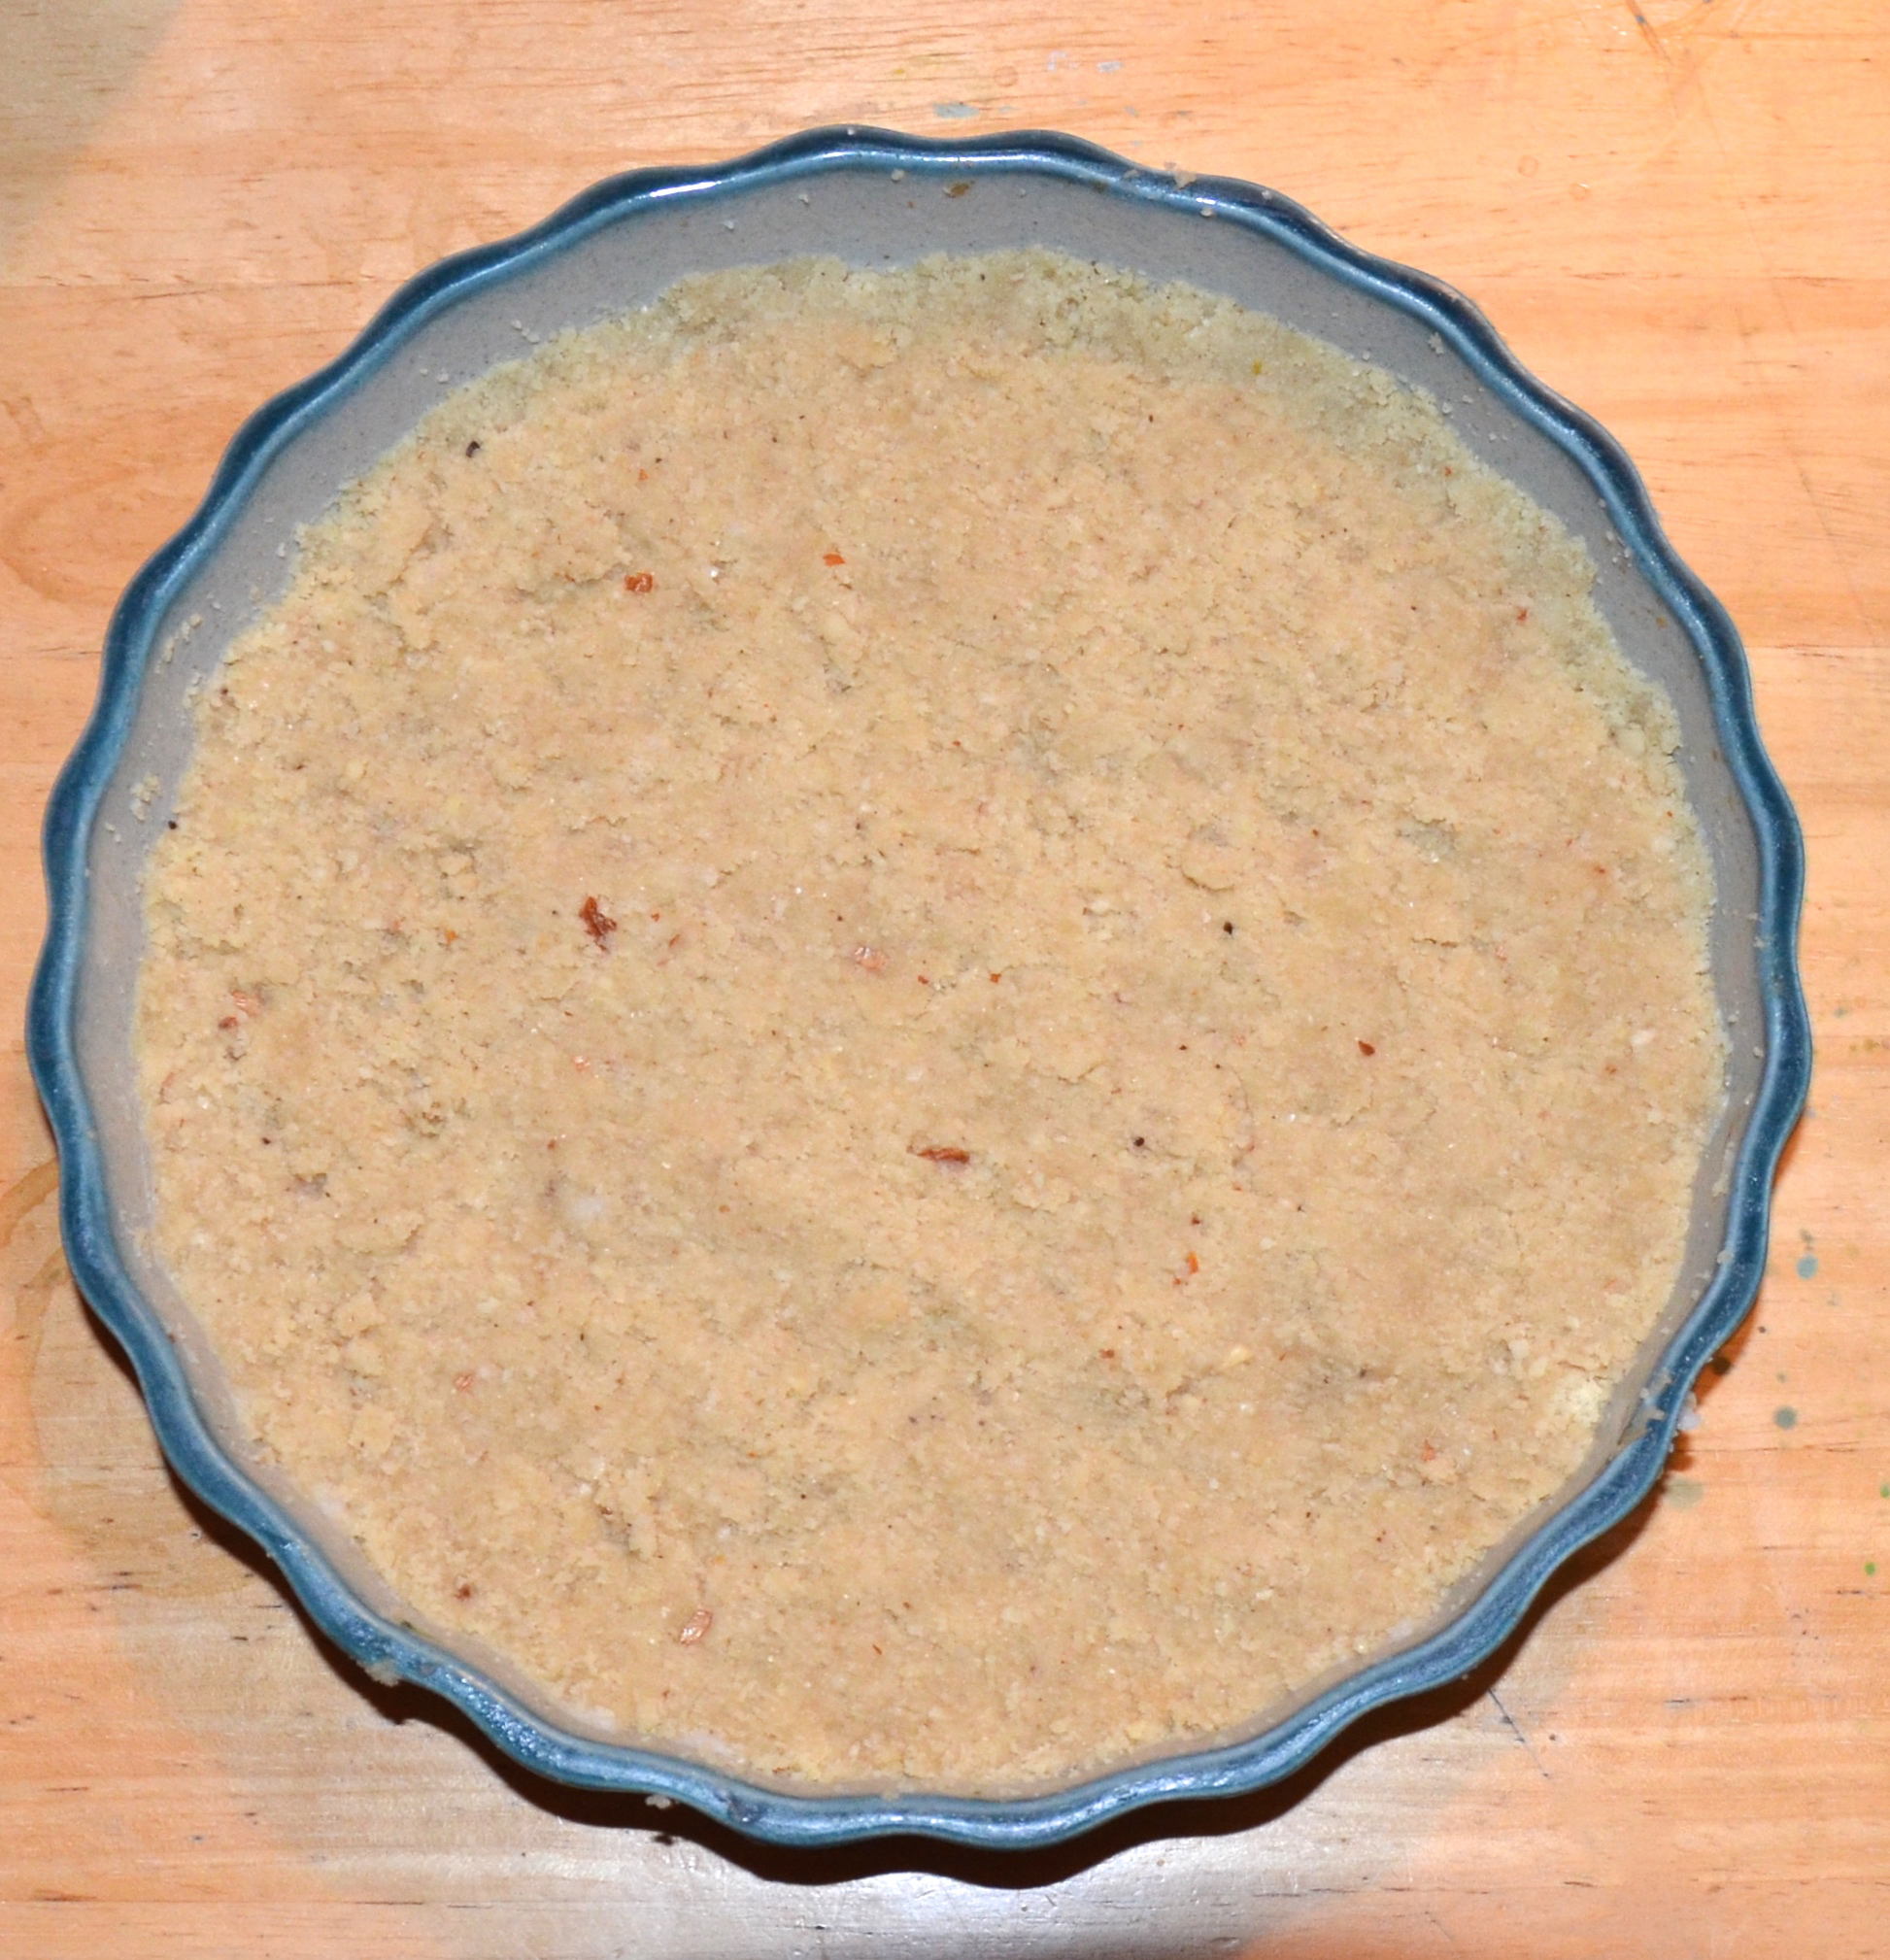
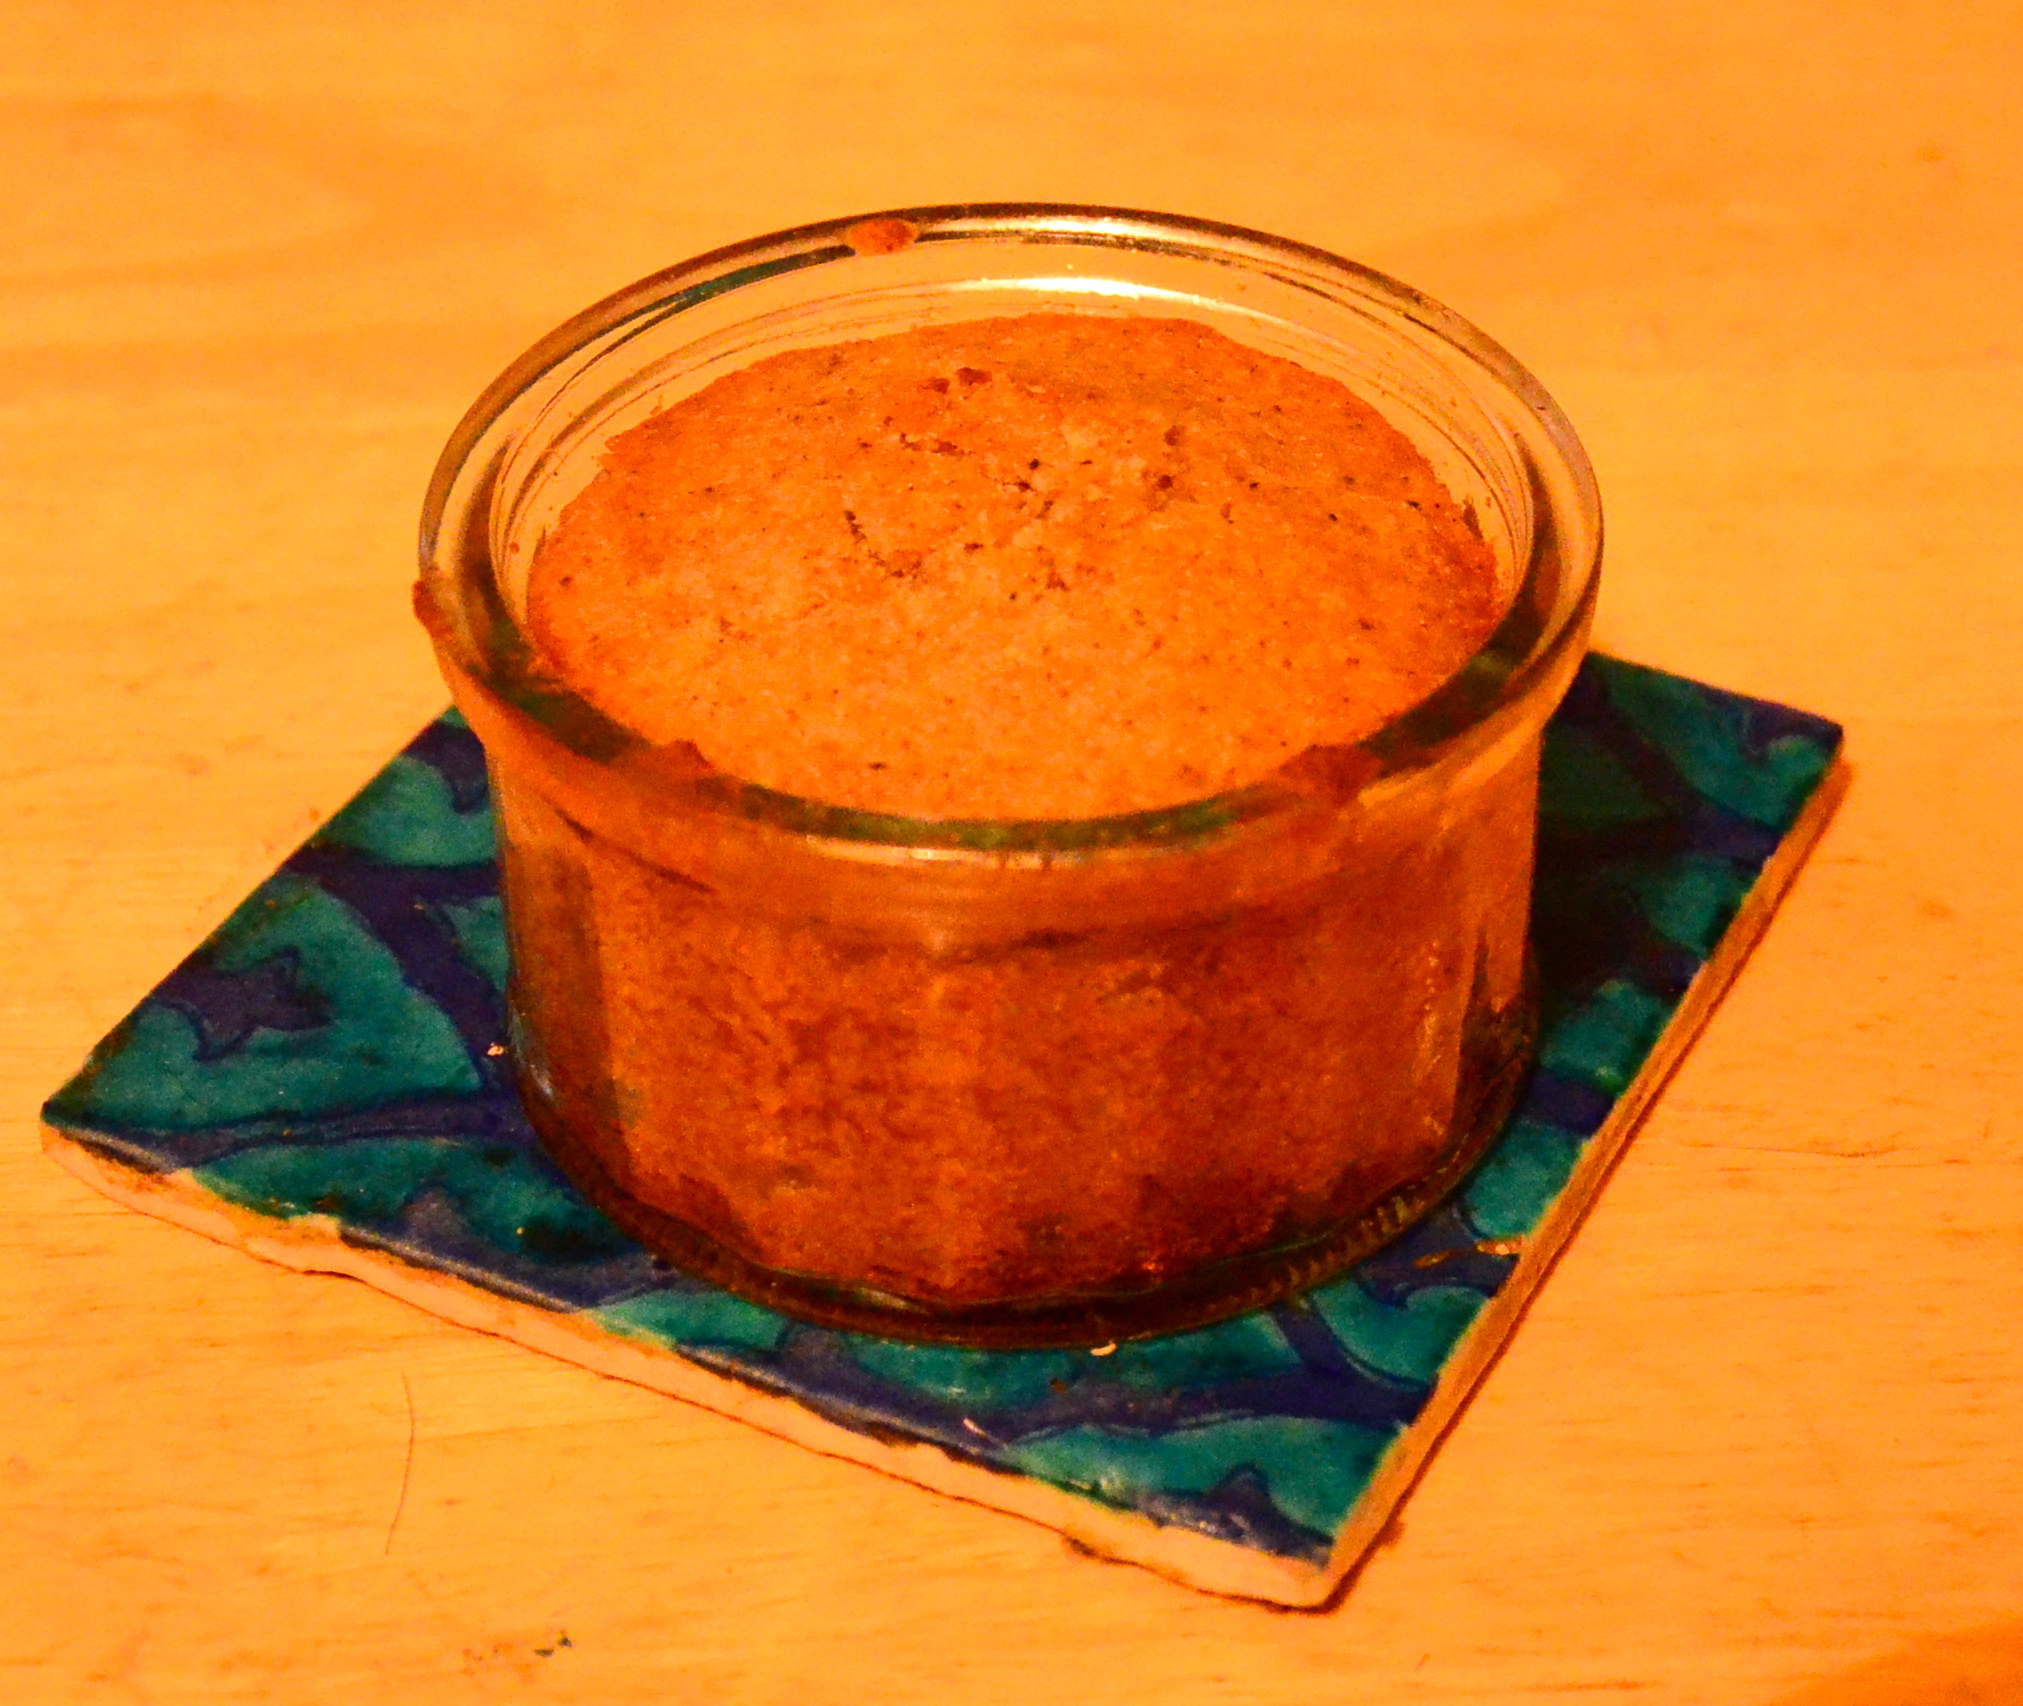
Almondy bergomoty base
Mousse-y Chocolate Topping
Mushy stuff that needs blending…..
- A third of a cup of cashews-soaked in a cup of water overnight
- A quarter cup of non dairy milk
- One mashed avocado (ripe when dark sap green and there a little give when squeezed gently. Love nature! Hug an avocado!)
- Two dessertspoons blueberries fresh or frozen
- A quarter tsp of himalayan pink salt or sea salt
Your cacao chocolate mix that needs melting…
- Three dessertspoons of chopped cacao paste liquor
- Three dessertspoons of chopped cacao butter
- One teaspoon of org raw coconut oil
- Two teaspoons cacao powder
- One teaspoon vanilla powder/ extract /two pods
- A third of a cup of a mixture of raw dark agave & maple syrup
- Two dessertspoons of date syrup
Mousse-y Topping Method:
Sooo first part. Drain your cashews. If you have a good blender all you have to do is pop all the “mushy” ingredients into it and blend! I have a hand held blender so I need to be a bit more gentle. Add your milk to your cashews and partial blend. Use a deep bowl- I did not and spattered myself and the kitchen with flying cashew bits! Mash the avocado and blueberries with a fork first. Add these to the cashews and blend to a creamy consistency. I attempted to cut the soaking time of the cashews to a few hours and they definately did not blend as well.

Mushy Galaxy of yummy goodness
Second bit. Put a small saucepan of water on to a gentle simmer and pop a perspex bowl on top. The bowl should not touch the water, or it will get too hot. Start by melting your cacao paste, cacao butter and coconut oil. Once melted you can stir in the agave/maple/date syrup, cacao powder and vanilla. Take off the heat.
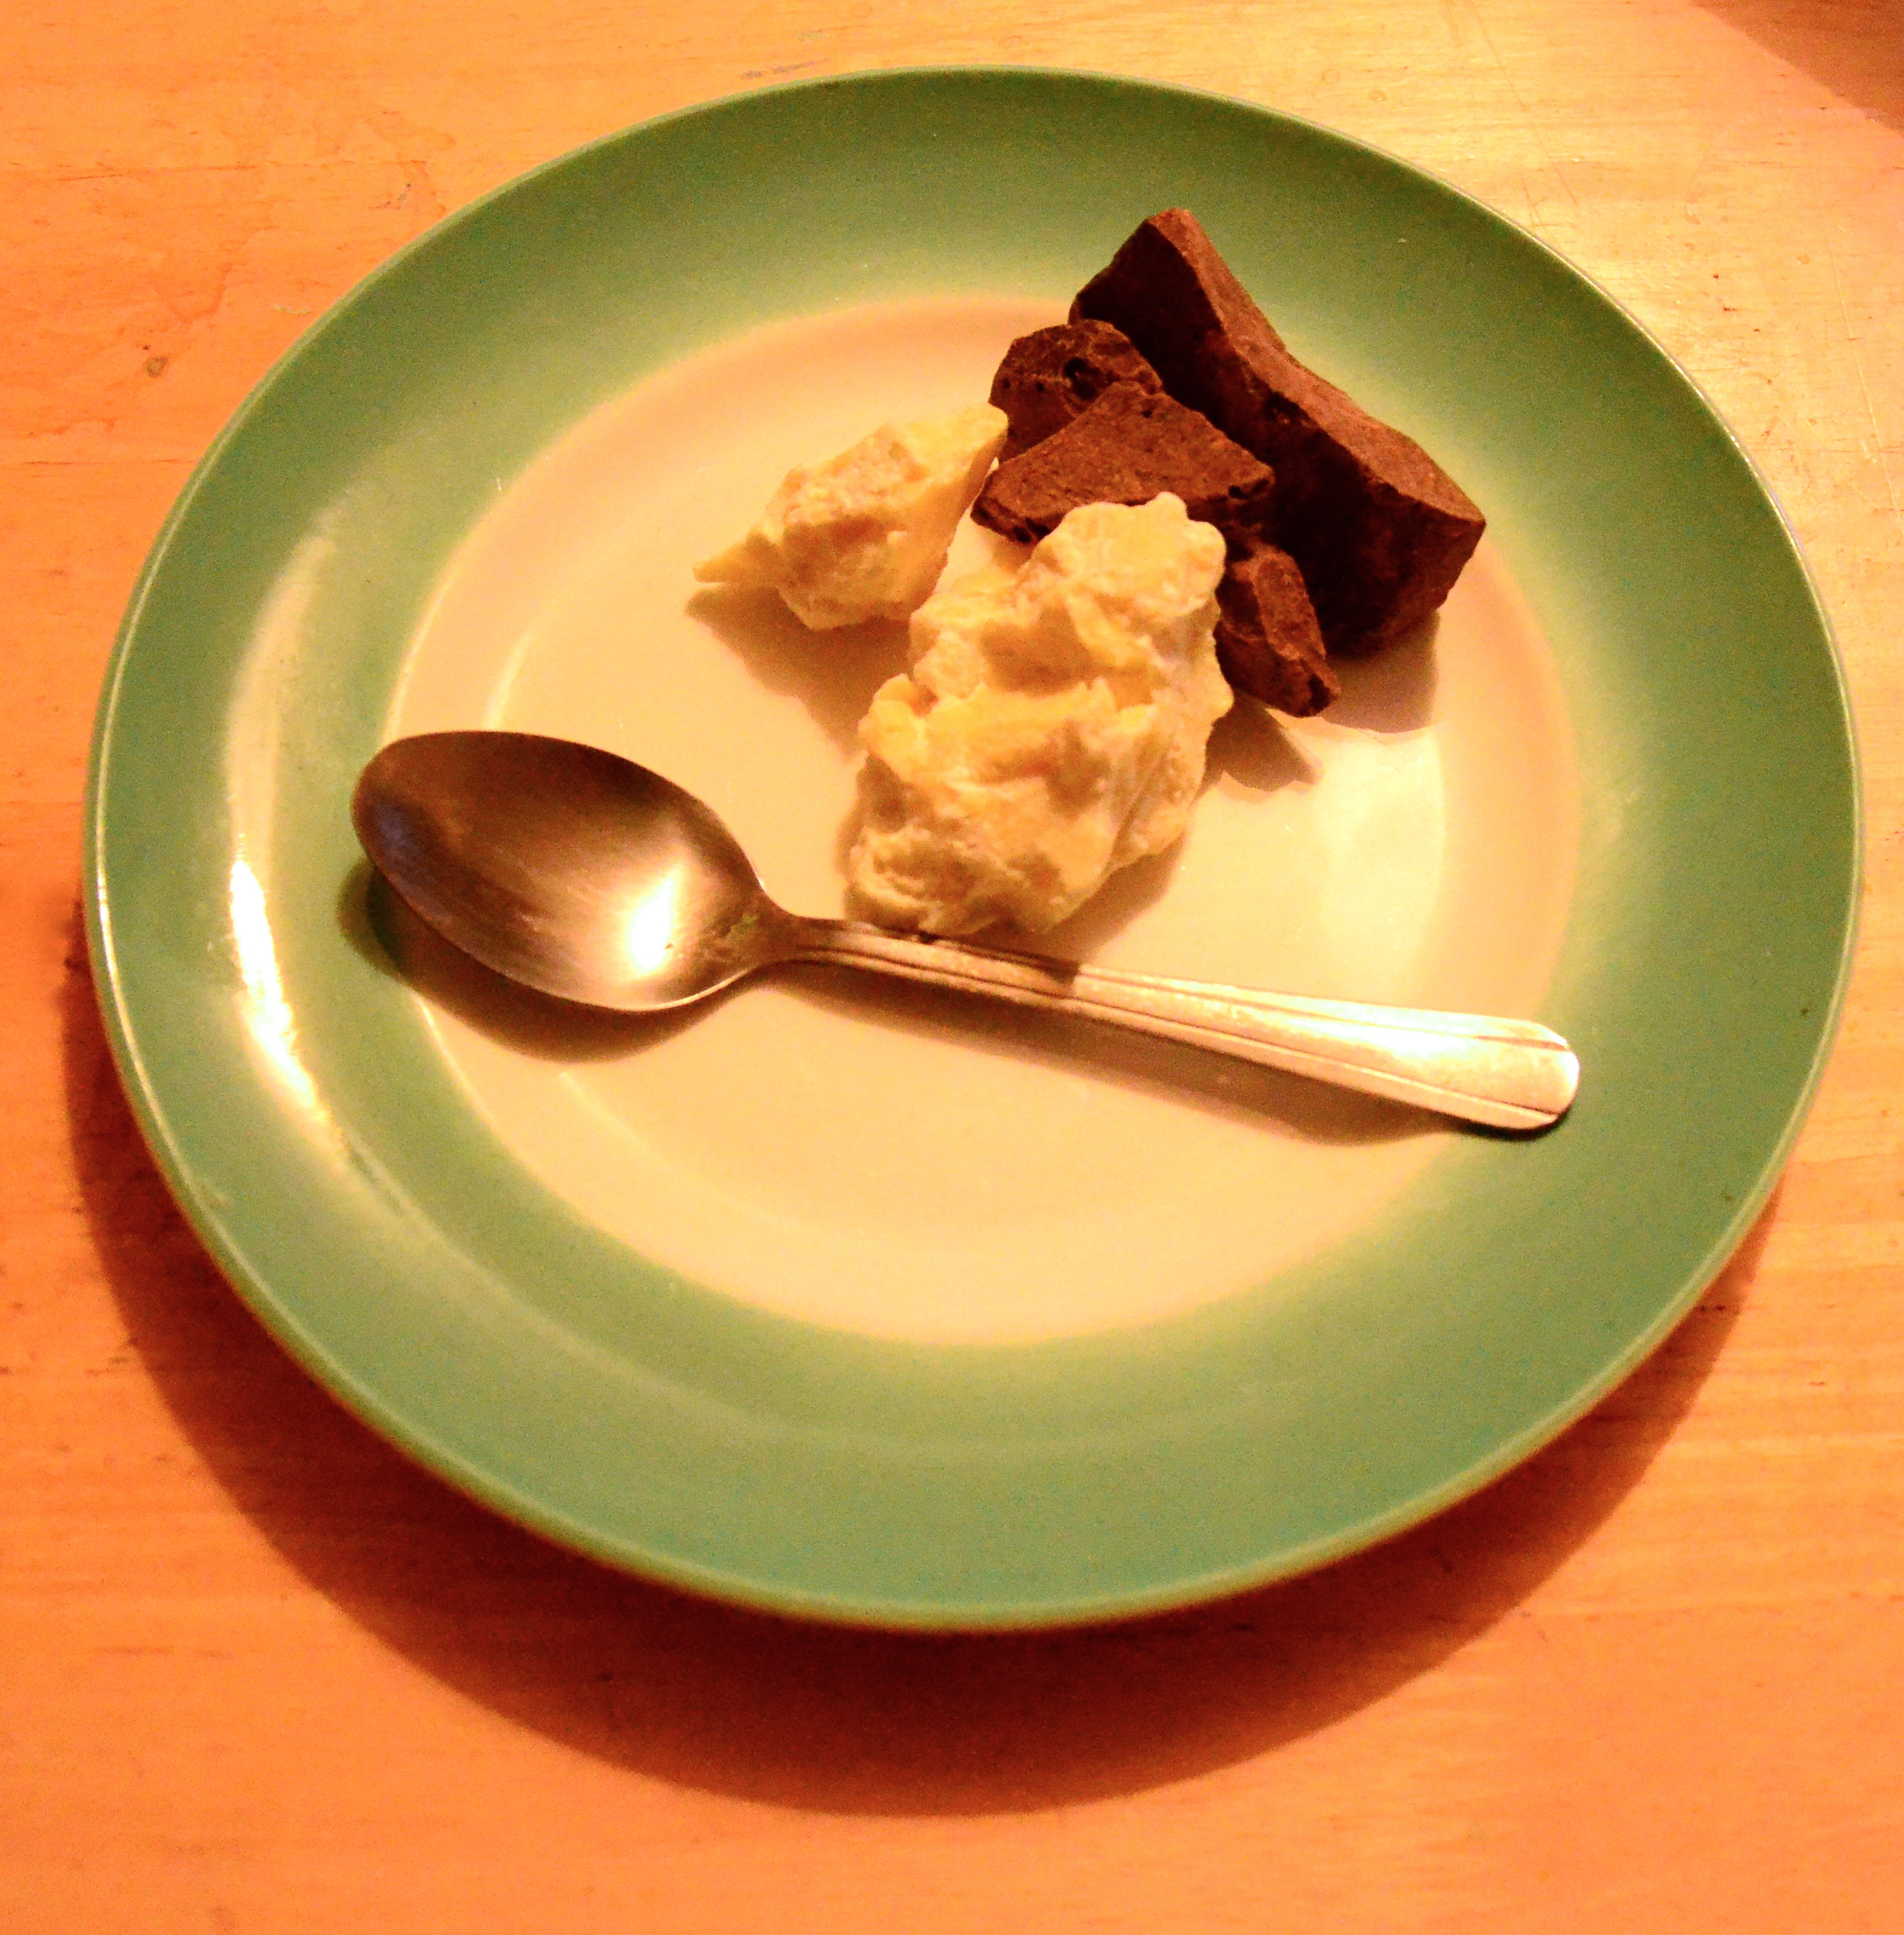
Cacao Cliff ready for chopping
The yummy “no you can not stick your finger in it!” part. Take your base out of the freezer and uncover it. Stick a spatula in your blended ingredients. Using a towel/oven glove take your bowl of melted chocolate off the saucepan. Very slowly dribble your chocolate into the blended mixture. Fold it through with your spatula as you are pouring. It sets fast, you will notice this even as you spread it evenly over the crust. The cacao butter wants to be solid at room temperature. Cover it up again. Make sure it is not sitting on tart top or it will mark, a little tent or tepee or paper/ foil should do the trick. Leave to set and chill for at least a couple of hours.
Now take the bowl and stick your finger in it. Licking the bowl the joy of vegan baking!
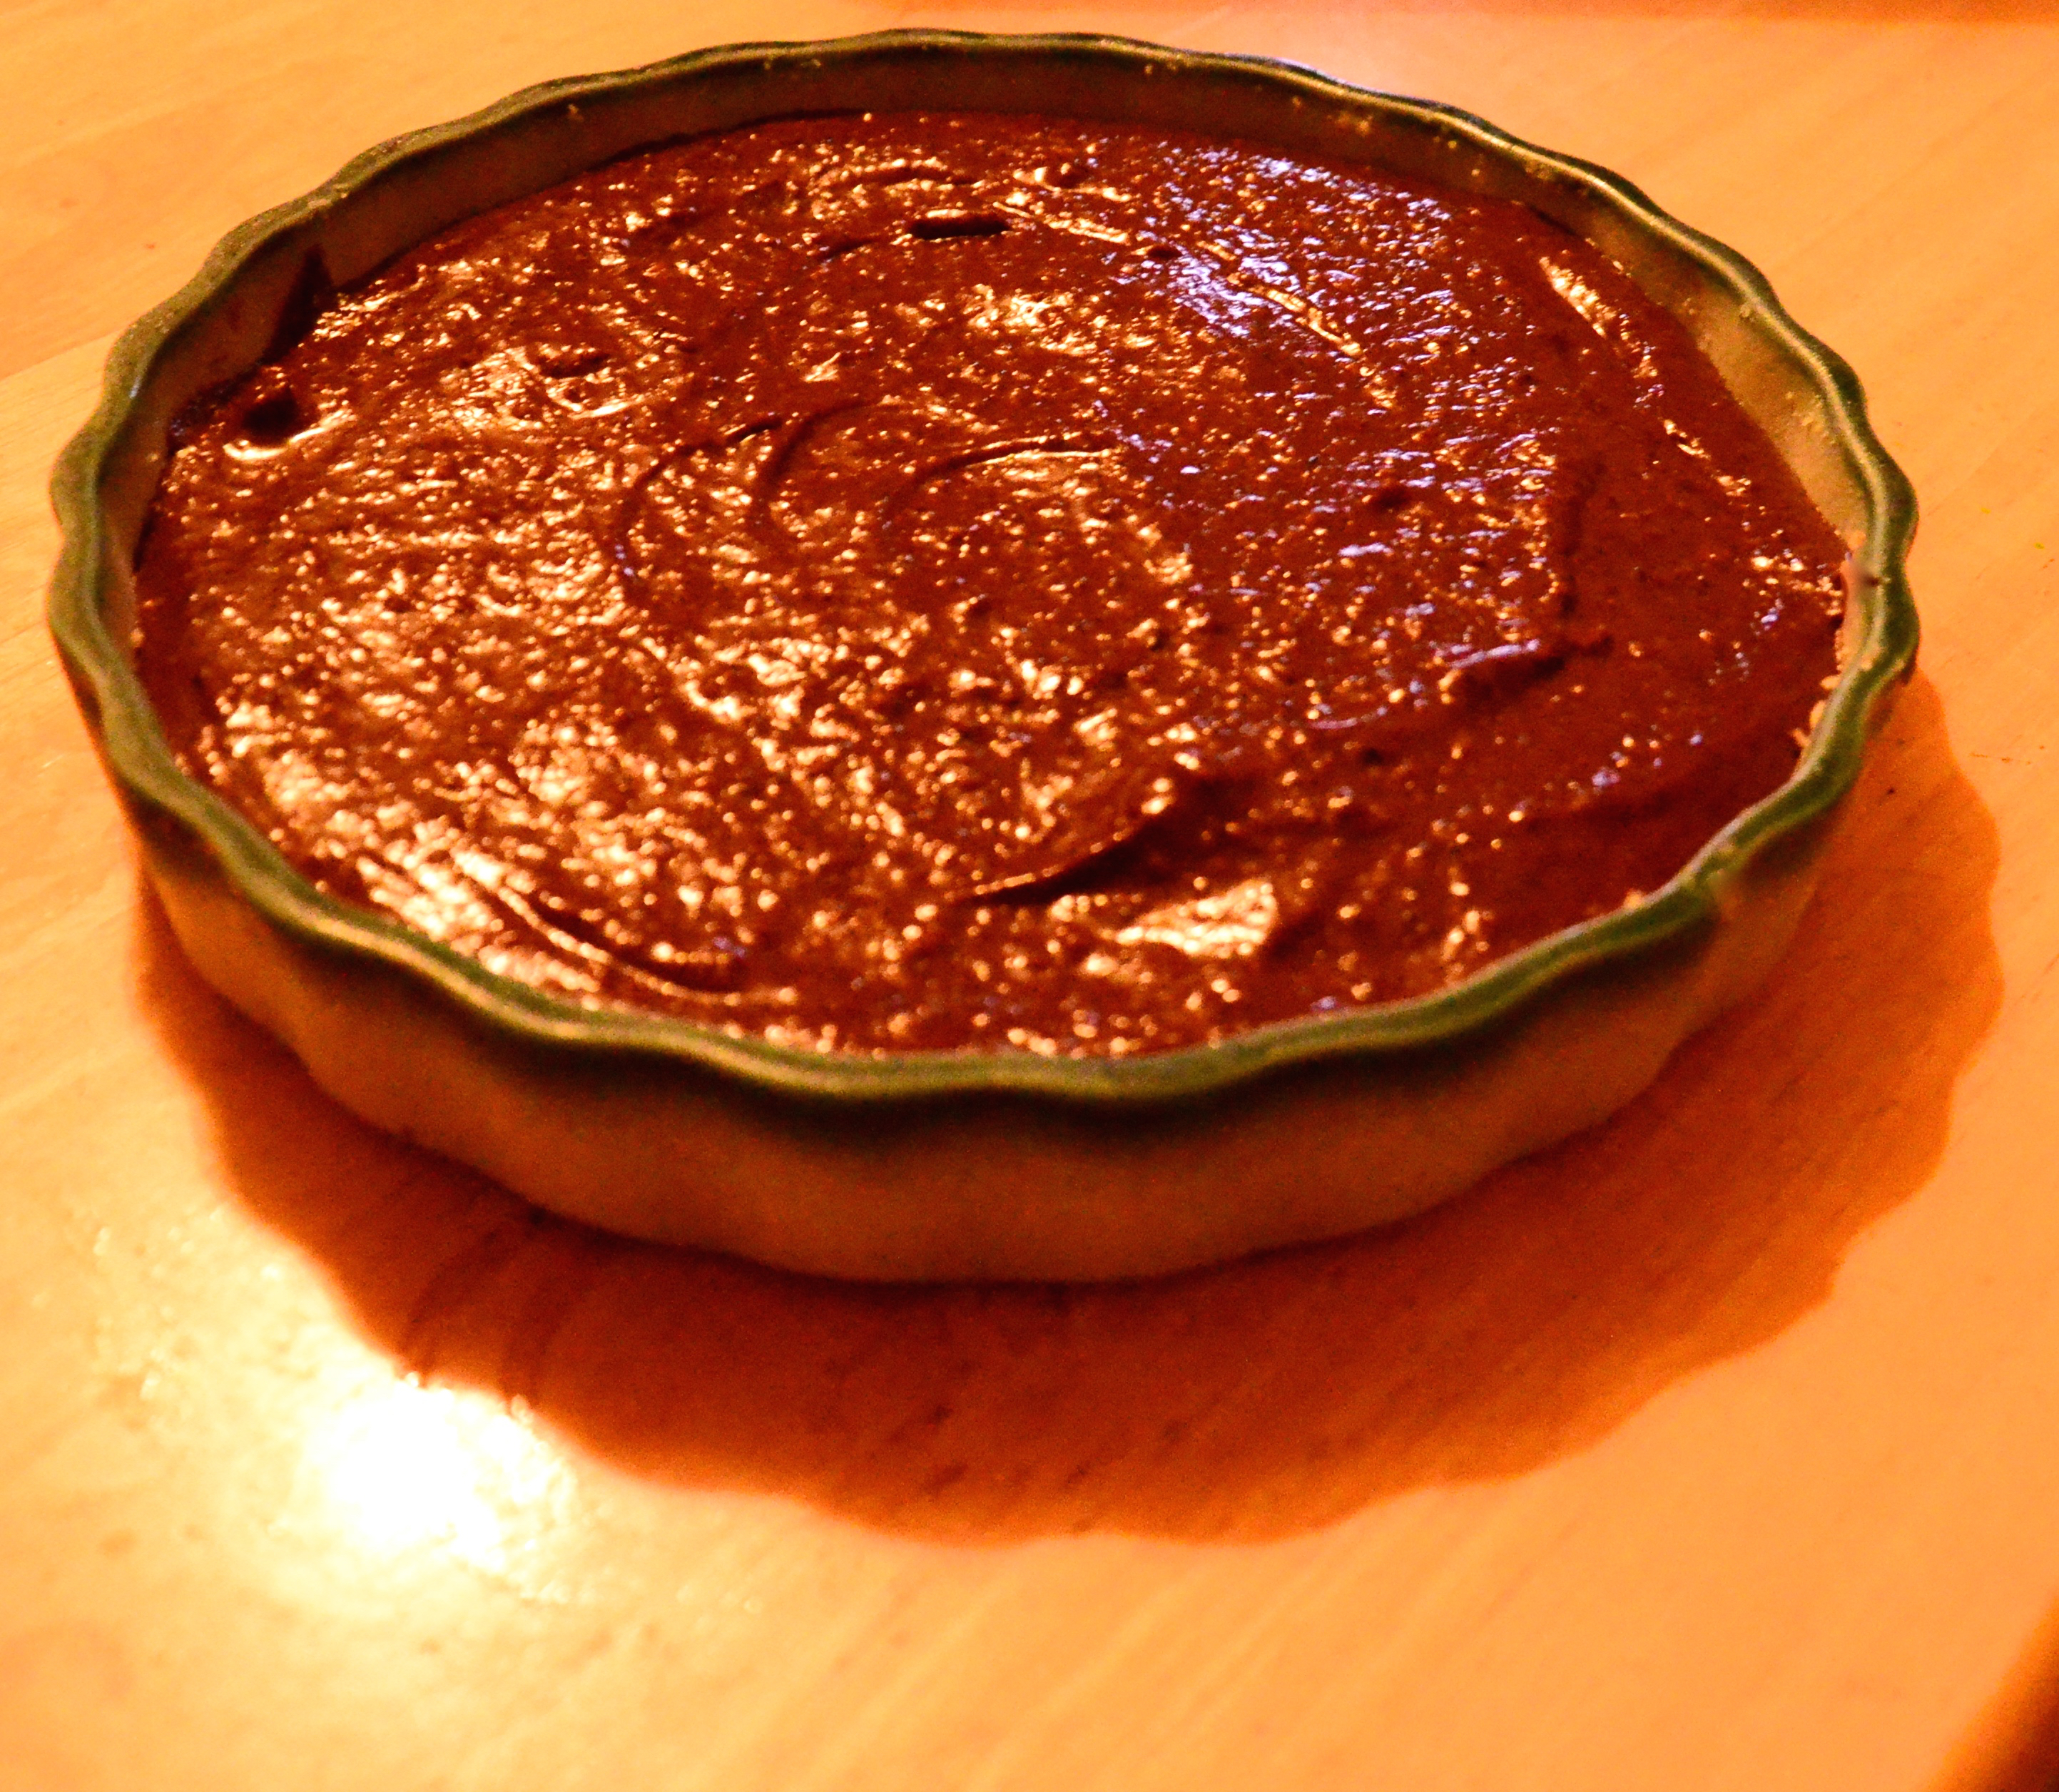
Pre the freeze!
I keep it the freezer, cyrogenicly perserving the tart so it can be made in advance and has lasting power. It just needs fifteen to twenty minutes at room temperature to soften before serving.
I hope you guys like it. I think the bergamot’s bright sharpness really complements the rich chocolatey topping. Xs Aissa
Footnotes!!!
Depending on your cupboard stores you can swankify it by using all raw ingredients e.g. grinding your own almonds for the crust and using raw tahini or raw cashew butter in it. Stick to the raw agave/date syrup or you could soak about 8 medjool dates and blend them into the crust for sweetness.
If it is a bus, a bike and a swim to the nearest health food store there are options too. It really becomes a different tart but why should you miss out on tart just because its a triathlon to a gourmet shop??
You can dig the ground almonds from the back of the press. Use half a cap of almond essence instead of the apricot kernels. The zest of a unwaxed lemon and half a tsp of lemon extract can be used instead of bergamot. Maple syrup is in most supermarkets and this is an obvious alternative to the raw agave/ date syrup. The date does add to the fruity flavour of the mousse so maybe up the blueberries by the dessertspoon. Lastly you can use dark cocoa instead of cacao and a 100g/ 40z bar of good quality dark (72% or 85%) chocolate instead of the raw cacao. O and reduce the syrup by half in the liquid ingredients as the chocolate bar will already be sweet.!!! Phew…. maybe it is easier to don the wetsuit than to read through those instructions. 🙂